If you’ve got an iPad with iOS 11, you’re probably getting used to the new gestures involved in navigating. From the always-on Dock to the new multitasking options, you’ll need to figure out how to move your fingers around that screen if you ever want to ditch that laptop for good and go tablet-only.
Image credit: Tinh te Photo/Flickr
Your Dock is Everywhere
Your Dock will follow you wherever you go, in any iPad app. Just swipe up about an inch from the bottom of the screen to bring up your Dock and its list of applications, along with the three most recent apps used. You can add up to 13 apps to your Dock so you have the most important ones at your fingertips, apps you can drag and drop to use for multitasking.
Switch Apps Fast
Want to go back to that app you were just using? Just swipe left or right with four of your fingers to go back and forth between apps. If you’re hooked up to a keyboard, you could also use Cmd-Tab to switch between recently opened apps.
Your Recent Apps and Control Center
You don’t have to double-click the home button to see your recent apps in iOS 11 anymore. Your recent apps are now grouped alongside your Control Center, with both being accessible when you swipe all the way up from the very bottom of your screen. To get rid of those recent apps, swipe them up and away.
If you’ve grouped two apps together, swiping the grouped app away will close both apps and reset them to their natural, fullscreen state.
Multitasking Swipes Let You Work Two Apps at Once
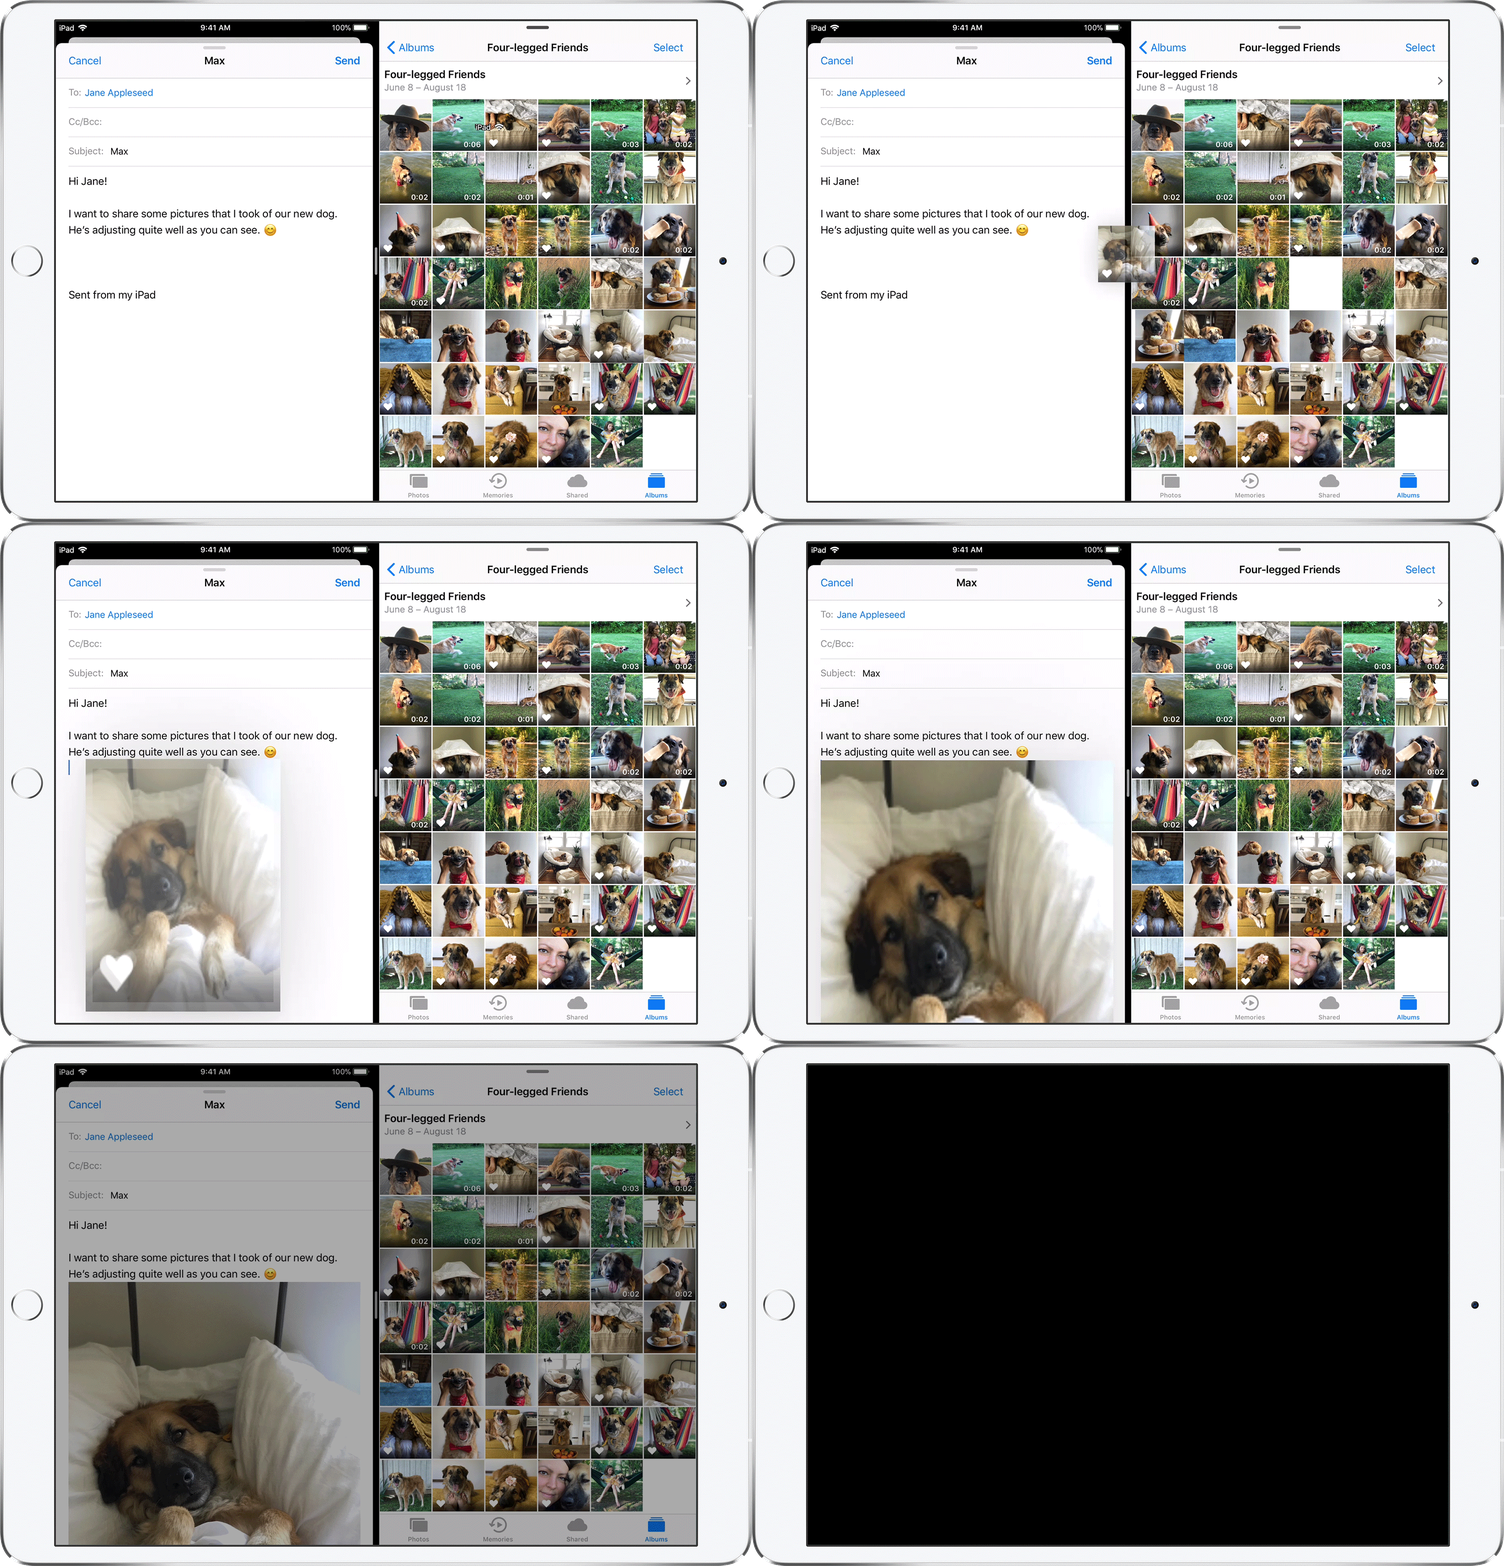
The iPad supports multitasking, and lets you use two apps side-by-side in various ways. You’ll need to open an app before you can start sliding them around, and not every app supports every form of multitasking. You can drag photos from your Google Drive and drop them in an email or image editing app, share links from Safari to Messages, and emails from Gmail into your calendar app.

Image: Apple
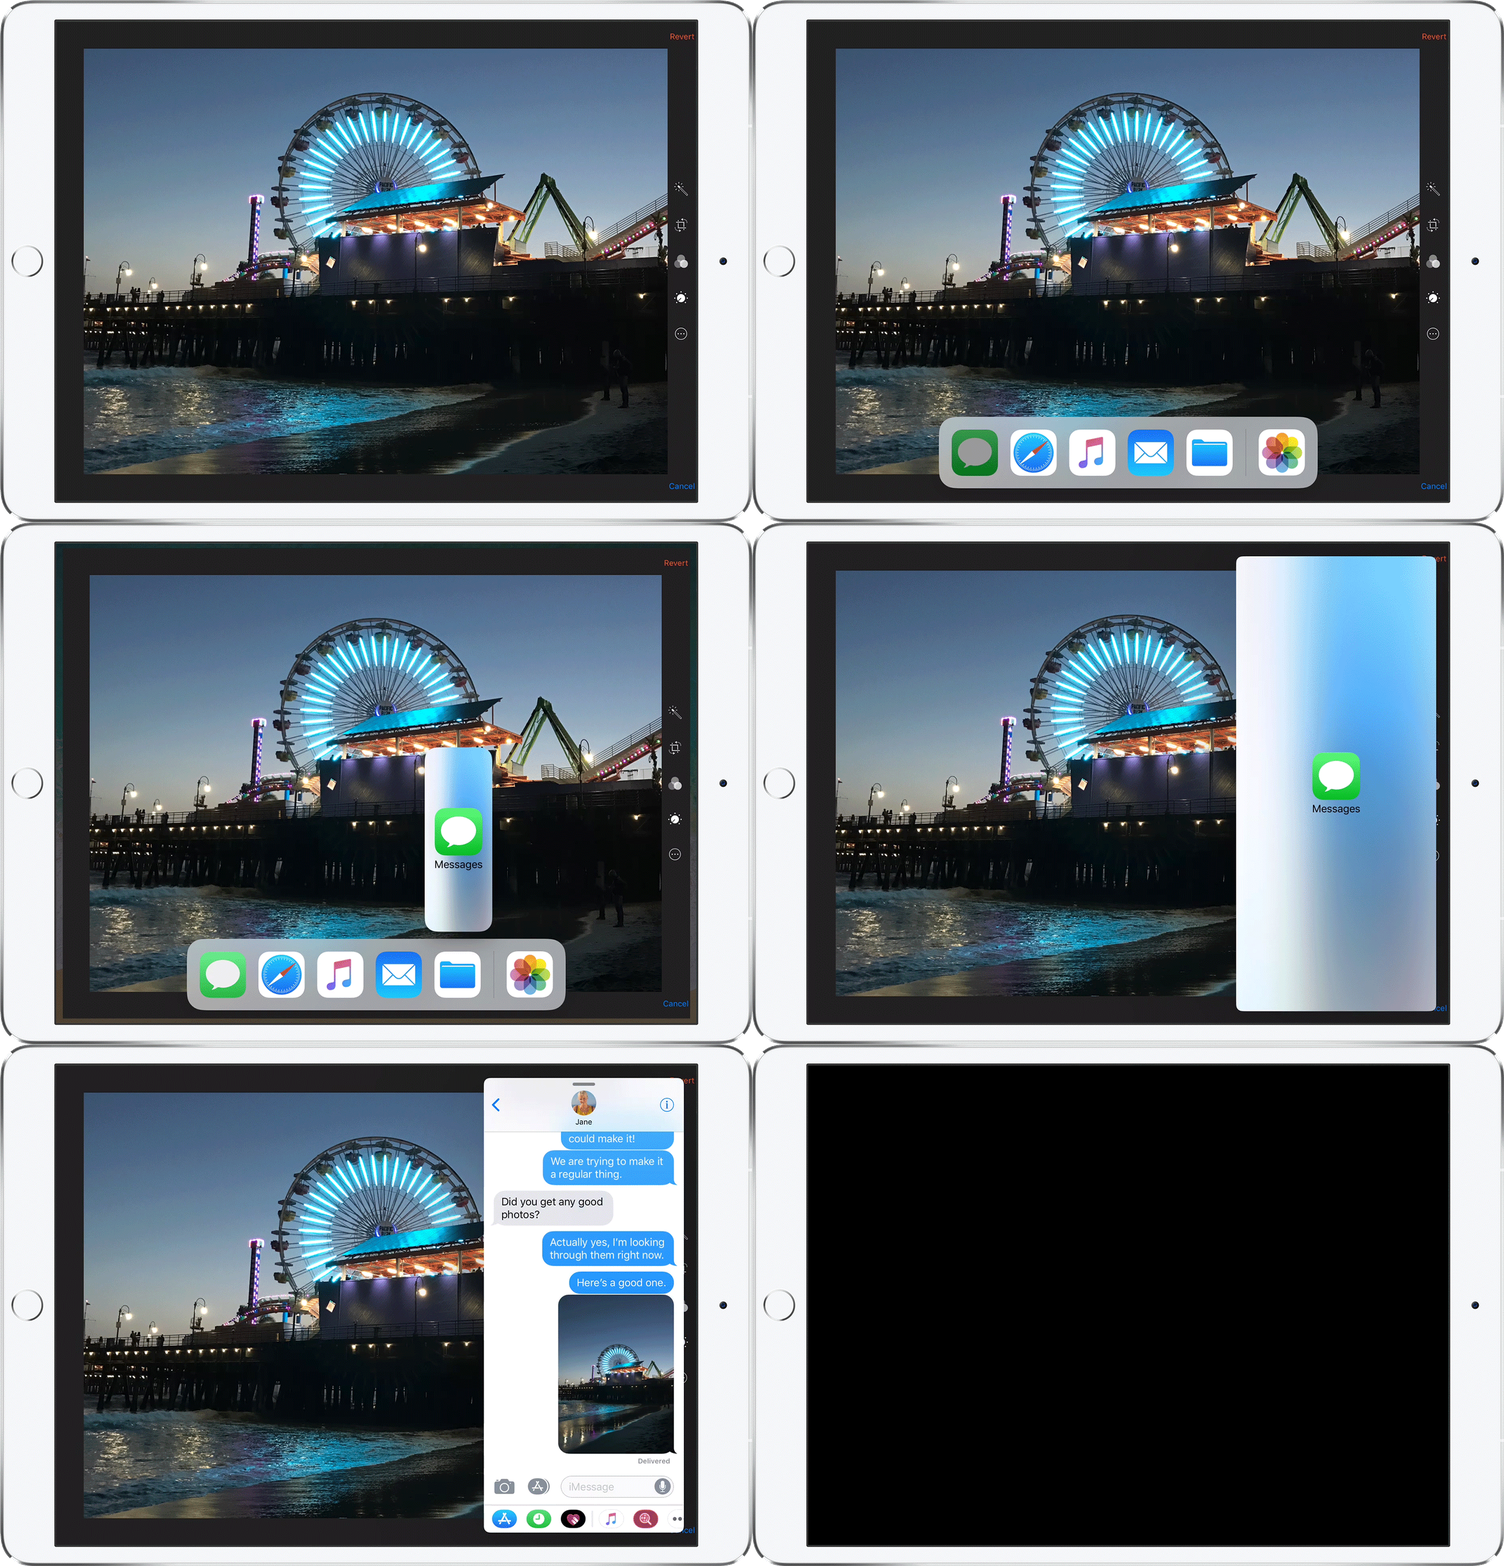
Slide Over: In the Dock, select an hold an app, and drag it onto the side of the screen you’d like it to appear. You’ll see a small black bar at the top of the Slide Over app. Pull that down to turn that Slide Over window into a Split View window, or swipe it off the screen to get rid of it. Even if you have two apps open in Split View, you can open one more Slide Over app by selecting it from the Dock and dragging it onto the black bar dividing the two Split View apps.

Image: Apple
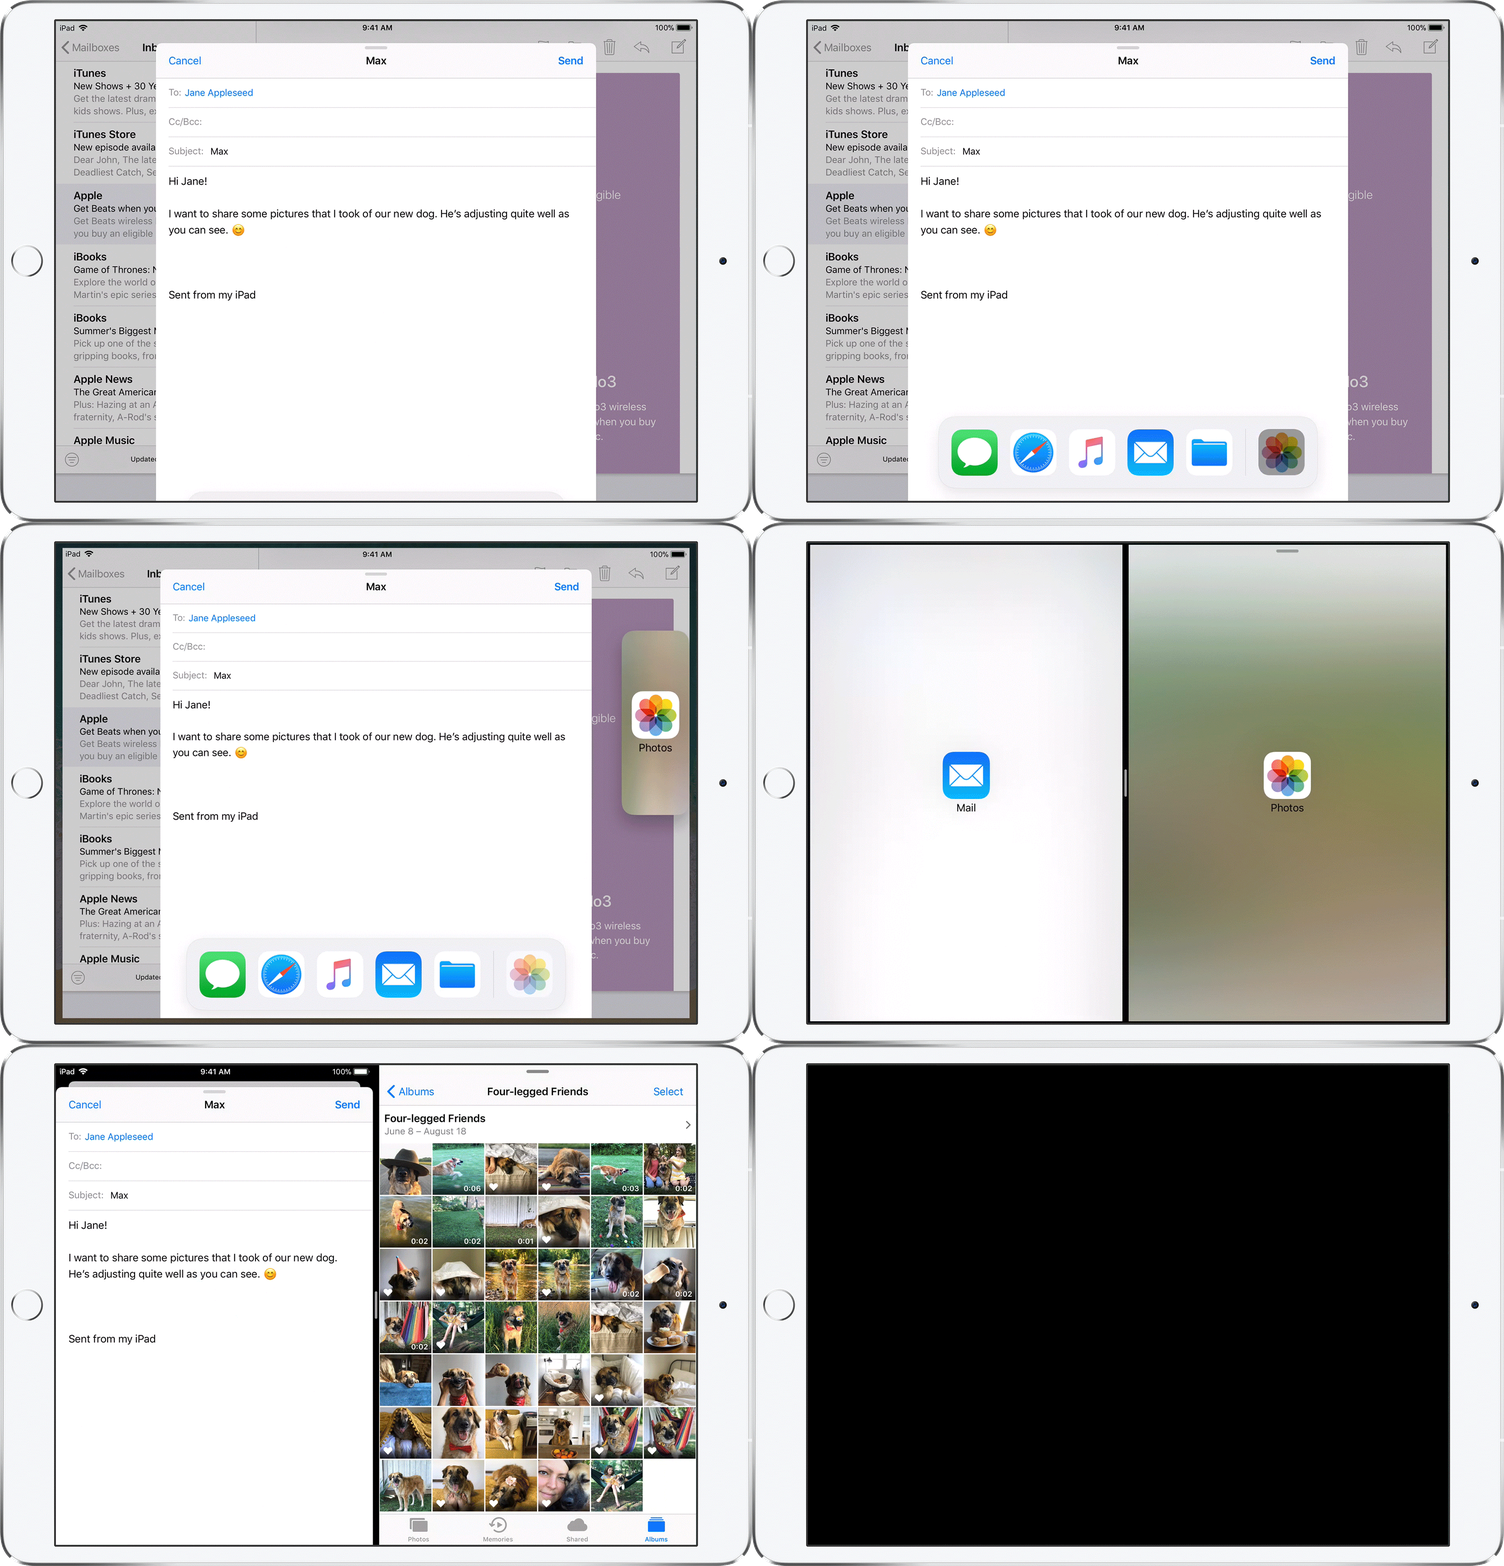
Split View: In the Dock, select and hold an app, and drag it to the left or right edge of the display. That enables Split View mode, which lets you resize two windows on the same screen, and drag and drop content between the apps. Move the black bar to resize or dismiss apps by swiping them off the screen.

Image: Apple
Picture-in-Picture: Watching a Netflix stream while you send emails to your relatives? If you’re watching a video or having a FaceTime call with someone, you can shrink that video down and still get some work done by using the Picture-in-Picture icon.
Organising Apps and Folders
You can organise and delete apps on your iPad the same way you do on your iPhone. Hold your finger on an app until it starts to wiggle and display an X icon. The last three apps on the right of the Dock are your most recently used apps, and can be removed from the Dock without deleting them (you’ll see a minus sign instead of an X on the icon).
Take advantage of folders by putting them in your Dock. You can group your apps that way and always have access to sets of apps instead of clogging your Dock with them.
Search Through Your iPad (and The Web)
Swiping from the middle of your iPad screen will bring up the search feature, letting you scour your contacts, music, apps, and the web to find what you’re looking for. You can edit which apps you’re including in your search by opening Settings > Siri & Search and toggling apps on and off.

Comments