There are three main reasons I’ve never invested in a proper coffee machine: 1. I thought pod machine coffee was fine, 2. I’m too impatient to move through the whole process, and 3. They’ve always been very expensive. While the Breville Barista Touch Impress coffee machine is still an expensive gadget, spending a few weeks with it has changed my opinion on making the investment.
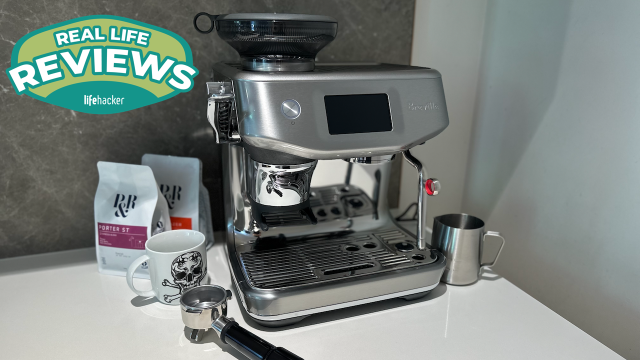
Real life review: Breville Barista Touch Impress coffee machine
At $2,299, the Breville Barista Touch Impress coffee machine takes (most) of the hard work out of making real coffee. It offers step-by-step guidance, including feedback, and a whole bunch of smarts to make the entire process really easy if you’re a coffee newbie. It also boasts a feature called ‘Auto MilQ’, comprised of adjustable settings for multiple kinds of milk (almond, oat, soy, and dairy milk) where it calibrates air injection time and temperature specific to the type of milk you choose.
Specs:
- 30 precision grind settings
- Heating system: ThermoJet Heating System
- Milk wand (support for four milk types: almond, oat, soy, and dairy milk)
- Eight pre-set recipes: Flat White, Latte, Cappuccino, Espresso, Long Black, Babyccino, Hot Chocolate & Tea
- Drinks: Can save and name up to six customisable drinks
- Interface: Touchscreen
- Dimensions: 41.7cm x 35.8 cm (including tamping handle) / 33.3cm (main body) x 34.3cm
- Capacity: 340g Bean Hopper, 2L Water Tank
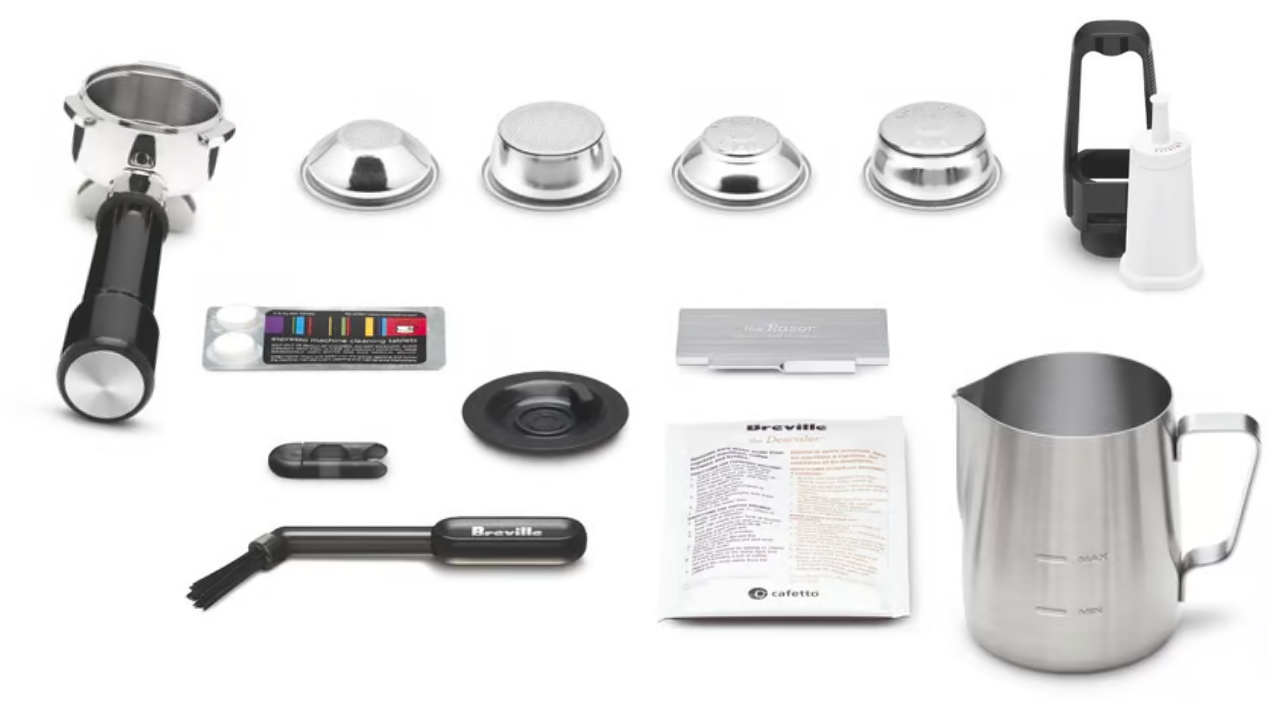
You also get all of these things.
From basic to barista in minutes
Setting up the machine is a little bit fiddly and time-consuming, but it’s only something you have to do once, and to be honest, it allowed me to get familiar with the machine before I started using it.
Upon powering up the Breville Barista Touch Impress coffee machine, the first thing you’ll notice is how quickly everything is ready – it takes three seconds. From here, you select the type of milk you’ll be using (I chose oat), set the date, tell the machine how fresh your coffee beans are, choose your preferred cup basket (I chose two cups, for a stronger coffee), and then you’ll get some feedback about your water quality. Again, this is a ‘once’ activity – if you save the coffee you’ve just pre-set, you won’t have to do that again, unless you want to make a different coffee.
Making a coffee with the Breville Barista Touch Impress
Step one: Swipe through your desired drink (I set mine to latte, with oat already chosen for the milk type).
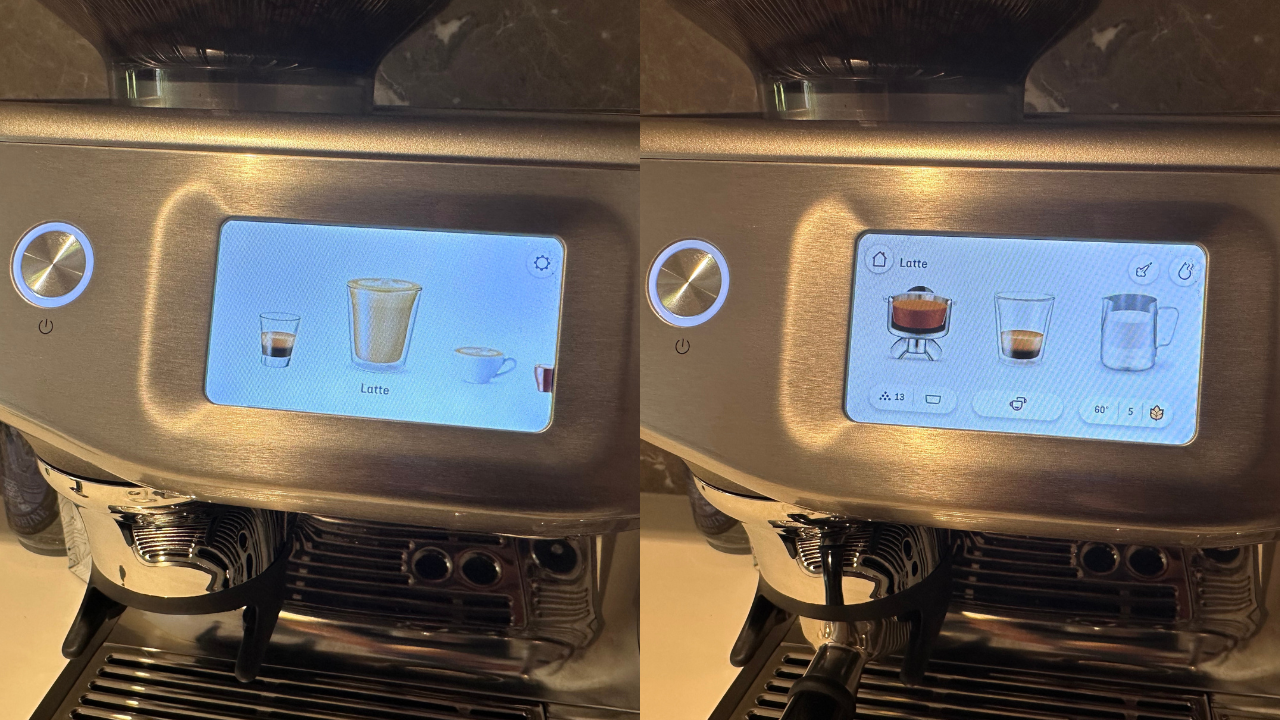
Step two: Insert the portafilter with the previously selected cup inserted, then press the ‘grind’ button on the screen.
Step three: Once ground, you pull down the tamp lever – you’ll know it’s good enough if the machine displays a green tick icon. You might be asked to grind more beans and tamp again. Just on this – if the machine detects that the grind size isn’t how it should be, it’ll give you a notification about this, too. To change the grind size, you simply twist a knob on the side.

Step four: Once the cup is full of ground beans and tampered accordingly, you then pop it into the head and press the brew icon on the Breville Barista Touch Impress coffee machine’s screen.

Step five: Pop the milk into the stainless steel milk jug, rest it on the temperature sensor with the steam wand inserted into the jug and press the milk jug icon on the machine’s screen.

Step six: Enjoy.
The whole process, from powering up the machine to taking a sip, takes just under three minutes.
Fiddling with settings
Although that process was relatively straightforward, after a few days, I was genuinely missing my pod machine. The coffee from the Breville Barista Touch Impress didn’t taste spectacular, and it just seemed like it wasn’t a practical addition to my morning routine.
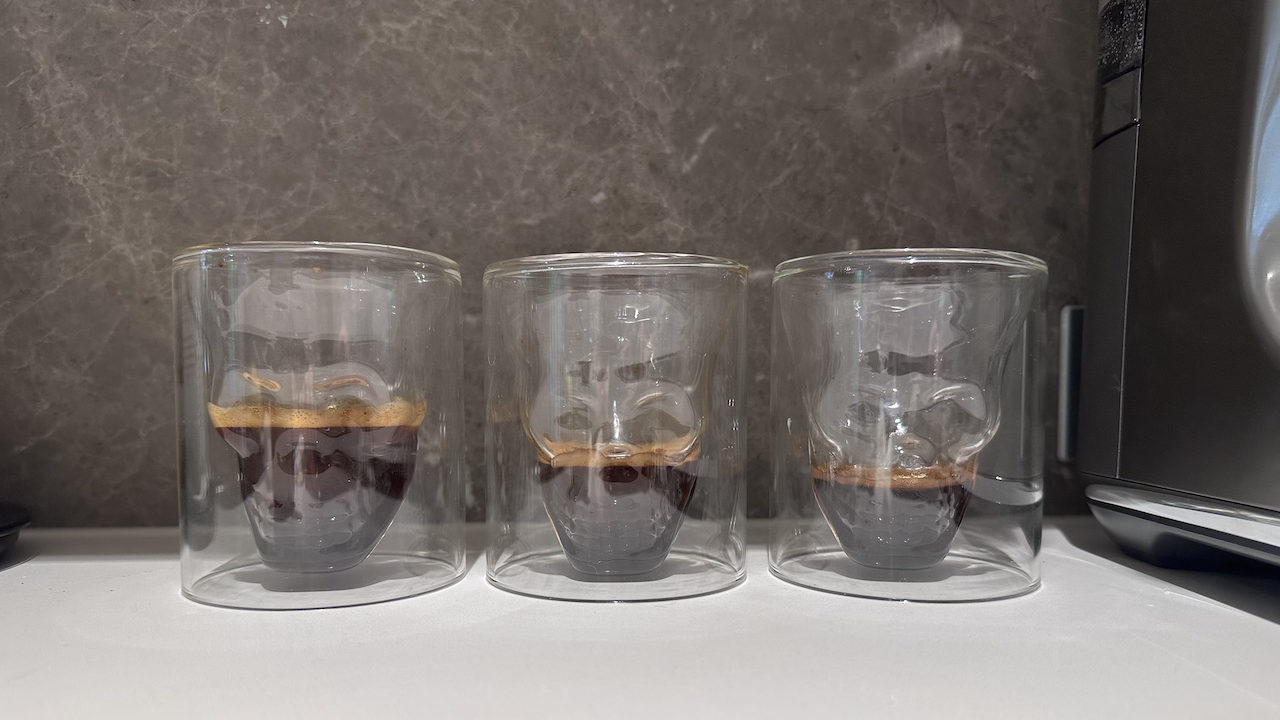
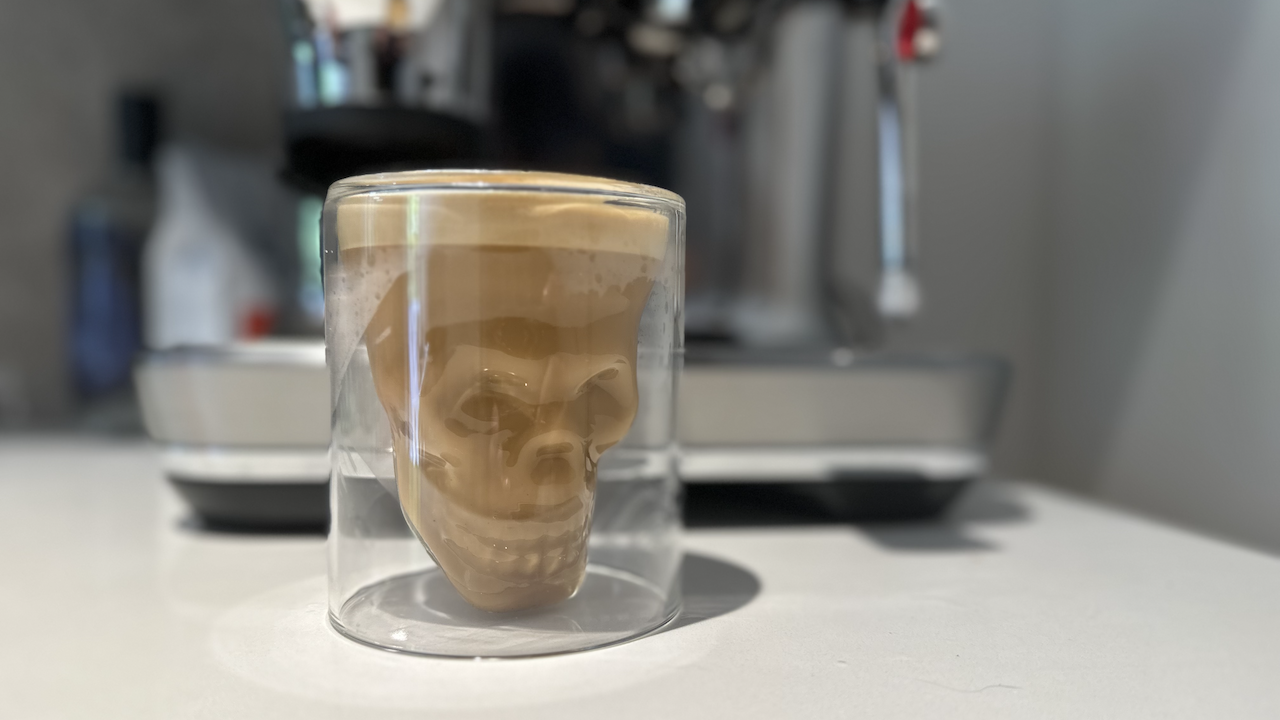
So, I decided to fiddle around with some settings. First, I wound the grind size up and worked my way down to a perfect cup. The pic below shows this progress – it was actually really fun working out what I liked most. In hindsight, this was the moment I became excited about having the Breville Barista Touch Impress – I read a few articles on coffee grind size, watched a handful of tutorials, and suddenly, I understood.
The Breville Barista Touch Impress seemed intimidating at first, but after a super quick lesson, I understood just how much the type and freshness of your coffee beans, as well as the type of milk you’re using, has on the result.
I also realised the almond milk I was using was ruining the coffee’s taste, so I ditched that and stuck to oat. I also stuck to one brand of coffee beans. This meant it was the perfect cuppa each time. Until I ran out of beans.
So, is my mind changed?
Problem #1: Pod coffee is fine
Before the Breville Barista Touch Impress coffee machine, I didn’t think I cared what the coffee I drank tasted like, as long as the non-cow milk in the cup wasn’t separating into a chalky, oily mess, I was happy. But, the Breville machine solved the plant-based milk problem and, as a result, made me focus on how freshly roasted beans taste versus a pod machine. So much better.
Unfortunately, I didn’t realise just how quickly you can run through a bag of beans. I tried my local cafe, and they wanted $59 for a 1kg bag of beans that I had never tasted before. I opted for an online order of the Pablo & Rusty beans I knew I liked and unpacked the pod machine to cover me for the next few days. That first cup the next morning from the pod machine was awful.
When the beans arrived, after two days of pod life, I clung to the first cup of Breville Barista Touch Impress coffee like you wouldn’t believe. Turns out pod coffee is not fine. Freshly brewed coffee made a really noticeable difference to my taste buds.
Problem #2: It’s a long process
I’m very impatient, and making a coffee first thing in the morning isn’t a pleasurable experience; it’s a race to get the coffee into me ASAP. But after using the Breville Barista Touch Impress, spending that extra few minutes of a morning making a freshly brewed coffee no longer seems like a drag, especially if the result is delicious coffee.
Problem #3: An expensive investment
The Barista Touch Impress is $2,299 from Breville – there’s no sugar coating that this is about $1,700 more than a pod machine, and $2,200 more expensive than a kettle. Coffee beans also aren’t cheap – a 1kg bag will set you back around $50-$60. How long this will last you depends completely on how many shots you have per coffee, how many cups a day you’re making, and how fresh the beans are. The math seems to be about 140 shots from 1kg of beans. That’s 23 days for me, on par with how quickly I’ve gone through the 250g bags I’ve been buying. While that’s a lot more expensive than instant, about the same as pods, it’s certainly a lot cheaper than buying a cafe coffee or two each day.
The Breville Barista Touch Impress: The verdict
The Breville Barista Touch Impress has convinced me I need a proper coffee machine in my life. This gadget has taken so much of the hard work out of the process – allowing people like me with zero coffee knowledge to easily understand what I need to do to make my brew perfect.
I love how intuitive the machine is and I genuinely don’t have a bad thing to say about it, except that I wish I could control it from my bed.
You can buy the Breville Barista Touch Impress from the following retailers: The Good Guys $1,999 | JB Hi-Fi $1,999 | Breville $2,299 | Myer $2,299
Leave a Reply
You must be logged in to post a comment.