Halloween is synonymous with sugar, and overloading cookies with chocolate, gummy worms, and sugar eyeballs is par for the course. But after your fifth dozen-batch of cookies laden with orange buttercream, it’s reasonable to want to give the butter and sprinkles a rest. Well hold onto your broomsticks, because we’ve got a cookie that only requires two basic ingredients. They’re meringue cookie ghosts, and they’re light on decoration but heavy on spooky season spirit.
Meringue is a fluffy, sweet treat made of whipped egg whites and sugar. There’s no fat involved, which means the finished cookie is light as a feather and crisp as a board (well, actually crispier). The egg white mixture is beaten until it reaches a stiff peak consistency, allowing it to hold its ghostly shape while baking. Instead of cookies that need higher oven temperatures to cook and activate chemical leaveners, meringue cookies use low heat and cook as they dry out. Baking these cookies is relatively passive, and decorating them can be as hands-off or intricate as you see fit.

To make a silky meringue, I usually opt for a cooked meringue, like the Swiss or Italian versions. They’re more stable than uncooked meringue, with smaller bubbles giving it a finer texture. The trade off is that you have to cook the mixture over a bain-marie, or double boiler, for Swiss meringue or make a sugar syrup for the Italian meringue, and both of these can feel like an irritating extra step. For bakers who prefer uncooked meringues, you can just as easily whip a French meringue, because they’ll ultimately cook in the oven. (If you’re interested, here’s more information on meringues.)
The recipes linked above all include tiny amounts of various accoutrements like salt, cream of tartar, or extracts. The cream of tartar or other acids can help stabilise meringue and improve lift, and you can opt in if you want to, but you don’t need it. I make meringue frequently and I never use those additional ingredients. The extracts are nice for subtle flavour, but again, not necessary, because you usually just add a touch. The only necessities are egg whites and sugar. Everything else is a bonus.

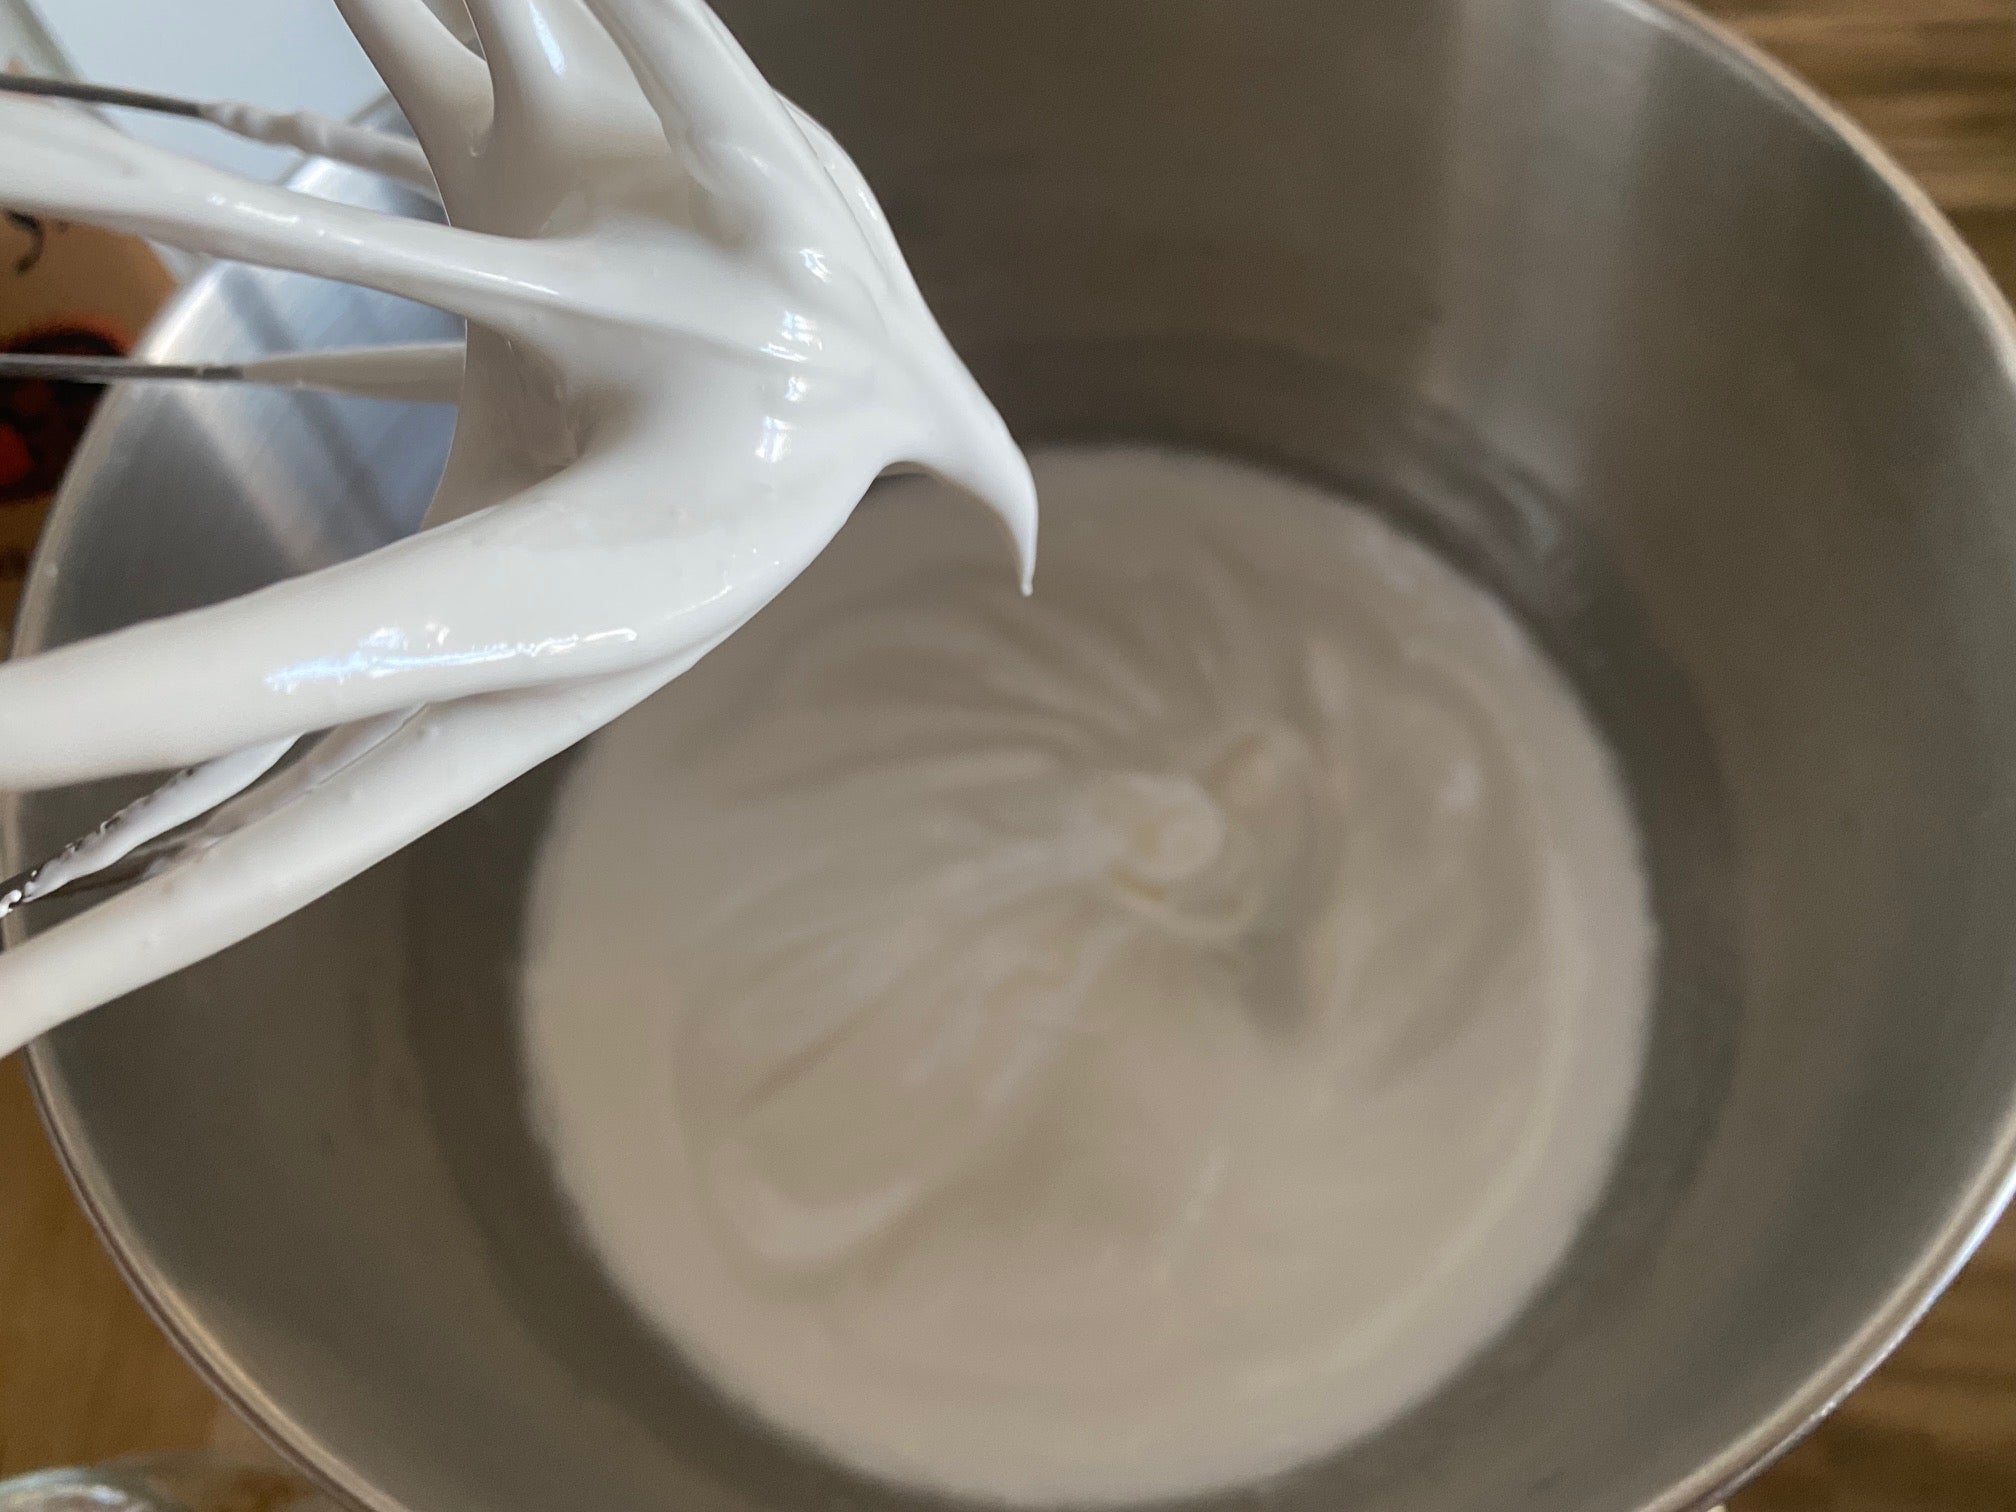
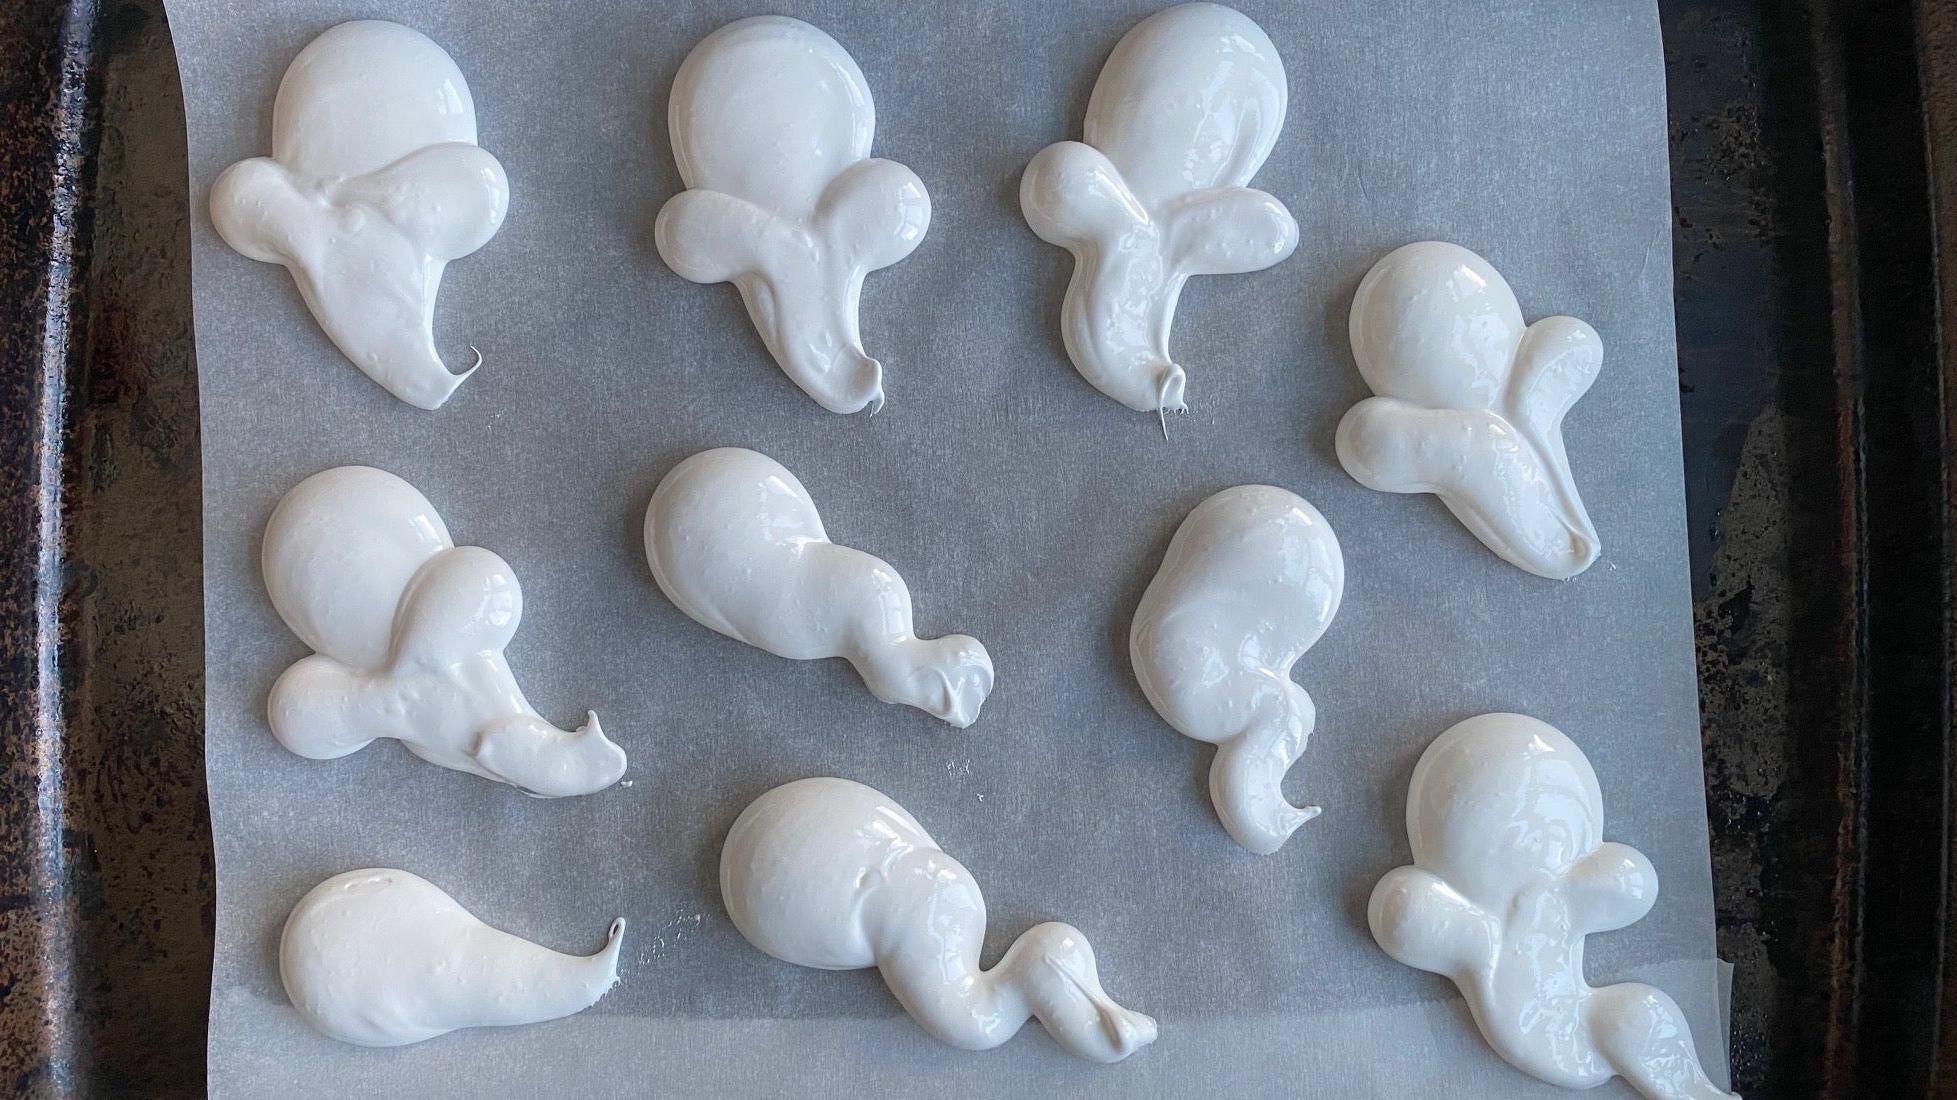
Once you’ve made your meringue of choice, check to see if it’s at a stiff, but not dry, peak by lifting the whisk out of the mixture. If it stands up straight without flopping over, you’re ready to shape the ghosts. You can use a piping bag with a plain tip, or no tip at all. If you don’t have a piping bag, use the back of a spoon. Prepare a sheet tray lined with parchment paper. Fill the piping bag with meringue and pipe out ghosts, which can look like tear drops or tadpoles. You can get fancy by making the “tails” curl off to one side (because ghosts are always on the move), or give them chubby little arm lumps. You can do the same thing with a spoon. Scoop a spoonful onto the sheet tray and use the back of the spoon to spread the meringue and manipulate it into ghost shapes.
Place the meringues in a 95°C oven for 50 minutes. Then, turn off the heat but crack the oven door and leave the cookies inside for another 30 minutes. This will help cool the cookies without leading to cracks. (If you experience cracks, it’s ok. It is Halloween after all; scary is fashionable..) The meringues will be bone-dry and should not take on any colour.
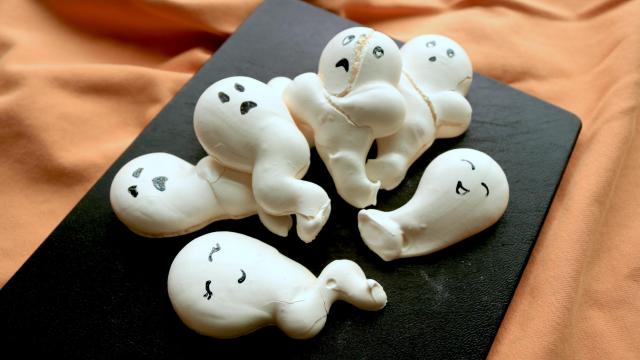
Regardless of which meringue version you prefer (check this post for an easy ratio and method for Swiss meringue), they will all pipe out equally well into spookily convincing ghosts. Once they’ve cooled, use an edible ink pen, melted chocolate, or a small paint brush and food colouring to draw sad little ghostly faces on them. Or for a slightly creepier look, use a paring knife to poke holes in the meringue and make eyeball cavities.

Leave a Reply
You must be logged in to post a comment.