
Some built-in iPhone apps do such a good job there’s no need to look for third-party alternatives. While you might not give it much attention, Voice Memos is one of those apps, and it gets even better every few years. If you’re looking for a voice recorder that backs up your content and syncs between your devices, Voice Memos is it.
But while the app is simple to use (you just open the app and press the big red Record button), there are hidden features you shouldn’t ignore, and minor annoyances you should fix.
Replace location-based naming with something that makes sense
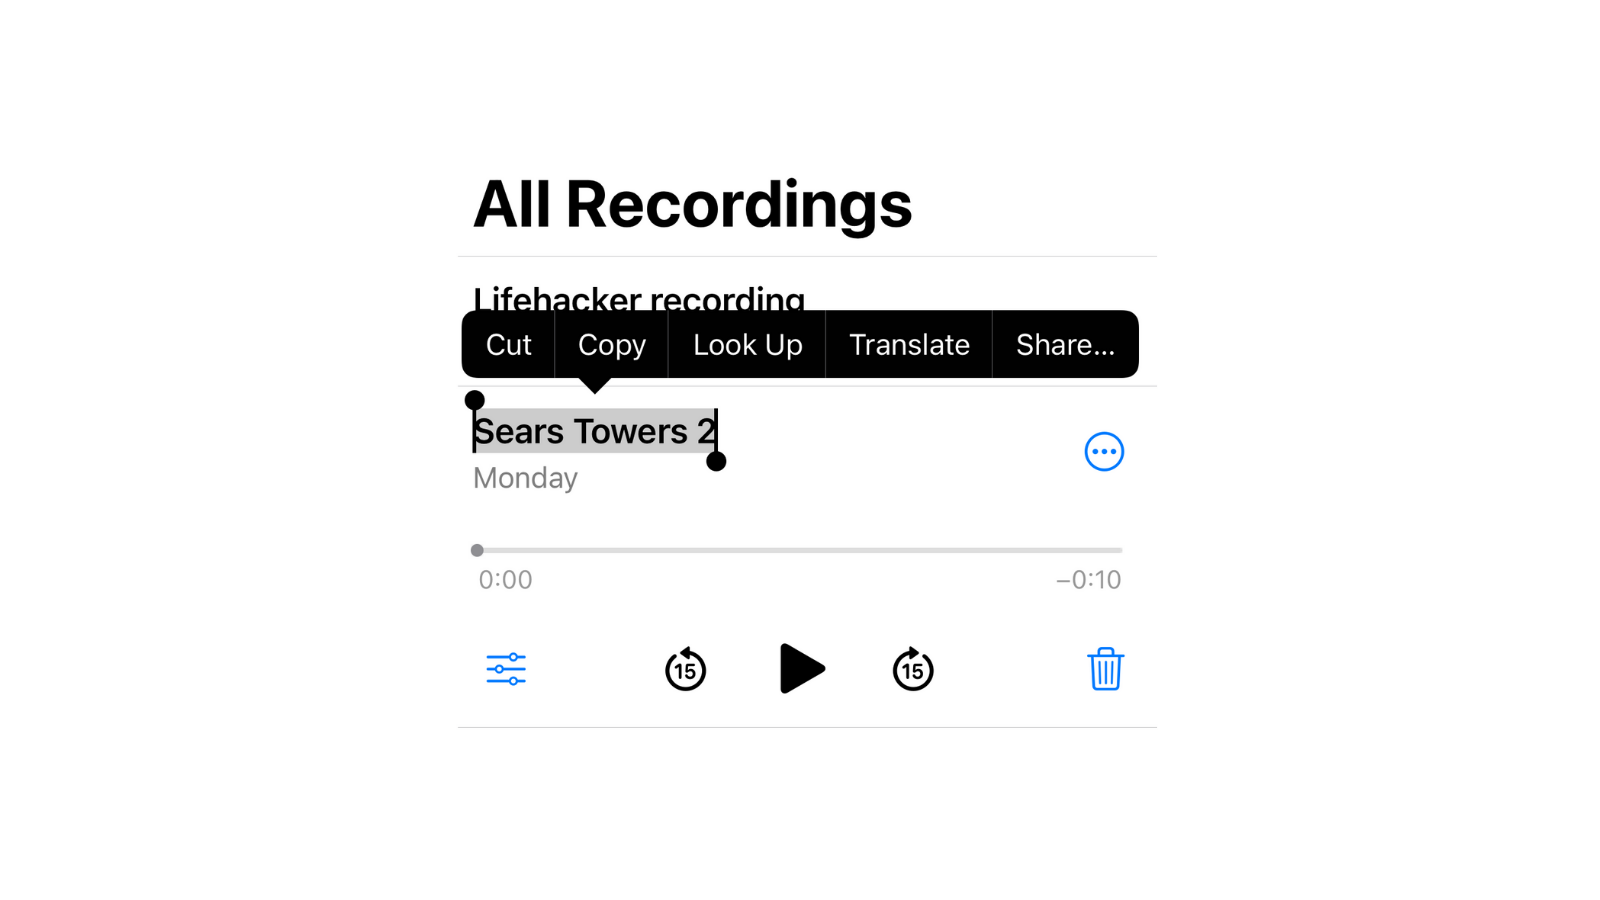
Voice Memos labels its recordings not based on the date or time, but based on your location when you recorded it. It’s weird, and often not very useful. Instead of using the default naming — which is almost guaranteed to get lost once you add more recordings — start by renaming your audio files once you’re finished recording.
Select your recording and tap the title text. Hit the Delete key, enter a new name for your recording, and press Return. Or, even better, you can disable the location-based naming altogether. Just go to Settings > Voice Memos > Location-Based Naming.
Record voice notes faster by using Control Centre
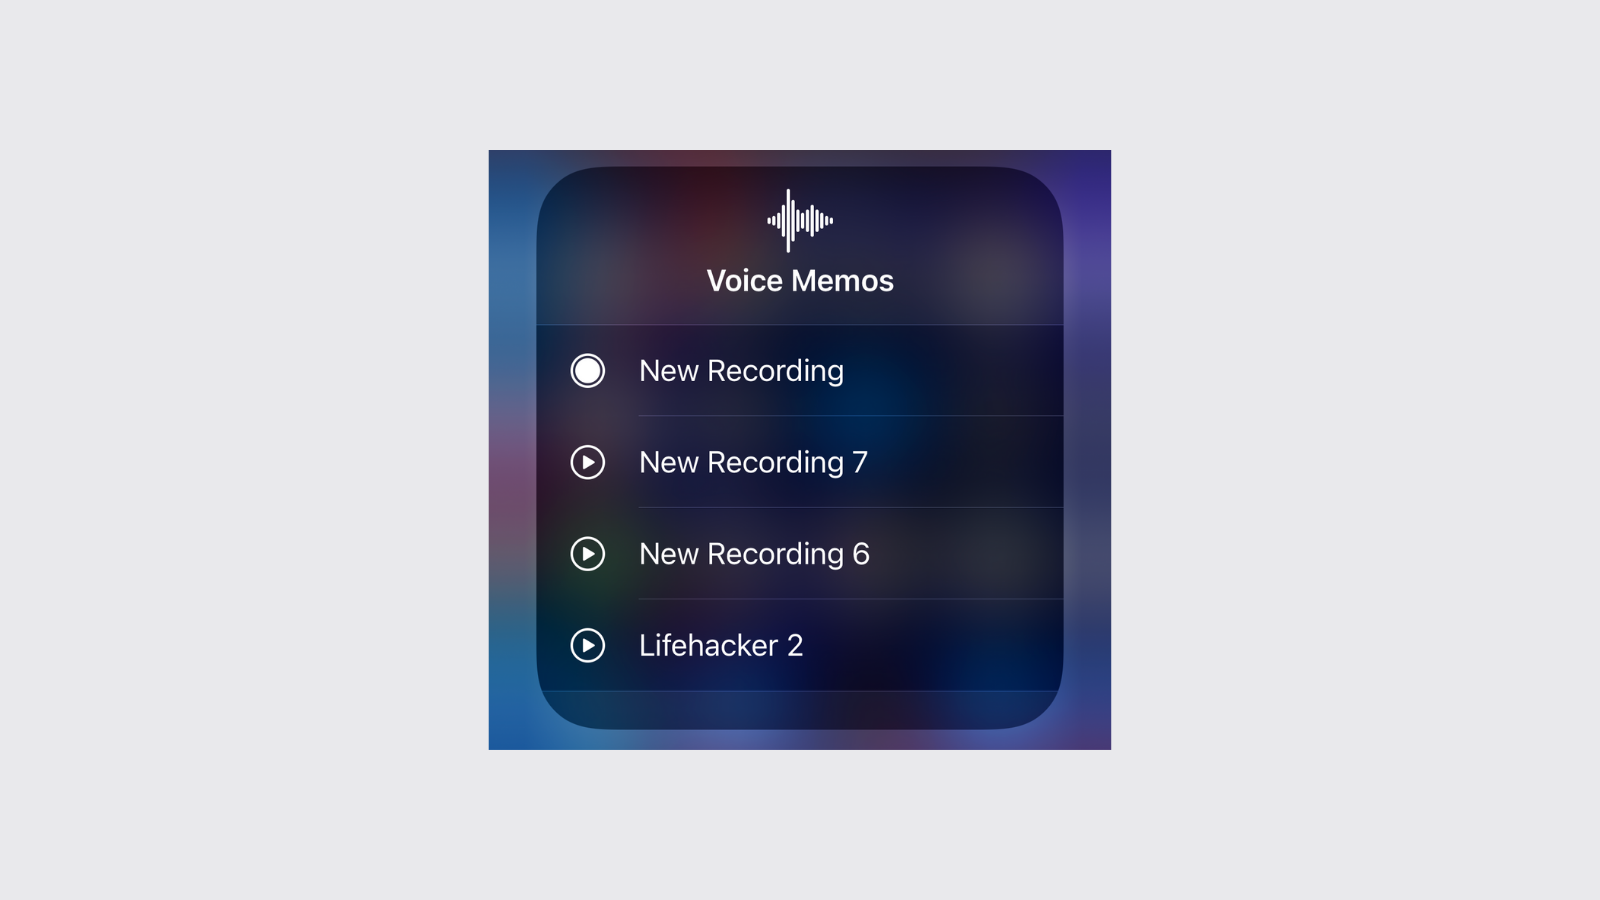
You can use the Voice Memos shortcut in Control Centre to quickly start a recording — you just have to add it first. To set up the Control Centre option, go to Settings > Control Centre and add Voice Memos to the list. Now, swipe down from the top-right corner and tap the Voice Memos control to quickly open the app. To start a new recording, tap and hold the Voice Memos control and choose New Recording.
Edit your voice note or delete parts of the recording
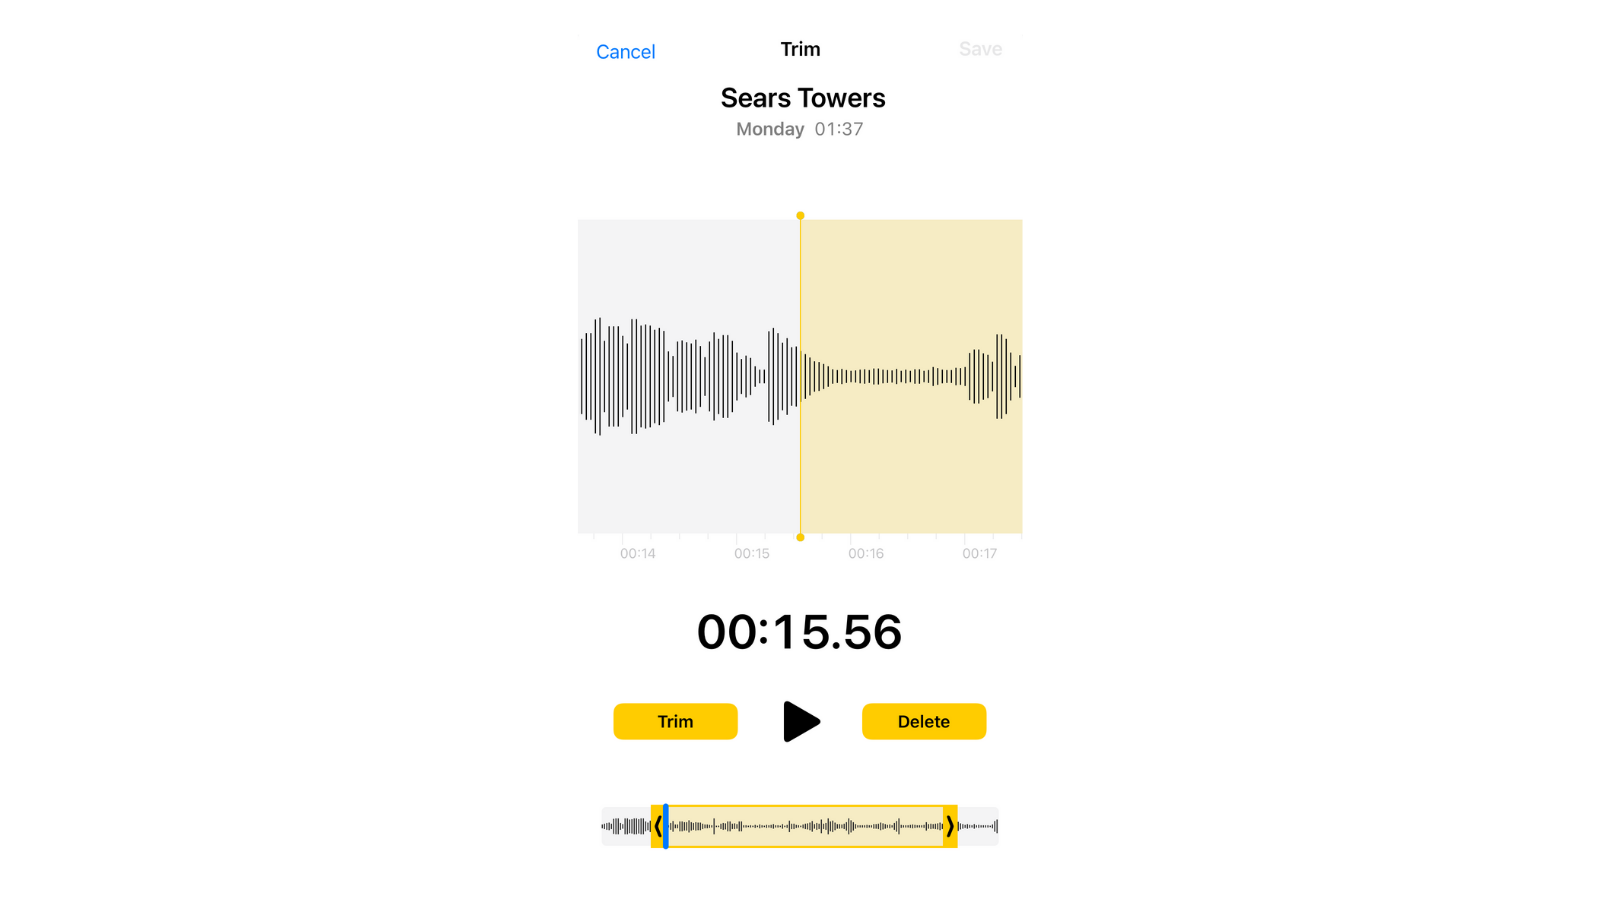
Voice Memos doesn’t have a fully-featured audio editing suite (for that, you’ll need to use GarageBand), but you can quickly trim the audio or delete parts of the recording.
Select the voice note, tap the three-dotted Menu button, and choose Edit Recording. Then tap the Edit icon in the top-right corner and use the yellow handlebars to select the audio. If you want to remove what you have highlighted, tap Delete; if you want to only keep the selected part as the audio, choose Trim. Once you’re done, tap Save, and Replace if you want to save over your original file.
Enable automatic enhancement for your Voice Memos recordings
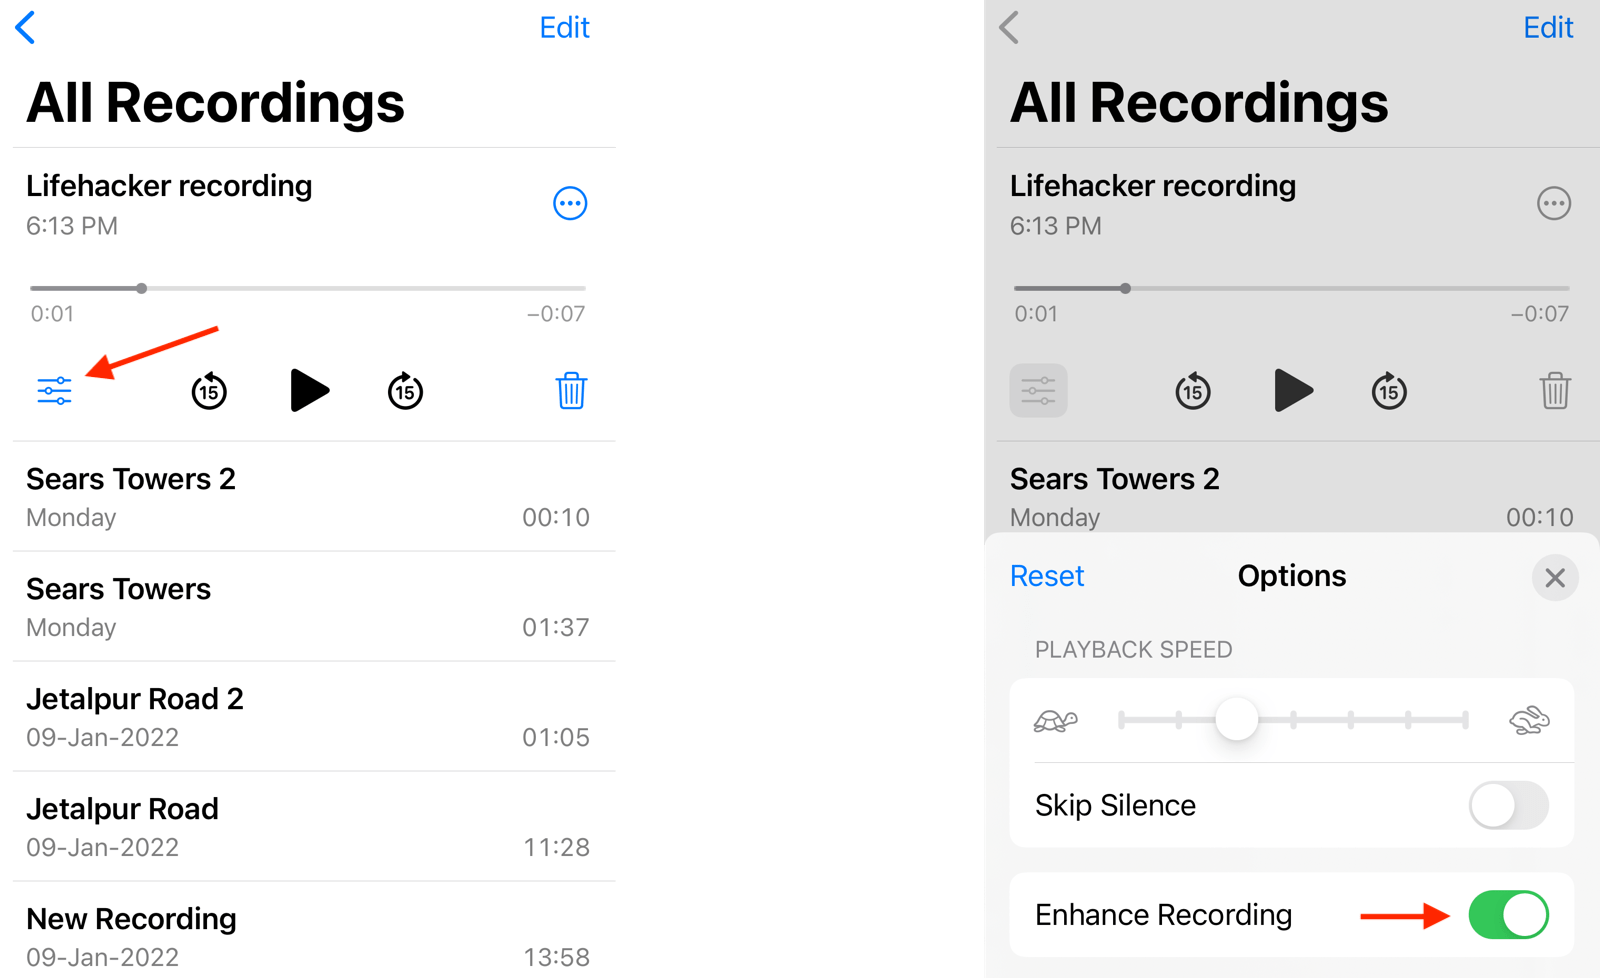
Sometimes your recording will have wind or other noise in the background, or the speaker’s audio just sucks. Starting in iOS 14, Apple introduced a new feature called Enhance Recording that uses machine learning to automatically enhance the audio quality. It will reduce background noise and it will punch up the speaker’s voice. Just select a recording from the list and tap Options. Then, enable the “Enhance Recording” option.
Enable “Skip Silence” to automatically cut long pauses
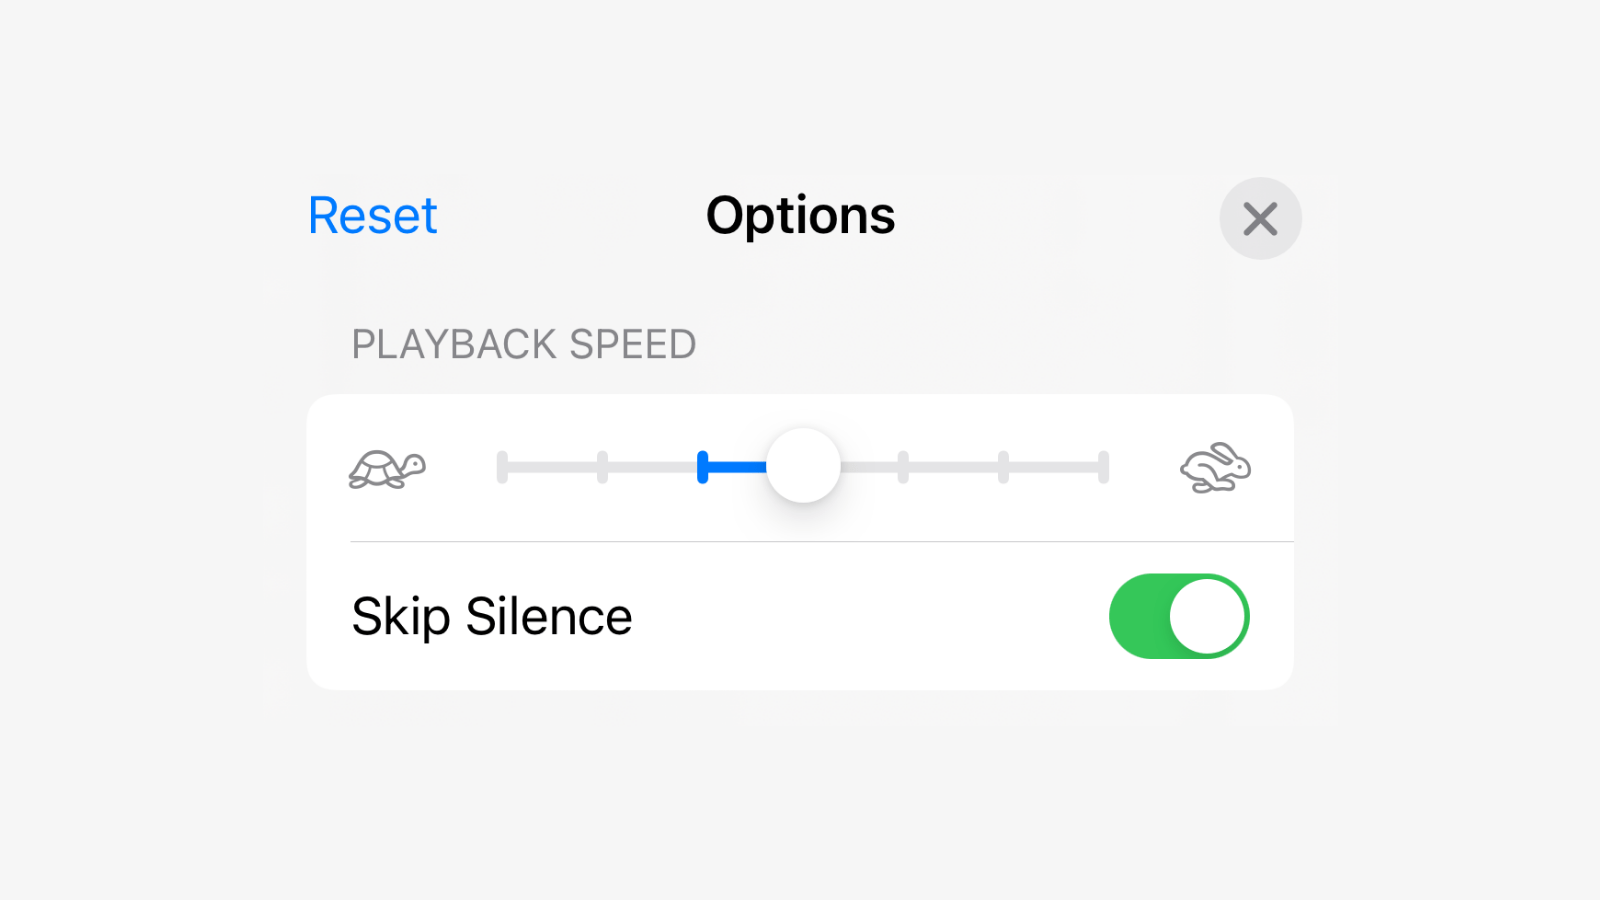
Introduced in iOS 15, the Skip Silence feature automatically snips out long pauses and awkward silences from a voice recording, meaning you’ll end up with much cleaner-sounding audio. Again, choose the recording, tap Options, and enable the “Skip Silence” feature. While you’re here, you can also increase the speed of the audio, if you think the speaker is a bit too slow.
Record in higher quality using Lossless Audio
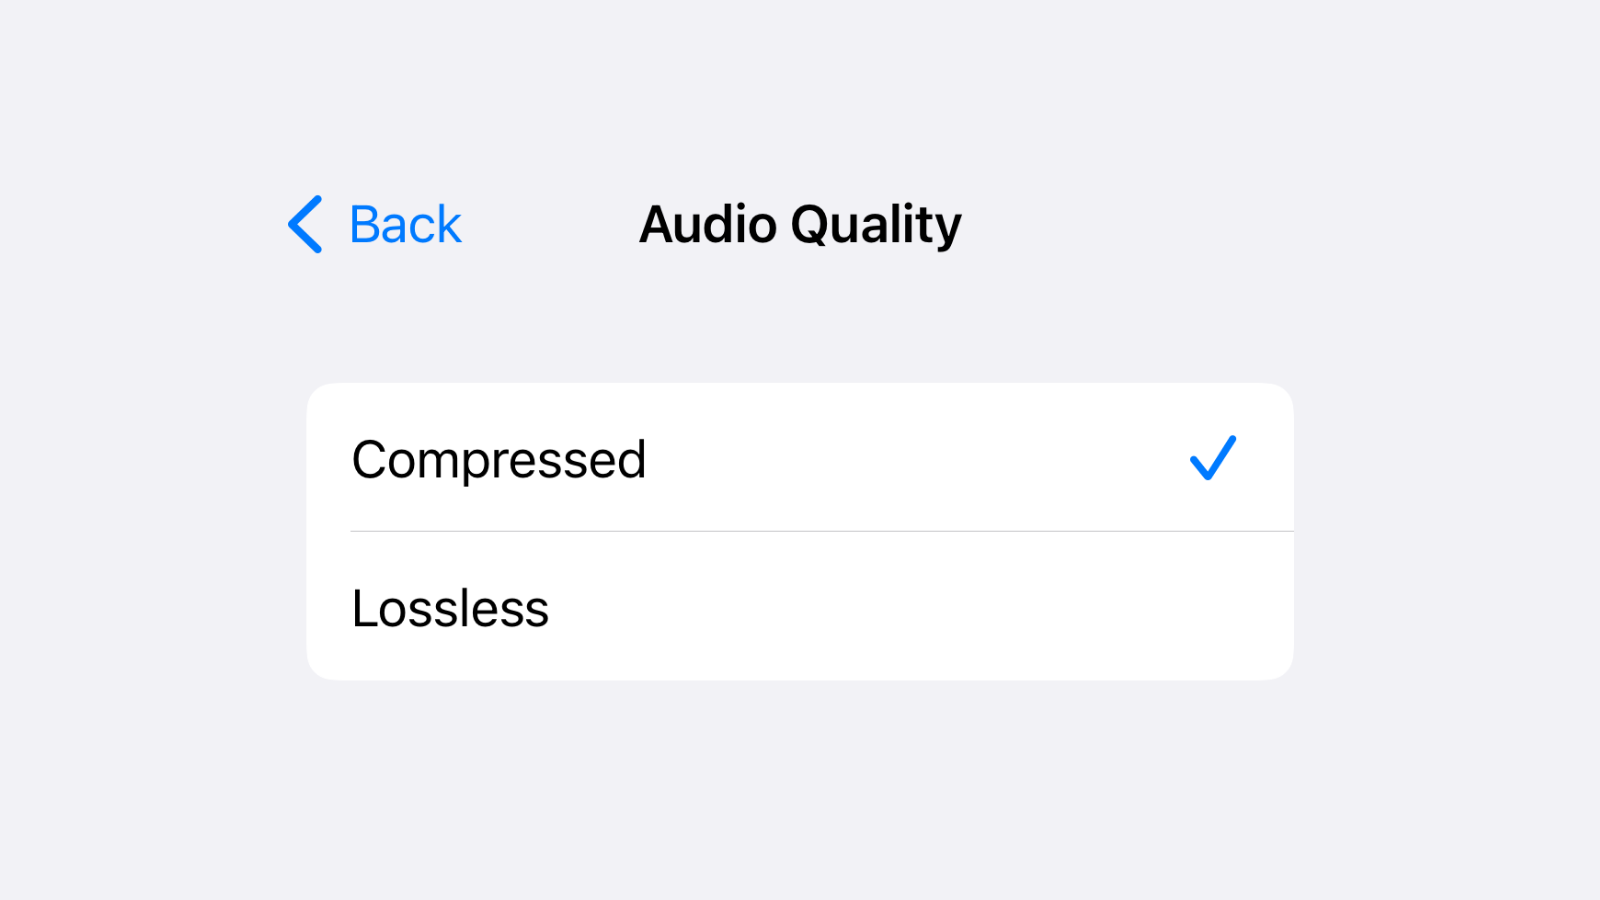
If you want the best audio quality possible, you can use the Lossless Audio format instead of the default compression. Go to Settings > Voice Memos > Audio Quality. Here, switch to the “Lossless” option.
Choose when deleted voice notes are actually deleted
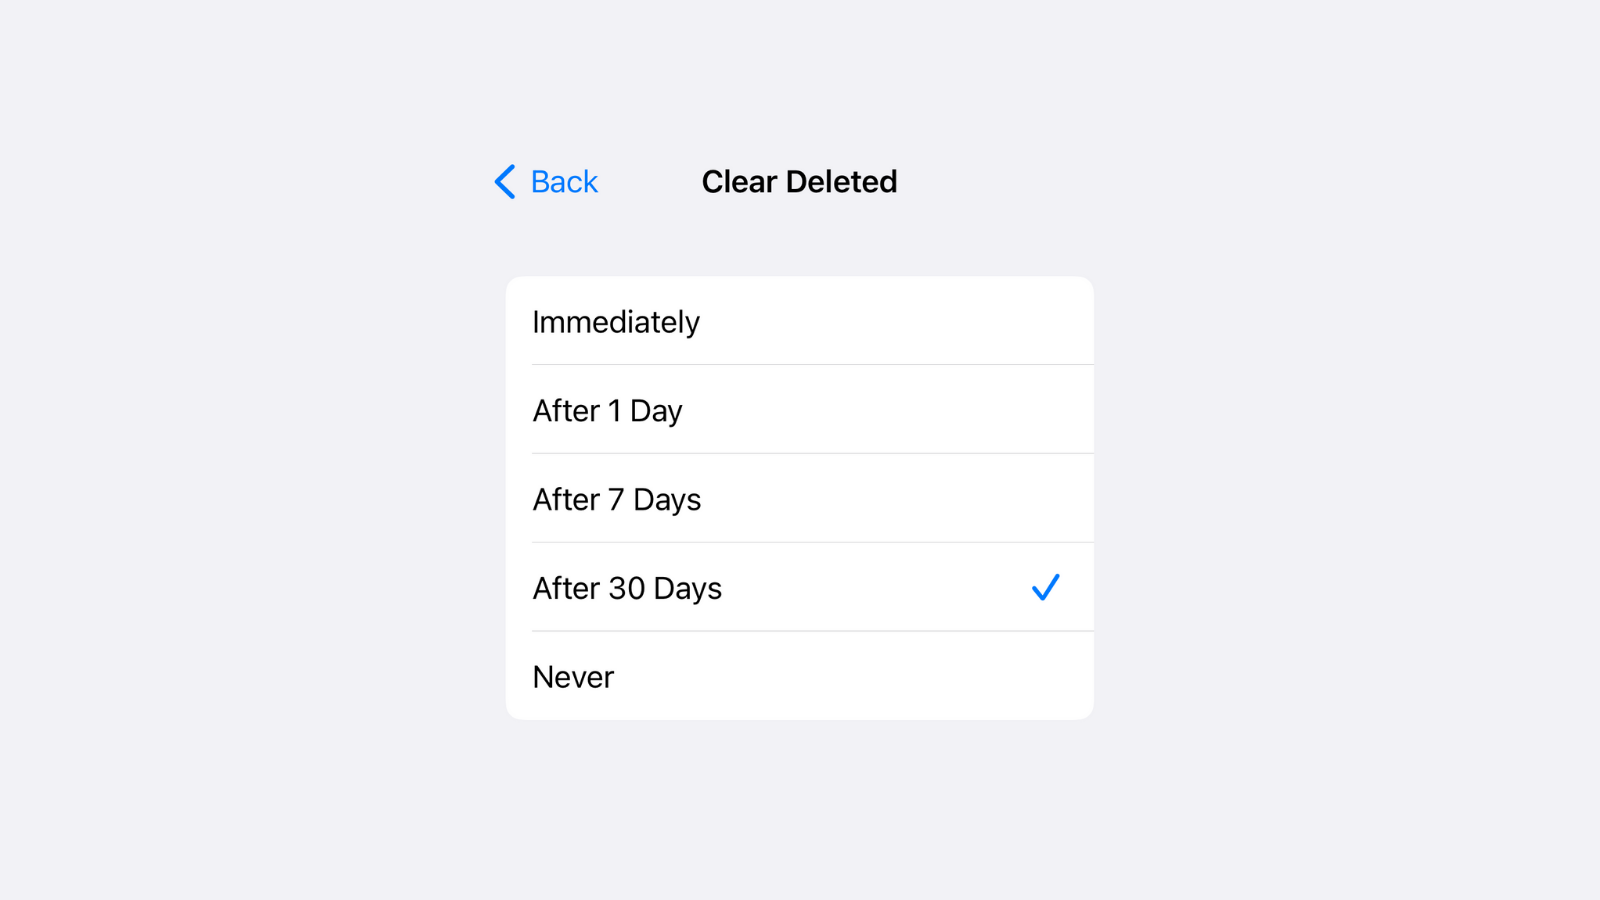
Like many other Apple apps (Photos, Notes), deleting a voice note in Voice Memos doesn’t instantly delete it. Instead, it’s only archived in a different folder that can be retrieved later. By default, this duration is set to 30 days, but you can change it based on your needs. You can choose to delete the files immediately, or never, if you want. Go to Settings > Voice Memos > Clear Deleted and make your pick.
Recover deleted voice notes
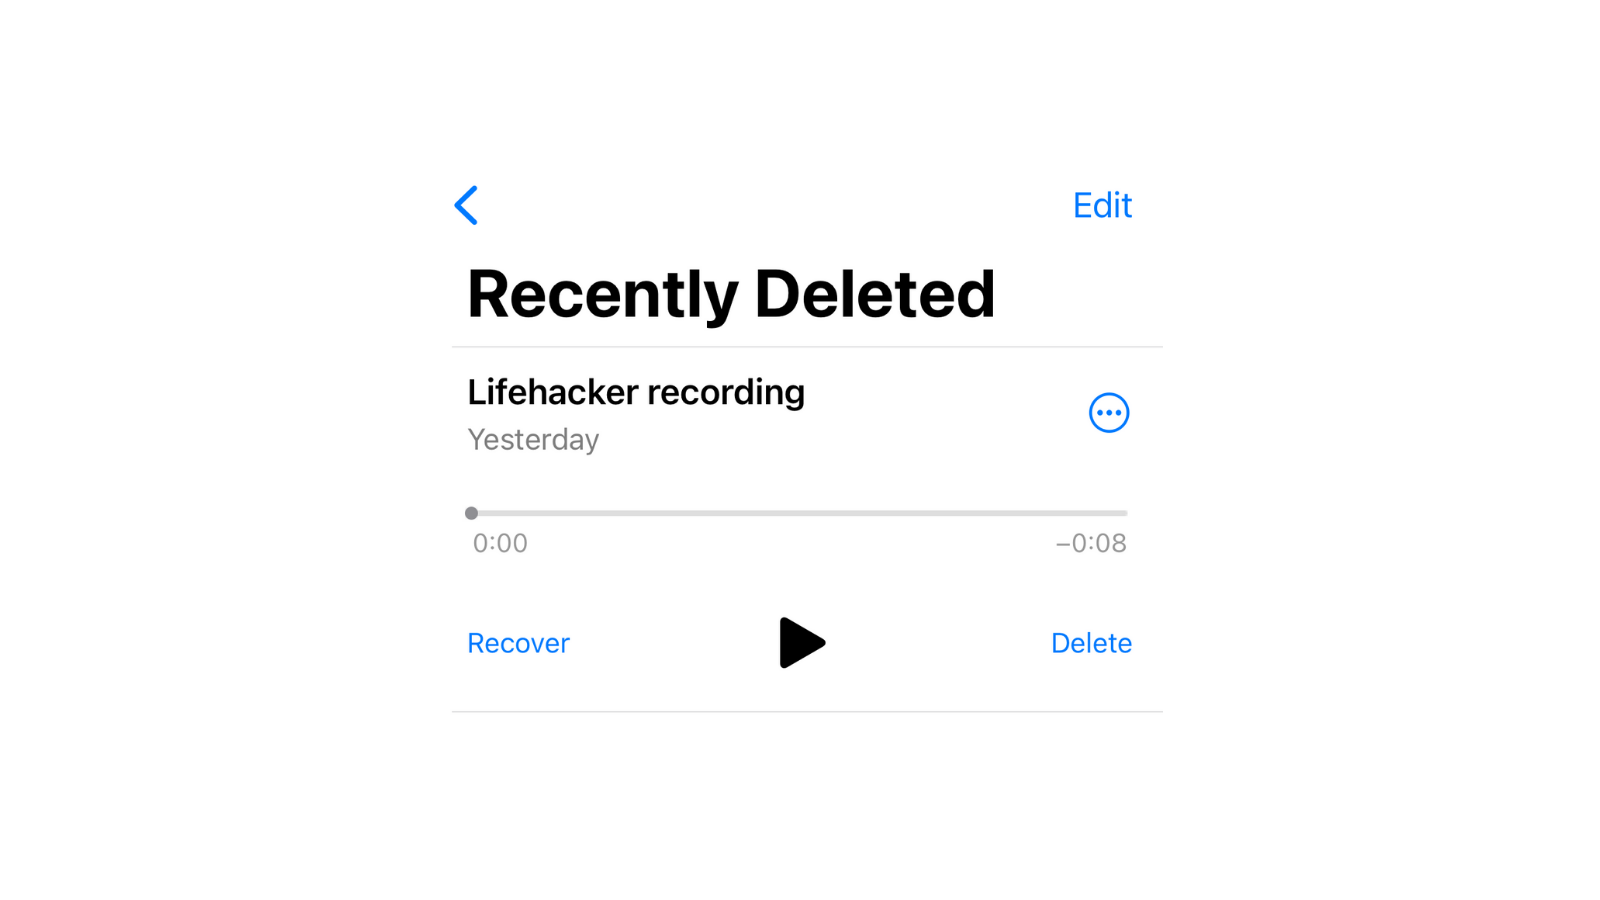
Like we mentioned above, deleted voice notes still hang around for 30 days. If you’re still in that window, it’s easy to recover a voice note: Open the Voice Memos app and hit the Back button in the top-left, then go to the Recently Deleted folder, tap on a recording, and choose Recover. Confirm using the Recover Recording button to place the recording back in the All Recordings folder.
If you want to permanently delete a recording, choose the “Delete” option and tap Delete Forever.
Organise recordings in multiple folders
If you’re going to use Voice Memos to record lectures, you might find its organisation to be a mess. Thankfully, there’s a way to organise all your voice notes into folders.
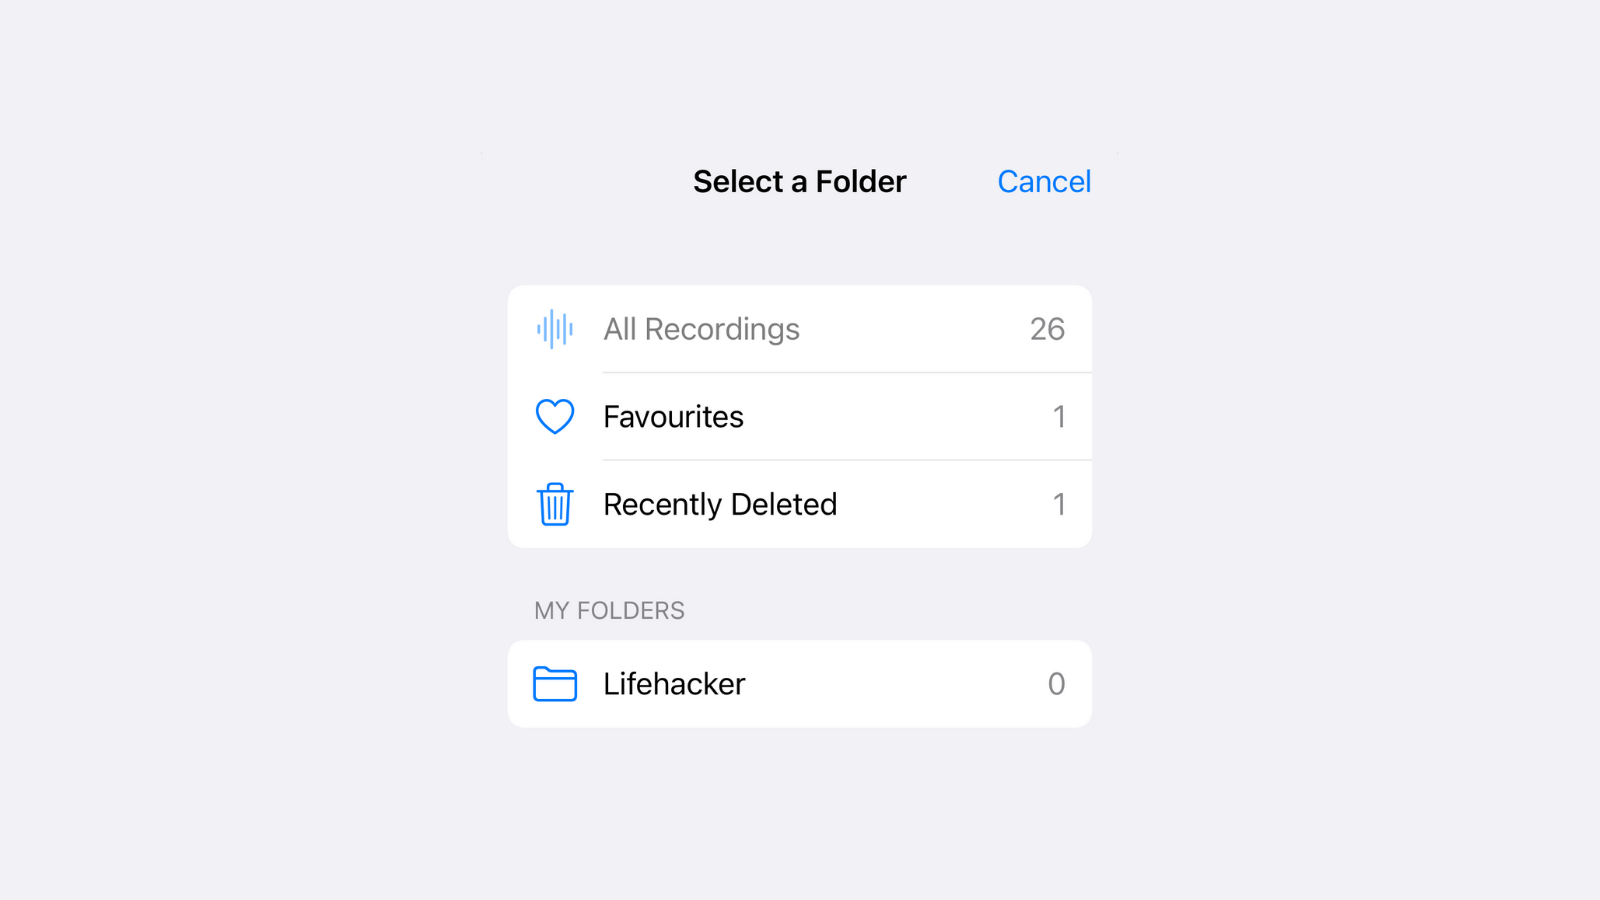
Open the Voice Memos app and tap the Back button from the top-left. Here, tap the New Folder button in the bottom-right and give the folder a name before hitting Save.
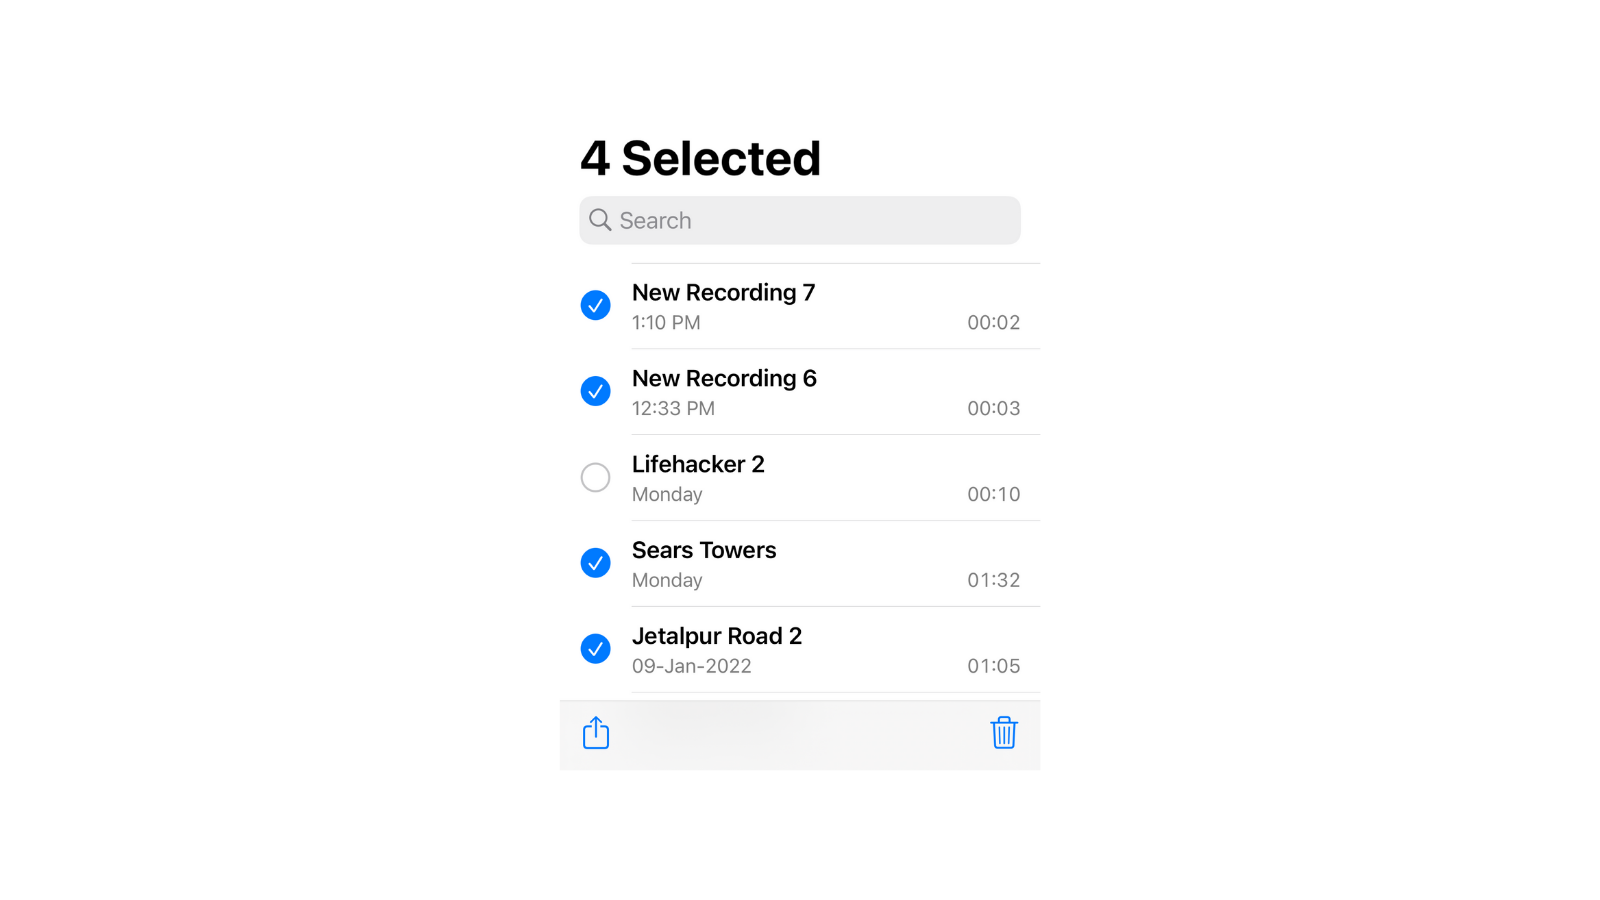
Now, go to the “All Recordings” folder and tap Edit. Select all the recordings that you want to move, go to Share > Move to Folder, and choose the folder you created above. Alternatively, you can move one recording at a time using the omnipresent drag-and-drop method.
Export your voice notes
Voice Memos are backed up and synced across all your devices using iCloud, but what if you want to share the voice note with a friend or back it up using a different cloud storage service?
You can easily export your notes in M4A format. You can convert the file to MP3 using a free online service like Cloudconvert.
To export a single recording, tap on it, and then choose the three-dotted menu. Here, tap Share and choose any app or conversation where you want to share the file. To share multiple files, tap Edit and choose the voice notes that you want to share. Then tap Share button to see all your sharing options.
Leave a Reply
You must be logged in to post a comment.