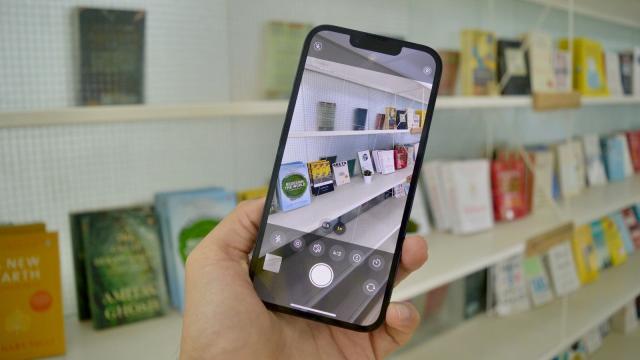
The iPhone used to have one of the simplest camera layouts of any smartphone. Over the past couple of years, however, as the iPhone’s camera grew bigger and better, Apple added more and more features, buttons, and settings until it became a bit…bogged down. The iPhone’s camera app is due for a major redesign, but until then, you’ll need to navigate this increasingly complex system.
While you might be familiar enough with the basics, like switching to portrait mode or shooting a panorama, we’ll walk through some of the other options you might not be taking advantage of.
How to switch between ultra-wide and telephoto on iPhone
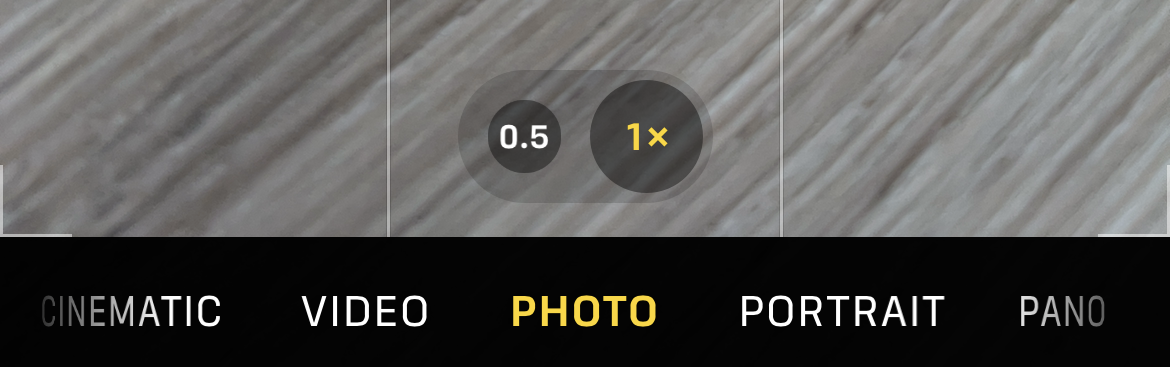
Apple touts three different cameras on the iPhone Pro models: the regular wide camera, ultra-wide, and the telephoto (zoom) lens. But in the iPhone’s camera interface, they are worded differently. In fact, you switch between these cameras (and you can do so in most camera modes) using the zoom feature.
“1X” is the regular camera, “0.5X” is for the ultra-wide, and if you have a telephoto lens, it’s the “2X,” “2.5X,” or “3X” button. You’ll find these buttons right over the camera modes. You can also swipe left or right in this space to zoom in or out anywhere between the 0.5x to 3x range, or pinch on the viewfinder.
Just note that if you zoom out any farther than these ranges, your iPhone will start digitally zooming. If your iPhone only zooms to 2.5X, for example, it won’t be able to physically zoom out any further; all the “zooming” that’s happening beyond that range is digital, which results in a lower-quality image.
How to find and use options in the iPhone camera app

Apple’s solution to where to put its ever-increasing camera options is to sweep them away under the rug. In this case, the “rug” is the camera menu (you’ll only find the Flash, Night Mode, ProRAW, and Live Photos at the top). When you open the Camera app in the Photo or Portrait mode, you’ll see a little Up arrow at the top. Tap on it, and a new menu will appear in place of the camera modes.
This is where you’ll find most of the options for the camera mode you’re in. Here’s a rundown of the options in the Photo mode:
- Flash: Here, you can set the flash to “On”, “Off”, or “Auto” mode.
- Night mode: Here, you can disable the Night mode, or you can change the timing (more on the Night mode later).
- Live Photos: You can choose between the “Auto”, “On”, or “Off” modes.
- Photographic Styles: This is a new camera feature for iPhone 13 and above (more about it here). The iPhone camera will now let you customise the tone and warmth settings for photos, and you can set them as defaults going forward.
- Aspect ratio: By default, the iPhone shoots images at a 4:3 ratio, like it always has. But if you’re looking for a more cinematic feel, or if you want to post photos on Instagram Stories, you’ll be better off with a 16:9 aspect ratio. You can choose between “Square”, “4:3“, and “16:9” aspect ratios from here.
- Exposure: Here, you can set and lock the exposure. You probably don’t need to worry about this setting, as the iPhone does a good job of setting the exposure. But if you want, you can choose any exposure between -2.0 and 2.0 (0.0 being the default).
- Timer: From here, you can quickly set a timer for 3 seconds or 10 seconds.
- Filters: The iPhone’s old filters are still here. They’re just hidden in the last button in the options menu. Here you’ll find the trusty Vibrant, Warm, and Cool filters, among others.
How to change resolution in video
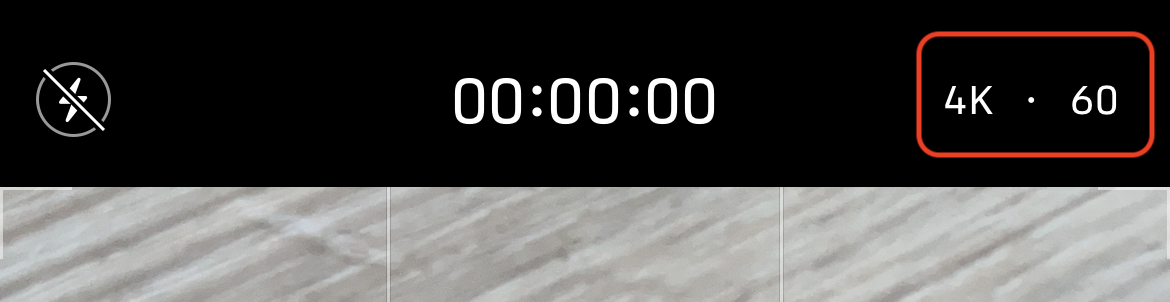
Previously, you had to open the Settings app to switch the video resolution on the iPhone camera. Now you can do it from the Camera app itself.
Switch to the “Video” mode, and you’ll find two different buttons in the top-right corner. By default, the video is captured at HD and 30fps. But you can tap these buttons to switch to 4K and 60 fps, as well. You can learn more about shooting in full resolution on iPhone from our guide here.
How to disable night mode
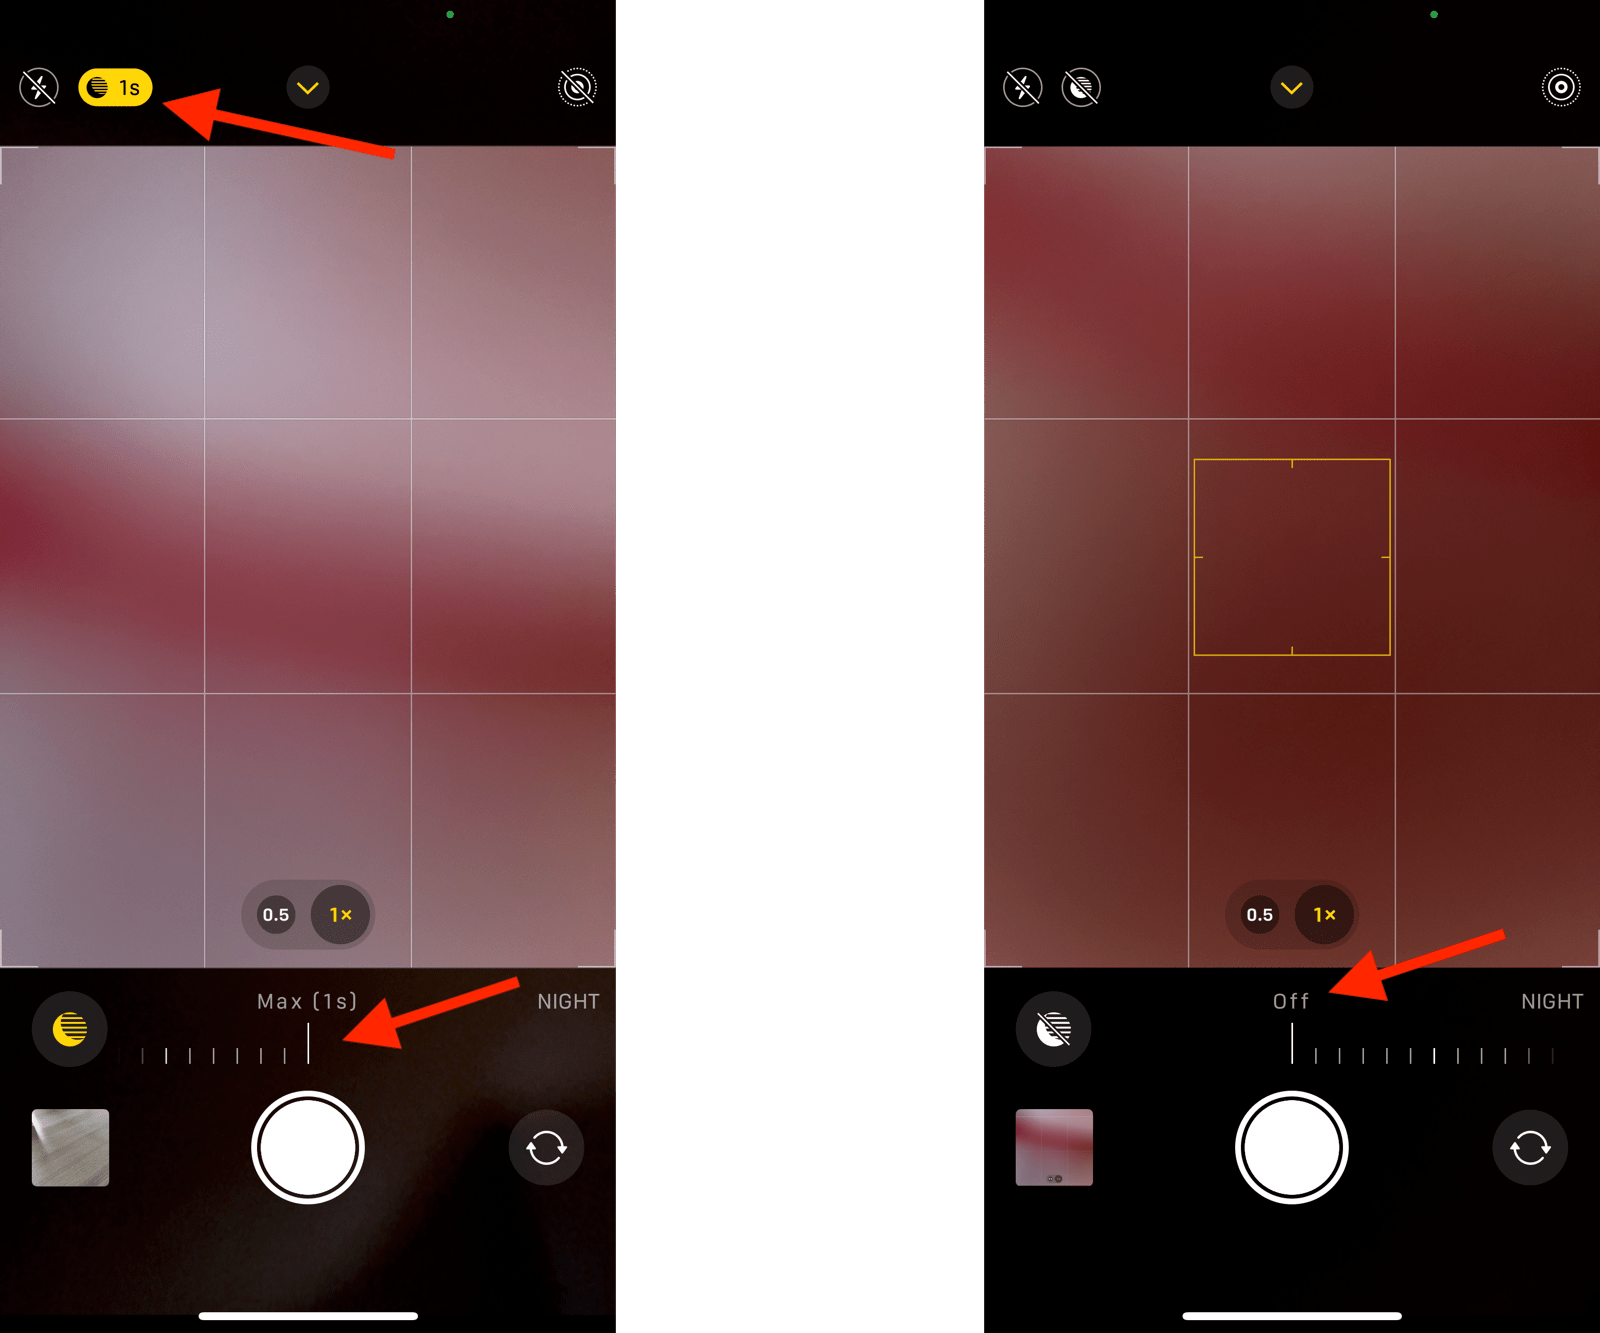
The Night mode on the iPhone camera app can do a stellar job in the right conditions. It can also be an annoyance when it turns on just because there’s some shadow. There’s no clear “off” switch for the Night mode, since the feature seems to kick into gear automatically, but there is a way to disable it.
Open the “Settings” app on your iPhone, and go to “Camera.” Go to “Preserve Settings,” and tap the toggle next to “Night Mode.” Now, the camera won’t automatically change the Night mode settings; go back to the iPhone Camera app, tap the Night mode button from the options menu, and choose “Off.” Now the Night mode is disabled for good.
How to quickly record video on iPhone
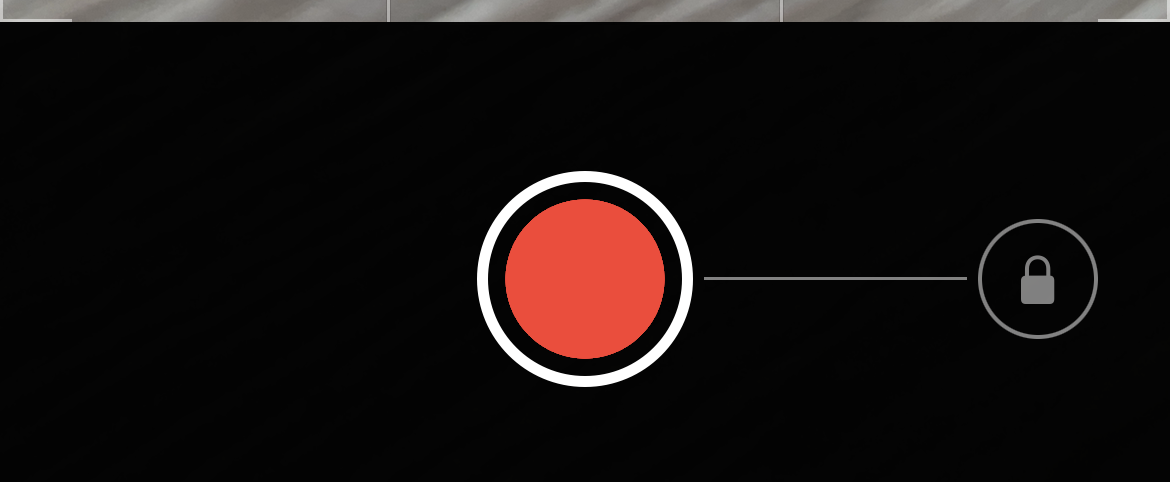
Want to quickly capture video when you’re in the Photo mode? Just press and hold the shutter button. And as long as you keep holding it, the iPhone will continue to record the video. You can even swipe right to switch completely to the video mode.
This even works with the Volume buttons. As you might already know, pressing the Volume button in the Camera app will click a photo. If you press and hold the Volume button, you can record a video for as long as you’re holding the button. We cover all the ways to shoot video quickly on your iPhone in our guide here.
How to take burst photos on iPhone

If pressing and holding the shutter button shoots a video, how do you take burst mode photos now? Tap and hold the shutter button, and swipe left. There’s also an option in the Settings app to take burst mode photos using the Volume Up button. To enable this, go to Settings > Camera > Use Volume Up for Burst.
Leave a Reply
You must be logged in to post a comment.