
There’s nothing inherently wrong with Dropbox, Google Drive, or whatever popular service you use to back files up to the cloud and keep them synchronised between your multiple desktops and laptops. However, data privacy is becoming a bigger deal and we wouldn’t question you if you’re ready to make the leap away from these kinds of services.
Photo: Christin Hume (Unsplash)
The open-source utility Syncthing is a great way to get all the benefits of local file synchronisation without having to give up your data to another company (no matter how much they promise they will never look at it). The trade-off is that Syncthing is a bit trickier to manage than a service like Dropbox, which makes it painfully easy to upload, download and sync your files across all your devices.
Switching to Syncthing requires some setup
To get started, head on over to Syncthing’s site and look for a link to SyncTrayzor — a windows utility that allows you to use the program through a pretty GUI instead of the headache-inducing command line. Download the appropriate version for your Windows PC (32- or 64-bit), or the portable version if you feel like being different and install (or run) the app.
Repeat that process on every computer you want to incorporate into your big file-synchronisation plan.
When you launch SyncTrayzor, you’ll first want to link together all the different systems that will be sending and receiving files. For simplicity’s sake, we’ll pretend we’re linking together two Windows desktop PCs: System A and System B.
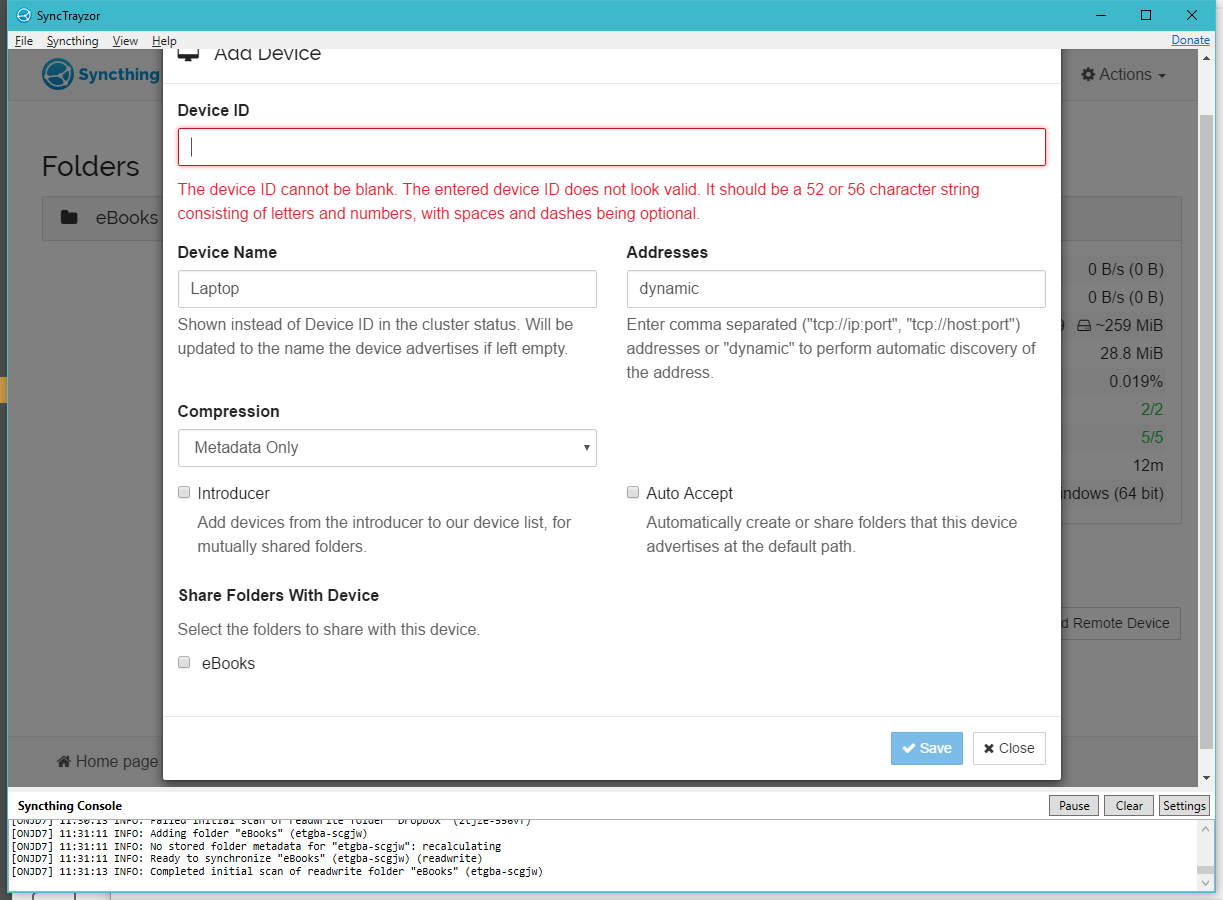
On System A, click on the “Add Remote Device” button. On System B, click on the Actions button in the upper-right corner and select “Show ID.” Copy the absurdly long device identification code from System B into the Device ID field on System A. Enter a Device Name for System B (like “Laptop.”) Click on save.
Now, repeat this process in reverse — add System A onto System B’s version of SyncTrayzor, using System A’s device ID. Think of this process as creating a friendship between your two devices. If both don’t want to be pals, they won’t trade secrets. If each recognises the other, though, they will just chat and chat forever.
Got it? Now, SyncTrayzor on one of your computers (say, System A), and click on the “Add Folder” button in the upper-left portion of the app. Pick the folder you want to synchronise across your multiple systems, give it a Folder Label (a name) you’ll recognise and select which devices you want to share the folder to. Repeat this process for every folder you want to synchronise (or just create a new folder somewhere called “Sync” and dump all your stuff in there, Dropbox-style).
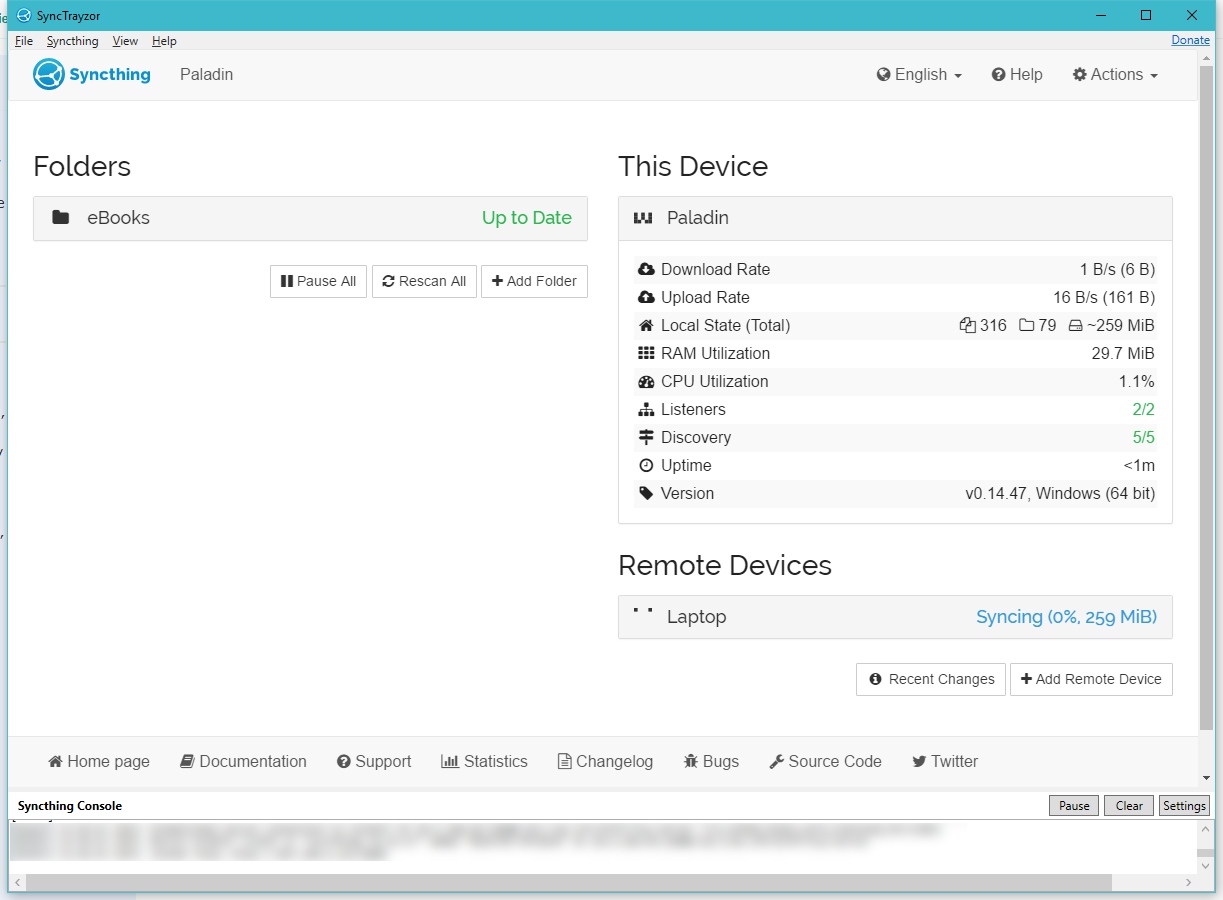
SyncTrayzor should now, in theory, start automatically dumping your synchronised folder across all the systems you selected. If it’s screwing up at all, or doesn’t appear to be working, make sure that you don’t have some kind of internal network issue that’s messing things up.
You can also restart SyncTrayzor from the Actions menu, which might clear up your issue on any (or all) systems.
Comments