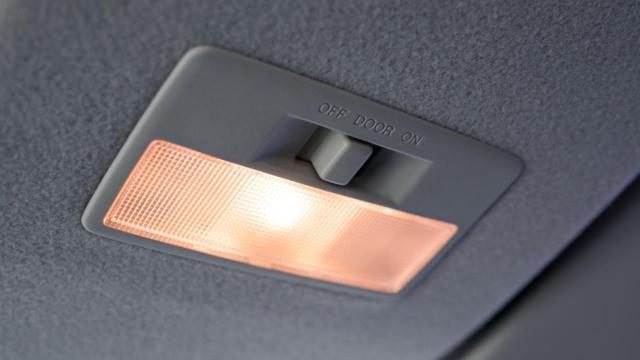
The convenience and ease of apps like Google Maps, Apple Maps, and Waze—along with GPS devices and built-in navigation systems—have made the once-ubiquitous folding paper maps largely a relic of the past. Most people no longer need their car’s map light to read their road atlas after dark, but it does come in handy in a number of other nighttime situations—as does the dome light. But like other light bulbs, the ones inside map and dome lights don’t last forever.
How to replace an interior light bulb in your car
Growing up, chores in my household included the usual tasks—like cleaning, taking out the garbage, and helping to prepare meals—as well as yard work and some basic car maintenance. Before I turned 15 and started preparing to get my license, my duties were simple: Largely limited to washing and detailing, checking and refilling windshield washer fluid, and replacing interior light bulbs.
It’s been a while since I last replaced a bulb in a map or dome light, so I asked John Lim, a mechanic and the owner of JB Motor Works to walk me through the steps. Before we get started, it’s important to note that these are general instructions and won’t necessarily apply to every vehicle. Also, some vehicles now come equipped with LED bulbs, which are unlikely to burn out while you own the car. As always, when in doubt, check the owner’s manual to find out what you’re working with and what kind of replacement bulb you should buy.
Turn the vehicle off
“Always start by ensuring your car is turned off and the keys are removed from the ignition,” Lim tells me. “This is crucial to prevent any electrical shorts or potential shock.”
Remove the lens cover
According to Lim, the lens covers of map and dome lights usually snap off—even though it may not seem like it at first, because they’re held in place firmly to prevent rattling while driving. “Use a flat-head screwdriver or a trim removal tool, but wrap it in a thin cloth first,” he explains. “This prevents any damage to the surrounding trim or the lens itself.”
Gently insert the tool at the edge of the lens cover and pry it off with a small amount of force.
Remove the old bulb
There’s a good chance the old bulb is held in place by a clip or screwed into a socket. “For a clip, you can gently pull the bulb out,” says Lim. “If it’s in a socket, a counter-clockwise twist should free it.” Either way, he recommends using a cloth or gloves to remove the bulb to prevent potential injury in case the bulb shatters.
Install the new bulb
Double check your replacement bulb to make sure it’s the right type for your vehicle. Then, using a cloth or gloves, insert the bulb into the empty clip; if it’s a socket, twist it clockwise to secure it. In addition to protecting your hands in case the bulb breaks while you’re installing it, Lim recommends using a cloth or gloves to you can avoid touching the bulb with your bare fingers, as “the oils can shorten its lifespan.”
Test the bulb
Before you replace the lens cover, Lim says that it’s important to test the new bulb. “Turn your vehicle on and activate the light,” he says. “If it doesn’t turn on, double check the bulb’s position and ensure it’s properly seated in its socket or clip.”
Replace the lens cover
Once you’ve confirmed that the new bulb works, you can replace the lens cover. “Align it with the housing, and gently press until it clicks into place,” says Lim.

Leave a Reply
You must be logged in to post a comment.