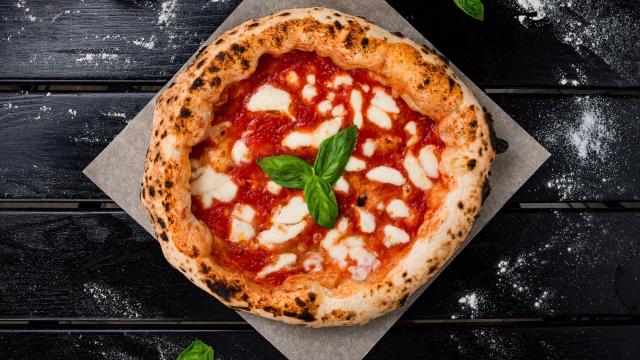
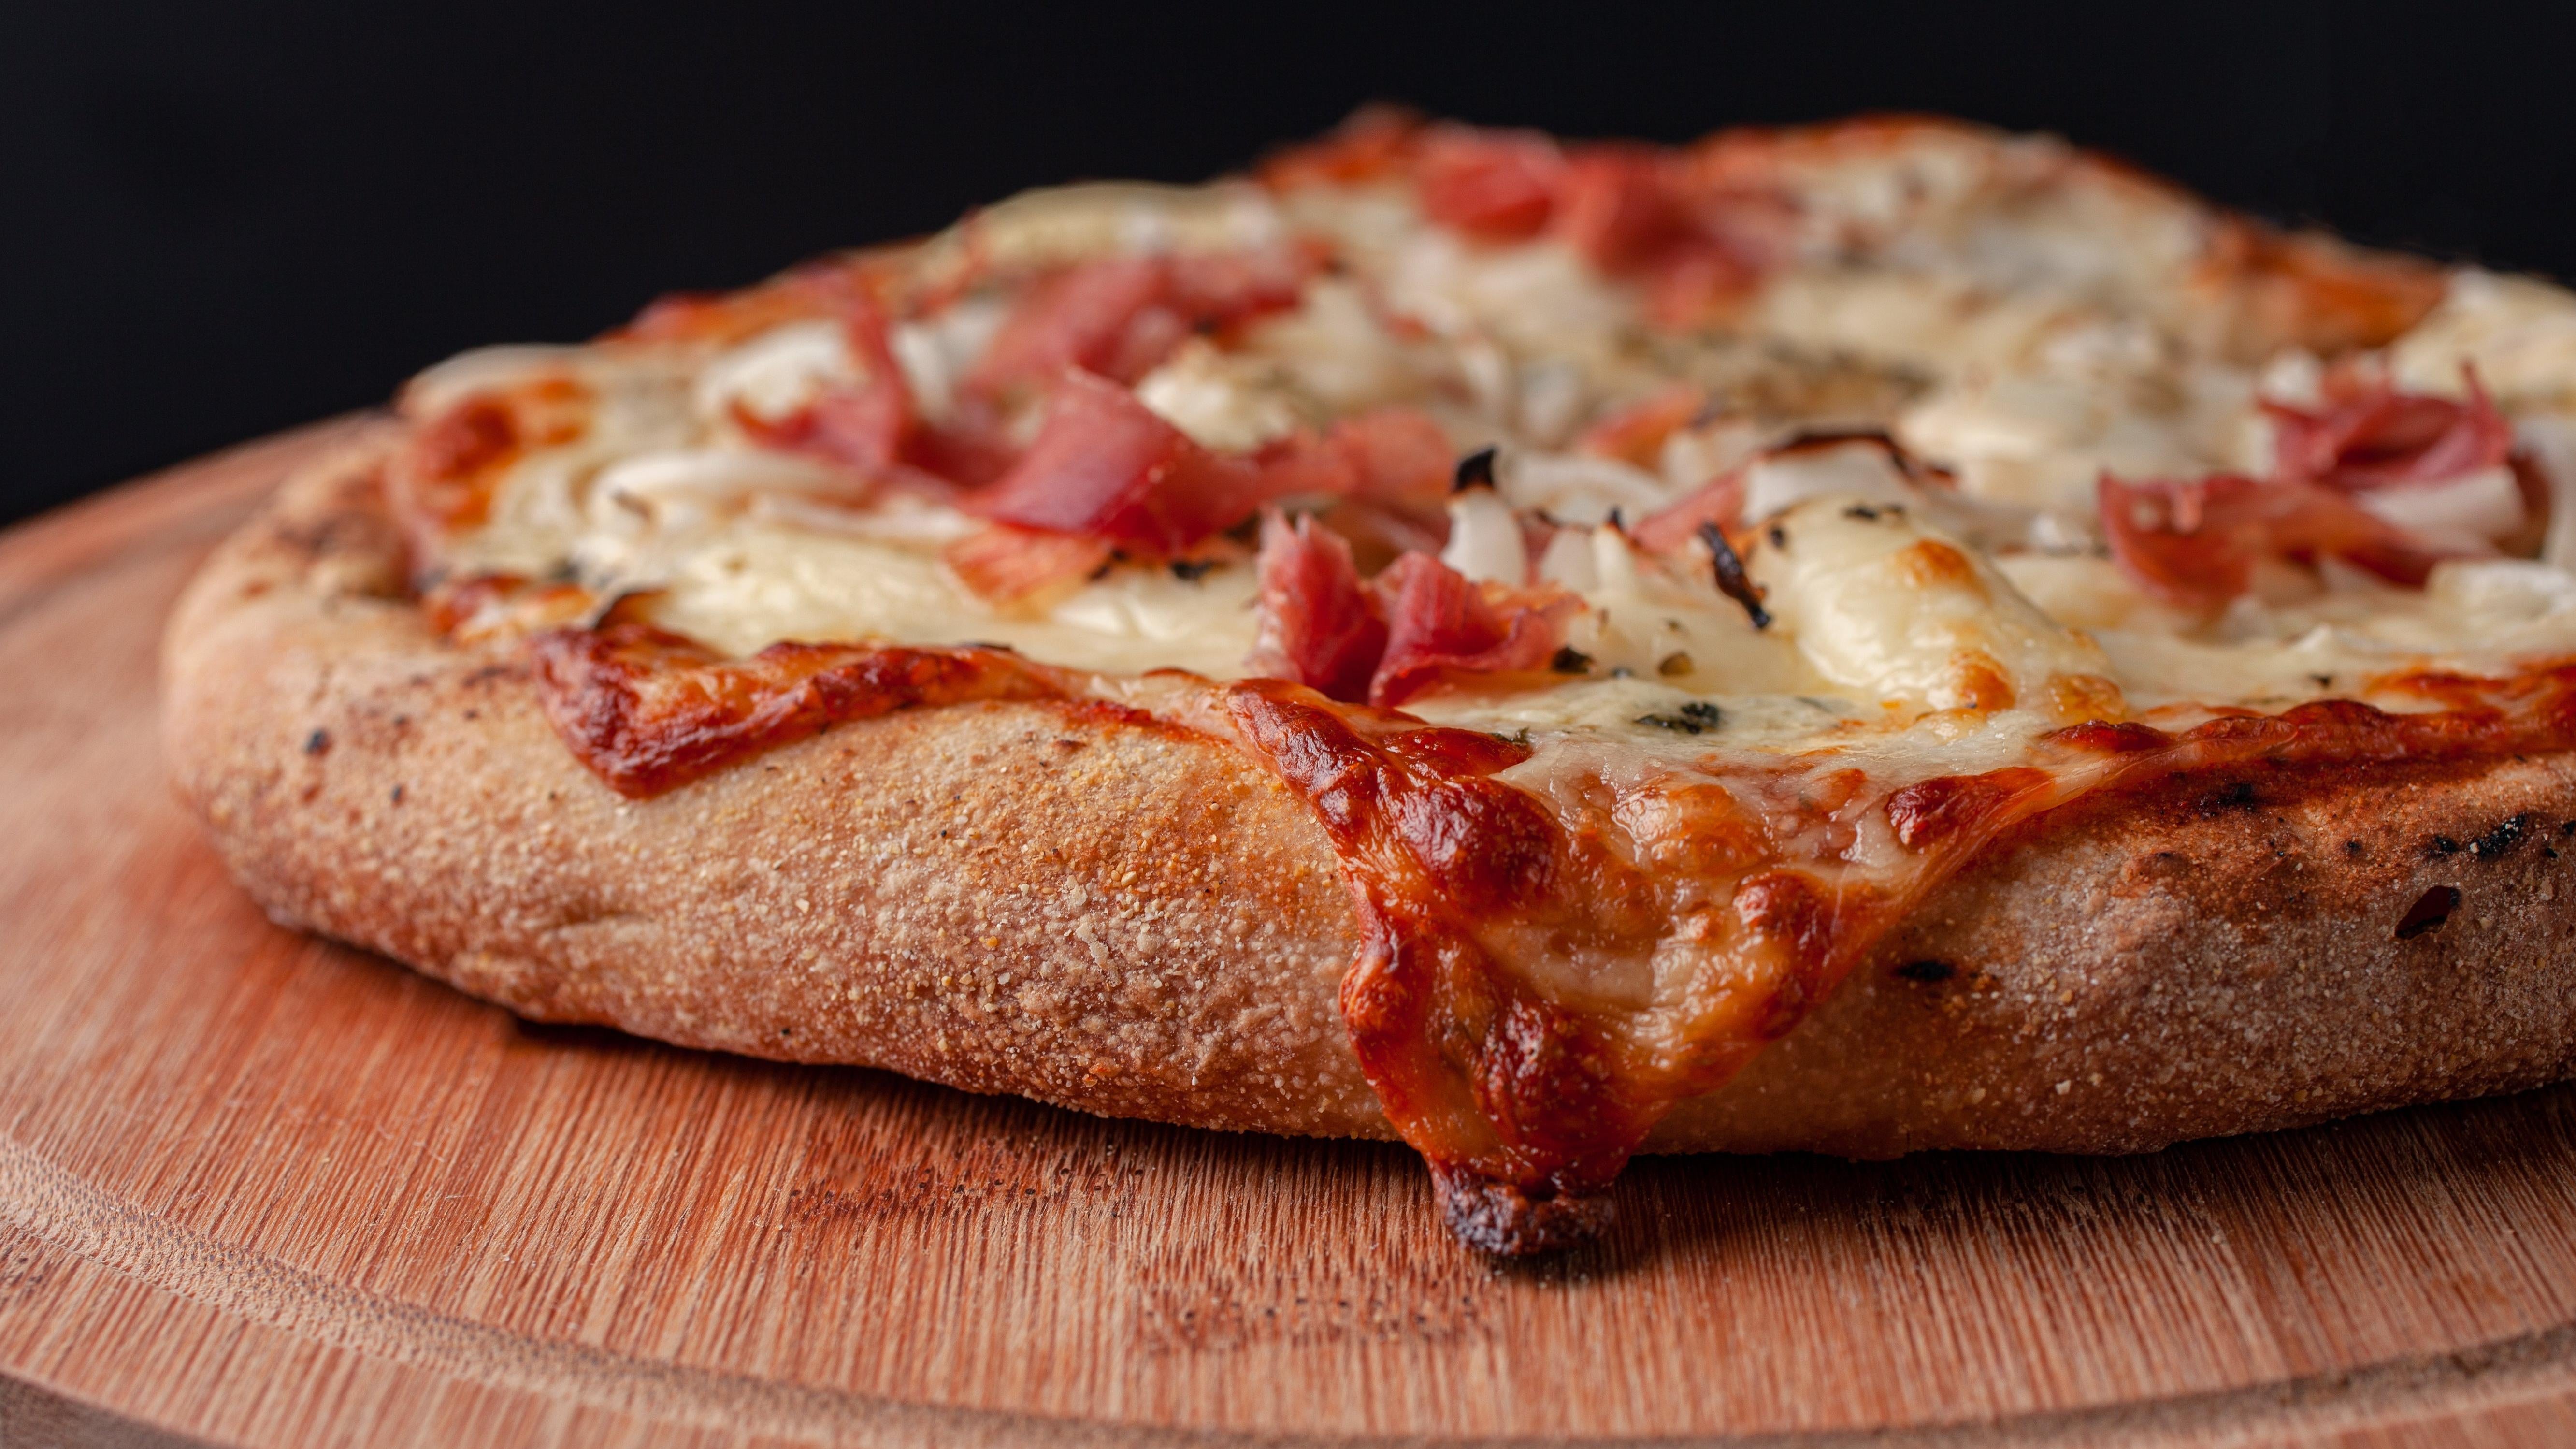
Pizza is an undeniable crowd-pleaser. The basic ingredients can be adjusted to fit a variety of palates and dietary needs, and it can be sliced into small or large servings to fit the size of your pizza party. It’s basically made to share with friends. It’s also ubiquitous — you can find great pizza at upscale restaurants, fluorescent-lit corner shops, and at home. That bubbly, flame-charred top, the gooey pool of fresh mozzarella, and the thin-bottomed, brick-oven crust that’s so crispy it stands up when you lift it — all of those things can be achieved in your kitchen.
You don’t need to have a home kitchen outfitted with a giant stone kiln to reach pizza perfection, but you do need to know a few things.
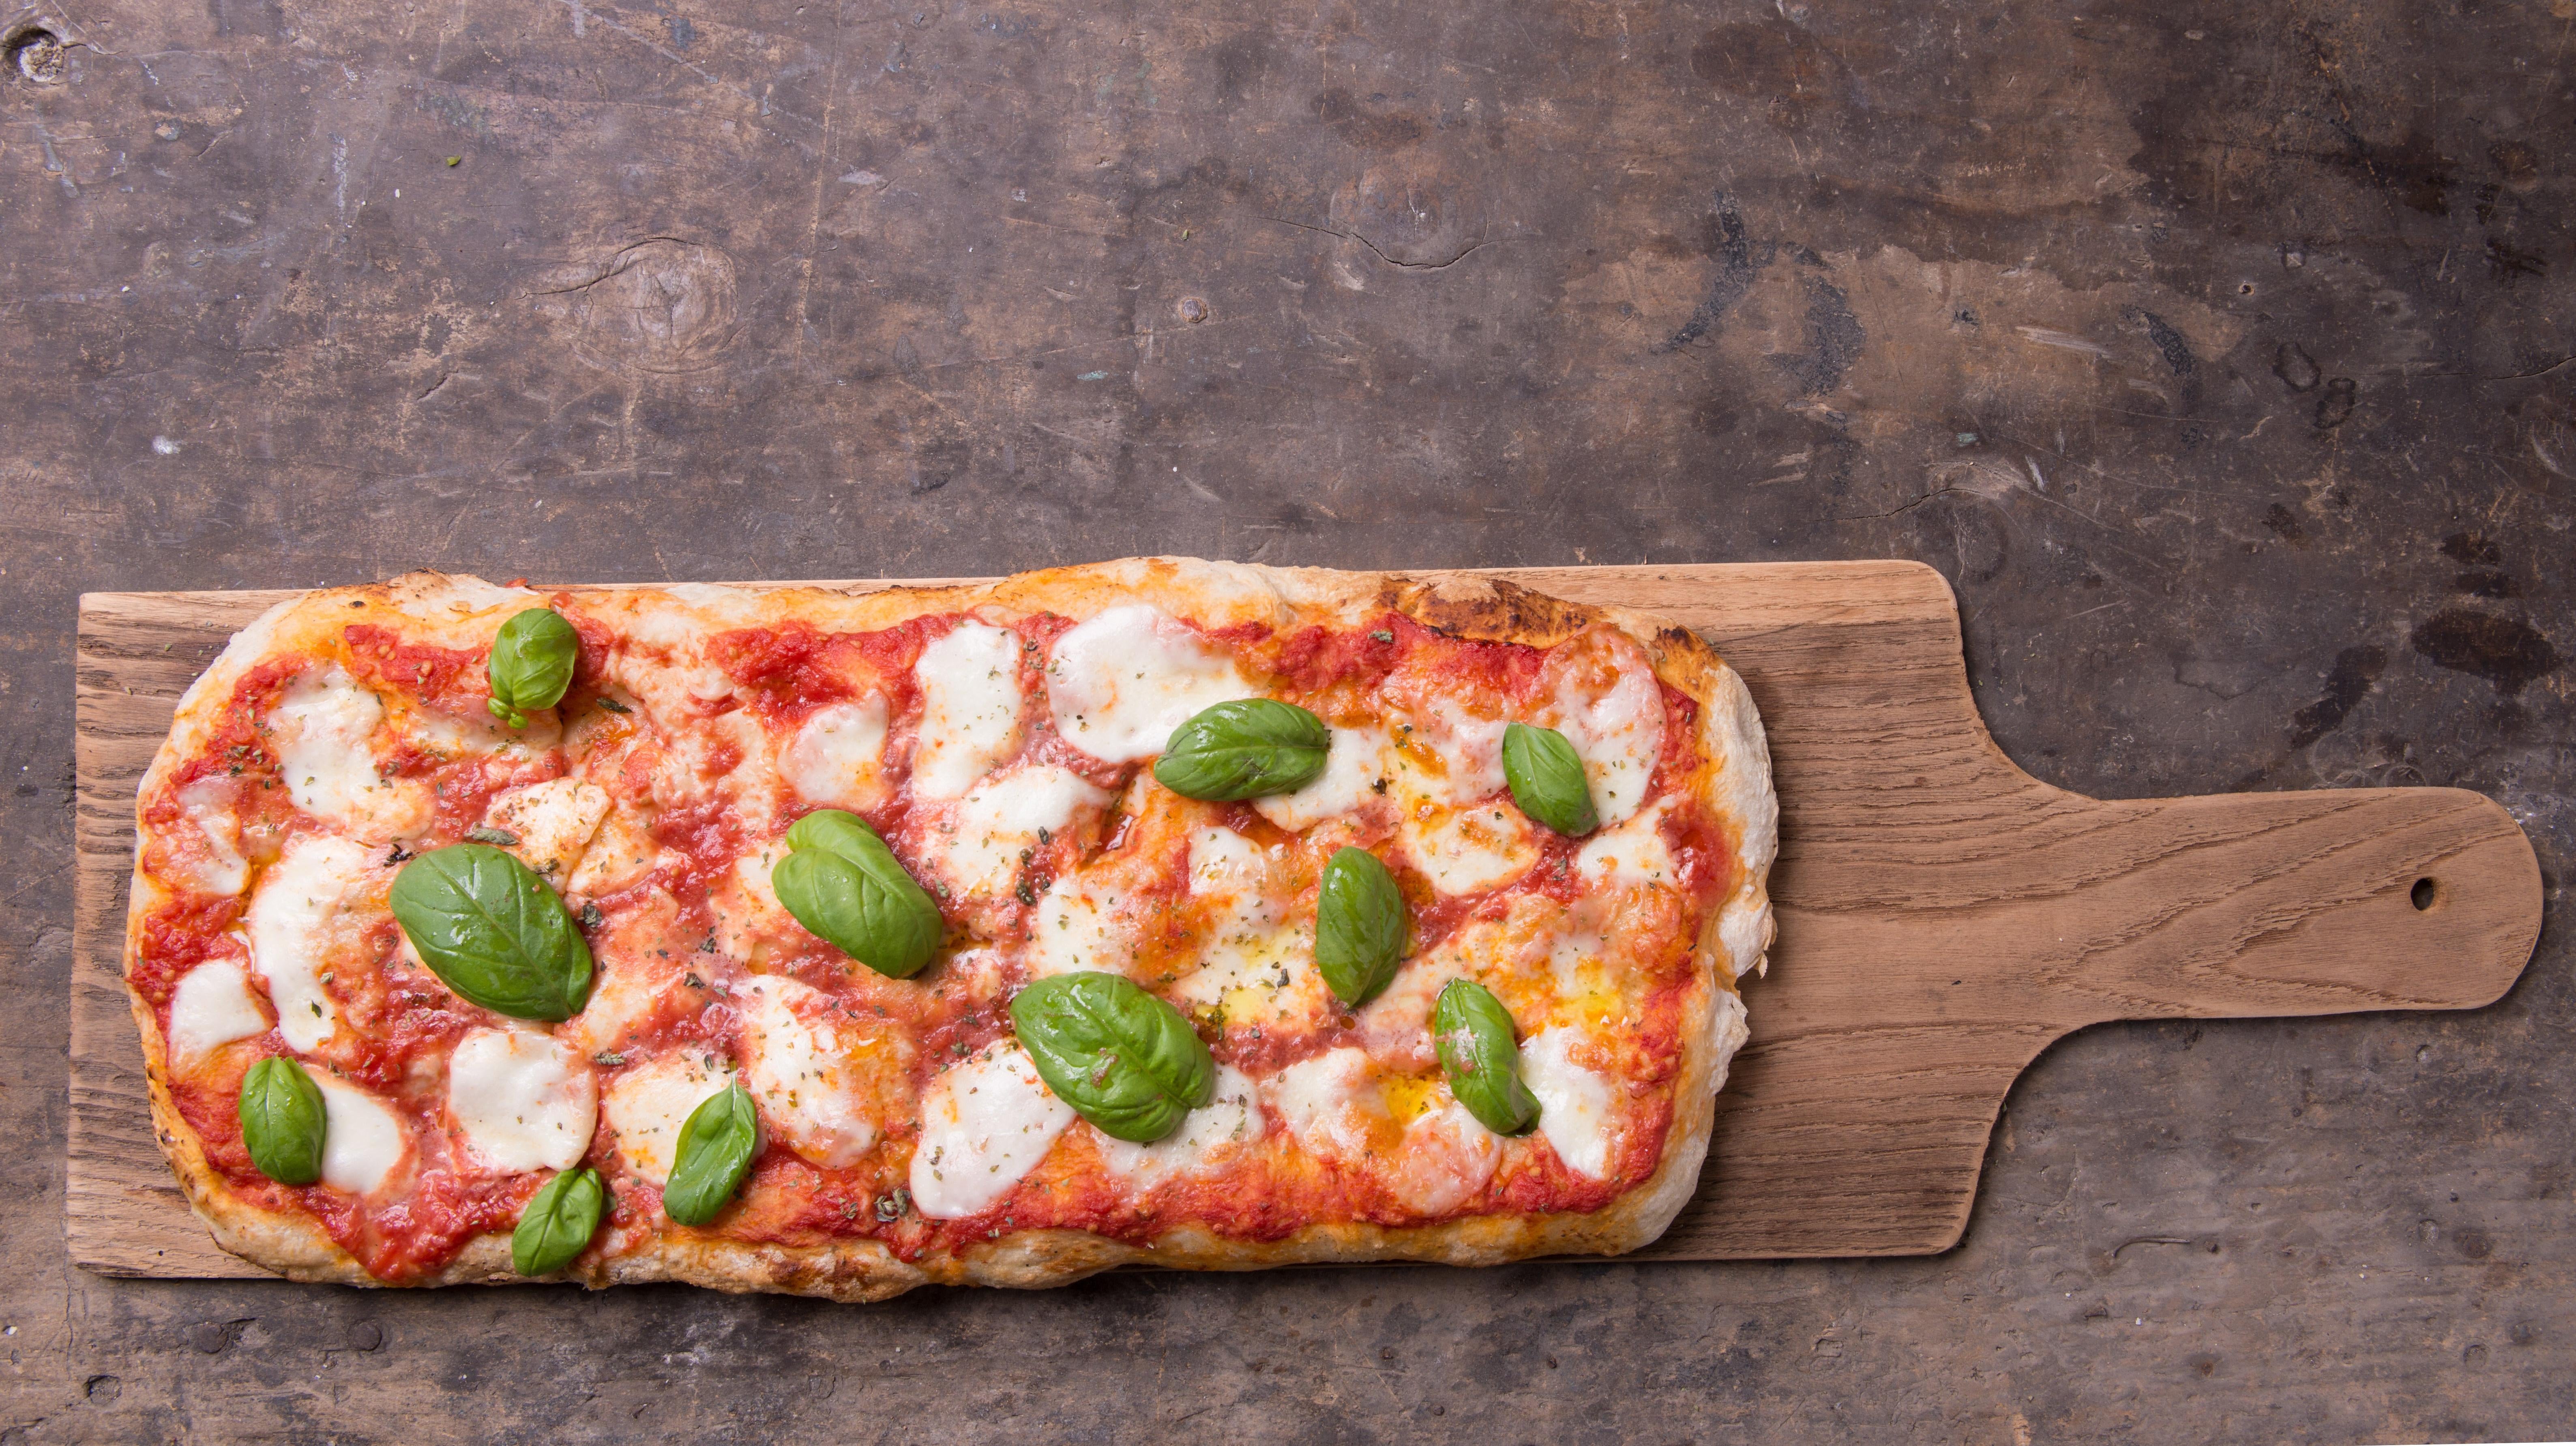
Ferment the dough overnight
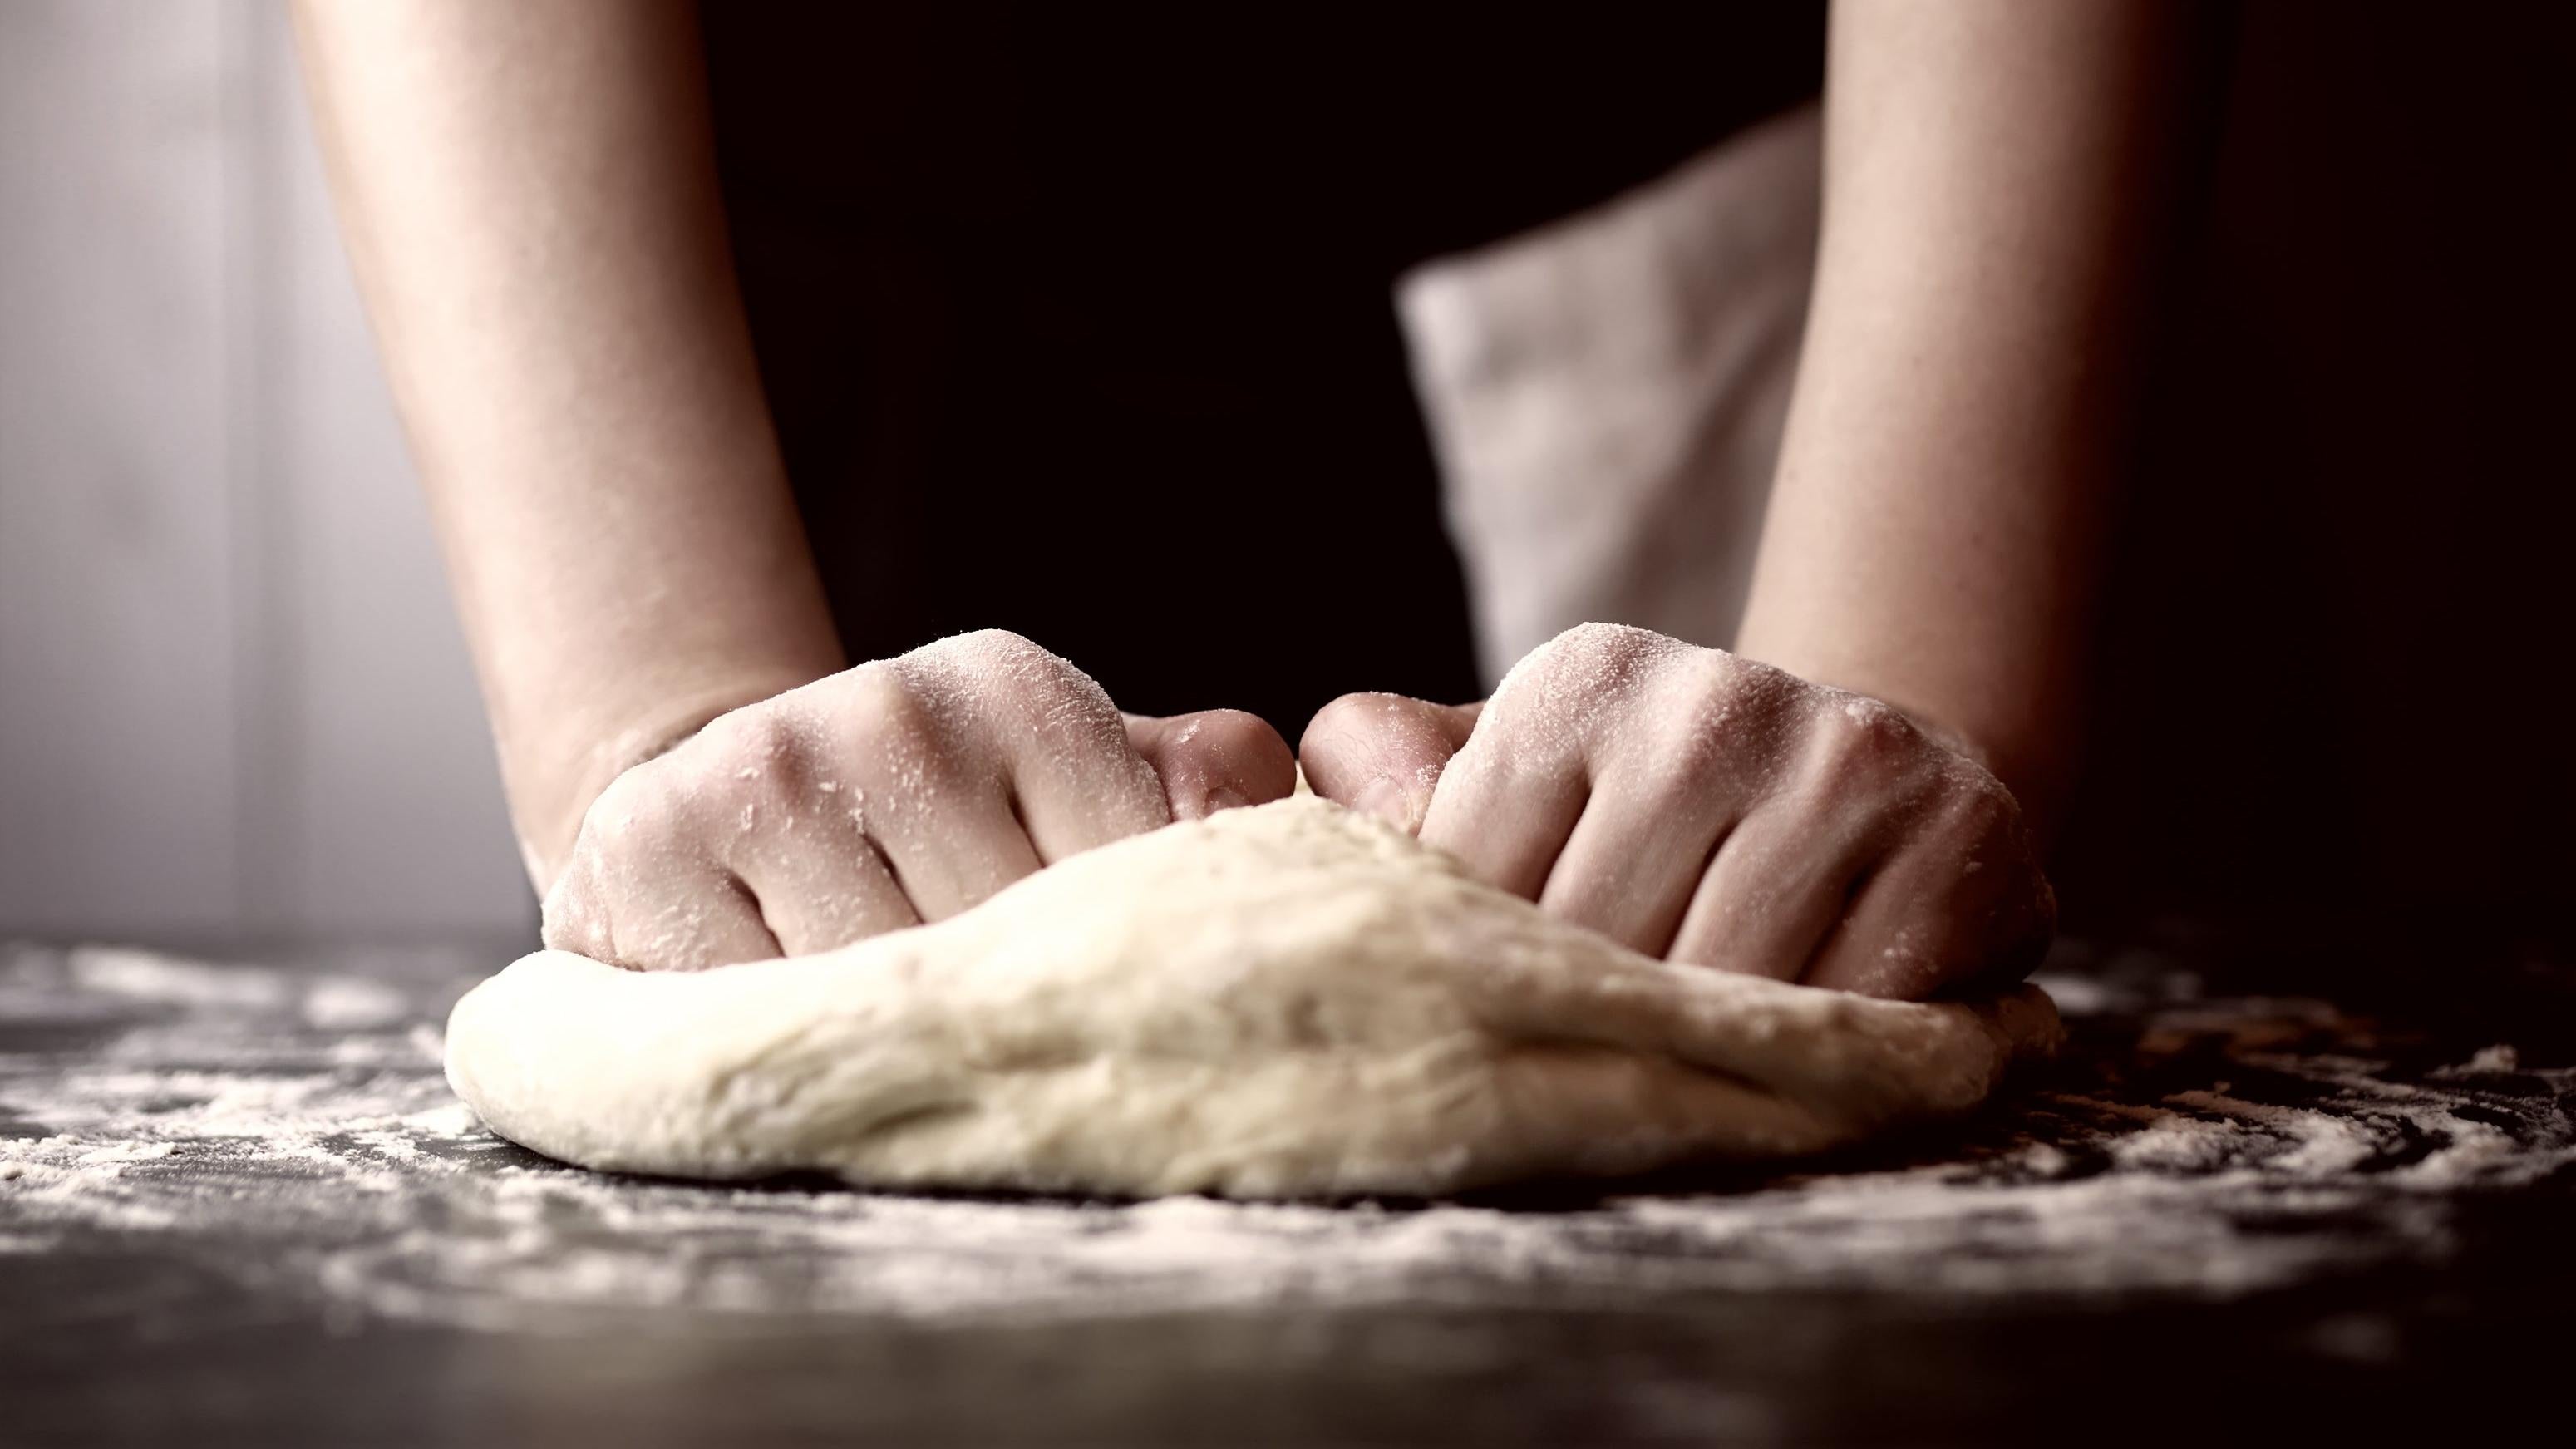
When you have a meal with as few as three components, you want to ensure each one is bringing excellent flavour to the table. Crust may be humble, but it doesn’t have to be bland. The most reliable way to ensure your crust is flavorful is to make the dough yourself and build in a cold-fermentation period of 24-72 hours. Like any good sourdough bread, the flavours that develop during fermentation are what give the dough that characteristic tang. This recipe and method from Also the Crumbs Please details options for cold fermentation to achieve a bubbly, chewy crust with lots of flavour.
Season the edge of your crust
The most abandoned pizza element is the outer crust ring, and there’s nothing sadder than seeing a plate with a bunch of bald, gnawed-on bread. But with all the flavour in the middle of the pie, no one can be blamed for jettisoning bland, dry carbs. Instead, make the crust a point of interest. Since the outer ring of crust is essentially a colossal breadstick, think of the tastiest bread stick you’ve ever had and get inspired. Brush the crust with some olive oil, sprinkle on some salt and raid your spice cabinet. Dust on garlic powder, sesame seeds, garam masala, everything bagel seasoning, chilli powder, cumin, or paprika. Maybe brush a thin layer of mayonnaise or barbecue sauce along the edge. Avoid dried herbs, however, as they’ll likely burn in the high-temperature oven.
Ditch the sheet pan and use a pizza stone or baking steel
There’s a reason you see pizza advertised as “brick oven” and “wood fired.” The texture and flavour is best when cooked at high temperatures where humidity doesn’t stand a chance. The most indispensable tool in your pizza creator toolkit is a pizza stone or steel. Using either one is going to work considerably better than squishing your 72-hour fermented dough onto a warped sheet pan.
Using one of these surfaces is ideal for pizzas (and breads) because they can withstand extremely high temperatures and retain even heating for the duration of the cooking time. Both surfaces will vaporise moisture and leave you with that sought-after crispy, charred bottom. (Using that old cookie sheet can easily trap moisture and result in a doughy centre.)
Although it’s completely a matter of preference, the stone and steel each have a few unique qualities, and one might suit you better than the other. Both can be used in the oven or on a grill. A pizza stone is lighter but can crack if dropped or mistreated. A steel will never crack but it can rust. Pizza stones are generally cheaper than steels. Pizza steels can be used on a stove top and you can cook a large variety of foods on them, while stones are more limited because of their porous nature. I’ve used both for pizza and I’ve never been disappointed.
Preheat your stone thoroughly
In order to get as close as possible to a wood-fired brick oven, make sure your home oven and the baking steel or stone have ample time to come to temperature. Preheat the oven with the stone inside for at least 30 minutes. These baking surfaces are thicker and more dense than sheet trays, so they take longer to heat up. Once they have had plenty of time in a 450℉-500℉ oven, the material will hold onto that heat even after you slide a cold pizza on top of it. Ensuring the surface is as hot as the rest of the oven will guarantee a crispy crust and generous rise.
Use a pizza peel
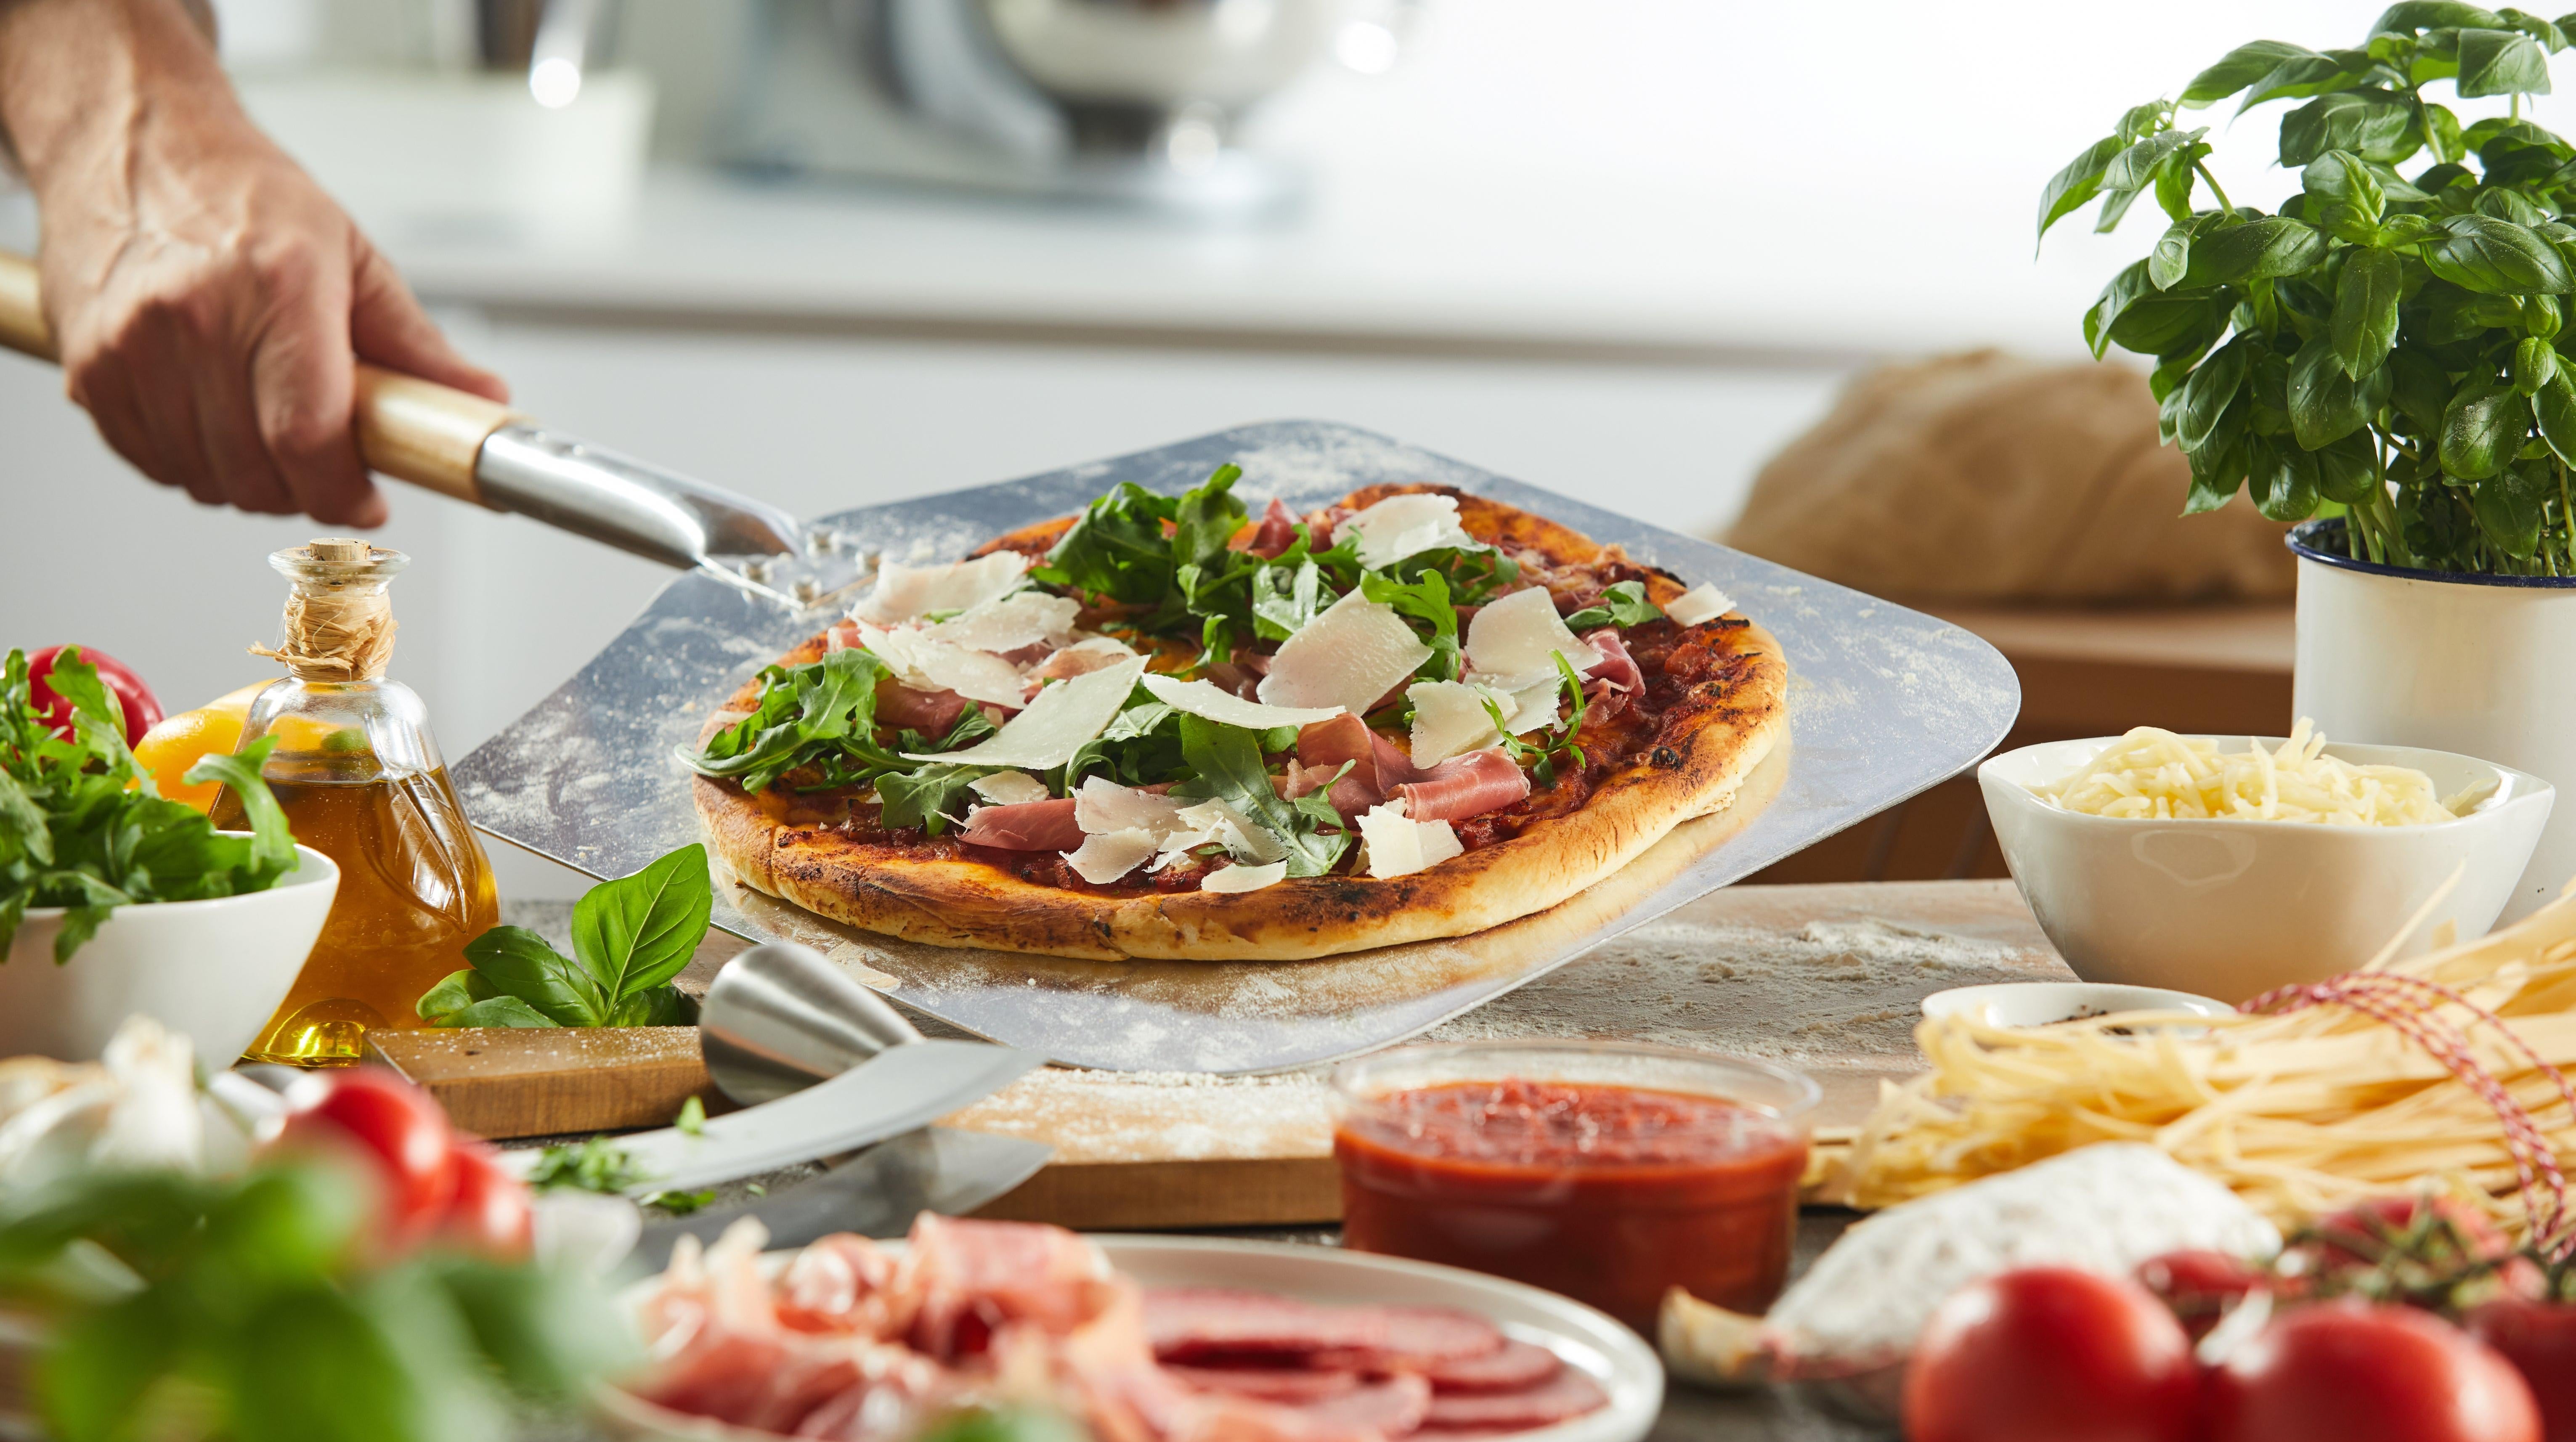
You can craft the most flavorful dough and top it with the premium toppings, but if you can’t get that pizza safely onto your baking steel without it crumpling into a heap, then you’ve only made a plate of disappointment for dinner. Just like a baseball player wouldn’t go up to bat with a broomstick, you shouldn’t be slingin’ pies with the wrong equipment. Get a pizza peel. A pizza peel is the vehicle your pizza travels on. It’s where you stretch out your dough, build your pizza and, when you’re ready, pick it up and slide it onto a screaming-hot stone.
The peel is also how you safely remove the pizza from the oven. (Always transfer your pizza onto a cutting board for slicing to ensure the longevity of your peel.) Conceptually simple, a pizza peel is just a thin, flat, wide surface, with a handle. You’ll want a peel that’s wide enough for the biggest pizza you think you’ll make (you can always make a smaller pizza but you can’t go bigger). The handle makes controlling the peel easier and keeps your hands safe from the oven heat. For a home oven, choose one with a shorter handle, around 9-12 inches; those extra long handles are for deeper industrial ovens. They can be made of different materials, like wood or metal, but they function equally, so, batter’s choice.
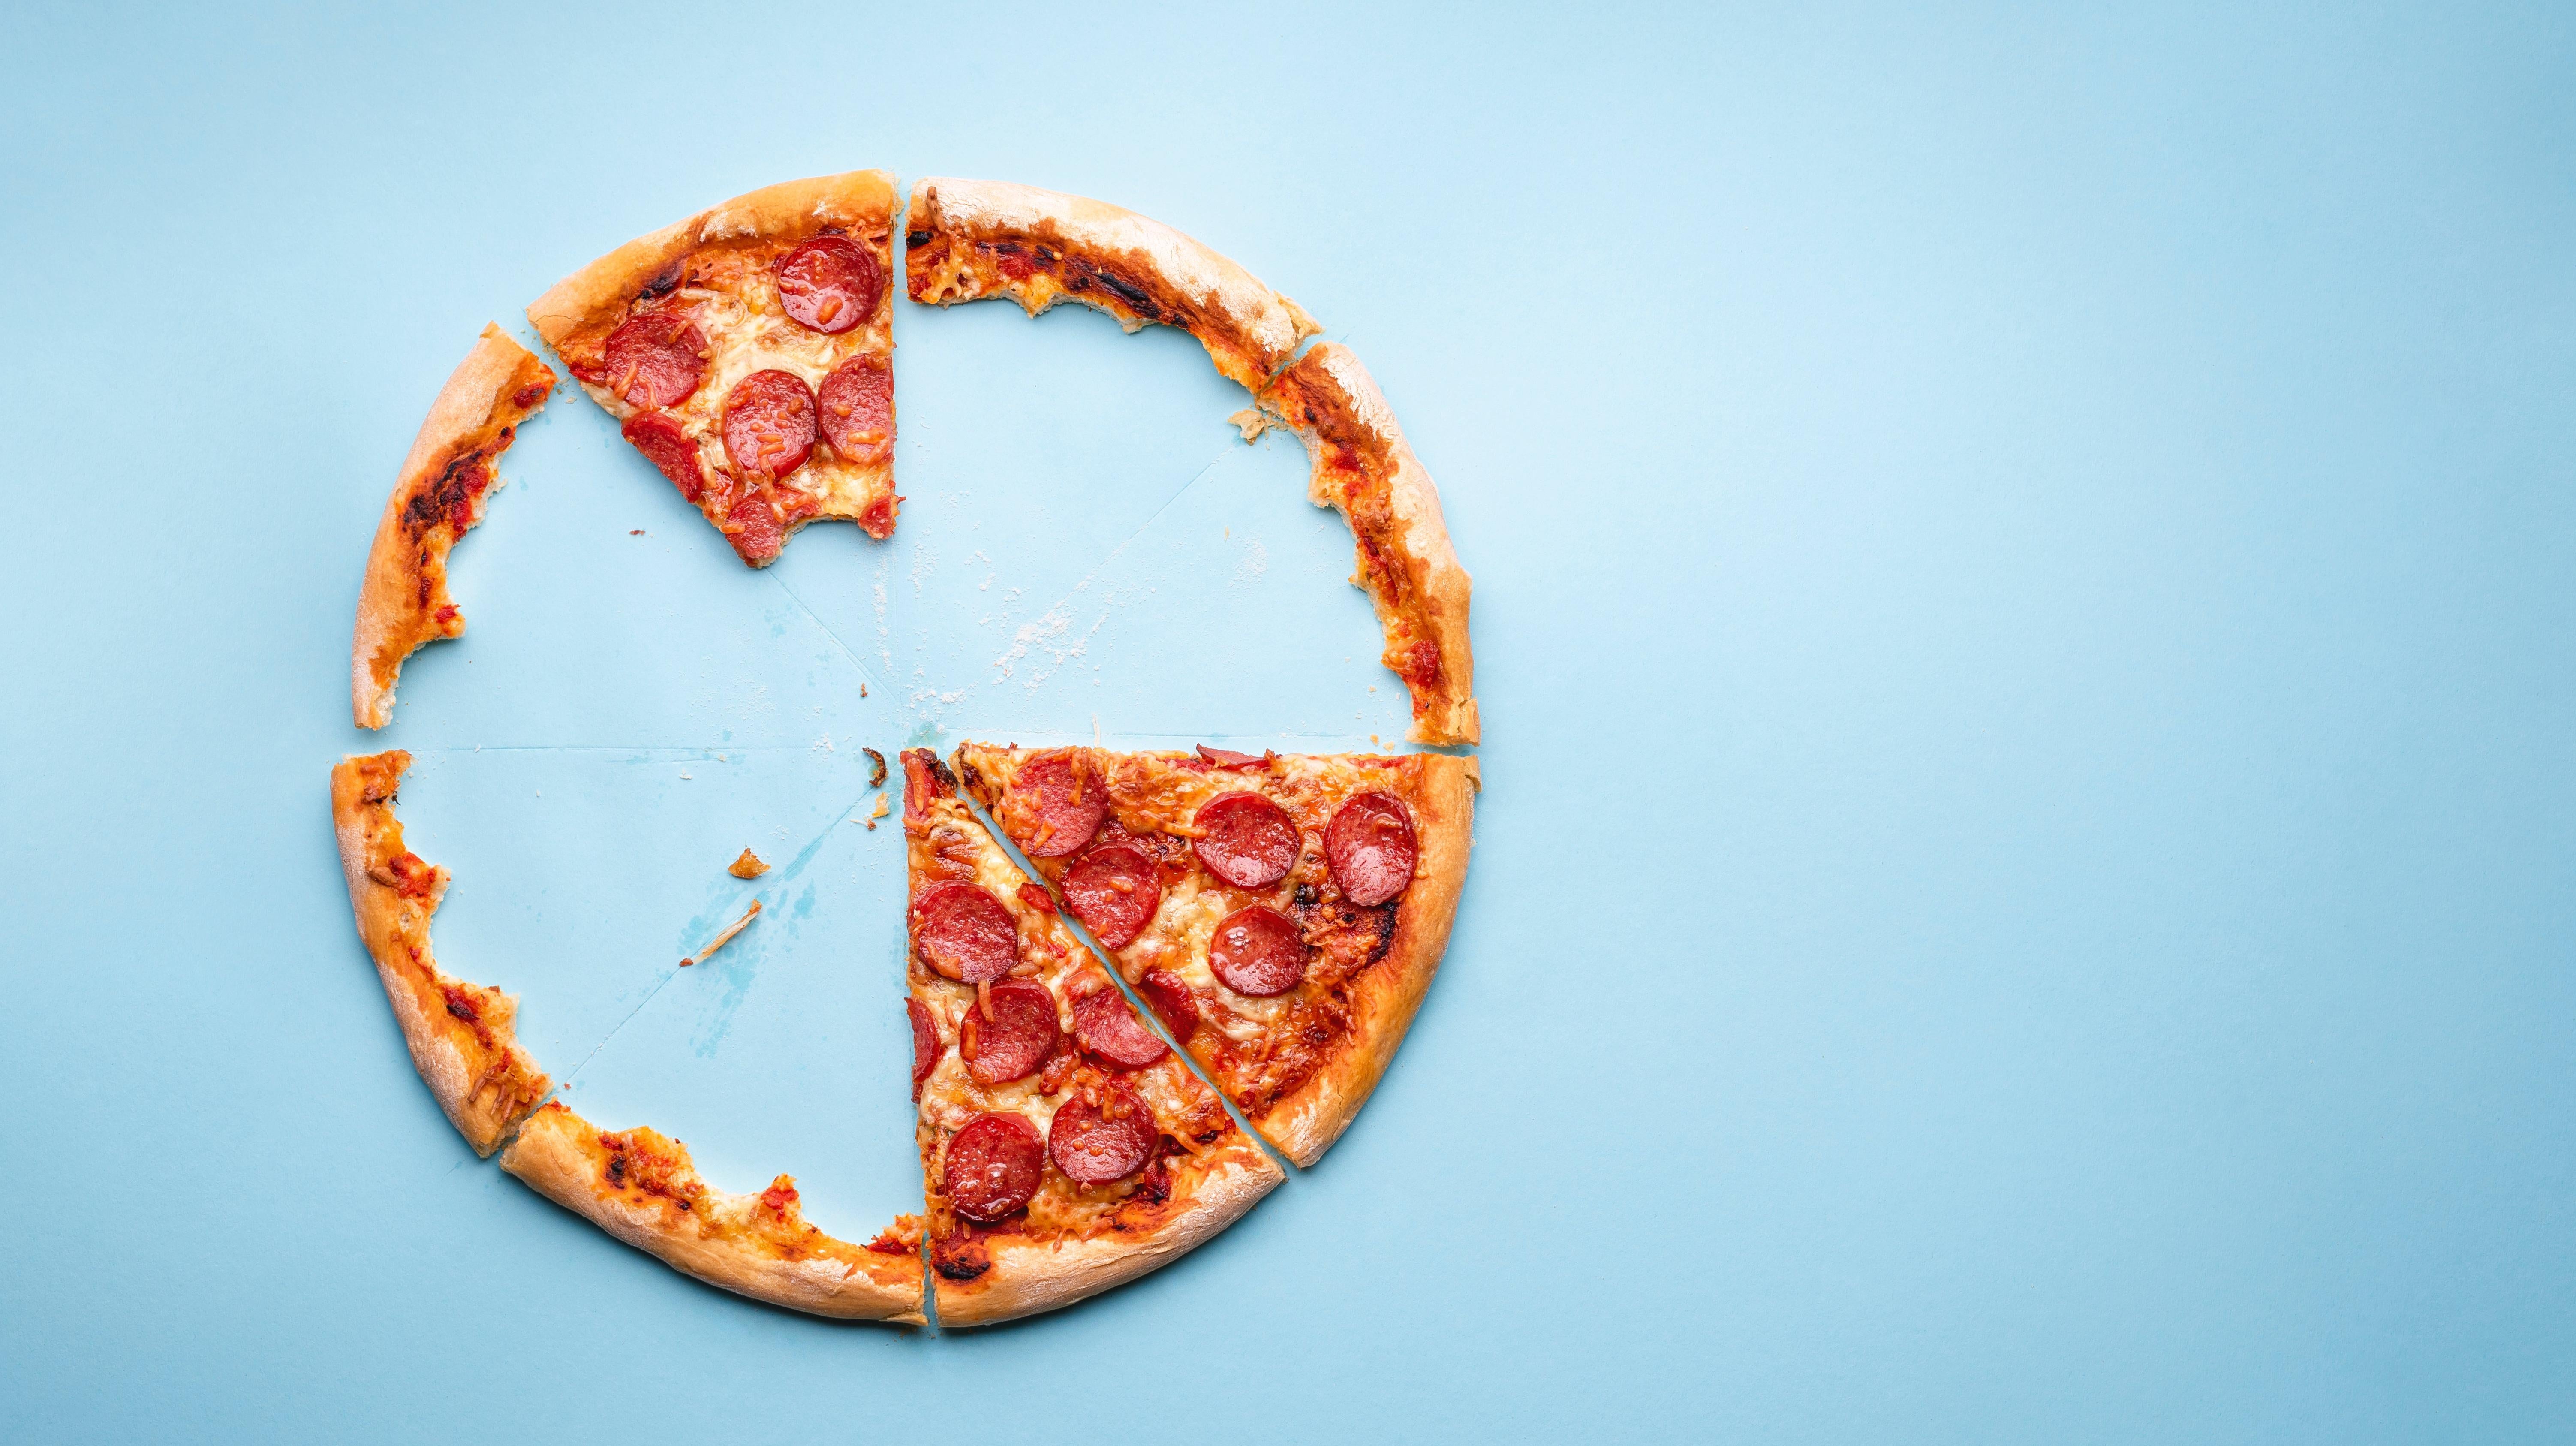
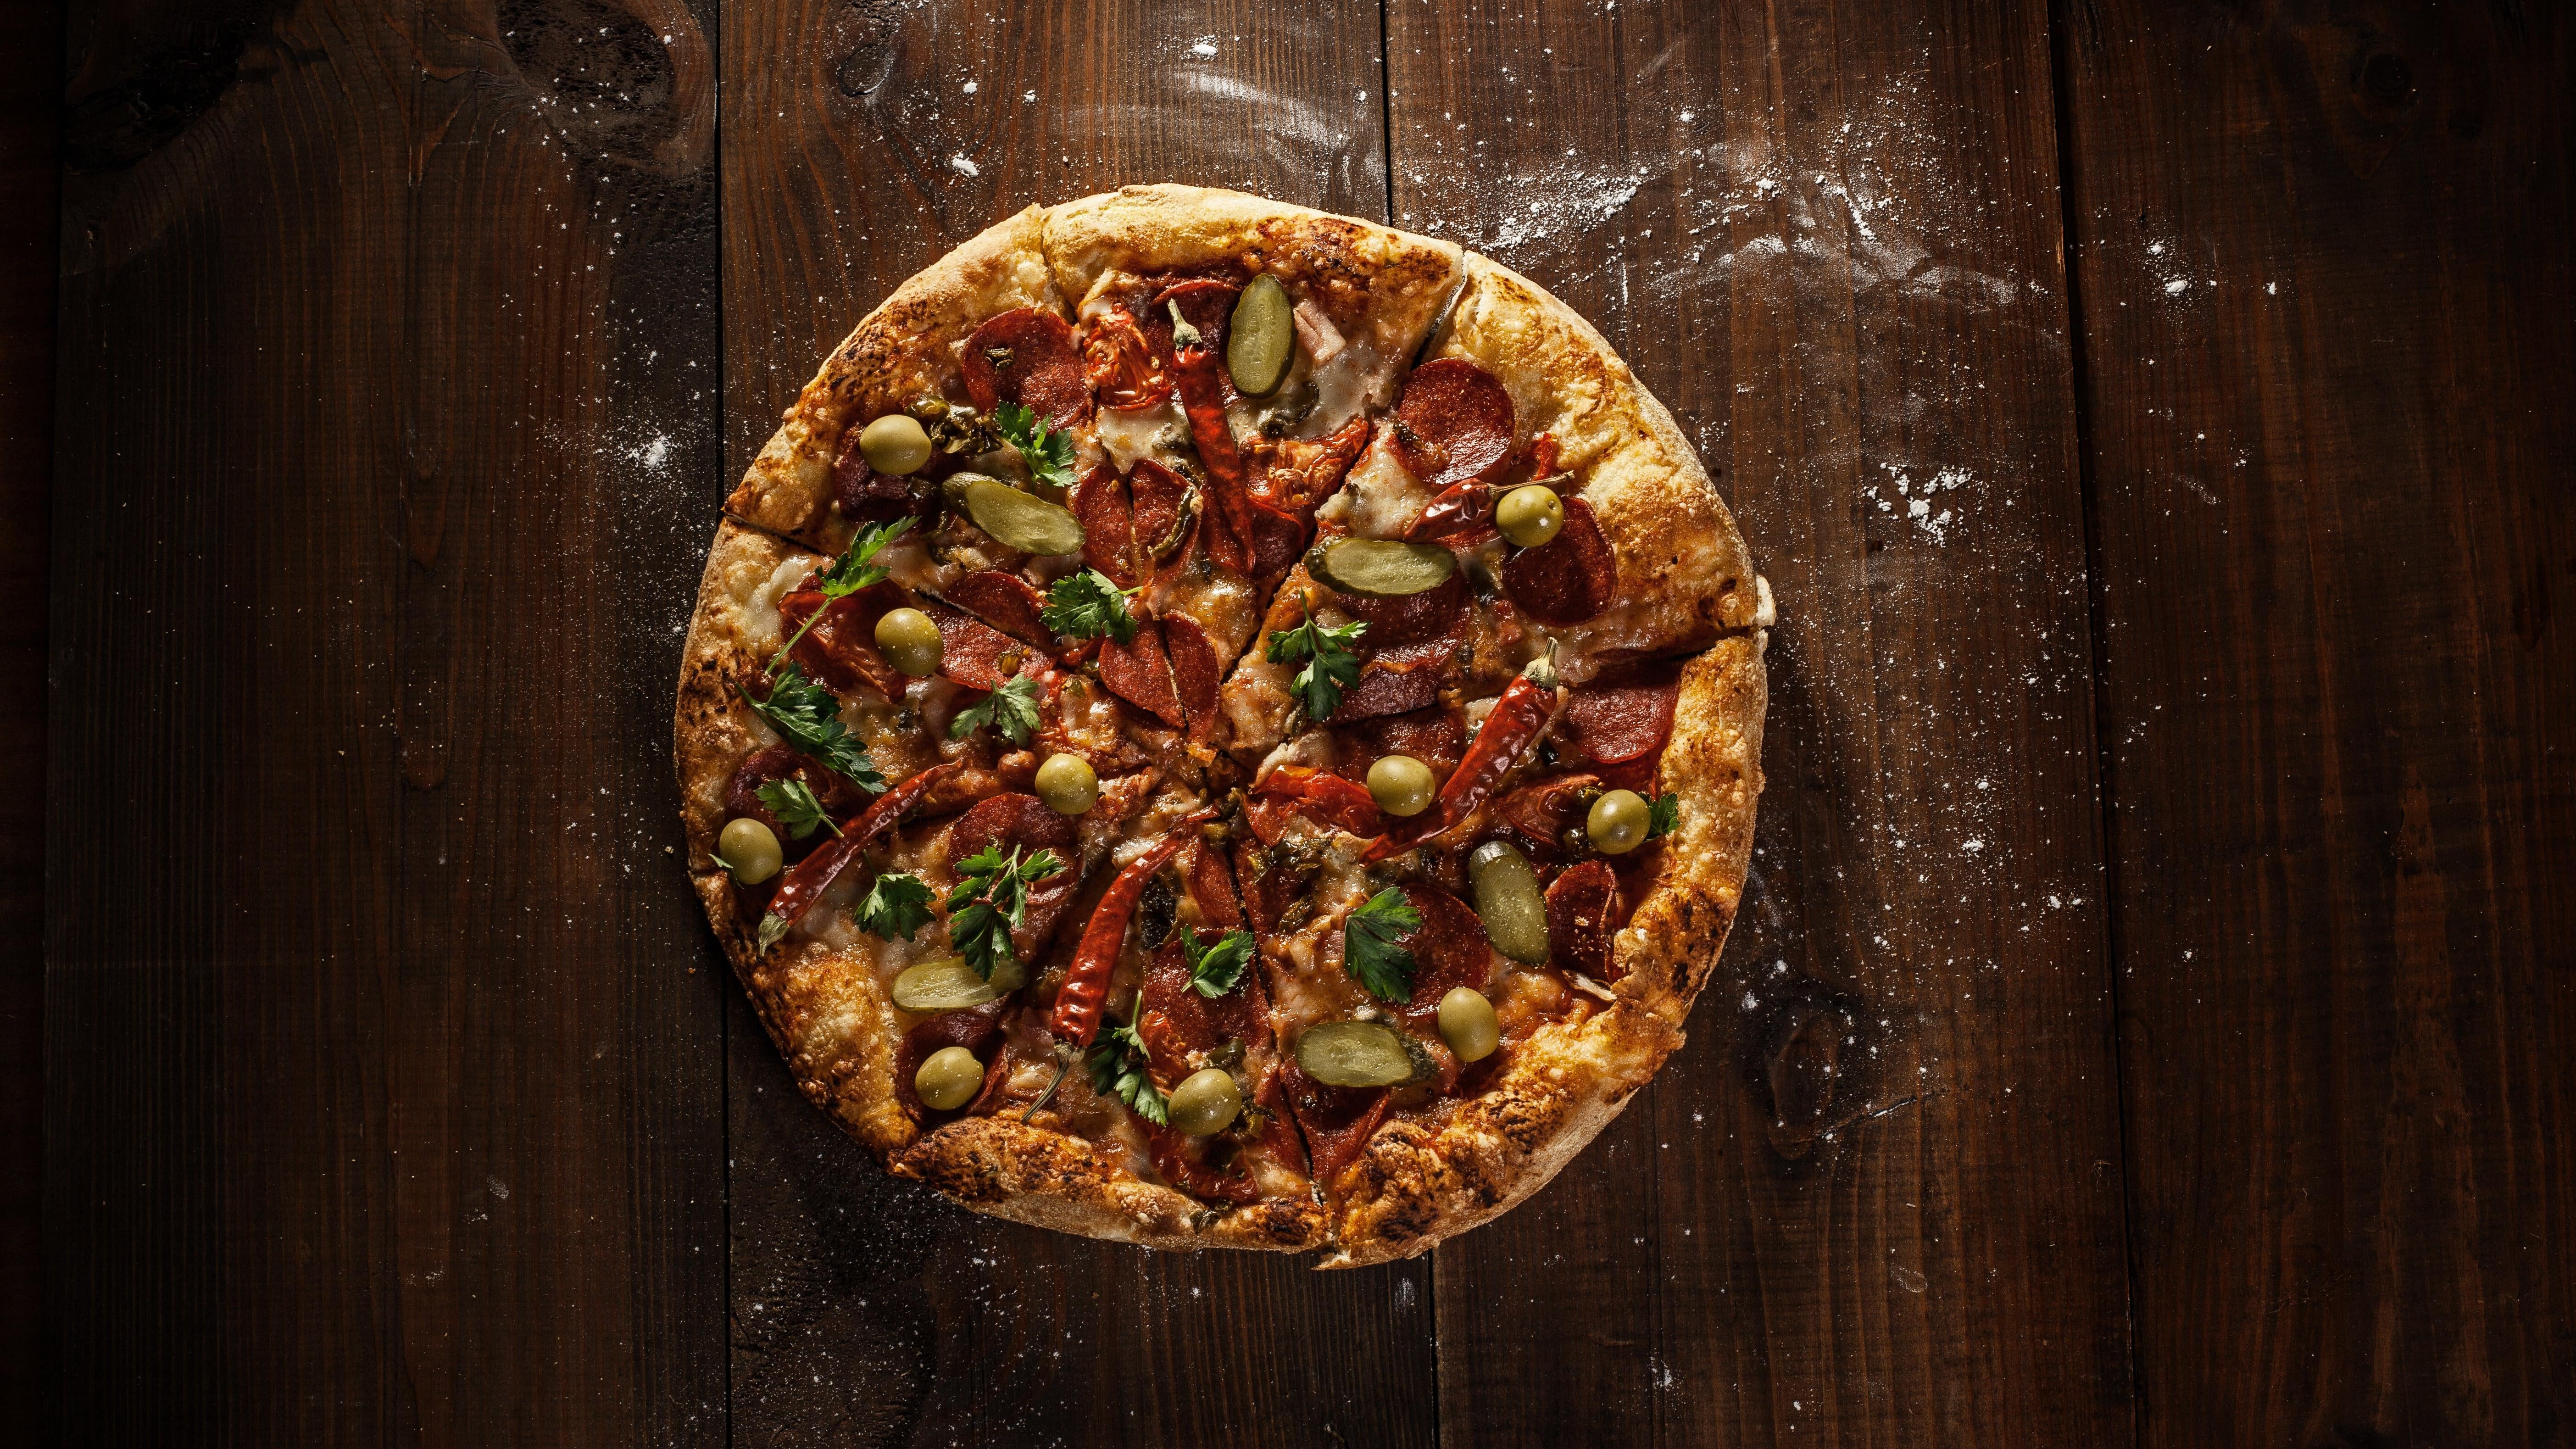
Go light on the toppings. Seriously.
The best slices strike a balance–highlighting every ingredient without overloading the crust. Seems easy enough, but when you’re at home, faced with a naked circle of dough, it’s easy to get excited and black out. Once you finally come to, there are four cups of mushrooms and a ream of bacon drowning in Rao’s. Where did the dough even go? It’s normal to be a toppings enthusiast — you want to make sure that every bite has every ingredient. Sadly, overloading the dough can lead to misfortune. For one thing, it can become too heavy for the yeast crust to rise to its potential. Lots of toppings, especially sauce, add to the moisture content, leading to a soggy crust. Furthermore, heavy toppings with a lot of liquid can actually make your crust stick to the peel, if you’re not vigilant, causing your pizza to rip on its way into the oven. The best solution is to use a light hand. A modest smear of sauce goes a long way, scatter your toppings mindfully, and trust that no bite will be boring.
Use quality — not pricey — ingredients
Whether you’re dining out or cooking at home, pizza should be fun and affordable. I totally stand by cooking on a budget, but that is not the same thing as cooking with low-quality ingredients. In order to make the best pizza, you should use ingredients that taste amazing because, once the high oven heat evaporates the water away, those flavours are going to be more pronounced. Remember, we’re going light on the toppings, so any ingredients you buy are probably going to stretch out for multiple meals. A jar of sauce can be used for tonight’s pizza, tomorrow’s pasta, and Saturday’s Shakshuka breakfast. Go ahead and get the big pack of Italian sausage with fennel, you’re only using a few ounces tonight, and instead of the store brand marinara, grab a jar with tomatoes as the first ingredient (or just grab a can of tomatoes).
Go heavy on the cornmeal bottom
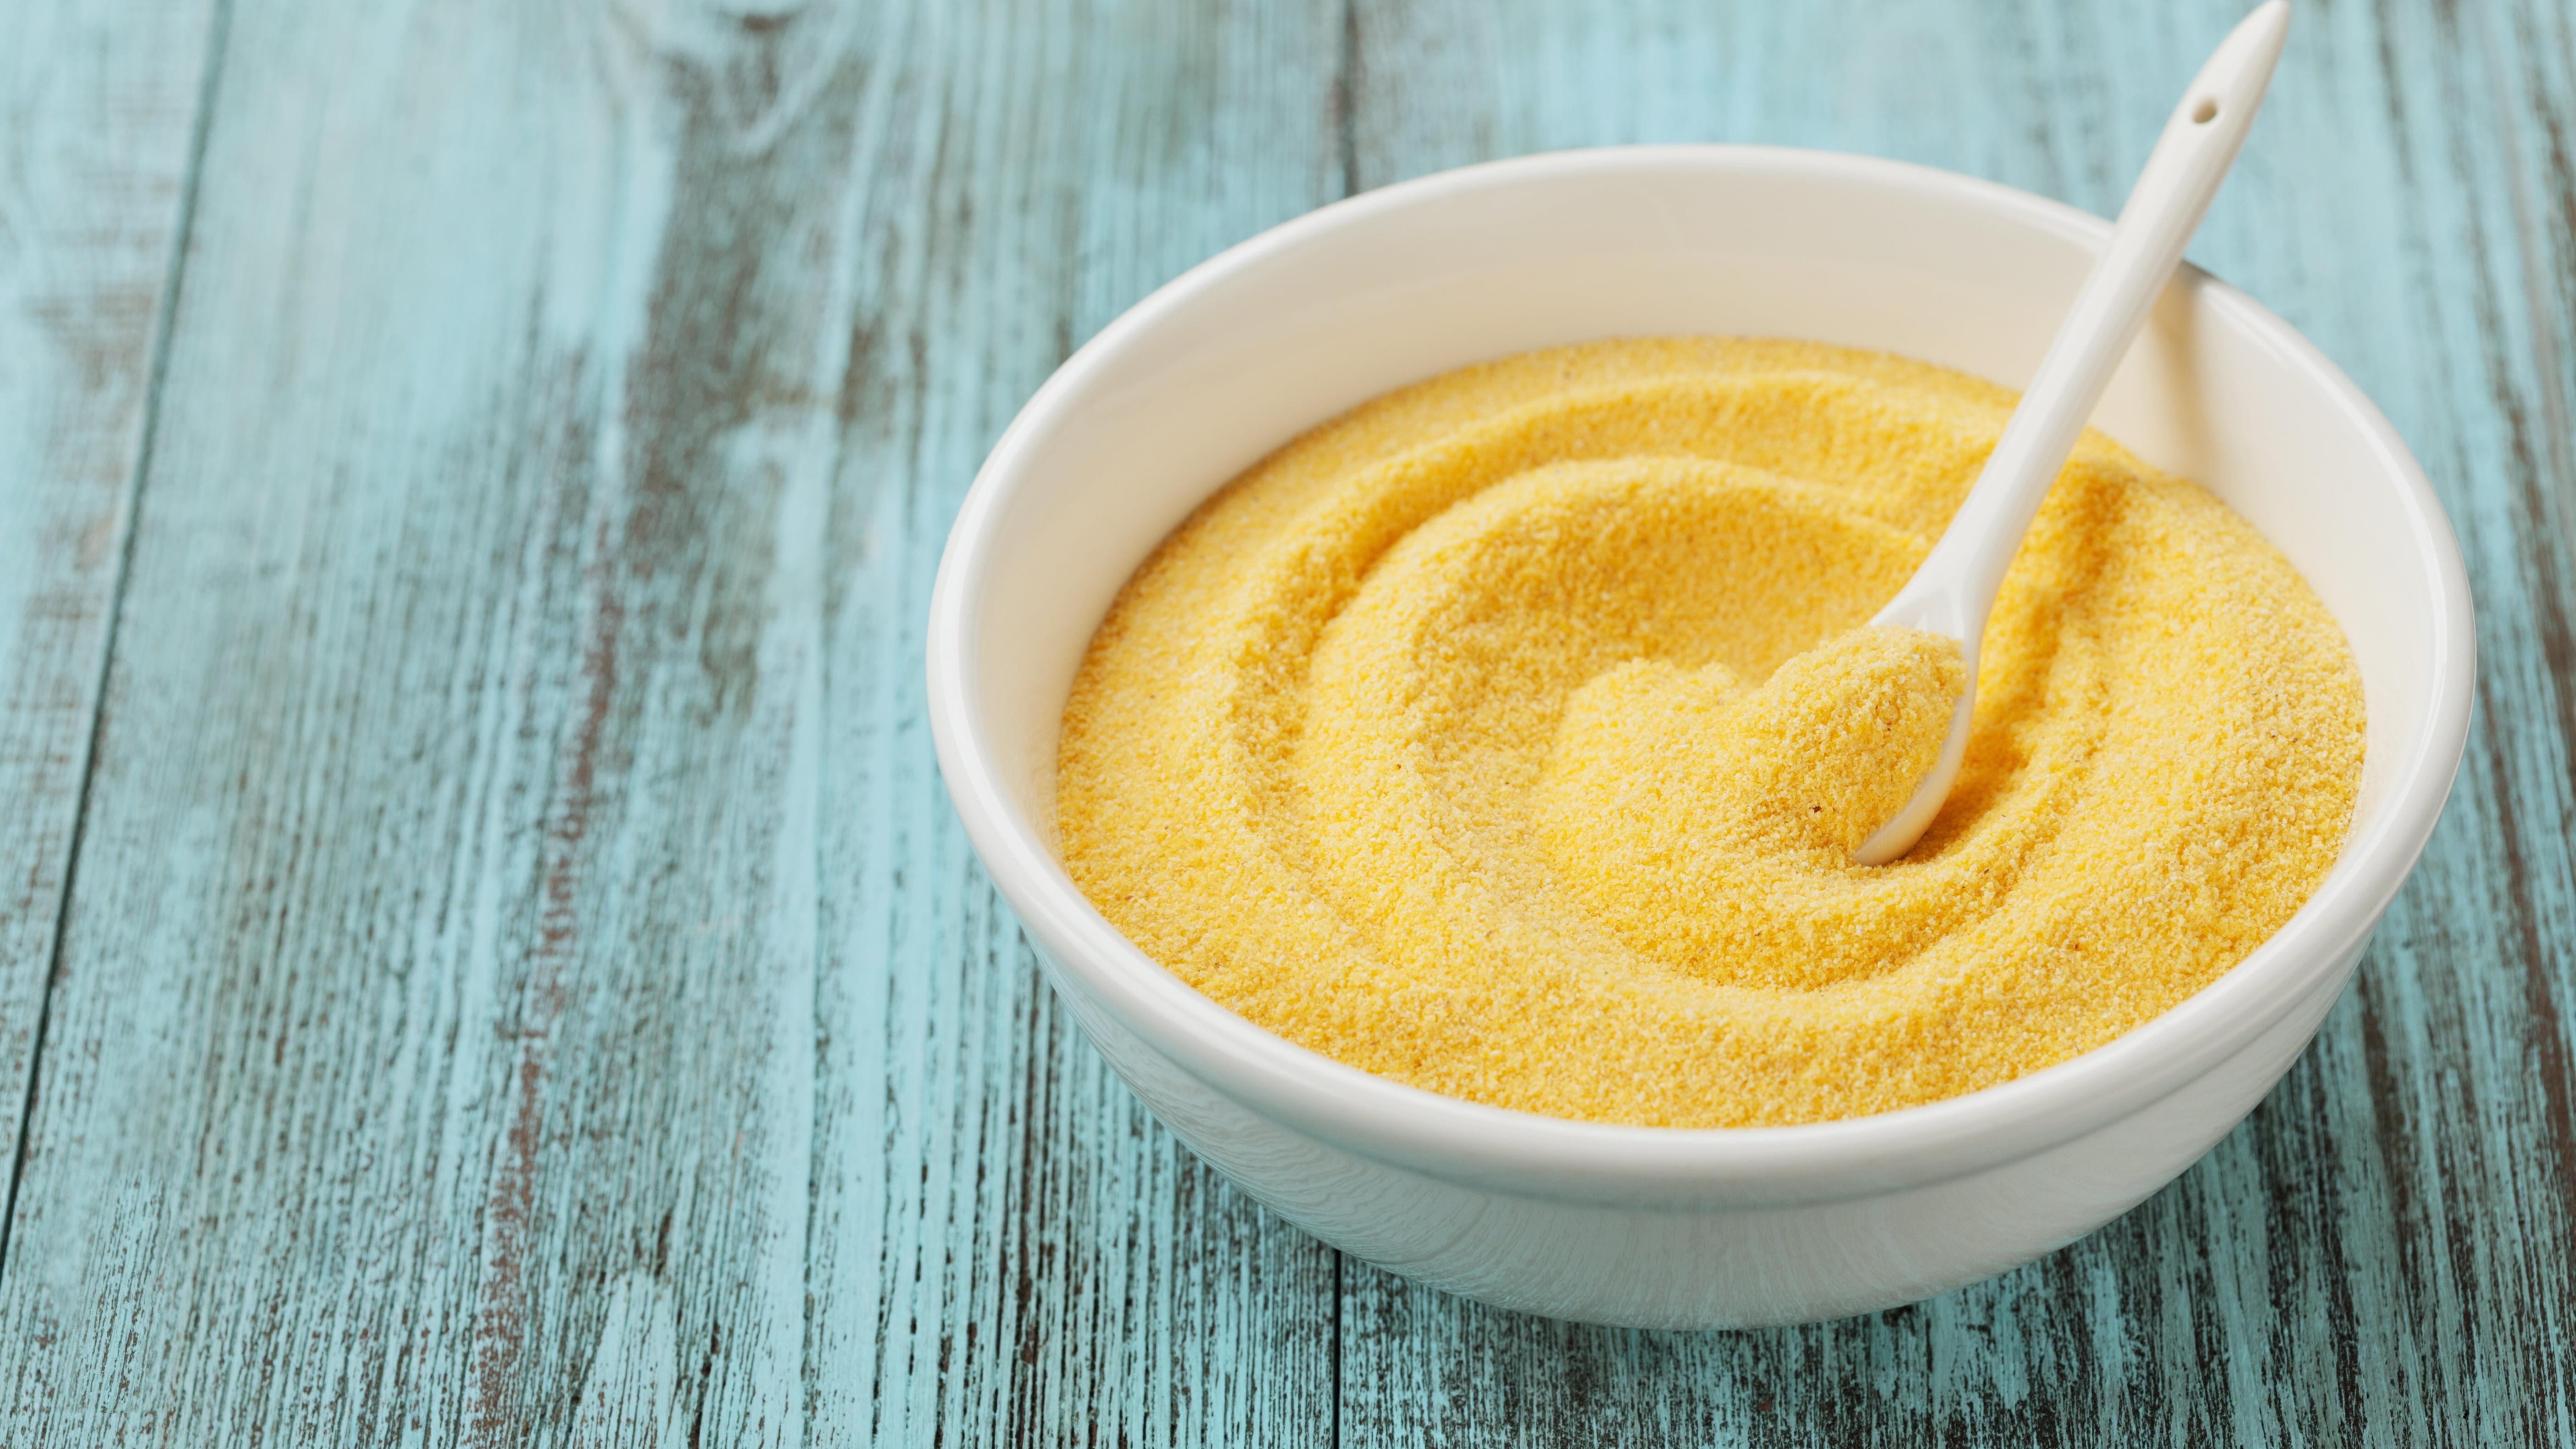
The first few times I tackled a homemade pizza, they morphed into weird calzones and misshapen, broken piles with cheese and sauce burned onto my baking stone. The error was not enough cornmeal. Although it’s not an ingredient many people consider when pondering pizza, it is one of the most important. Coarse ground cornmeal creates a barrier between the sticky pizza dough and the peel, functioning like spilled marbles on the ground–anything on top of them is just gonna roll right off, so it’s a quick transition from the peel onto the hot baking surface.
Although you can use a few different ingredients for this purpose, cornmeal is the most widely used. Scatter a generous layer of cornmeal onto your pizza peel before you start stretching out your dough. Once you’ve stretched it to the desired size, place it on top of the cornmeal lined peel, grab the handle and give it a firm horizontal shake. The dough should slide relatively freely. If it doesn’t, try a hard shake and if it still doesn’t budge, usually you can see where the hang-up is. Gently lift the dough in that area, maybe use a bench scraper if it’s really stuck, and shove some more cornmeal in there. Begin applying toppings, and as you go along, periodically stop and shake to make sure you’re not stuck.
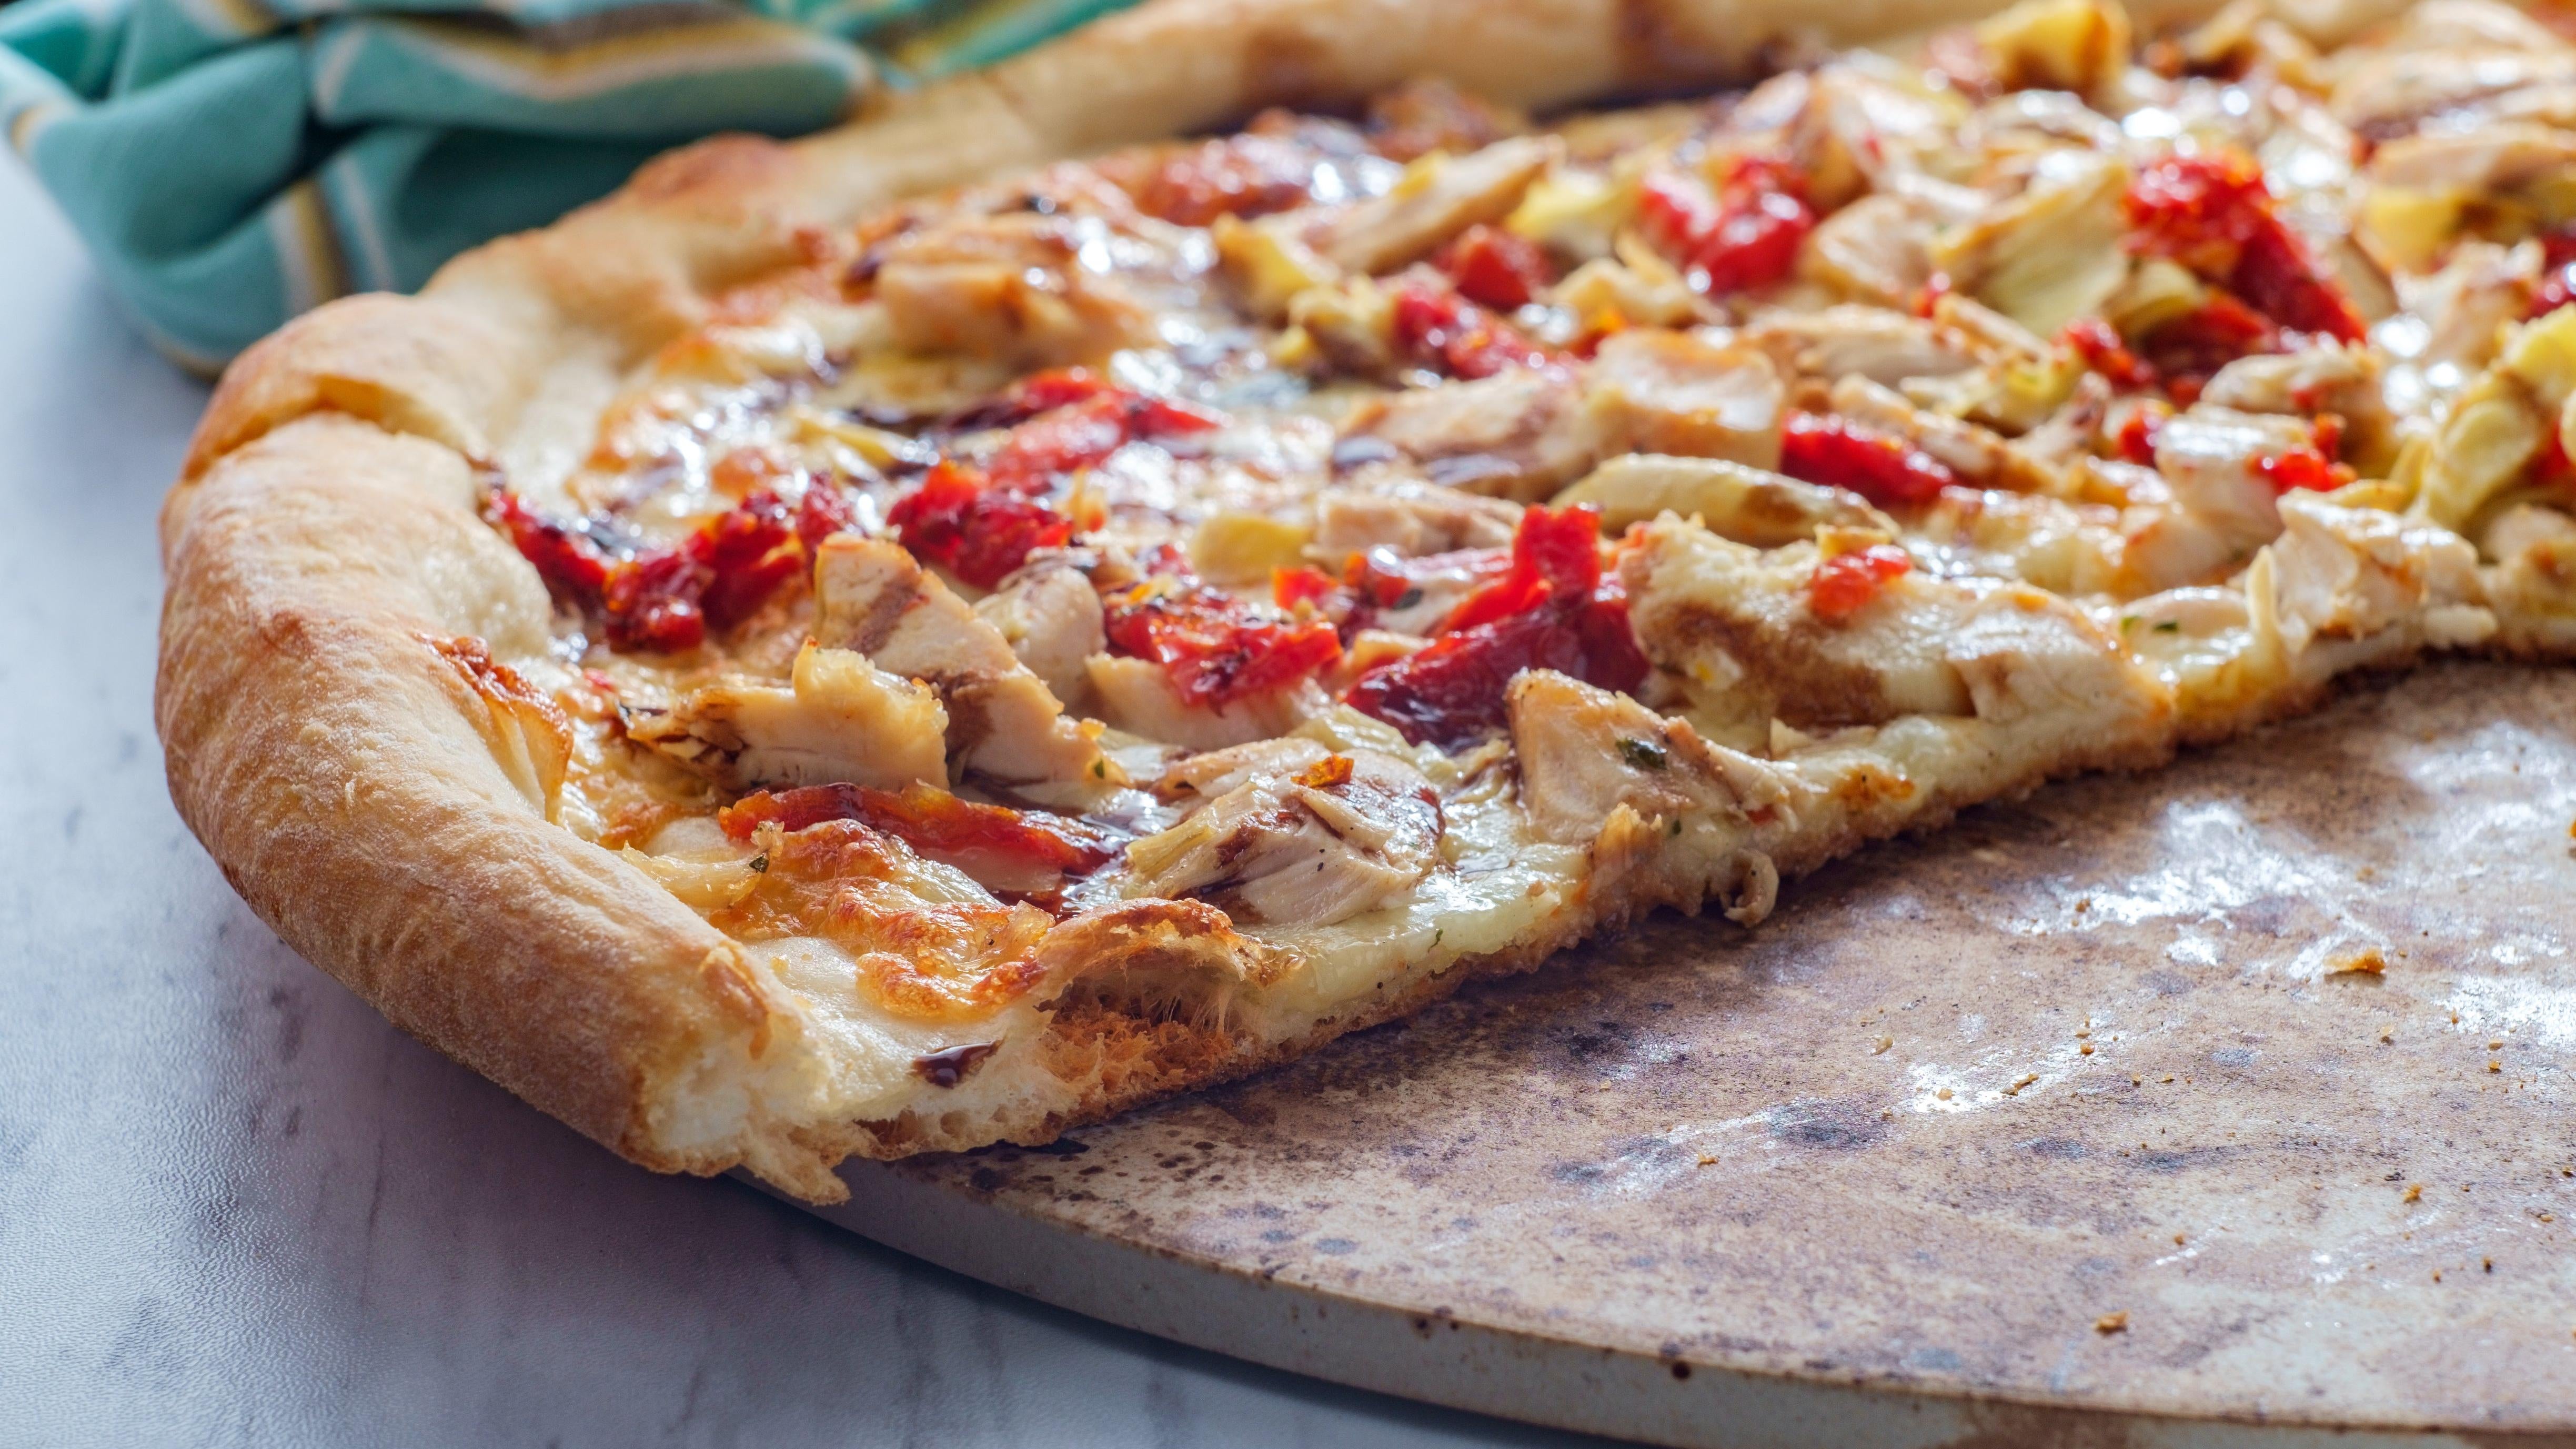
Par-cook veggies and meats
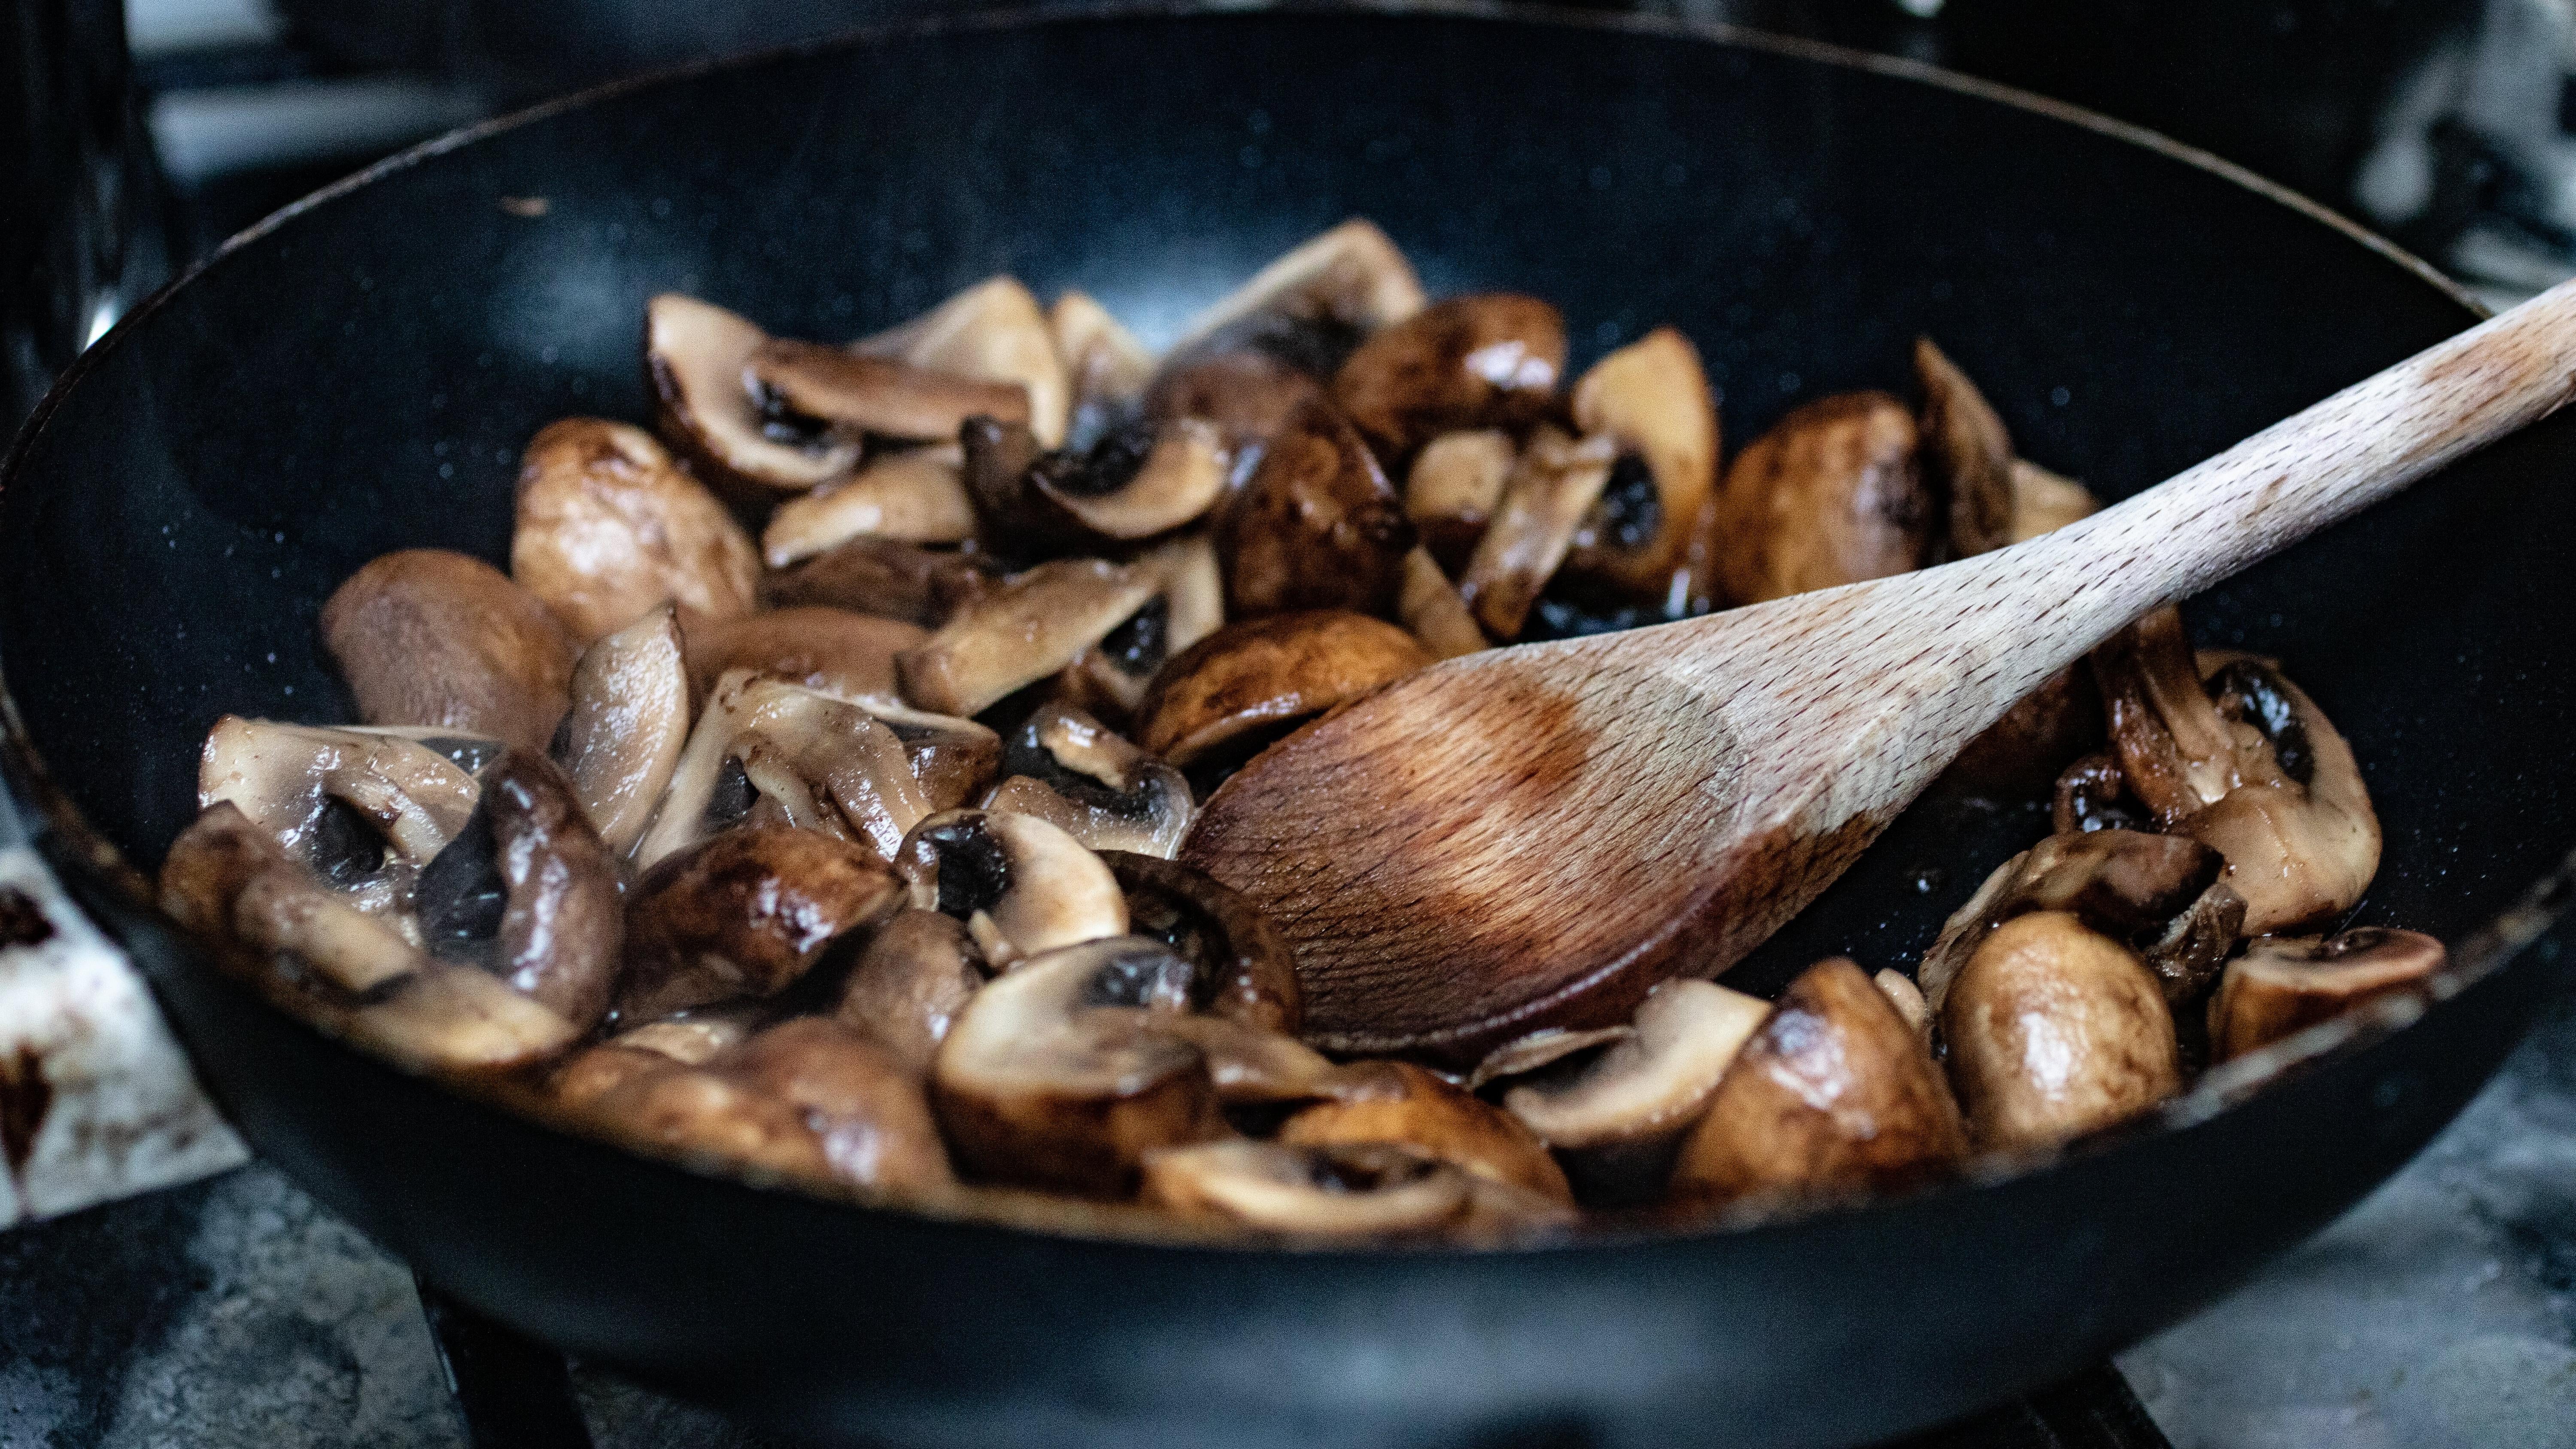
Partially cooking certain toppings is what separates the “OK” home pizzas from the “you should open a pizzeria” home pizzas. It can also prevent you from possibly eating undercooked meat. Not all ingredients have to be par-cooked (cheese), but if you are a fan of sliced veggies, reconsider putting them on raw. Peppers, onions, mushrooms, and many other vegetables will become desiccated, shriveled and chewy in a 230°C oven. Give them some protection from the heat so they hold onto their natural hydration by sautéing them with oil and salt while your dough is proofing. Meats, on the other hand, aren’t in danger of drying out in the oven, but will release excess water and fat while cooking. Par-cooking bacon or sausage beforehand will allow you to control how much grease ends up on your pizza, while also ensuring the thicker cuts are completely cooked through.
Leave a Reply
You must be logged in to post a comment.