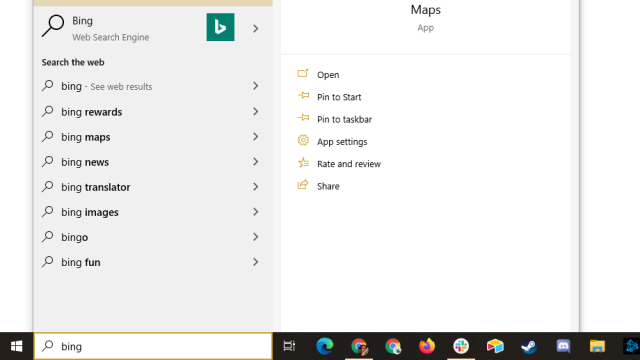
Windows 10: Microsoft has started rolling out its latest operating system, Windows 10. That means there’s going to be some new annoyances to fix. One of the most noticeable is Bing search results showing up in the Start Menu. If you don’t want these, here’s how to turn them off.
Unfortunately, Microsoft has bundled Bing search results together with Cortana, so you’ll lose Windows 10’s new voice assistant with this setting. If you’re ok with that, follow these steps:
- Press the Win key to open the Start Menu.
- Search for “Cortana & Search Settings” and select the option that appears.
- Disable Cortana in the first toggle in the menu.
- Once Cortana is disabled, you should see an option that reads “Search online and include web results.” Disable this toggle.
Once you’ve done this, your Start Menu should only show you results for your local machine. This should make your Start Menu a little less cluttered, as well as a little faster on some older machines.
How to Disable Bing in the Windows 10 Start Menu [How-To Geek]
Comments
4 responses to “How To Disable Bing Search In Windows 10’s Start Menu”
Need a way to change this to Google.
I actually get a window of Settings, none relating to Cortana.
You actually need to type “Cortana & Search Settings” and select “Cortana & Search Settings” (I know it looks a little odd at first and doesn’t look like a selectable option, like it would in Windows 7, but it is).
It should be noted Cortana in Australia for PC has not yet been released, so the Cortana option shown in the image is grayed out and not selectable (the search online option is however).
No I selected it, but nothing happened. I did it three times, and then I finally got the desired result.
As it happens I had the same experience on a friend’s PC about half an hour ago.
The non-availability of Cortana in Australia is not relevant to this exercise as you still need to access this screen to disable Bing results from Search.