Sturdy pots and planters that look nice are some of the costlier elements of expanding your houseplant or garden collection. But you don’t have to settle for cheap plastic pots or drop a fortune on fancy planters if you’re willing to put a little bit of effort into making your own.
Cement planters are relatively simple to DIY using plastic pots you already have. Cement is an ideal material for potting because it’s porous in case of overwatering, and it’s also heavy and durable against weather conditions, as well as easy to customize.
How to DIY a cement planter
First, you’ll need to collect some supplies:
- Plastic flower pot
- Box cutter or buzz saw
- Trowel
- Tarp
- Sandpaper
- Sand
- Concrete mix
- Cooking spray or oil
- Gloves and mask
Note that for your first attempt, it’s best to start with a small pot for an indoor plant rather than a huge planter for your patio. (You actually don’t even need plastic pots to make moulds—here’s a demonstration using plastic bottles.)
Reuse Project for Garden has a helpful video demonstrating the process for making cement planters out of plastic moulds (and one for plastic baskets) if you like visual instruction, but we’ll outline the basics here.
To get started, lay down a tarp on a flat surface, preferably outside or in a garage that has good airflow. You’ll need to cut out the bottom of your pot using your box cutter or saw and sand the remaining rough edges using sandpaper or a knife. This is your outer mould. Next, you’ll create an inner mould by turning the outer mould upside down, packing sand into it, removing the mould and then neatly trimming approximately an inch or so of sand from the entire perimeter.
Coat the inside walls of your pot (outer mould) with cooking spray or oil and place it upside down over the inner mould. Mix up your concrete (follow these instructions and be sure to wear a mask and gloves) and pour it into the mould, using your trowel to smooth the top edge and tapping the sides to avoid bubbling. You can also add a drainage hole.
Leave the moulds to dry for at least two days. When you’re ready to remove the moulds, pour hot water to loosen them and then scoop out the remaining sand.
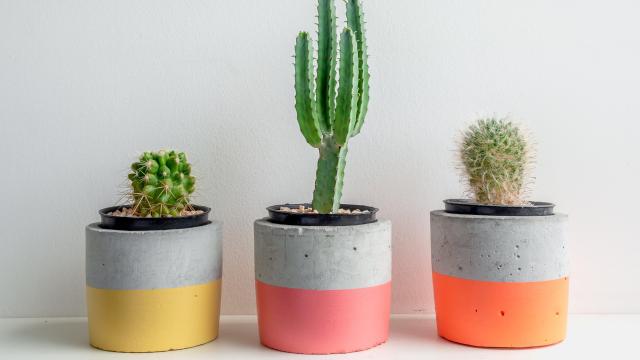
Your planter is ready for use as is, or you can stain or paint it for a different finish. Note that depending on what you’re planting, you’ll need to seal the concrete to avoid too much lime seeping into the soil.
Leave a Reply
You must be logged in to post a comment.