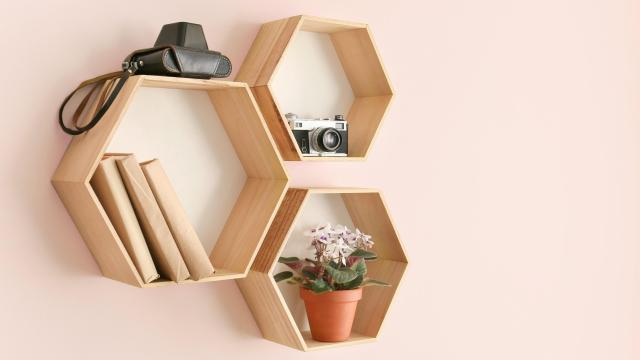
A hexagon shelf can hold anything from cell phones to succulents, and even better, it can be built from scrap wood. It’s a clever, stylish way to upcycle any wood that’s leftover from home repair projects, and just might save you a trip to IKEA (plus you’ll earn bragging rights).
What you’ll need
First, a few tools: A chop saw that can handle angled or miter cuts is preferred, but if you don’t have one of those, a miter box and hand saw can do the trick. You will also need a pencil, tape measure, some painter’s tape, sand paper, and some wood (obviously).
Choose your materials
Choose boards for the sides of your hexagon shelf — either new or reused — that are about 1/2-inch to 3/4-inch thick, and not more than 5 inches wide. (A 1×4 can be a good choice, but any dimensional lumber narrow enough to make your shelf is fine.) It’s a good idea to collect a little more than you think you’ll need in case of errors in cutting or irregularities in the boards.
Measure and cut
Once you’ve chosen your lumber, measure out the six sides of your hexagon. First, decide on the length of your shelf: For something that hangs on the wall, it shouldn’t be more than 20cm. (Keep in mind that if the inside measurement of your shelf is 20cm, the outer measurement will be larger, as the thickness of the board will add to the total finished length.)
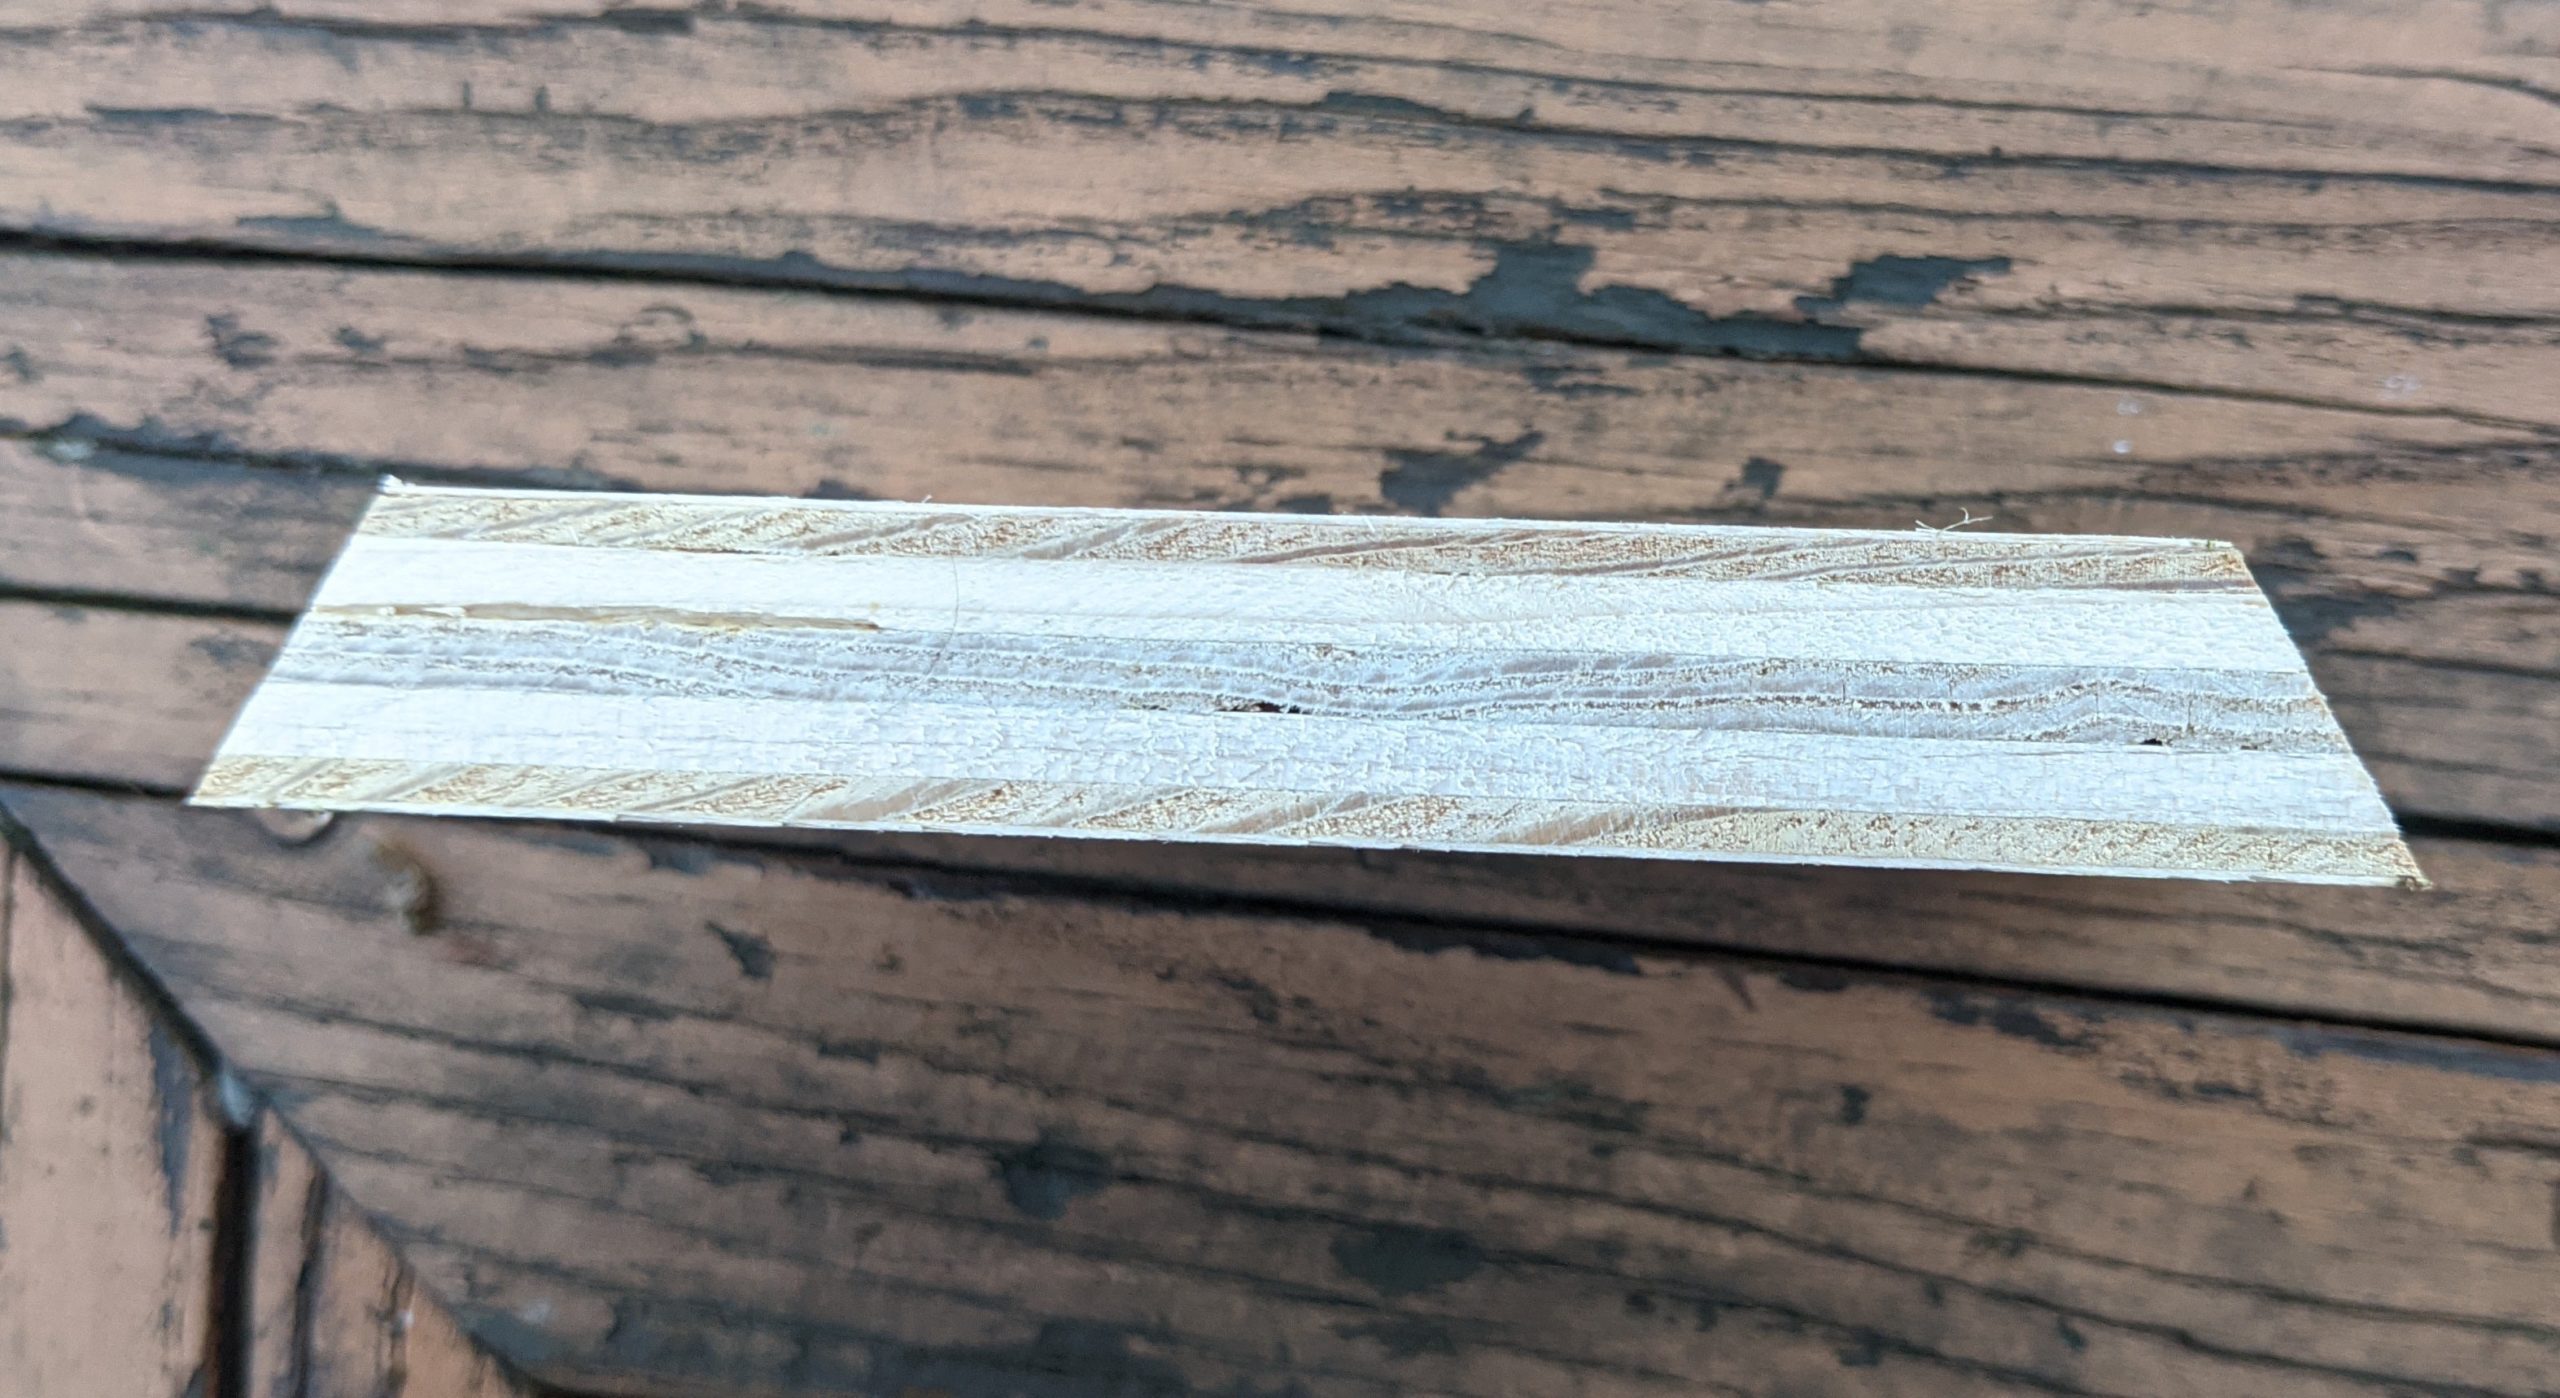
Then, cut the boards at a 30 degree angle on each of their narrowest edges. Find the 30 degree mark on your cutting tool and cut six pieces of wood of the same length, with 30 degree angles on each end.
Attach your pieces
Once you have cut all six pieces, tape the longer sides of your shelf boards end to end and then turn them over. With the boards face up on a flat surface, you’ll see gaps between the pieces — those, fill with your glue.
Then, carefully fold your pieces together to form a hexagonal shape. You’ll need to glue the last two pieces together and tape your final joint once you’ve finished making your shape. Wipe away excess glue with a damp rag. Make sure all the edges line up, and allow to dry for 12 to 24 hours. Remove the tape, sand away any remaining excess glue, paint or stain (if desited) and you’re ready to hang your shelf.
Hang your shelf
You can hang your shelf with a flush mount bracket or other narrow mounting bracket. Simply attach one side of the bracket to your shelf and another to the wall at each top corner of your shelf. Make sure to measure carefully so your shelf hangs level and the brackets line up. Check the packaging of your bracket to make sure it’s rated for the weight of your shelf (and what you want to put on it). You’re now ready to enjoy the stylish fruits of your custom shelf labour.
Leave a Reply
You must be logged in to post a comment.