Apple’s iOS has a lot of hidden gold beneath its shiny surface. Here’s five hidden parts of Apple’s iPhone operating system that you might not know – but you probably should.
I’ve been using Apple’s iOS ever since it formally launched the first model it sold in Australia. Heck, technically sort of even before that, because while we never got the original heavy silver 2G-only iPhone officially, we did get the iPod Touch – and there’s a direct software line there, because it ran on what was originally called “iPhone OS” way, way back in the day.
Over the years, Apple’s taken the basics of iOS and added layer upon layer of features to it, but I reckon the much younger me, were he to travel through time, could still pick up an iPhone 15 Pro Max and work with it fairly well, because Apple hasn’t really messed with what made it an interesting mobile OS at a surface level.
That’s great for ongoing ease of use, but it also means that a lot of the additional features that Apple’s added to the operating system can remain hidden for a lot of users.
What that means is that there’s functions in your iPhone that you might not be aware of that could fundamentally change how you use it.
I’m not going to pretend that I’m an Apple iOS savant; it could well be that there are tips below that you 100% already know, and that’s great. Well done on knowing your device, but not everyone does.
The reality here is that none of this stuff is “intuitive” – we all have to learn it from somewhere – so hopefully you’ll learn something, or remember something that you can pass on to another iPhone user, because the world is genuinely a better place when we all help each other out.
Now with the optimistic sentiment out of the way, let’s get on with the tips, shall we?
Swipe Search Can Do A Lot
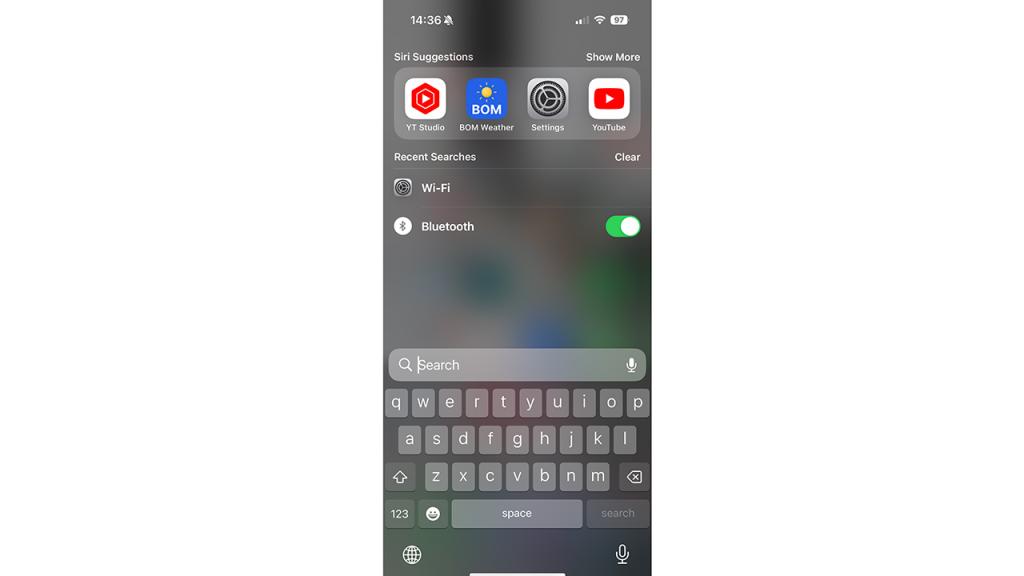
I used to fuss about the positioning of my app icons and their layout on my iPhone screens, because I wanted quick and easy access to them in a logical way that minimised the amount of flicking around screens or (later on for Apple’s iOS) folders to find a given app or game.
I don’t bother with that at all these days in any way. Why? Because with a simple swipe down from the centre of the iPhone’s screen, I can easily search for apps, settings, websites – basically anything that the iPhone can do. It’s a very simple thing (and I’m sure more than a few reading this will already know it) but it saves me a LOT of time. iOS 16 adds this as a search button at the bottom of the screen for simple tap access, but my muscle memory is totally built into swiping for it – and I’m glad it still works that way.
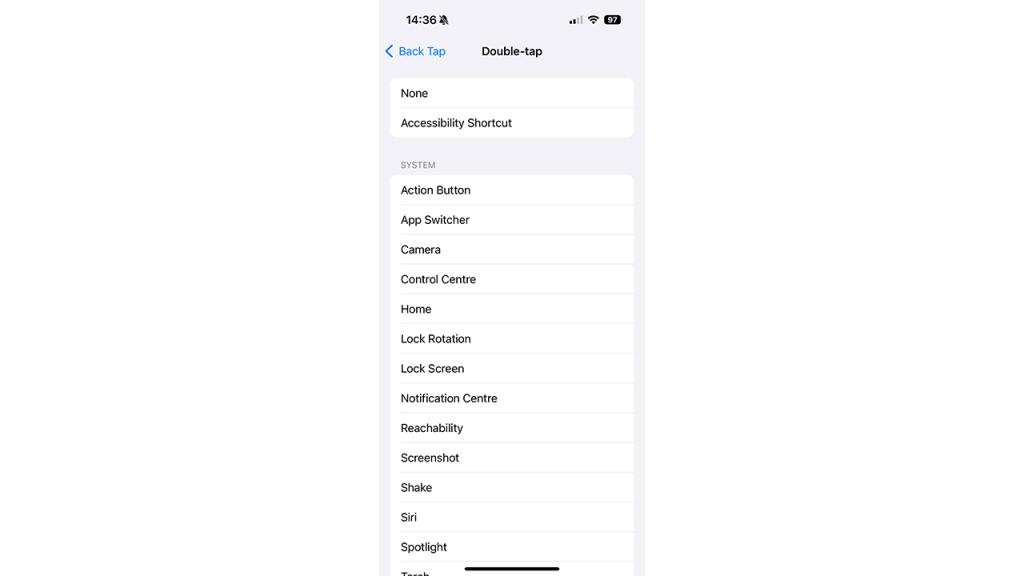
The screen isn’t the only place you can Tap
iPhones work by tapping and swiping the front of the screen, right?
Well, that’s true, but it’s not the only way you can interact with it. It’s been around since iOS 14, but a lot of the time when I’m using a Back Tap shortcut, I get people around me looking like I just performed witchcraft. This is silly – while I do own a black cat, I’ve never quite got the trick of balancing the broom correctly in flight.
Back Tap is a functionality that lets you double or triple tap on the back of an iPhone – and through many, but not all phone cases – to perform a shortcut action. It’s like the Action Button on the iPhone 15 Pro and iPhone 15 Pro Max, but without having to buy one of those, because it’ll work on anything newer than an iPhone 8.
It’s under Settings>Accessibility>Touch.
One cute trick here is that if you do have an iPhone 15 Pro or Pro Max, you can set the Action Button itself as a Double Tap shortcut. Which means the full range of Action Button shortcuts can be yours too with Back Tap if you’ve got a newer Pro iPhone.
Space Bar Text Selection
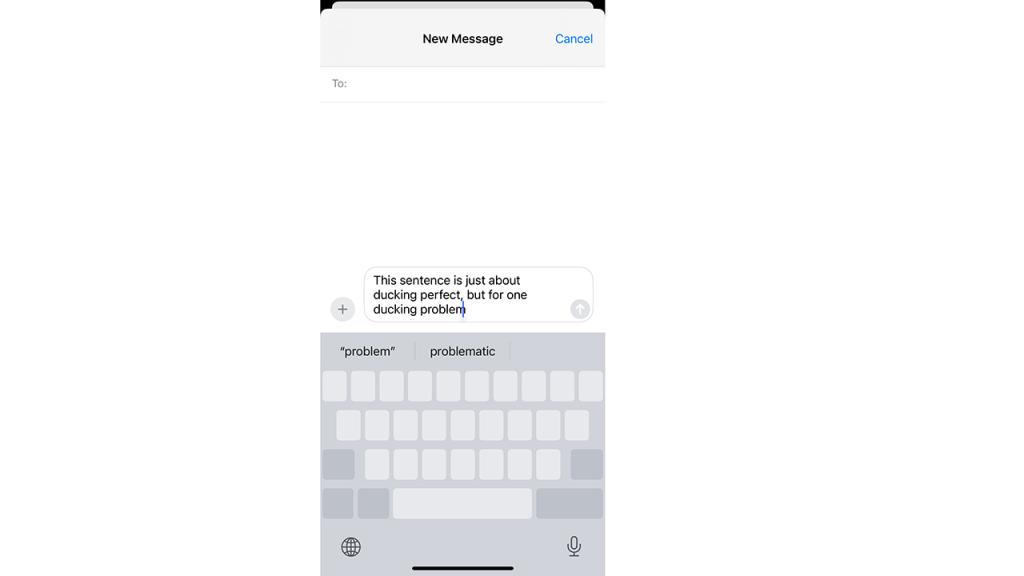
This is another one of those matters that a lot of folks (I think) do know, but it’s far from obvious. Autocorrect can only take you so far when you’re sending a message or creating an email – and let’s face it, sometimes it just ducking gets it wrong – but trying to tap directly into the incorrectly chosen word or misspelling can be a bit of a nightmare.
You don’t have to. For most apps, holding and pressing down on the space bar will give you access to a selection cursor. You’ll know it’s active if the rest of the keyboard keys onscreen go blank. Slide neatly to where you need to change that errant character or two, make your changes and hit send. Easy!
Showing your battery percentage
Not every Apple iOS tip has to be a massive matter. Though it certainly feels pretty massive when your iPhone goes flat, because then it’s just a shiny expensive brick.
This is one of those features that I’ve had to point out to more than a few people who get befuddled as to why their iPhones are going flat when it looks like the blob of battery capacity should still be OK. The tiny icon that shows the battery is a fair visual indicator as long as you’ve got fair vision – but I’m a glasses wearer and I couldn’t easily tell you if my iPhone’s currently on 80% or 70% by that visual measure alone.
Thankfully, I don’t have to.
iOS lets you display the battery percentage within that blob via a simple toggle switch.
Head to Settings>Battery and switch Battery Percentage to “On” to enable it.
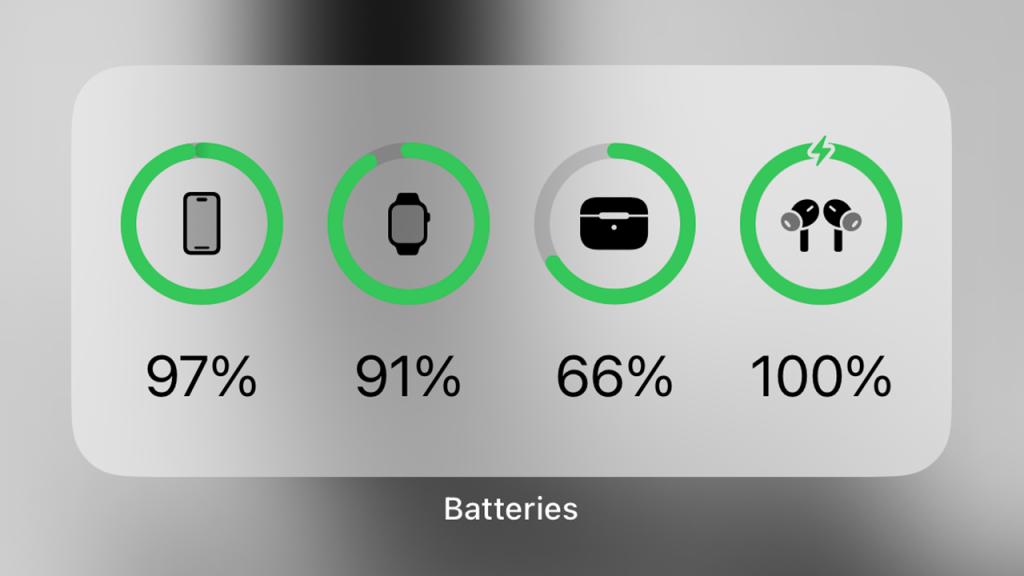
If you’re interested in seeing your battery figures in an even more prominent way (for visual acuity purposes, or maybe that’s your kink, I won’t judge), you can add a dedicated battery widget in a number of styles to any standard page.
Just long press on the screen in a blank area, press the “+” icon in the top left and search for “Batteries”. Choose your style, tap add widget and you’ve got an even bigger reminder of how urgently you might need a charger.
Apple-made gear like AirPods and Apple Watches will also show up on this widget, but it can be fussy as to whether it properly “sees” third party connected devices like Bluetooth speakers, I find. But for the iPhone itself, it’s always there and great.
Quickly take a photo while filming (or a video while in photo mode)

This is another of those “obvious in hindsight” Apple iOS tips, but it is one I use a lot, especially as I’ve been shooting a lot of video for my YouTube channel on an iPhone. Often I’ll also need an illustrative still image to go with an article. Now, I could post-process for that by capturing a still from my shot video… but I don’t have to. If you’re already shooting video and the right still shot appears in front of you, it’s just a matter of tapping the shutter button, which appears in white to the right of the primary shutter/video button in the middle to capture a still image, or above if if you’re shooting in landscape as I was above.
There’s a reverse way to do this as well – with a slight catch that means it’s an iOS tip I don’t use often.
If you’re in photo mode, holding down the shutter button will engage what Apple calls “Quick Take Video” mode. At one point a long press on the shutter would enable burst mode (that’s now a long press and near immediate swipe to the left if you need it), but it now does video capture automatically. Handy if a one-time-only video opportunity occurs right in front of you, for sure.
That version of quick capture is one I try not to use, however, because there’s no way to set or define the video quality it uses – and it can’t shoot in 4K at all.
Bonus Apple iOS Tip: This one’s not to do with iOS features specifically, but it’s something I try to do every single day… and that’s an iPhone reboot.
It’s all too easy to forget that your smartphone is ultimately just a small pocket computer, and they all get kind of crufty and dusty in a code sense over time. A restart can fix all kinds of woes — it’s my go-to tip for anyone having an issue with any phone — and by restarting my phone when I get up in the day, I’m ensuring it’s running as smoothly as it can.
For the Android fans out there – I see you – I do still love me some Android action as well.
Tomorrow, I’ll run you through my five favourite everyday Android tips as well, just to maintain balance.
Just don’t ask me to do the same for Windows Phone, OK? I have my limits.
Image Credit: Apple
Leave a Reply
You must be logged in to post a comment.