Sometimes an old piece of glassware or plant pot simply needs a refresh, or you might have a thrifted item that doesn’t quite go with your decor. Refinishing can be a hassle, especially with ceramic and glassware — but there’s a way to use a bucket of water and some paint to make your old things look fresh again, with a simple faux marbling trick.
What you need before you get started
For this project, you’ll need a bucket of water big enough to submerge your upcycling project, some oil-based craft paint in two to three colours of your choice, or some spray paint in two to three colours of your choice, a barbecue skewer, a stir stick, and a tarp or newspaper to lay down on so it doesn’t damage the surface you’re working on. While spray paint is a popular option for this project, oil-based craft paint is a little bit easier to control. However, for larger items, spray paint is a simpler choice because of the speed you can use it and the size of the container. (For really tiny items or for paper, nail polish will work.)
Make sure to do this in a well-ventilated area because the fumes from oil-based paint are toxic. The substances used to clean up oil-based paint, like mineral spirits or turpentine, are also toxic, so be sure to wear gloves. Also take note that the paint you’re using for this is flammable, so stay clear of sparks and open flames.
How to create a faux marble finish
Set your container of water on a protected surface to begin — the paint you’re using will be hard to remove from most surfaces without ruining them. To create your marble pattern, put a few drops of paint or one spray from the spray can of each colour into your water bucket. The oil won’t mix with the water, so the droplets will float on the surface. Add paint as necessary to make your pattern larger or more saturated. Next, use your skewer to move the paint on the water’s surface, creating a marble pattern. You can be as creative as you like with this step.
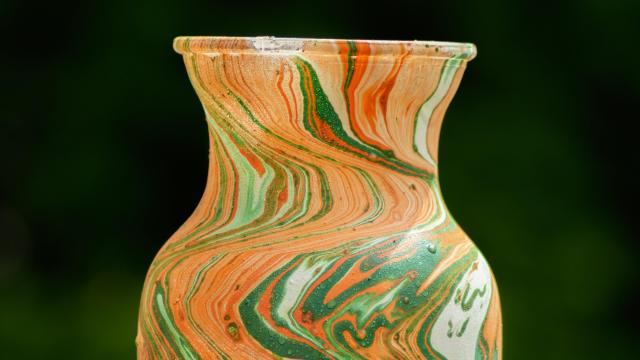
Once you’re happy with your marble pattern, you can dip your item in the water, turning it as necessary to cover the whole thing. If you’re not sure how the pattern will look, you can do a test on a different surface, such as a jam jar, before you commit to the final look. If you don’t have enough paint in the bucket on the first go around, you can add more and re-dip (although doing this too many times will cause the pattern to look muddy). Place your dipped project on a tarp or newspaper to dry, taking care not to smear the wet paint. Watch Phillis at JRC Restoration Decor & Designs use this technique:
To clean up the bucket, use the stir stick to gather the paint from the surface of the water, and then allow the paint to dry on the stick. This will keep the oil-based paint from going down the drain and causing a clog or an environmental issue (not to mention ruining your sink). Once your project is dry, it’s ready to use.
Leave a Reply
You must be logged in to post a comment.