Paint is among the easiest and most affordable renovations you can do to a room. But while it has the power to transform an ageing bathroom, they are humid, damp places where water splashes and steam soaks into every surface. Even if you have a hefty exhaust fan that keeps the room moderately dry, there’s a pretty good chance you’ll still see some mould or mildew in there eventually — especially on the ceiling over the shower, where warm, damp air rises to give aid and comfort to mould spores.
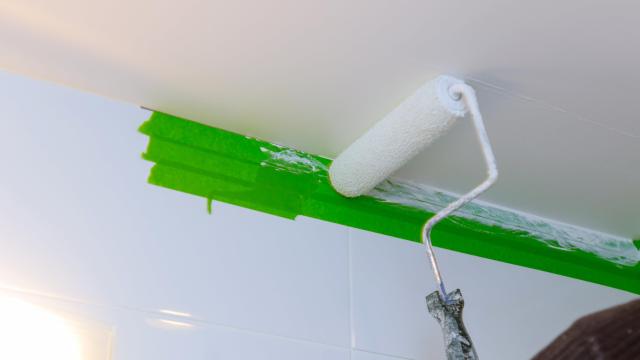
As easy as painting a room is, you’re still probably not painting your bathroom the right way. There are some extra steps when it comes to preparation and paint choice that you have to pay attention to if you want to avoid future problems — and the need to paint your bathroom again.
Clean the walls and ceiling thoroughly
Whenever you paint walls or ceilings, you should prep the surface with a good cleaning. For most of the rooms in your house this will involve a pretty simple wipe-down to remove dust and other particulates that can compromise the bonding of your paint to the surface, but in the bathroom, you’ll need to do one extra step and scrub the walls with bleach or a mould-killing cleaner of some sort.
This is because mould can be lingering on your walls even if you can’t see it. And if you paint over active mould, it will eventually make its way back to the surface. Generally speaking, it’s pretty easy to do:
- Mix 3/4 cup of bleach with a gallon of warm water.
- Scrub your walls and ceiling with the mixture, using a sponge or brush. Make sure you eliminate any visible signs.
- Let sit for five minutes, then rinse.
Now let your walls and bathroom dry out, and you’ll have a nice clean slate to work with.
Prime the walls
Priming is always a good idea when painting a room — and it’s twice as good an idea in a bathroom. A good-quality primer provides a uniform texture and colour for your paint to adhere to, giving the end result a cleaner, more consistent finish.
More importantly in the bathroom, the primer will seal the surfaces and prevent moisture penetration. Even if you’re planning to use a good moisture- and mould-resistant paint (which you should), having an extra layer of seal over the walls can help prevent mould from setting down roots in your walls and ceiling.
Choose a mould-resistant paint
Choosing paint for your bathroom takes a bit more thought than other rooms. In the past, there were some loose “rules” around the finishes that were appropriate for a bathroom (the idea being that flat paints absorbed more moisture and should thus be avoided), but modern paints all do a pretty good job in this department (especially if you choose a moisture-resistant paint formulation to begin with) so you can go flat in there if you want to.
But you definitely should use mould- and moisture-resistant paint. These paints won’t cure an existing mould problem — if there is already mould in your walls, covering it with these paints won’t accomplish much. But if you’re starting with clean, mould-free walls and use these paints, you will keep your bathroom mould-free for the foreseeable future.
Painting your bathroom can be an affordable and fast transformation. Doing it the right way can also eliminate dangerous, ugly mould.
Leave a Reply
You must be logged in to post a comment.