Arduino fans, this project turns TVs on when you want them off. It makes a perfect April Fools’ Day joke or gag gift — or, in the spirit of Evil Week, use it anytime of year to drive people crazy. You can hide it in something inconspicuous, and assuming you already have an Arduino and tools, it costs next to nothing to make.
This post originally appeared on Instructables.
I’ve been working with electronics practically my whole life. I started with Arduino about six months ago, and I’ve already made 150-200 different projects. I’ve also created a ton of other original things with Arduino and other microcontrollers. I even built my own computer, so you know I’m not messing around! Let’s get started.
Step 1: Parts List
Here are the things you’ll need for this project. I have included the Mouser link and the price next to the item.
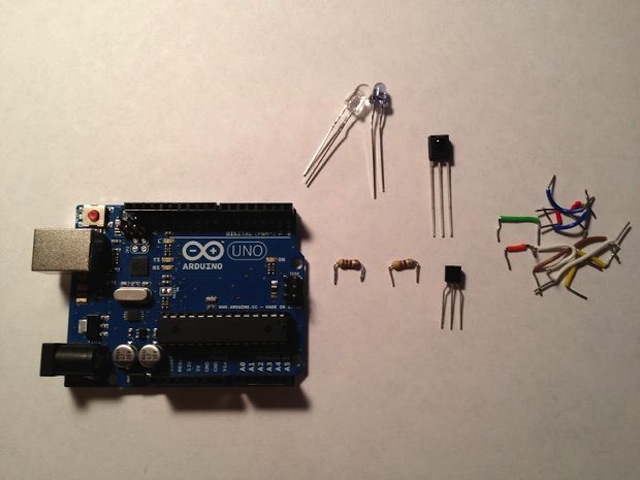
Components
- 1x Infrared Detector
- 1x Wide angle Infrared LED
- 1x Narrow angle Infrared LED
- 1x 2N3904 PNP transistor (or equivalent)
- 1x 10 Ohm resistor (Brown, Black, Black, Gold)
- 1x 47 Ohm resistor (Yellow, Purple, Black, Gold)
- 1x Arduino Uno (or equivalent)
- Some wire (preferably solid-core, 22 gauge or so)
Tools
- 1x USB A-B cable (for programming the Arduino)
- 1x Soldering Iron (Optional)
- 1x Spool of thin solder
- 1x Solderless breadboard
- 1x Computer
- 1x Arduino IDE (can be downloaded here)
Step 2: Wiring
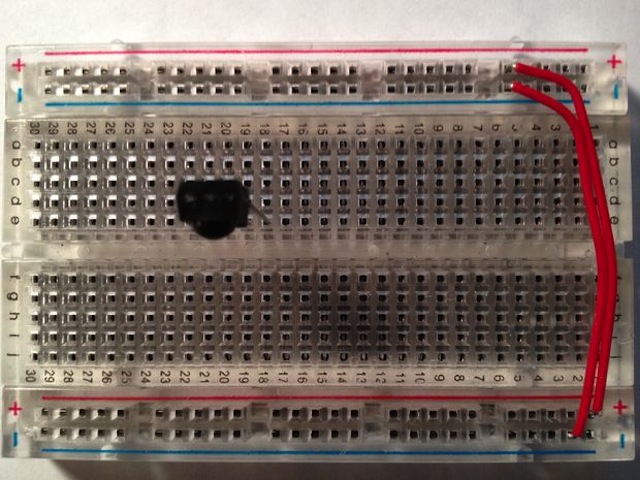
Time to assemble! I did this on a solderless breadboard. (Note: See the original Instructable for complete step-by-step photos.)
1. Plug in IR Detector. Make sure the dome on it is facing you.
2. Connect the leftmost pin of the detector to Arduino Digital pin 2, the middle pin to Ground, and the rightmost pin to +3.3V.
3. Plug in the 2N3904 NPN transistor. Make sure the flat side is facing you.
4. Connect the leftmost pin of the transistor to the 47 Ohm resistor, the middle pin through the 10 Ohm resistor to Arduino Digital pin 3 (PWM), and the rightmost pin to Ground.
5. Connect the cathodes (negative, has a shorter leg, and the side is marked with a flat part to indicate the cathode) to the other end of the 47 Ohm resistor, and the anodes (longer lead, not the cathode) to +3.3V.
Step 3: Upload the Sketch
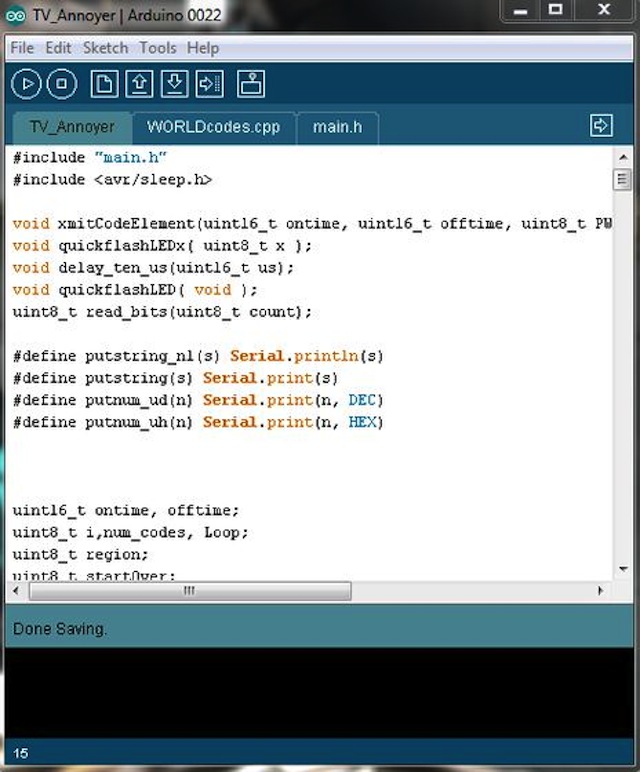
Now for the programming. Connect your Arduino to the computer using the USB A-B cable, then download the .ZIP file. In the .ZIP file, there should be a folder called “TV_Annoyer”. Copy this folder into your Arduino Sketchbook folder. On a Windows machine this is usually located in “C:UsersDocumentsArduino”.
Open the sketch in the Arduino IDE (downloaded from the Arduino.cc website), and upload it to the Arduino board. If it doesn’t upload right, try these troubleshooting tips:
1. Restart the Arduino IDE.
2. Try unplugging/replugging the Arduino into the computer.
3. Make sure that your Arduino is properly connected to your computer.
4. Check if your correct board is selected in the “Tools>Board” menu at the top of the IDE.
5. Make sure the right COM port is selected in the “Tools>Port” menu at the top of the IDE. You can check which COM port your Arduino is on by (on a Windows machine) clicking the “Start” button, and searching for “Device Manager”. Then click the arrow next to the “Ports (COM & LPT)” selection. Your Arduino board should be on that list, next to the COM port it is attached to.
Step 4: Use It!
After you’ve successfully connected everything and uploaded the sketch to the Arduino, it’s ready to be used! Test it out by putting it near your TV, plugging it in to a power source, and clicking the TV’s remote. Make sure that the IR LEDs are pointing at the TV and the dome on the IR Detector is facing towards the remote control.
Step 5: Solder It (Optional)
If you wanto to solder it to make it smaller, go right ahead. I would recommend using a small piece of perfboard to solder it to. (It could even be a shield if you want!)
$1.50 Arduino TV Annoyer [Instructables]
Alex Gay enjoys coding, building things, and disassembling things to see their inner workings. He hopes to one day work for Microsoft or Intel designing computers and computer components.
This post is part of our Evil Week series at Lifehacker, where we look at the dark side of getting things done. Knowing evil means knowing how to beat it, so you can use your sinister powers for good. Want more? Check out our evil week tag page.
Comments