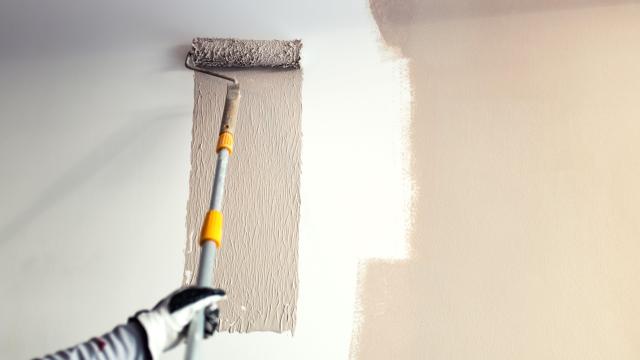
It happens all too often: You do some light renovation or some unexpected repair work that requires you to replace just a section of drywall, or your wall gets stained or scuffed in some way that requires a few coats of paint. You don’t have any paint left from the original job, but maybe you still have a record of the colour and brand, or you take a sample to the store to get it colour-matched. Problem solved! Unless the new paint is just a hair off the original shade.
Even tiny differences in hue and sheen will show up clear as day in decent light, making your wall look mottled and slapdash. Even if you’ve bought exactly the same paint, this can happen if your wall has faded a bit over the years — and colour matching, while incredibly useful, isn’t always 100% accurate. Now you’re faced with re-painting the entire wall — maybe the entire room — to make it look uniform and consistent.
Or are you? Maybe there’s another way. If your can of paint is just a shade or so off from what’s on your wall, you might be able to adjust it. Here’s how.
Take it back to the store to tweak
The store where you bought it might be able to lighten or darken a paint colour for you. All paint starts off with a white base, and then pigments are added according to a formula to get the desired colour. To make a slightly lighter or darker version of that colour, all it takes is to use slightly more or less of those pigments. Someone experienced with mixing paint may be able to bump it up or down a shade for you. You might want to start with a quart instead of a gallon to make sure before you commit. If you’re already buying a quart, ask if they’d be willing to make a tester size for you.
How to adjust the shade yourself
If going back to the store isn’t an option (or if they’re simply not interested in fussing with the paint formulas for you), you can adjust paint yourself with a little determination.
If you don’t have a stirrer attachment for your power drill, you should probably pick one up. It will make mixing your paint a lot easier and faster, and you can wind up doing a lot of stirring as you try to get a precise match on your paint. If you’re dealing with 3 l (or more) of paint, having a big 10 l bucket is helpful, too — adding paint to a nearly-full 3 l tin is going to be messy. If you’re trying to tint a smaller amount of paint, a 4 l bucket is probably a better choice.
Here’s your procedure. Note that this isn’t a precise science, so take your time:
- Depending on whether you’re lightening or darkening your paint, purchase white or black paint in the same paint family (i.e., interior gloss, eggshell, etc.) You probably don’t need more than a quart of this, because you’re only using it as a tint. An alternative to black paint would be to look at the colour chart or paint chips in your paint’s brand and choose a slightly darker shade in the colour family by going down one or two selections — this keeps the “tint” in the same colour family, which can get a closer match, but also makes it a more complex process for mixing. The rule of thumb: If you need to adjust by just a shade, go with black. If you think it needs to go a few levels darker, try a darker version of the same colour.
- Pour your not-quite paint into the bucket — the whole can.
- Add your “tint” (light or dark) in 5% increments. Resist the urge to use more to speed up the process; you want to go slow because you’re trying to adjust your paint shade by a small amount.
- Mix well: Fire up that power drill and go to town.
- Apply a small amount to the wall, and let it dry. Wet paint will always look different than dry paint. Seal up your paint and go relax for a while.
If you still haven’t quite nailed it, repeat the process until you get there.
Note that using white and black paint will only work to a limited extent — you can lighten or darken your paint one or two shades with great success. After a few rounds of tinting, however, you’ll start to drift too far from the base colour and it won’t look right. Ideally, one round of mixing is where you want to stop.
This process can also be used if you’re painting a whole room with a fresh colour and simply decide you chose the wrong shade and you don’t want to just waste several gallons of good paint — it’s easier, in fact, because you’re adjusting just to please yourself and not match an existing paint job.

Leave a Reply
You must be logged in to post a comment.