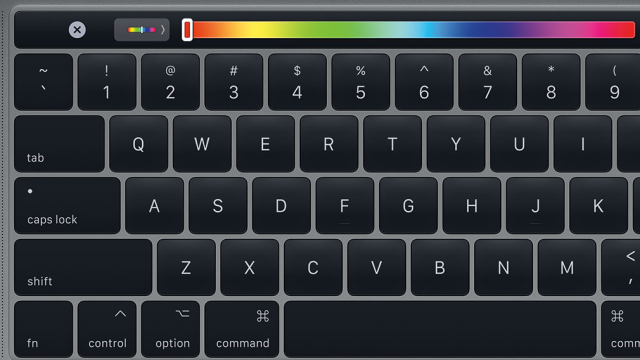
Mac: If you’re fancy enough to have a MacBook with a Touch Bar, and you don’t hate that Apple replaced your physical keys with virtual ones (perhaps a blessing, given the former’s quality), you may have already tried customising it a little bit.
Photo: Apple
Maybe you swapped out a virtual button or two on the Control Strip, or elected to forego the app-specific customisations you can get in favour of permanent function keys – just like old times.
While you’re limited to small range of customisations in macOS by default, you can do a lot more with your Touch Bar. (I’m a fan of dropping in Nyan Cat, myself, but that will probably drive you crazy after a few minutes.)
Instead, try checking out the app BetterTouchTool, which gives you complete control over your Touch Bar. (And thanks to Lifehacker reader jsimon for pointing it out!)
Before I get into the app, a quick word: It costs $US6.50 ($9.87). I normally like to find free alternatives when possible, but BetterTouchTool is so good that it’s worth plunking down a little cash. Also, it comes with a generous 45-day trial, so you’ll get plenty of time to figure out if it’s for you before you pay a meagre fee for the full version.
So, what can BetterTouchTool do?
I’m glad I asked. First, download, unzip and install the app (just double-click on it and follow the prompts, which will drop it in your Applications folder and grant it access to your system’s Accessibility API). Once you’re in the app’s Preferences screen, just click on the “TouchBar” section on the top navigation.
From there, creating new buttons for your Touch Bar is easy. Just pick which app they should apply to – “Global” for “anytime” or a specific app that’s running on your system – and click on the “+ TouchBar Button” option on the bottom of the Preferences window.
Assign a keyboard shortcut or other action to the button and… that’s it. That’s all you have to do.

Screenshot: David Murphy
You can also assign widgets to your Touch Bar – things such as your laptop’s remaining battery life or the system clock – and customise what’s displayed for every program.
Adding self-created buttons will muck up the default options any app comes with, and you can’t just “import” the buttons that, say, display whenever you pull up Chrome. You’ll have to recreate them when you’re customising new buttons for the app.
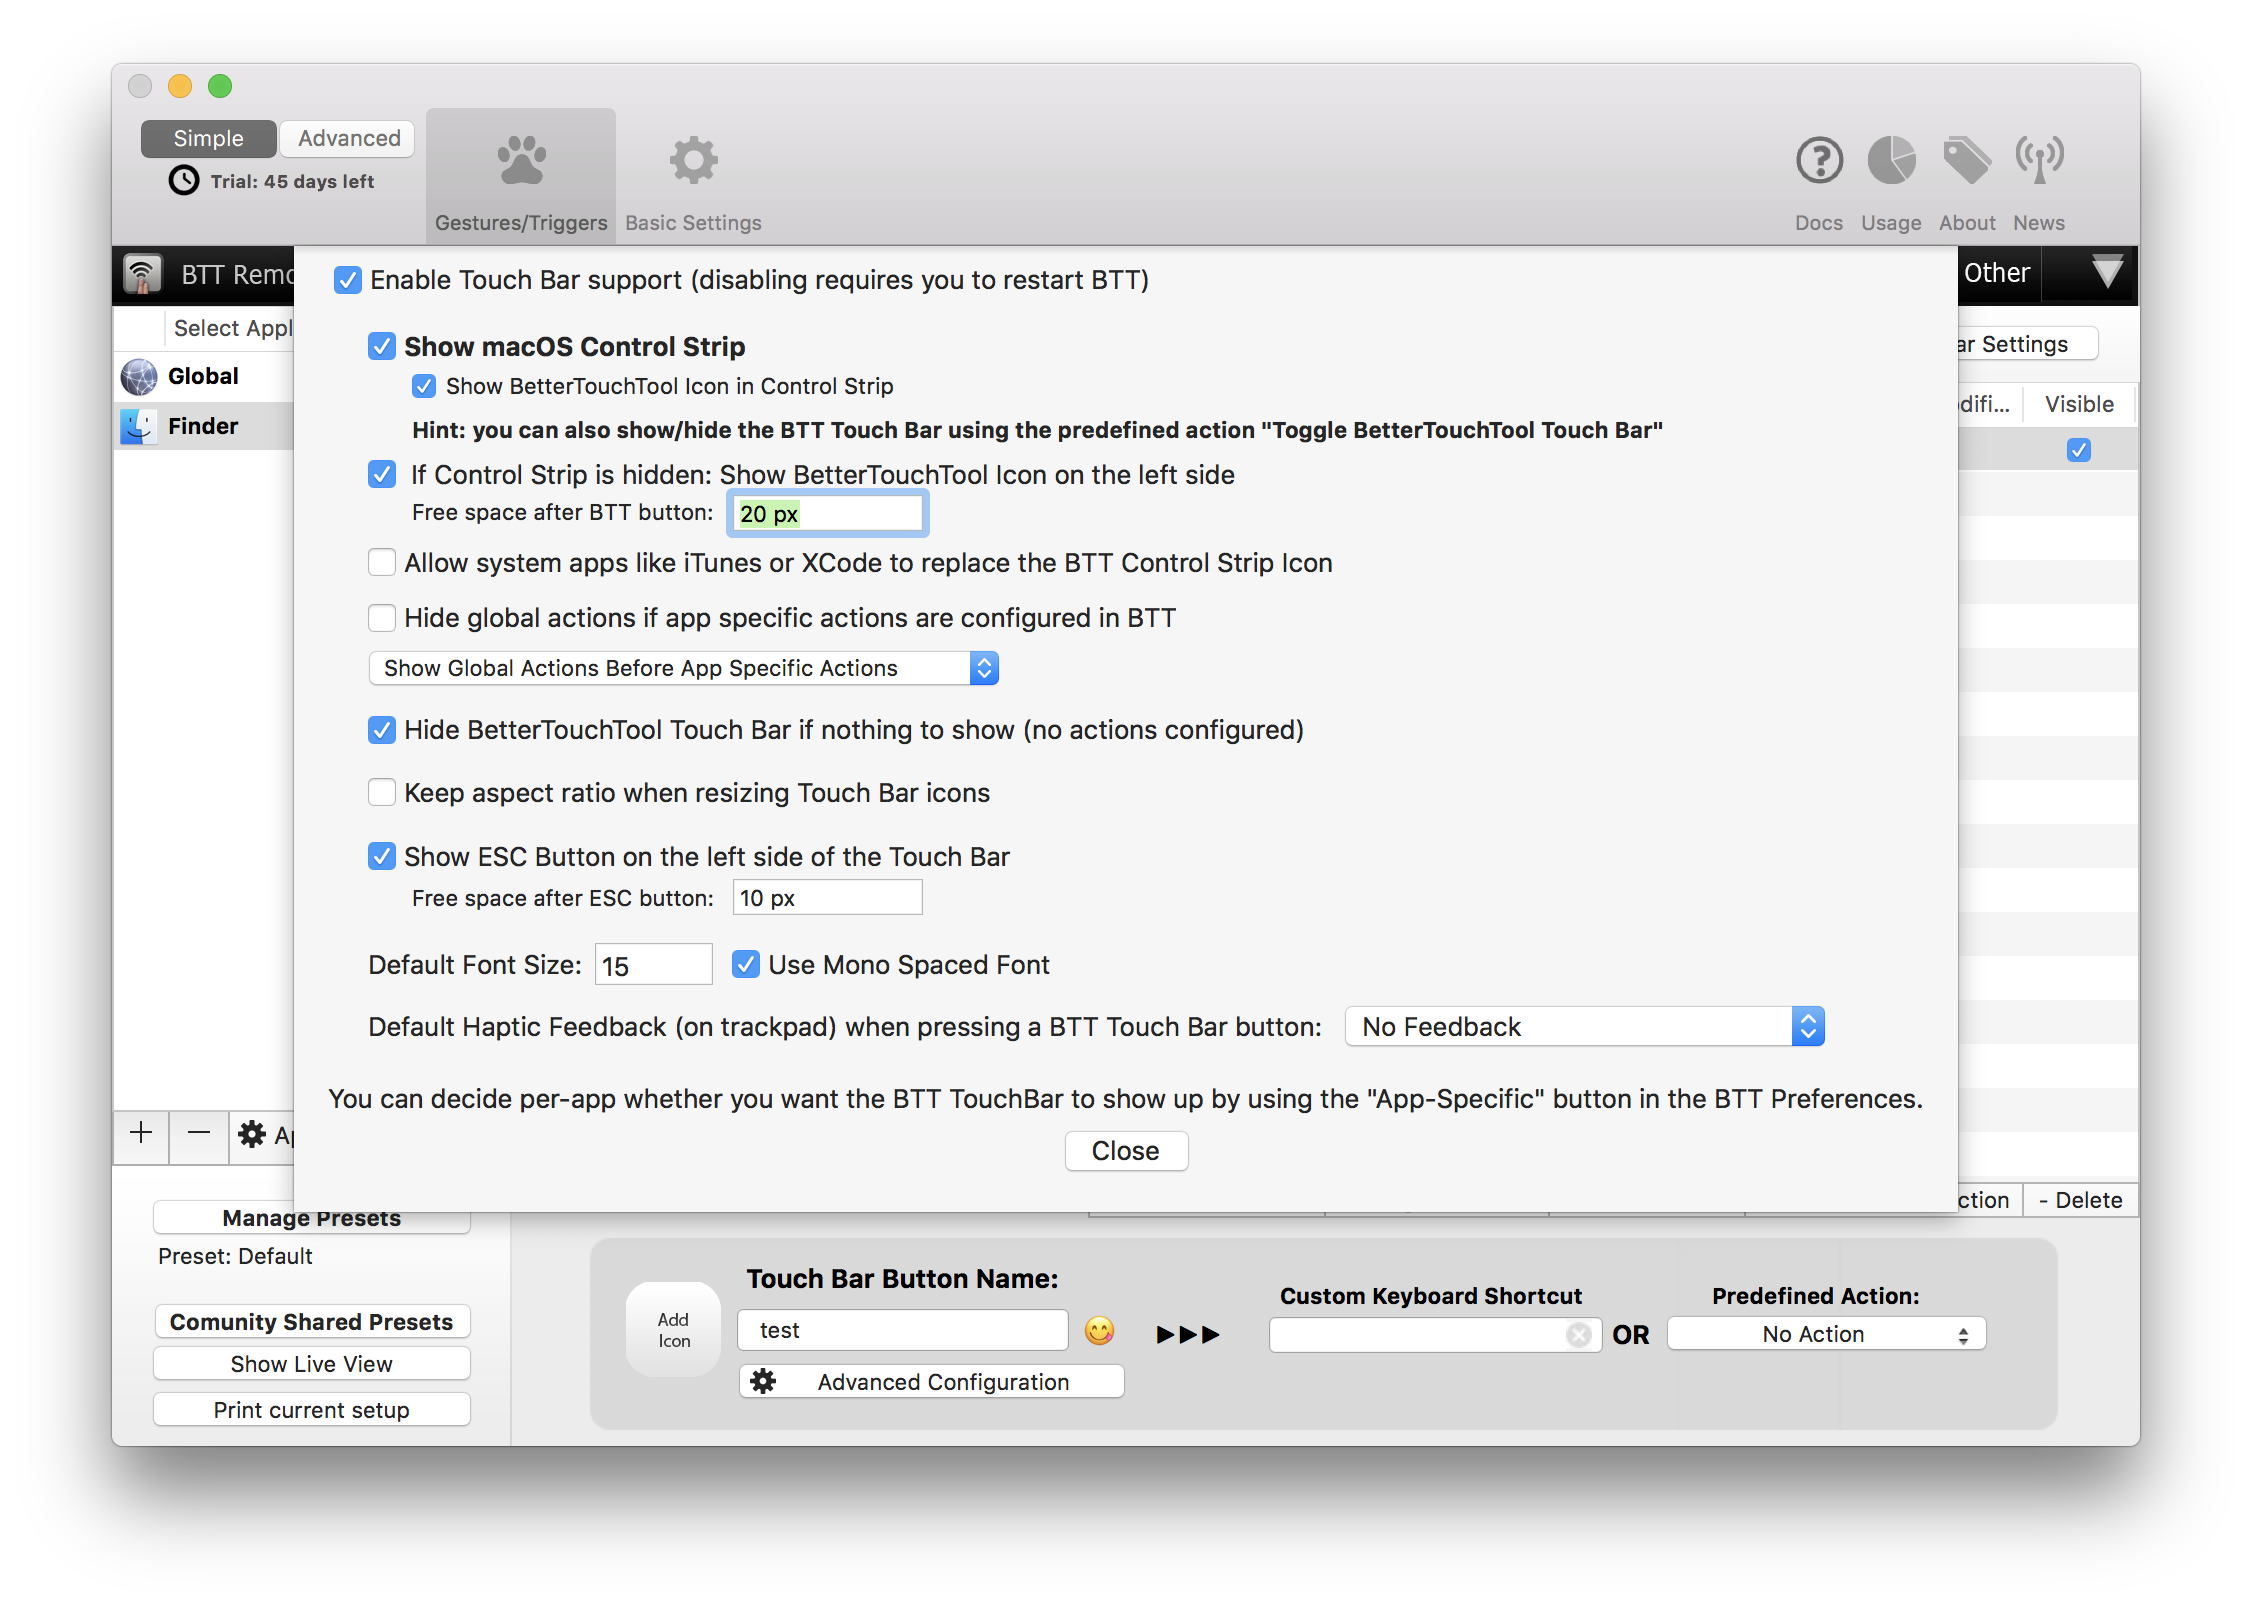
Be sure to explore BetterTouchTool’s Settings, too – found beneath the “General Touch Bar Settings” button in the upper-right of its window – which will allow you to decide whether you even want to see the Control Strip (or when) and whether you want to prioritise global actions over app-specific actions you create, to name a few options.

Screenshot: David Murphy
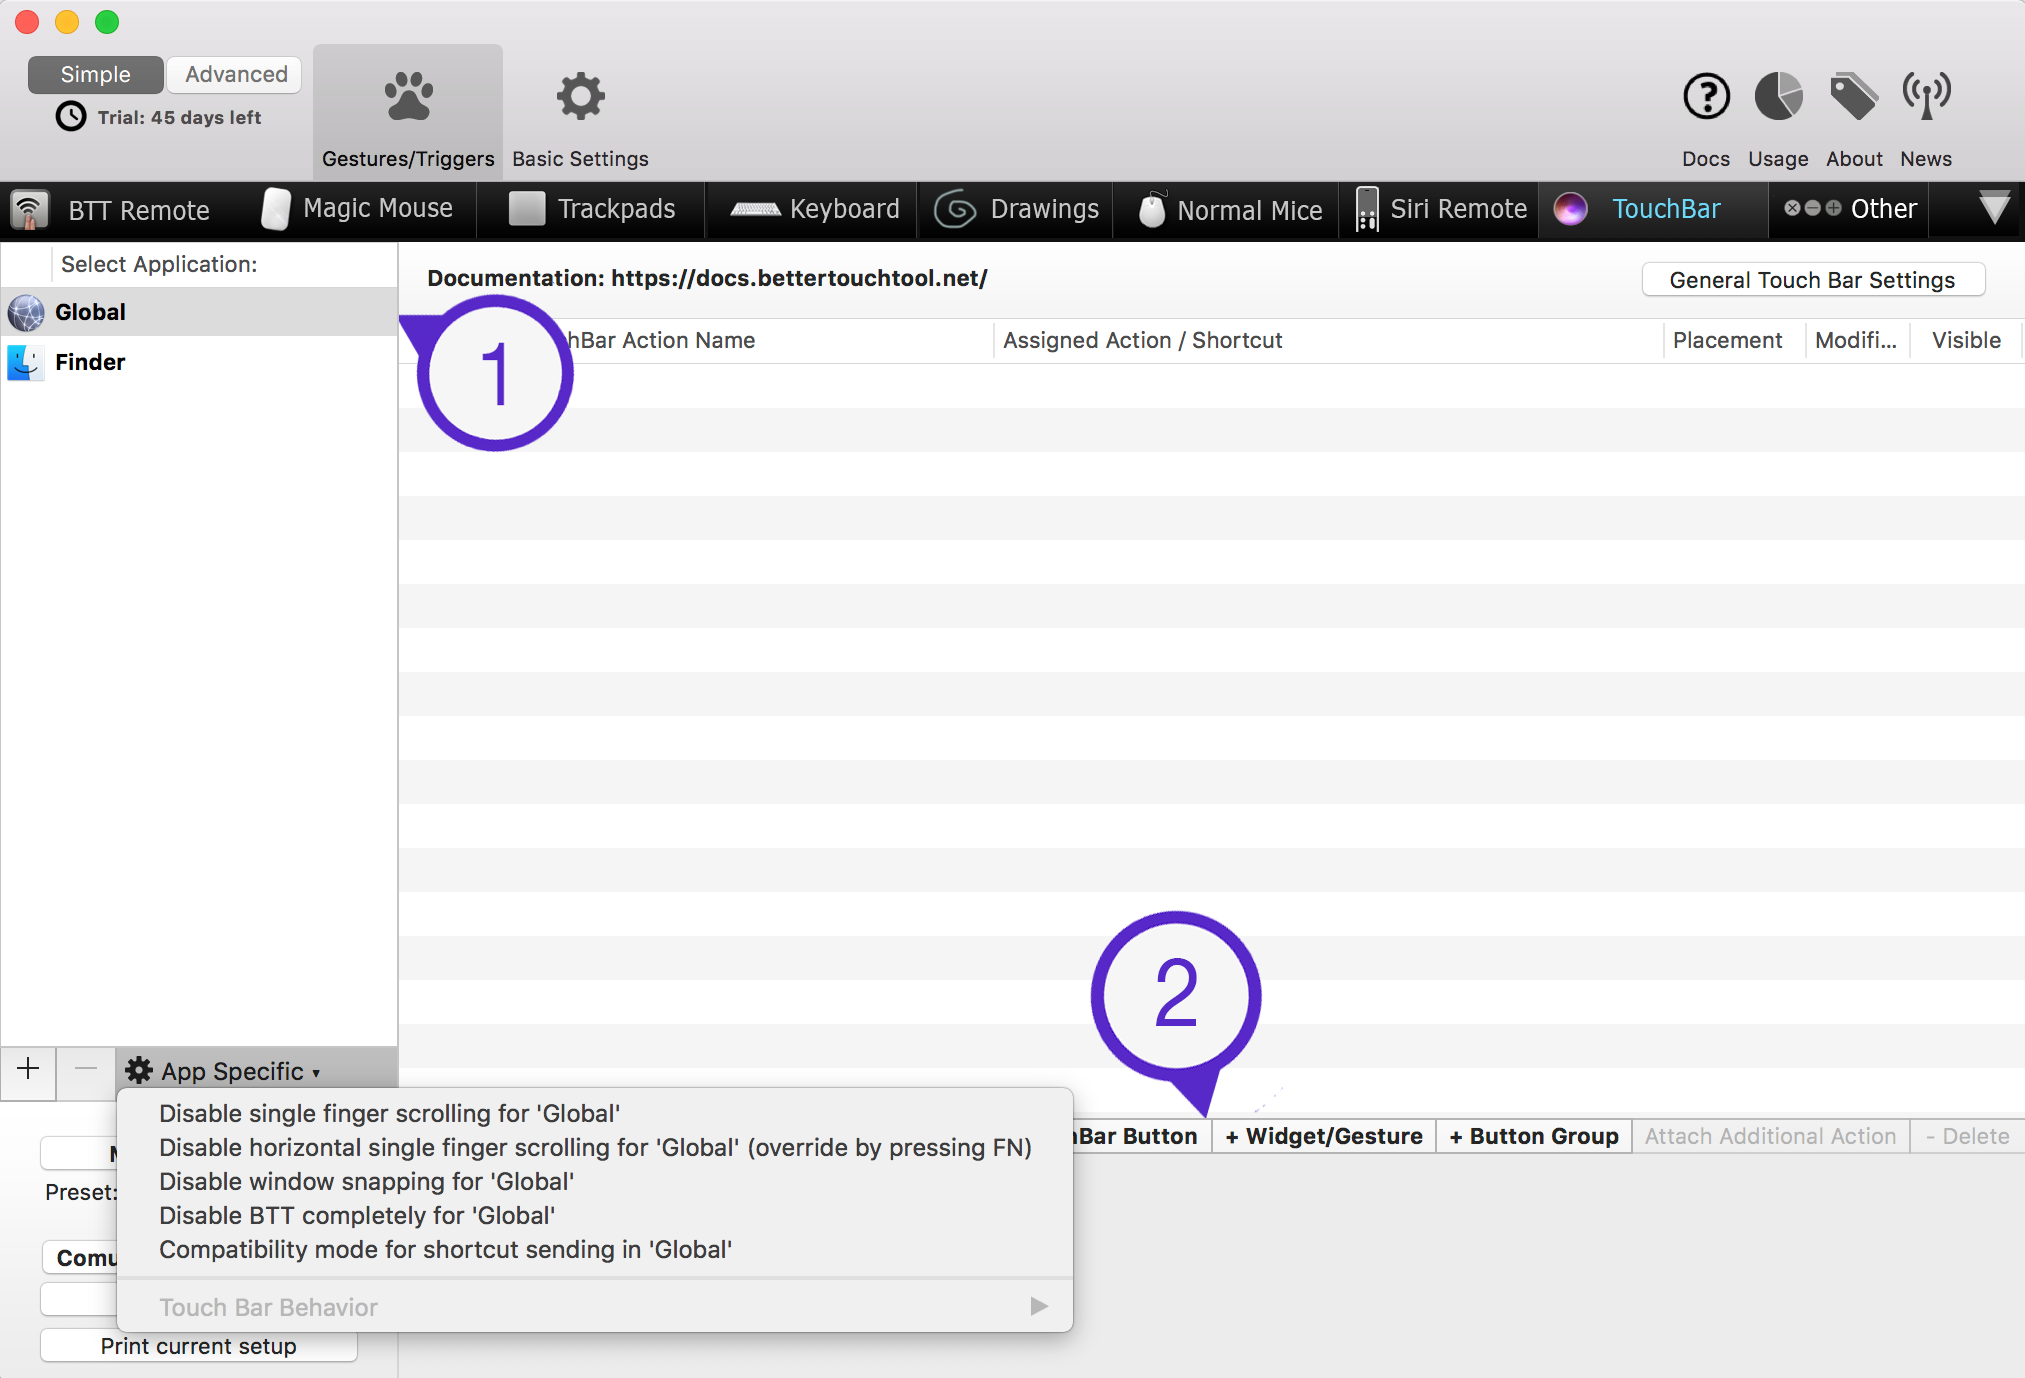
You can also set even more preferences for each app by clicking on the slightly more hidden “App Specific” dropdown button on the left-most sidebar.

Screenshot: David Murphy
BetterTouchTool might feel a bit overwhelming at first, since your imagination truly is the limit for what you can do.
You can also just download someone else’s configurations for specific apps if they’re willing to share (or if you find anything neat at the official BetterTouchTool community page).
Whether you’d rather hunt for those or create your own configurations, well, I’ll leave that up to you.

Comments