When planning our family’s first real vacation, we knew there would be moments when our boys would want (or need) to be away from one another and do their own thing inside the amusement park. That also meant that we wouldn’t know where we all were without constantly texting each other (annoying), and we wouldn’t be able to make purchases on the same credit card, making it difficult to track our expenses.
There were more first-world problems to consider: Since upgrading to an iPhone 15 Pro, the high-resolution photos have taken up more space on my phone. I knew that downloading any images my wife would send me would eat up what little space I had left. Additionally, controlling what my boys would watch on their iPad during the six-hour drive to the park would be challenging—since we’d be in the front seat, we would never know if they were tired of How to Train Your Dragon and were threatening to discover Game of Thrones.
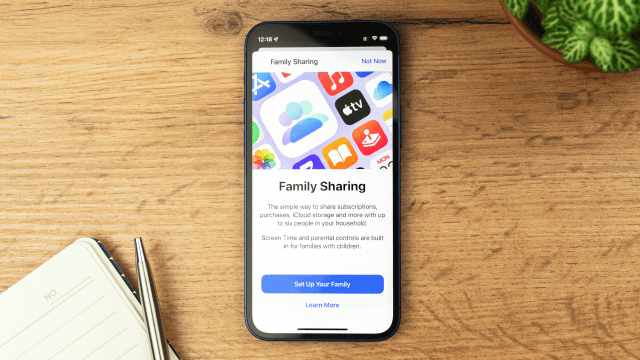
Thankfully, we considered these possibilities before we left, and solved for a lot of them by setting up Family Sharing across our iPhones and other Apple devices. This feature lets you track the location of everyone in your family, set up parental controls, add and organize photos in a shared folder, share certain app subscriptions, and even share Apple Payments.
If this feature could be helpful on your next vacation, or make life easier for you and your crew in general, read on to learn how to set it up on your Apple devices.
How to set up Family Sharing on your iPhone
On your Settings app, tap on the section with your name. On the next screen, scroll down and tap on Family Sharing. Follow the onscreen instructions to set up your group and add people to it—you can add up to five additional family members (though of course they need not actually be in your family).
Any additional adult members added to your group can be designated as Parent/Guardian so they can manage parental controls for the underage members of your group.
Once you’ve added your group’s members and given them their designations, you can pick and choose what each member can access:
- Passwords and passkeys: It’s easy to forget your Hulu password. To share your account login information securely with your family, go to the Settings app and click on Passwords. You will be given the option to set up Family Sharing for specific passwords, so you never have to give them out via text again.
- iCloud Drive: To share photos, videos, and other files without sending multiple texts or emails, you can set up a shared folder on your iCloud drive. Just tap the Share icon on the file and follow the prompts to select who has access.
- Subscriptions: To give family members access to your Apple TV+ or other subscriptions, head to the Settings app and tap on Family. Then click on Subscriptions. You can manage the Apple services you want to share with your family there.
- Purchases: On the Family screen, tap on Purchase Sharing to share items you’ve purchased via Apple, including all those movies you bought back when you had an iPod.
- Location: Tap on Location Sharing on the Family screen to share exactly where you are with your group. Repeat this step for each family member. They’ll receive confirmation that you share your location with them and will be asked to return the favor.
- Apple Card and Apple Cash: To share access to your Apple Card account with a spouse or family member, tap Apple Card Family on the Family screen and follow the prompts. You can also set up an Apple Cash account for your children so they can use their phones to make payments
- Parental controls: From the Screen Time section of your Settings app, you can manage how long kids are able to be on their device (including setting individual time limits on an app-by-app basis), what purchases they can make, what websites they can access, and what content they can watch. To get started, you can learn more here.
One convenient feature of Family Sharing on your iPhone is that you only have to set it up on one device. Once completed, it’s available on all your devices signed in to the same Apple ID. Organizers can add additional members at a later time, again, up to a maximum of five.

Leave a Reply
You must be logged in to post a comment.