The Voice Memos app comes pre-installed on every iPhone and it’s a great way to reliably record any kind of audio. Over the years, the app has amassed robust features like audio editing and enhancements that make voice recording a joy. The app is so good that you won’t need to spend money on third-party apps or a separate recording device.
How to record audio on iPhone using Voice Memos

Credit: Khamosh Pathak
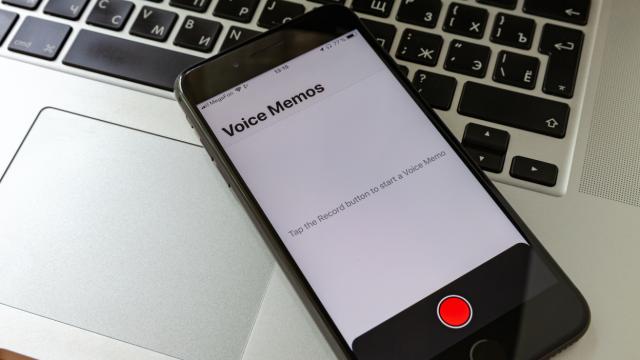
Swipe down on the middle of your iPhone Home Screen, search, and launch the Voice Memos app. First, tap on the All Recordings option at the top. If this is your first time using the app, you’ll find a blank screen and a red Record icon. Tap the Record icon to start a new recording. You’ll see a live waveform to tell you that the audio is being recorded. When you’re done, tap the Record button again.
The recording will show up at the top, titled “New Recording.” Tap on the title to give it a more recognizable name.
How to enhance your voice recordings on the iPhone
Tap on the Settings icon to see a couple of helpful options.
First, you can speed up the audio, or slow it down. You can enable the Skip Silence option to automatically remove silent breaks in the audio recording; this is especially helpful if you’re recording a long college lecture or a podcast. You can also enable the Enhance Recording feature, which will do wonders for the audio quality. Apple will automatically apply audio effects to improve the quality of audio. If you’re recording spoken voice, then the app will automatically reduce background noise and echos.
How to edit voice recordings on the iPhone

Credit: Khamosh Pathak
Tap the three-dotted Menu button on the top of the audio recording, and choose the Edit Recording option. This will open a waveform audio editing interface. You can scroll to any point in the timeline to replace or add to the recording.
Let’s say you want to replace the last part of the audio. Go to that point, tap the Replace button and the new audio will be recorded over it.
You can also edit the audio file itself. Tap the Trim icon in the top-right corner. You’ll see a Yellow scroll bar at the bottom. Here, you can drag the left and right yellow scroll bars to only select the parts that you want to keep. Then, tap the Trim button.
This works the other way around, as well. You can drag the left and right yellow bars to only cover the part in the middle that you want to delete. Then tap the Delete button, and the rest of the audio will flow seamlessly. When you’re done with the edits, tap the Save button to save the changes, and tap the Done button.
And finally, you can also share the recording from the app. Tap the three-dotted Menu button, and choose Share. Here, you can share the recording over AirDrop, Messages, Email, or third-party apps.
The Voice Memos app is filled with little touches and hidden features for managing voice recordings. Take a look at our dedicated Voice Memos features guide to learn more.
Leave a Reply
You must be logged in to post a comment.