Saving seeds seems hard to do, until you’ve actually done it. But with the cost of a packet of seeds now ranging from $US4 to $US10, the financial incentive is well worth it. Additionally, you end up with seeds from vegetables particularly well-suited to your garden. Besides, there’s a certain smug self-satisfaction you get when you complete the plant/harvest/collect seed/plant again cycle. Here are the tips I wish I’d had when I started.
Focus on what counts
The first year you save seeds, commit to saving no more than 10 varieties of seeds. This is a hobby you want to grow into. You can easily lose track of what’s what, and get overwhelmed. I recommend choosing your ten favourite vegetables, which are generally easy to harvest seeds from, and then saving those seeds.
Only choose the best
There are a million varieties of flowers and vegetables to be grown. Sometimes, those seed houses are close regionally, and your garden center is likely nearby, but they’re not in your yard. It’s hard to know what will do best in your individual yard, but once you do notice which varieties are succeeding, those are the seeds to save. Each year, I am surprised and delighted by which tomatoes do really well, resisting blossom end rot and every other virus. That’s the variety I want to save seeds from.
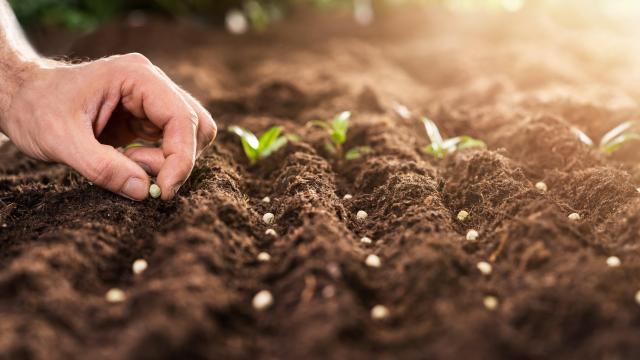
Further, you want to choose particularly good specimens when you save seeds. Don’t choose an off tomato: Choose the big, well-formed and really healthy-looking one, and choose it at the perfect ripeness.
Ferment the seeds
One of the hacks I learned was that wet seeds benefit from a bit of fermentation. Wet seeds include tomatoes and tomatillos and eggplants and, well, any seeds that are wet when you remove them. Once you scoop out your seeds, add them to a little mason jar with a little water, give them a good swish, and then let them chill on a counter or table somewhere that’s 20°C for a few days. It goes without saying, but don’t forget to label the jar. I use painter’s tape and a marker.
Flower seeds do not benefit from this process; they’re dry when you harvest them, so don’t add water or ferment them. The same goes for peas and beans, and onions, which are dry when you harvest them.
If you see some white mould, that might freak you out, but it’s totally fine, and can be stirred in. You’re looking for the gel around the seed to go away, and once it does, the fermenting is done. This should take two to three days. If you see sprouting, you waited too long and those seeds are now toast and should be tossed.
Now, rinse the seeds really well under the faucet, and then let them drain. Once they’re decently drained, lay them on a ceramic or glass surface so they can dry. Do not use paper towels, because the seeds will stick to them. Transfer the tape to the plate so you know what seeds you’re working with here, and with the seeds in a single layer, let them dry over the next two weeks in a room with good air circulation. Once completely dry, place them in a sealed envelope, which is better than a ziplock bag because it blocks out light. Make sure it’s well labelled.
Leave a Reply
You must be logged in to post a comment.