Screen recording features are great for guiding tech-challenged family members through using their new smartphone, capturing in-game footage, collecting evidence when reporting bugs and more. However, not all devices let you record your screen equally or easily.
iPhone and iPad owners have been able to record their screens since iOS 11, but Android’s screen recording capabilities have been inconsistent at best. Some manufacturers let users record their screens, but many do not ” and while there are third-party screen capture apps out there, some of them are super shady and could pose a security risk.
That will change once Android 11 starts rolling out later this year, thankfully. The new Android version will include built-in screen recording capabilities for the first time, finally bringing a long-awaited feature to a device near you (as long as it supports Android 11, anyway). You can even try it out early by installing the latest Android 11 public beta.
How to record your Android, iOS or iPadOS device’s screen
Now that screen recording is finally a native Android feature, we figured it was time we put together a guide showing you how to record your screen in both Android and iOS/iPadOS.
Both are easy enough to use, but you’ll need to poke around a bit ” the feature is wisely kept in less-convenient locations to prevent accidental recordings.
Also note that and some apps don’t allow you to record audio at the same time, and some devices may prevent you from screen sharing, mirroring or casting apps while also recording your screen.
Android
Since this an Android 11 feature, you’ll need to install the latest Android 11 beta or wait for the final version to drop later this year. Some phones (like the Samsung Galaxy) can screen record even without Android 11, so it’s possible your device may already be able to do this ” though we’re only covering the Android 11 function for this article.
- Swipe down on your Android device’s screen to expand the notifications menu, then swipe down once more to access the Quick Settings.
- Swipe right through the Quick Settings shortcuts to find the “Screen Record” button, then tap it.
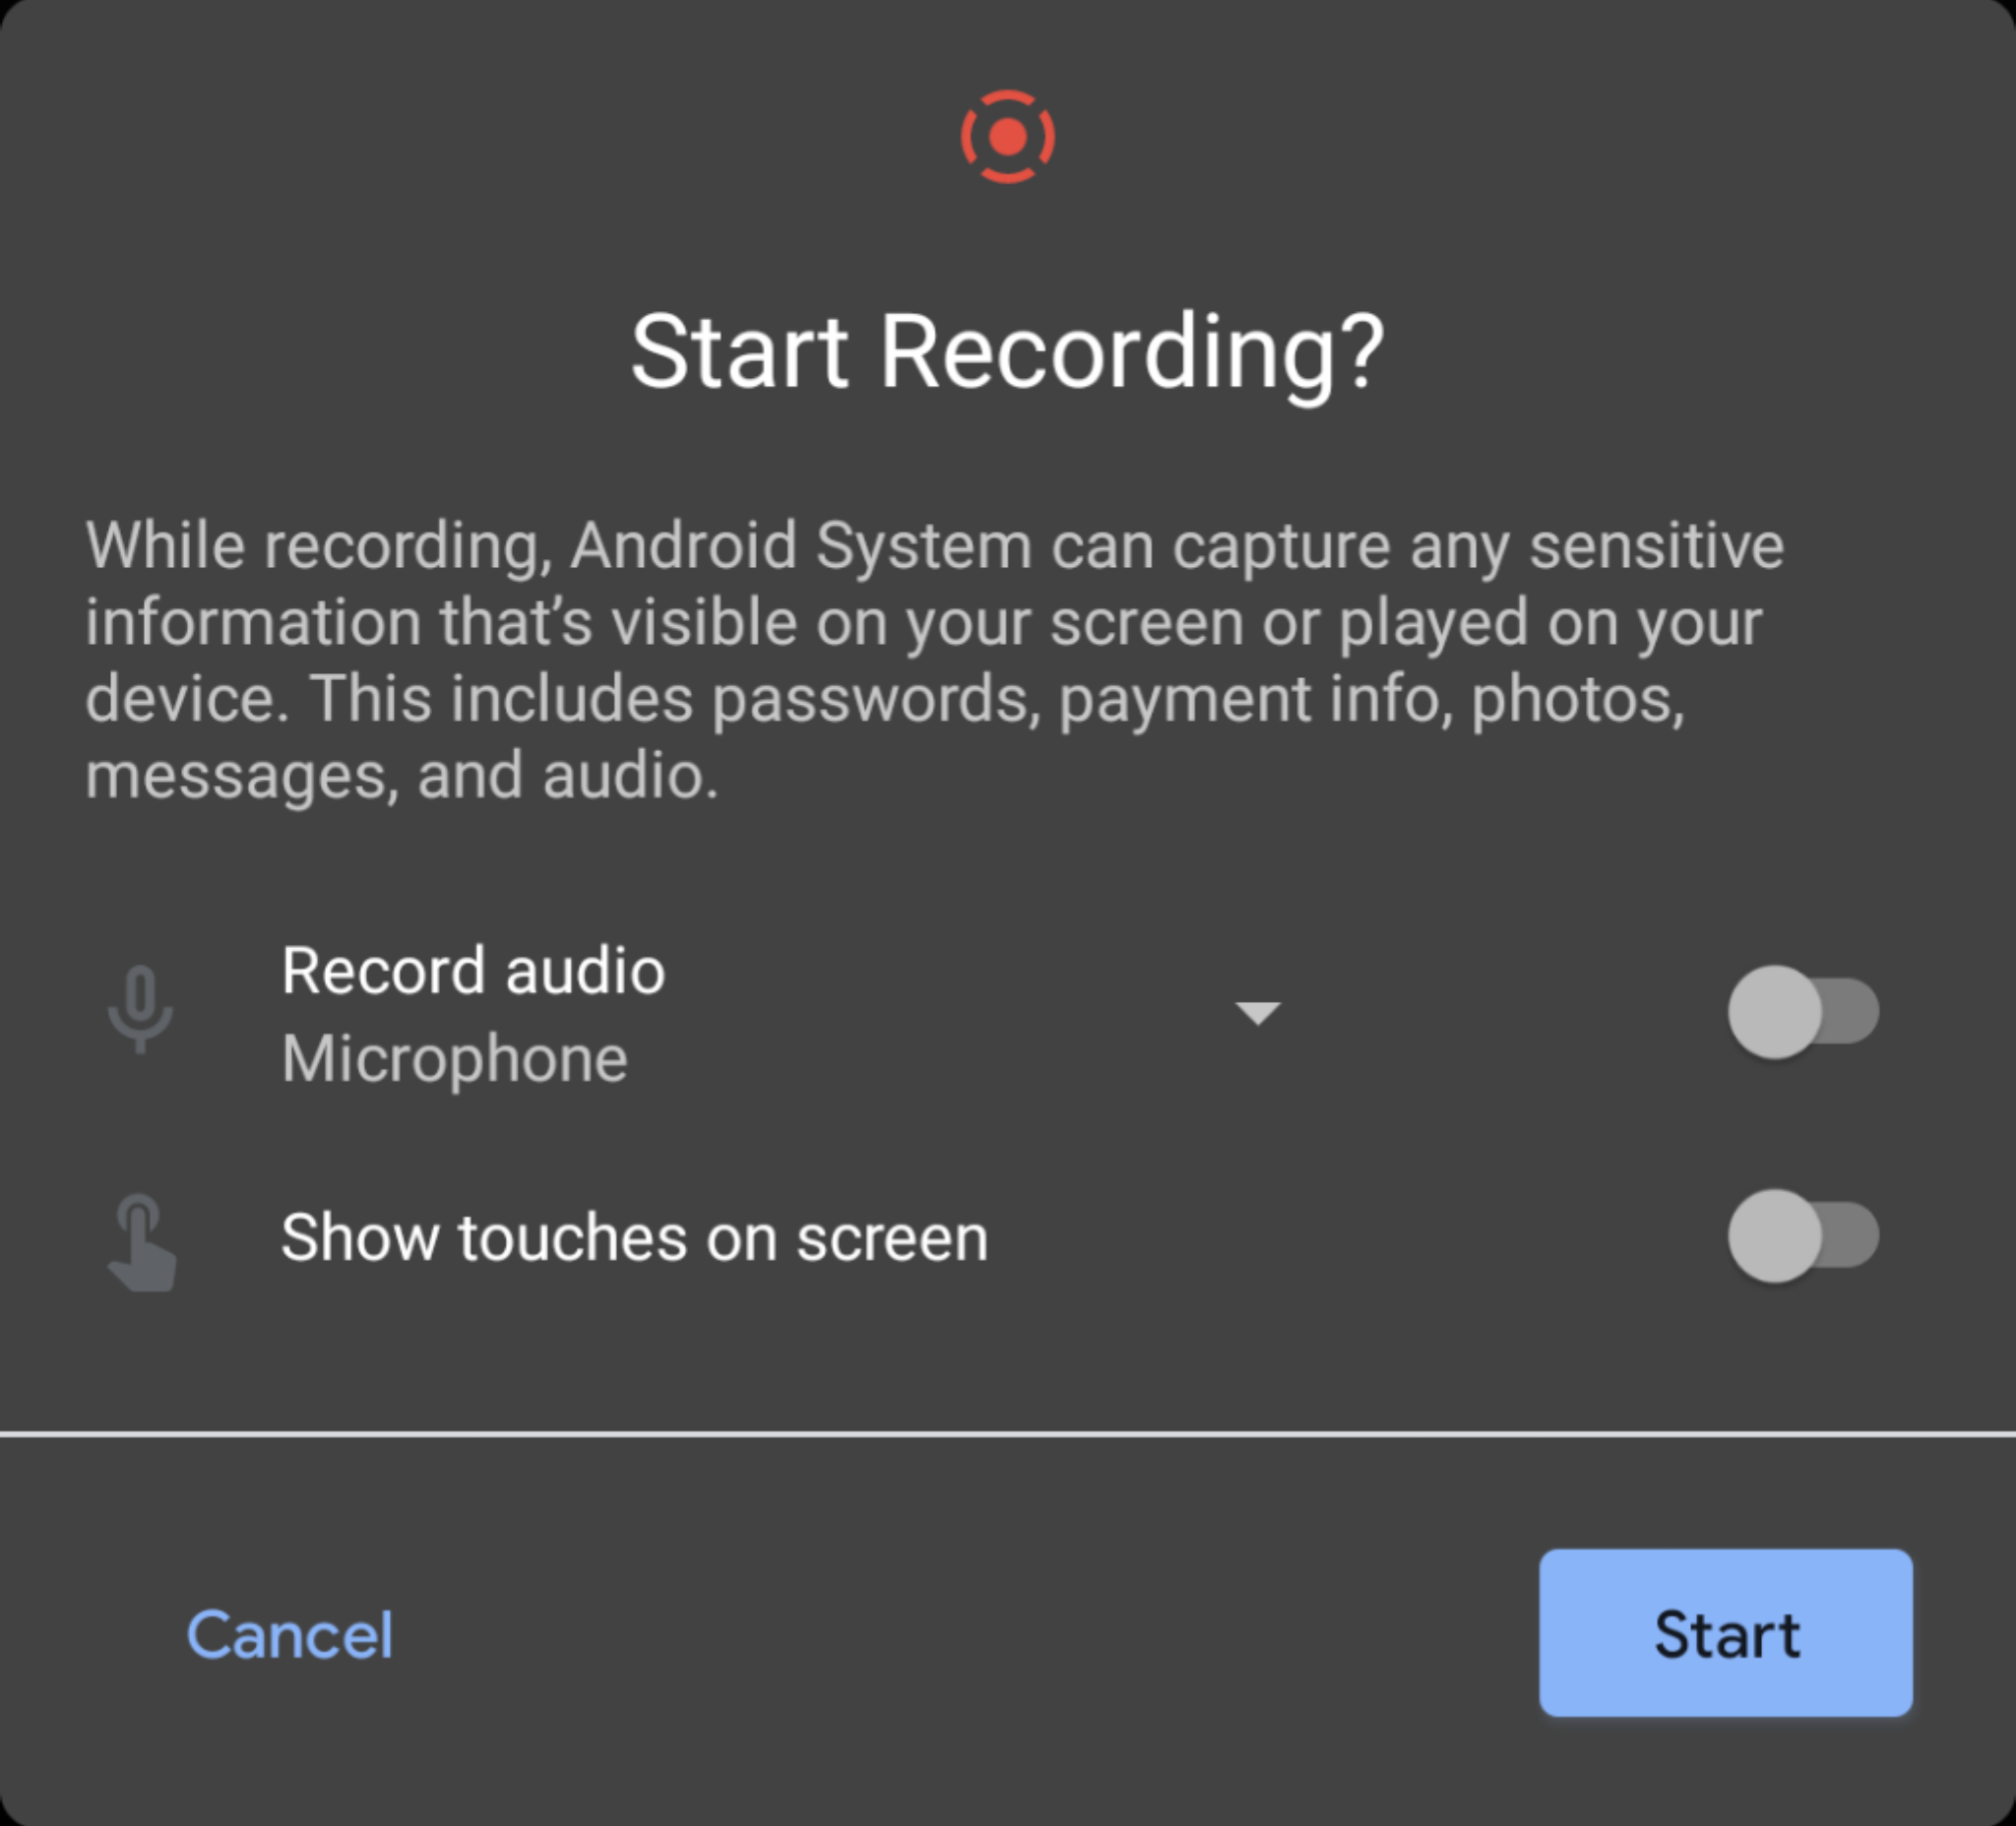
- On the next screen, you can select whether to record audio and/or include your screen taps in the recording. If you want to include audio, tap “Record audio” then select whether to record just your device’s audio, your mic’s audio or audio from both sources.
- Tap “Start” when you’re ready to record. A small red recording icon will display in the top-right of your screen to indicate screen recording is in progress.
- To stop the recording, swipe down to view your notification panel, then press the red “Tap to stop” notification banner.
Screen recordings are saved to your device’s existing media folder and can be found with the file manager or in the Google Photos app under Library > Movies.
iOS and iPadOS
These instructions should work on any iPhone, iPad or iPod touch running iOS 11 or later.
- Open the Settings app and go to Control Centre > Customise Controls.
- Tap the “+” icon next to the “Screen Recording” option.
- This next step will differ based on the device/OS you’re using. For iPhone X or newer and iPads with iOS 12/iPadOS 13 or later: swipe down from the upper-right corner of the screen. For iOS 11 and older devices: Swipe up from the bottom edge of any screen.
- Hard-press the grey “record” icon (it looks like a large dot within a circle) to ready the screen record feature.
- Tap the Microphone icon to “On” if you want to include mic audio in your recording.
- Tap “Start Recording,” then wait for the three-second countdown to finish. After that, the recording will begin.
To stop recording, tap the red bar at the top of your screen then press “Stop.” You can also use the same gesture control you used in Step 3 to open the Control Centre and tap the “Record” icon again to end the video that way instead. Saved screen recordings can be found in the iOS Photos app.
Comments