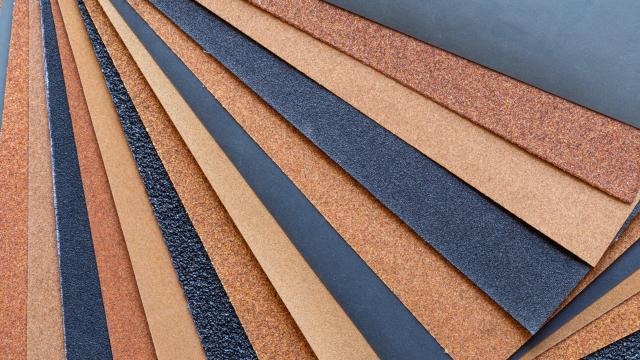
So many things in our homes that we think of as “single-use” items actually have at least one alternative use — and they often have several of these secret superpowers. A perfect example: sandpaper.
If you’ve ever made any attempt to work with wood, you probably have some sandpaper stuffed away in your workroom or toolbox. And you probably think there are just a few dedicated uses for it — sanding wood, obviously, or drywall compound. But sandpaper has a lot more uses around your home that you probably never considered.
In fact, if you don’t have any sandpaper tucked away in your junk drawer now, these 12 clever ways to use it may prompt you to go stock up.
Rough up slippery shoes

If you’ve got a pair new-ish shoes, you might have a problem with slippery soles. Careening down a staircase or skidding along the footpath on shoes is no fun, and can even be dangerous. But sandpaper’s got you, friend — just scuff up the soles with some (approximately) 100-grit sandpaper. The sandpaper will take the smoothness off and leave behind a rough texture that will grip surfaces much better. Of course, if we’re talking about a pair of Louboutins, this might be a bad idea, but we’re guessing (hoping?) you knew that.
Clean grout
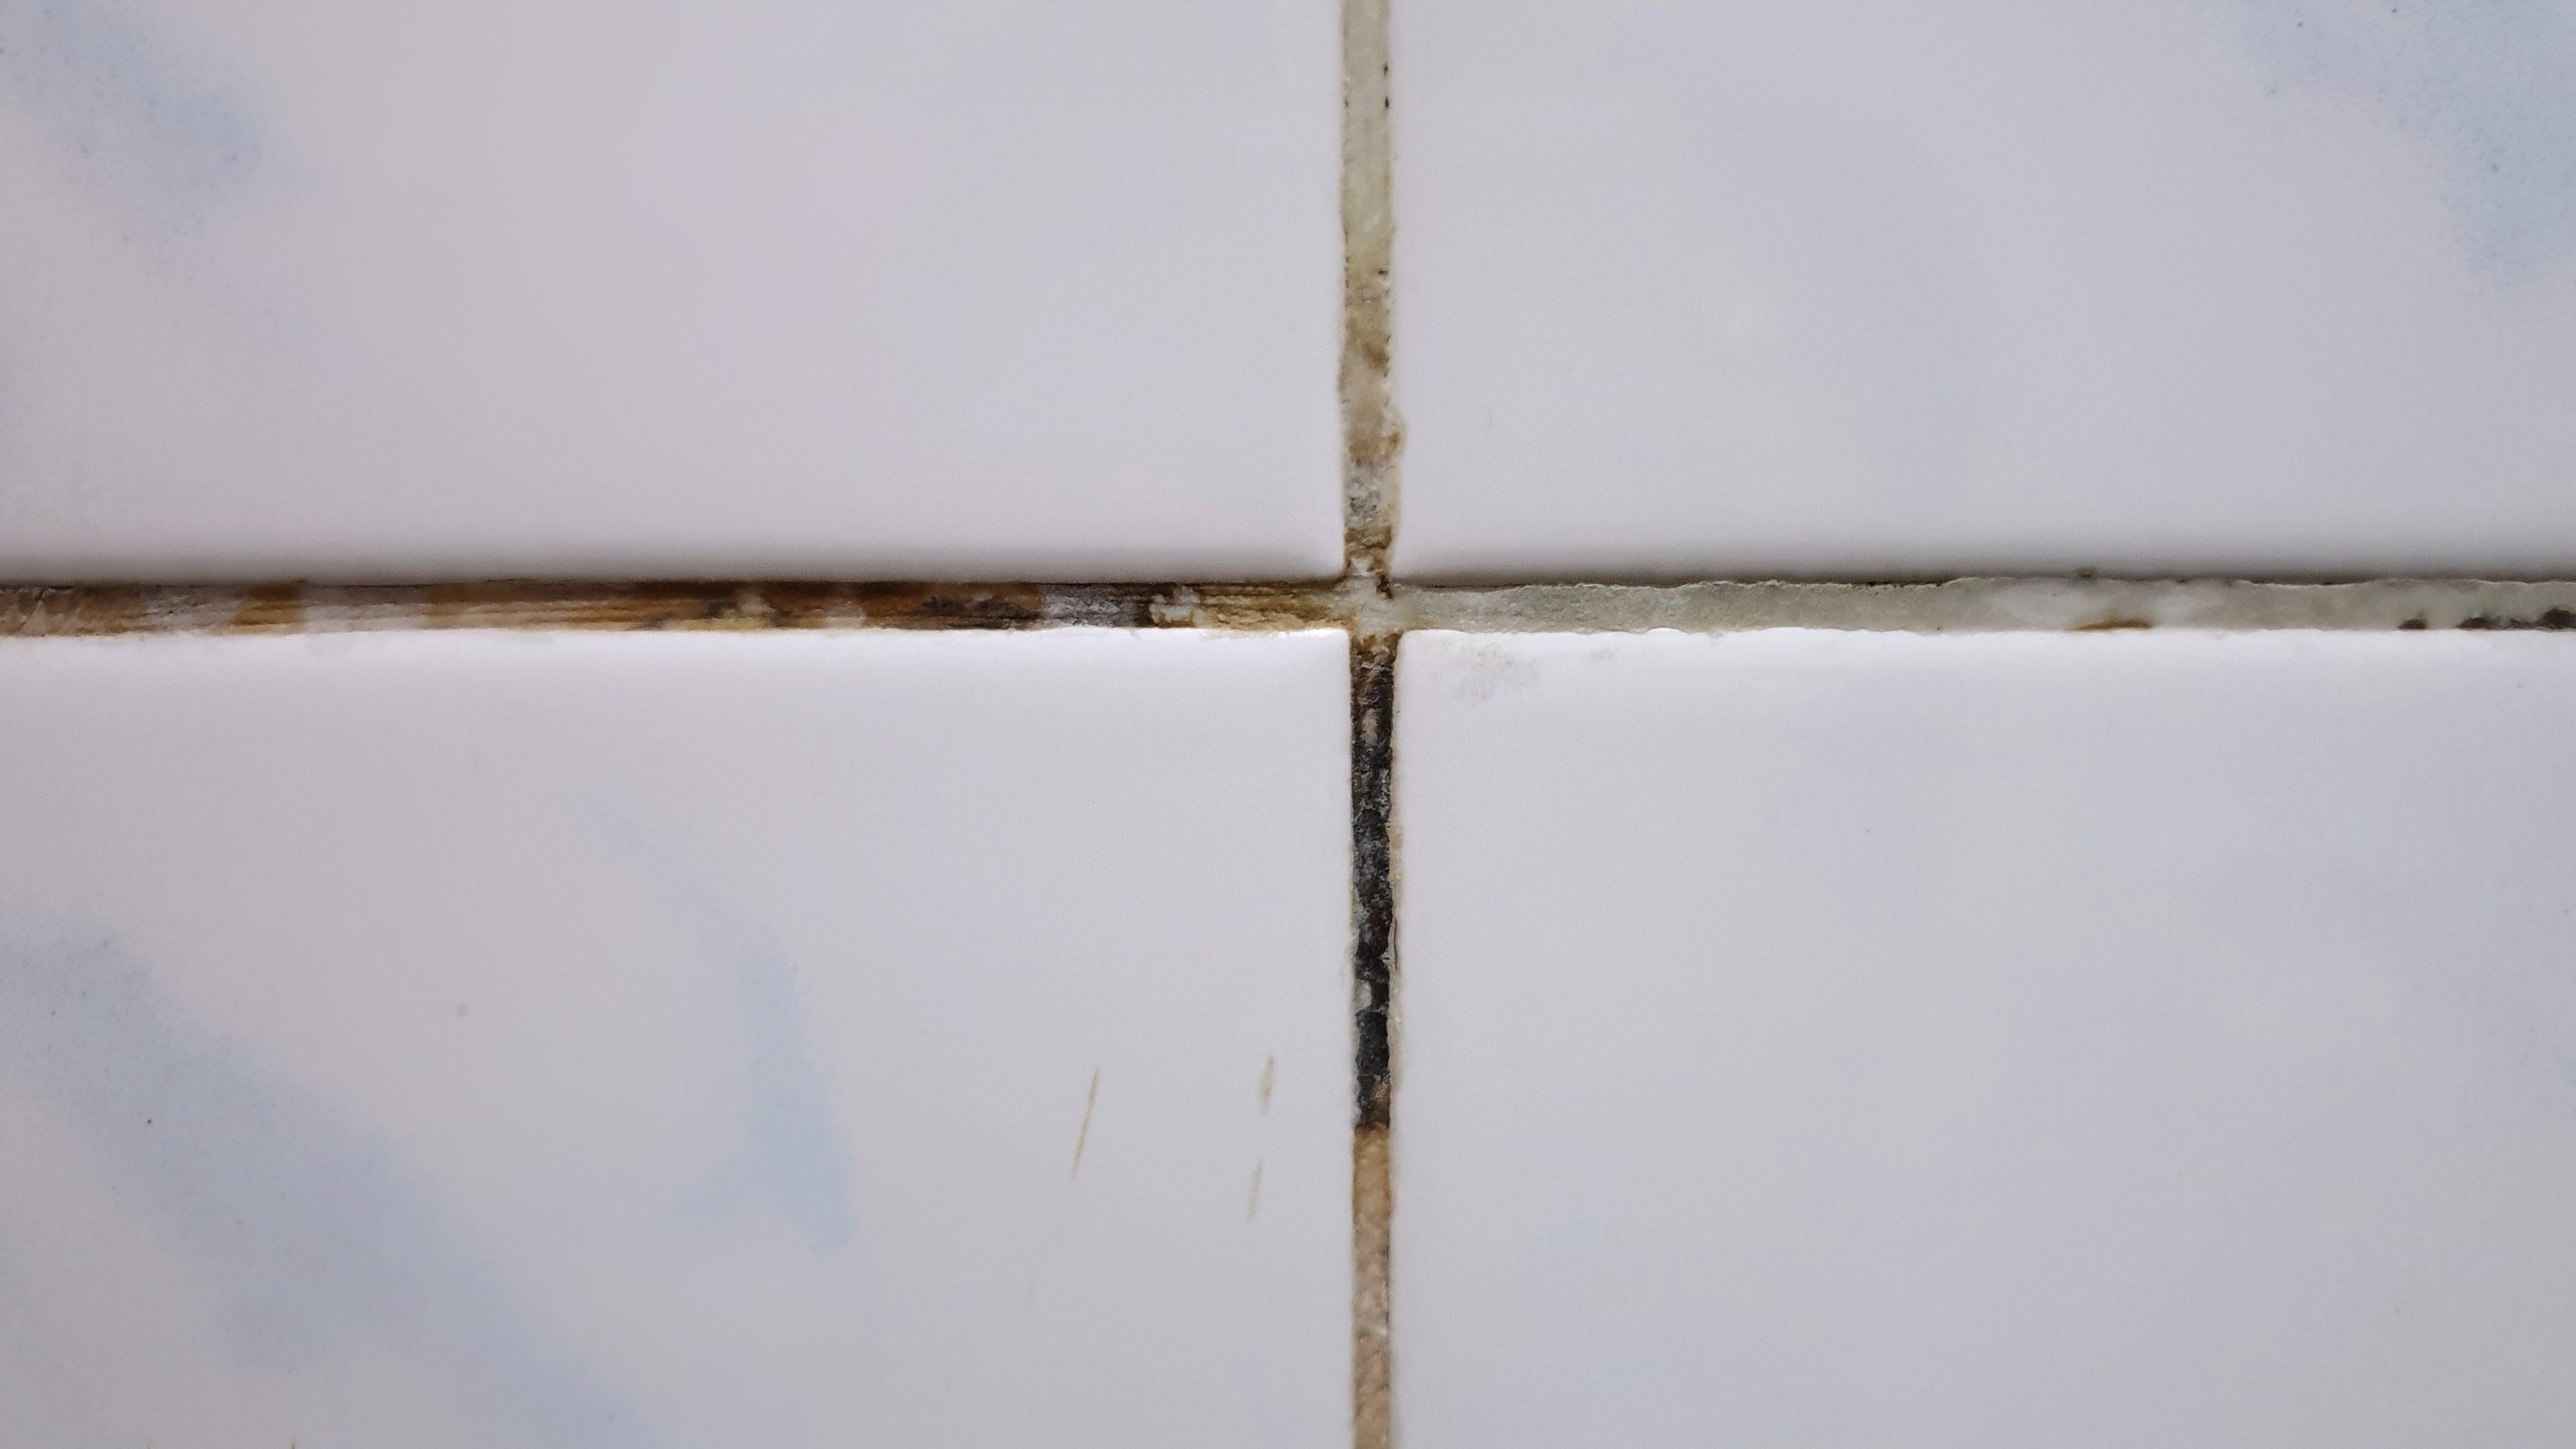
If your bathroom or kitchen grout has become discolored and ugly, you might already know how hard it can be to clean. Mould and mildew are tough bastards and they resist cleaning — and if you made the mistake of sealing your grout before cleaning it thoroughly, you sealed in the stain. But sandpaper can rescue you — using a fine grit (200 and above), gently sand the grout lines until you’ve removed the stained layer and revealed the sparklingly clean layer underneath. Be very careful not to scuff up your tile, though! Once you’ve sanded all of the grout, clean and seal immediately before getting it damp and letting the mould start all over again.
To make this a little easier, you can hack together a tiny orbital sander by removing the bristles on an electric toothbrush and attaching a cut-down PSA sanding disc. This gives you a tiny, adorable sanding tool that will make getting into those thin grout lines a lot easier.
Open jar lids
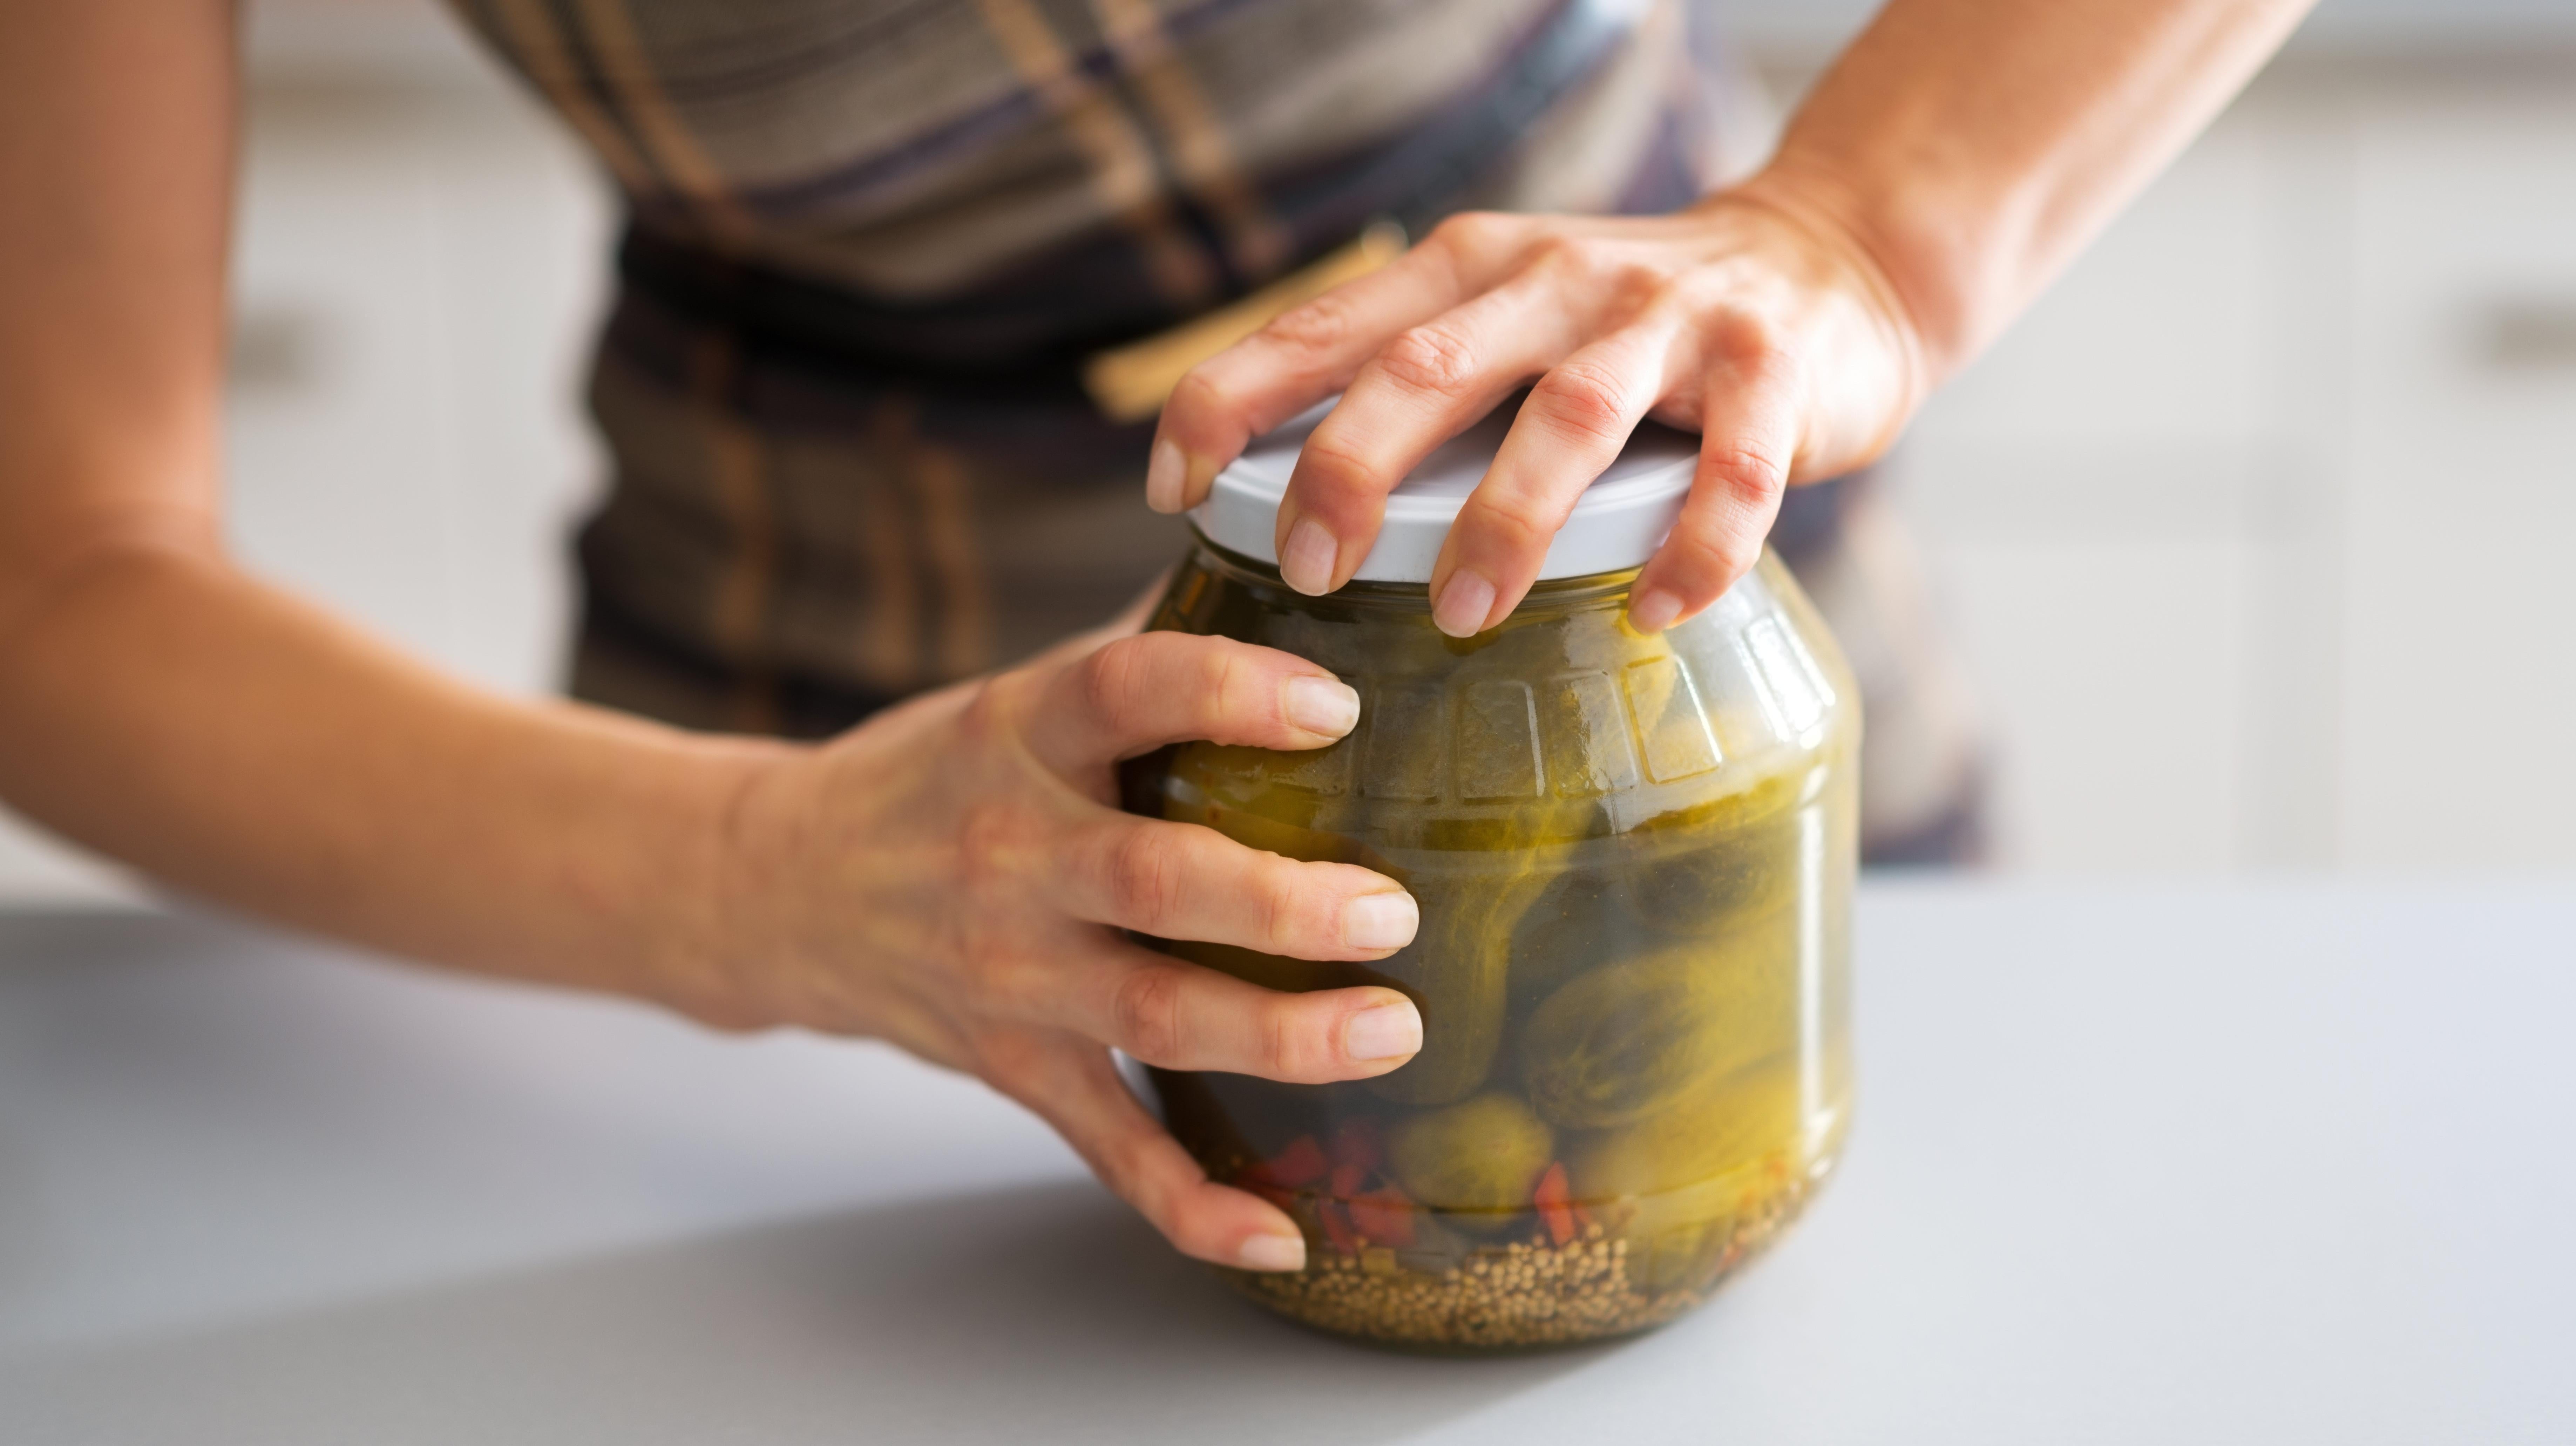
No matter how strong you are, physics is stronger. We’re reminded of this every time we try to open a jar of pickles only to pull a muscle in the attempt. The forces of nature acting against us are strong, but we have a potent countermeasure in the force known as friction. Wrapping a sheet of coarse sandpaper around a jar lid will give you a bit more of that sweet friction, allowing all of the force exerted by your muscles to act on the lid instead of literally slipping away.
Remove rust
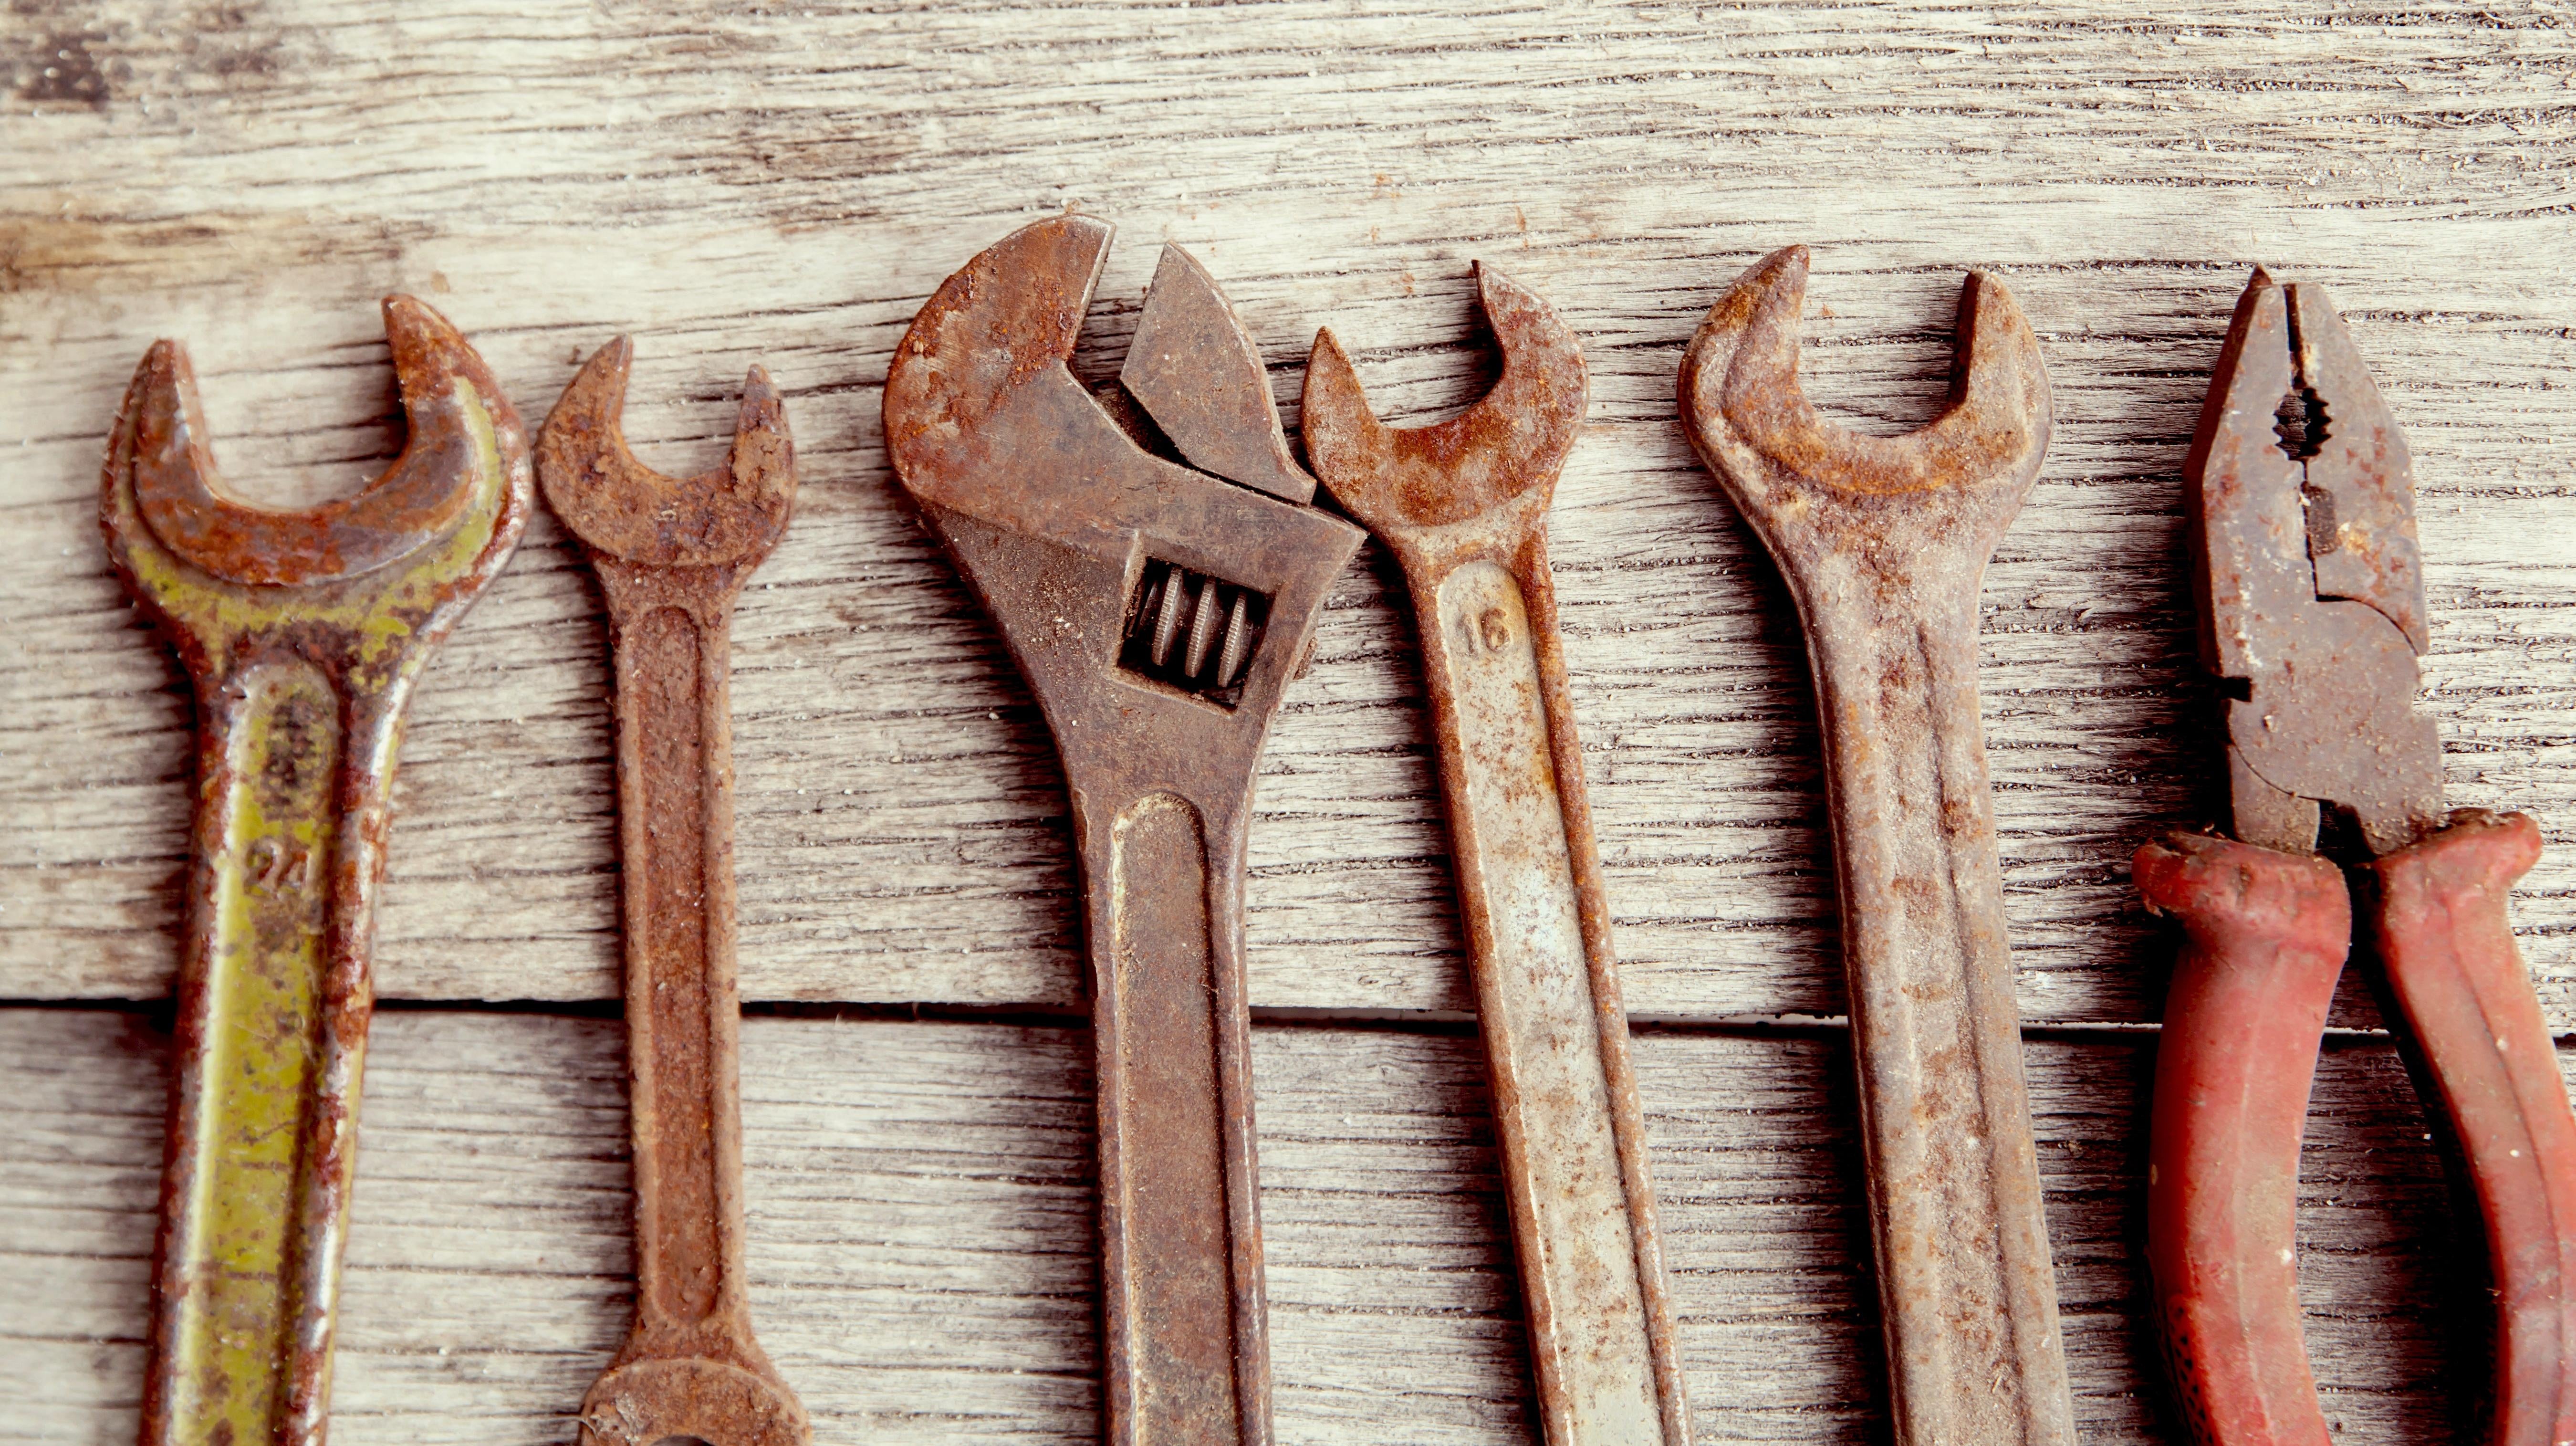
Rust is an equal-opportunity ruiner. Whether your tools are high-end and expensive or purchased on the cheap, if you’re not careful, they will start to rust after a surprisingly short period of time. While rust might not necessarily make them less useful, getting rid of it is easy — if you have sandpaper.
If you don’t care about appearances — say, you have a rusty hammer — just grab the coarsest grit you can find (40 would be best) and go at the rust. It’ll come off easily, but you will leave scuffs and scratches behind. If you need to be more gentle, tape off the area with some masking tape and use a much finer grit — between 300 and 400 — to carefully rub down the rusted area.
Recondition a cutting board

Wooden cutting boards are terrific. They’re attractive and tell everyone that you are classy. They’re also breeding grounds for bacteria, and they stain very quickly and can look kind of…gross. But a gross-looking cutting board doesn’t necessarily mean an unusable cutting board:
- Clean the board with white vinegar to disinfect it — let it soak in and leave it for a bit. Rinse with warm water and dry.
- Use an 80-grit sandpaper to sand off the stained surface. Sand the entire surface of the board evenly.
- Wipe with a damp cloth, then sand with 120-grit sandpaper.
- Wipe it down again, and sand using 220-grit sandpaper.
- Apply some wood butter and buff to a shine.
Remove sweater pills
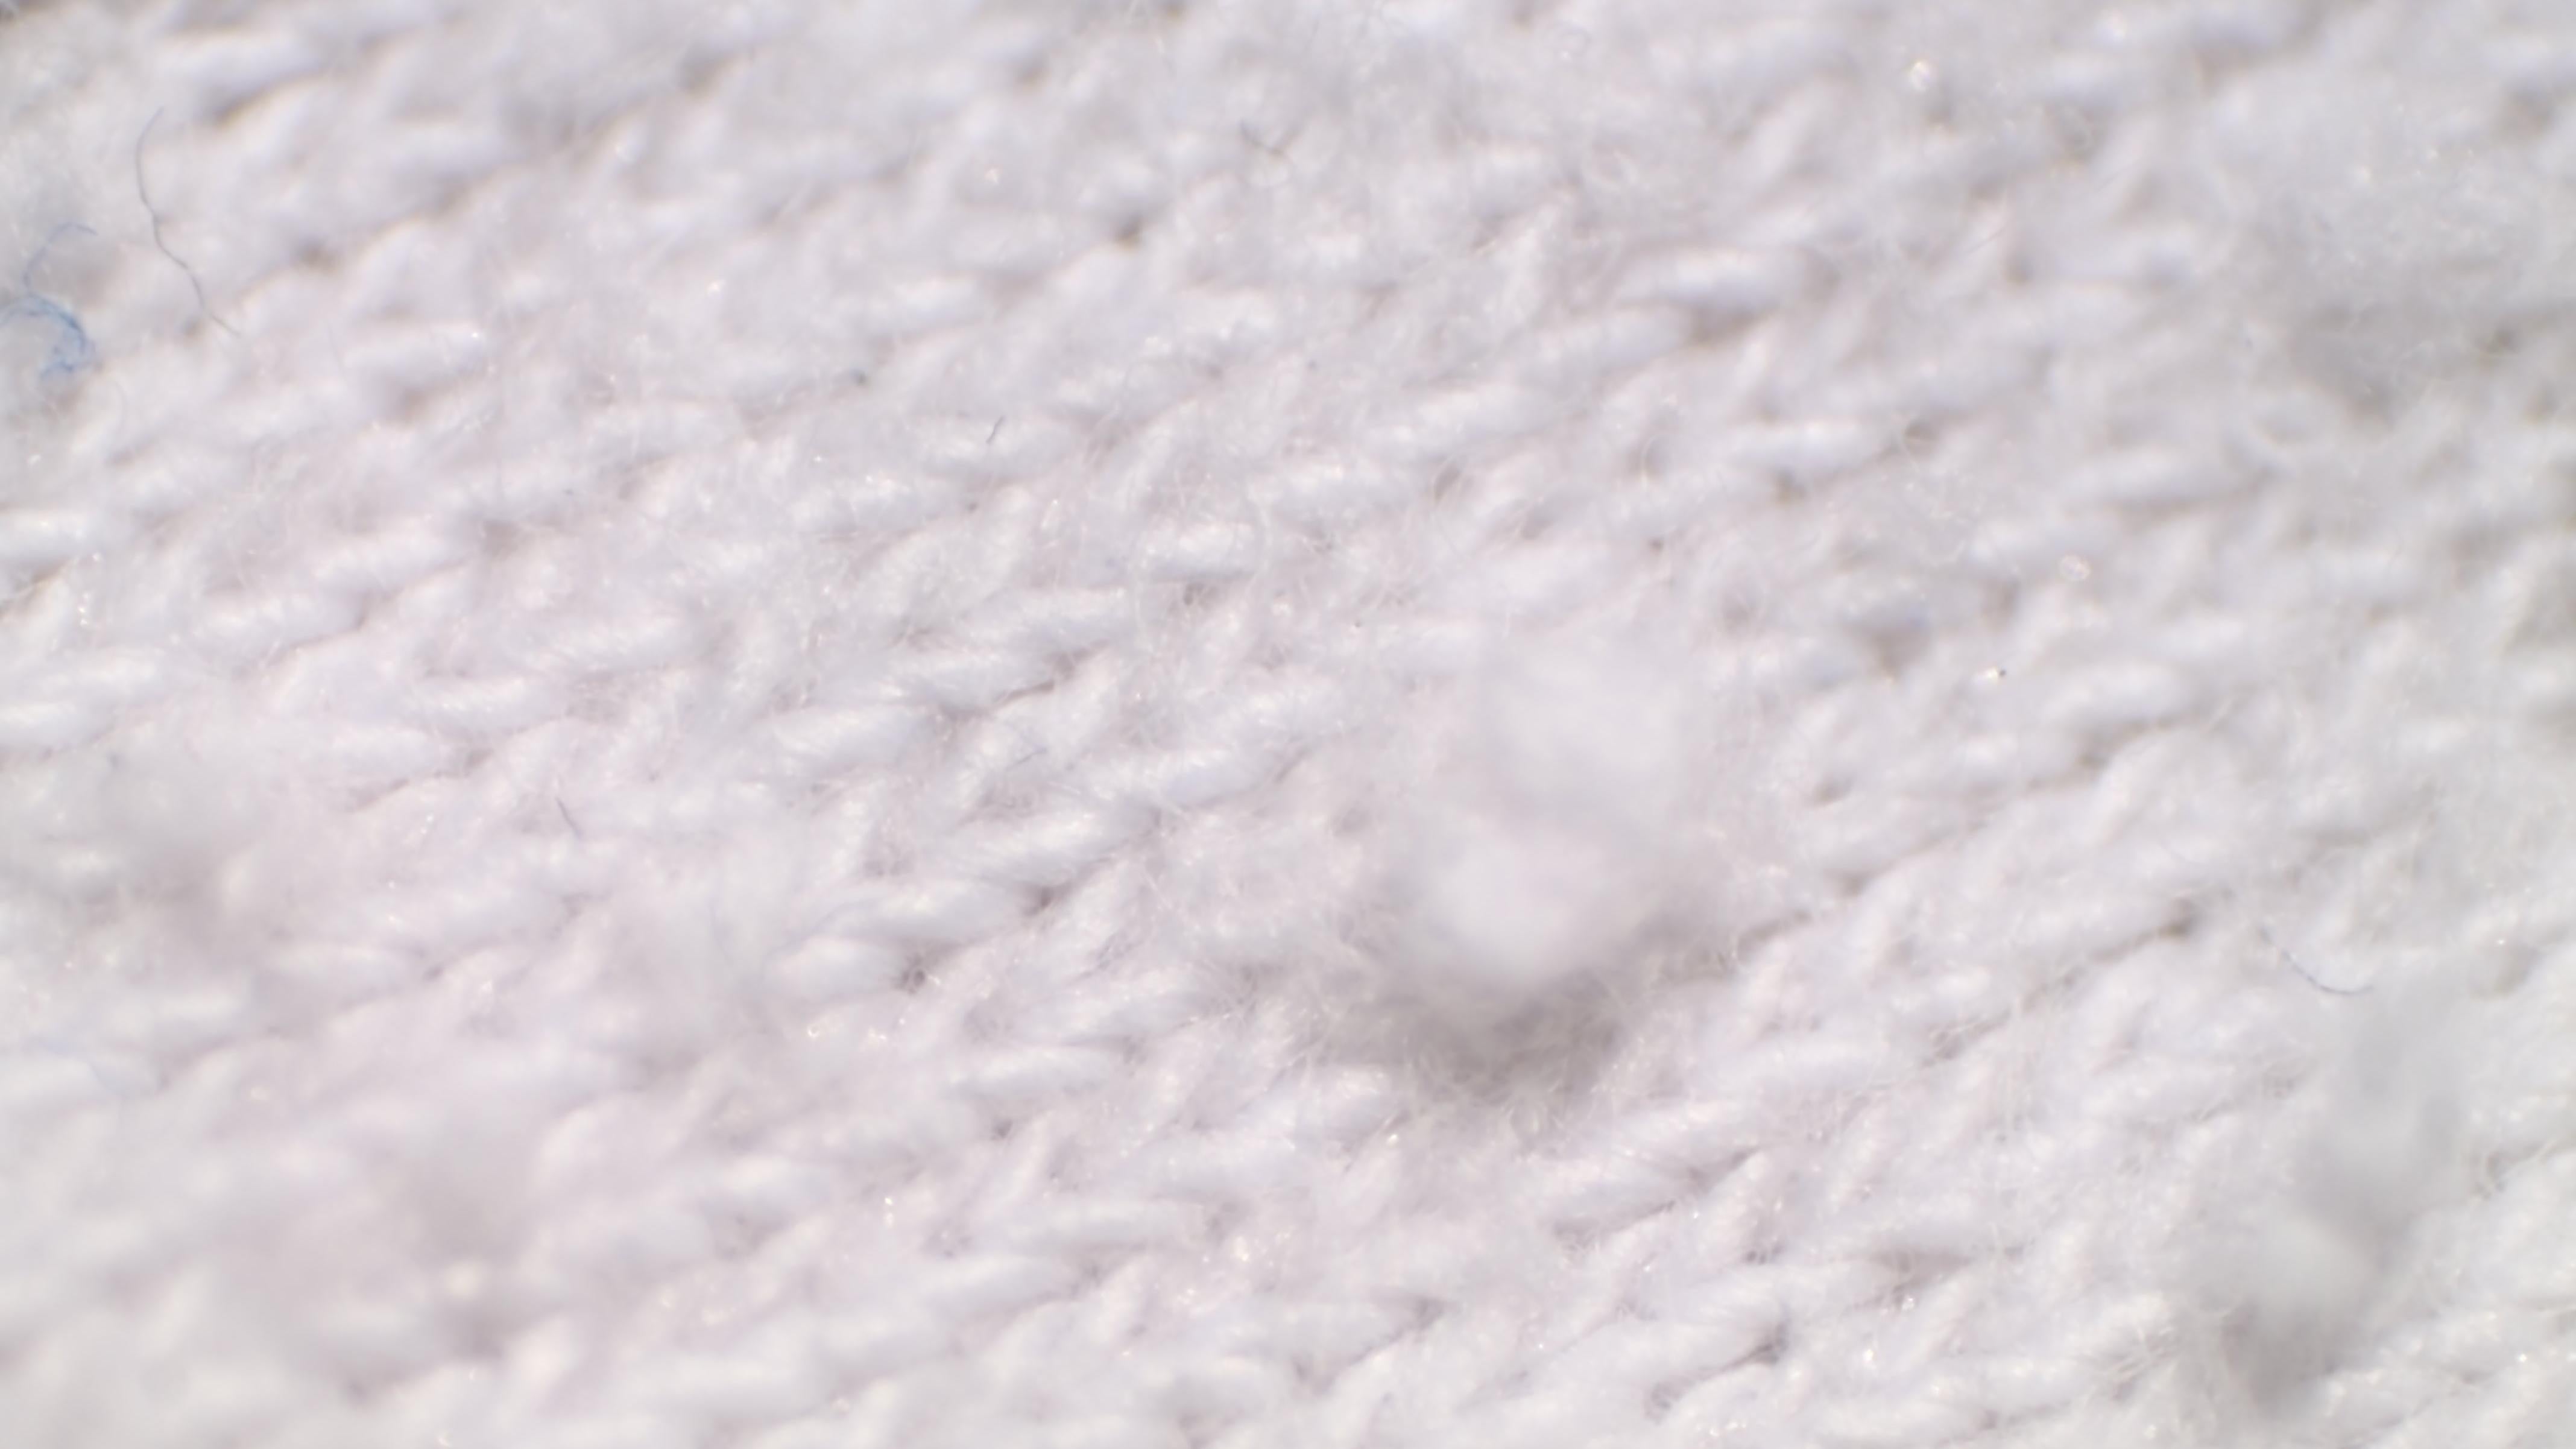
Got a sweater covered in those little tufts of material we sometimes call “pills”? They can make an awesome sweater look like crap. You can purchase a specific pill-removing tool, but why do that when you have some fine-grit sandpaper on hand? Just rub your sweater down using the sandpaper, going consistently in one direction. Don’t apply too much pressure, and take your time — the pills will scrape off, leaving your sweater looking new again.
Sharpen pencils

Using a pencil and need a quick sharpen-up? Grab some fine (220+ grit) sandpaper and place it on a flat surface. Securing it in place with some masking tape isn’t necessary, but it helps. Take your pencil and hold the point against the sandpaper at a slight angle. Using moderate pressure (don’t snap your pencil), start rolling the pencil between your fingers so it rubs against the paper. Ta-da! Super-sharp point.
Restore cloudy headlights
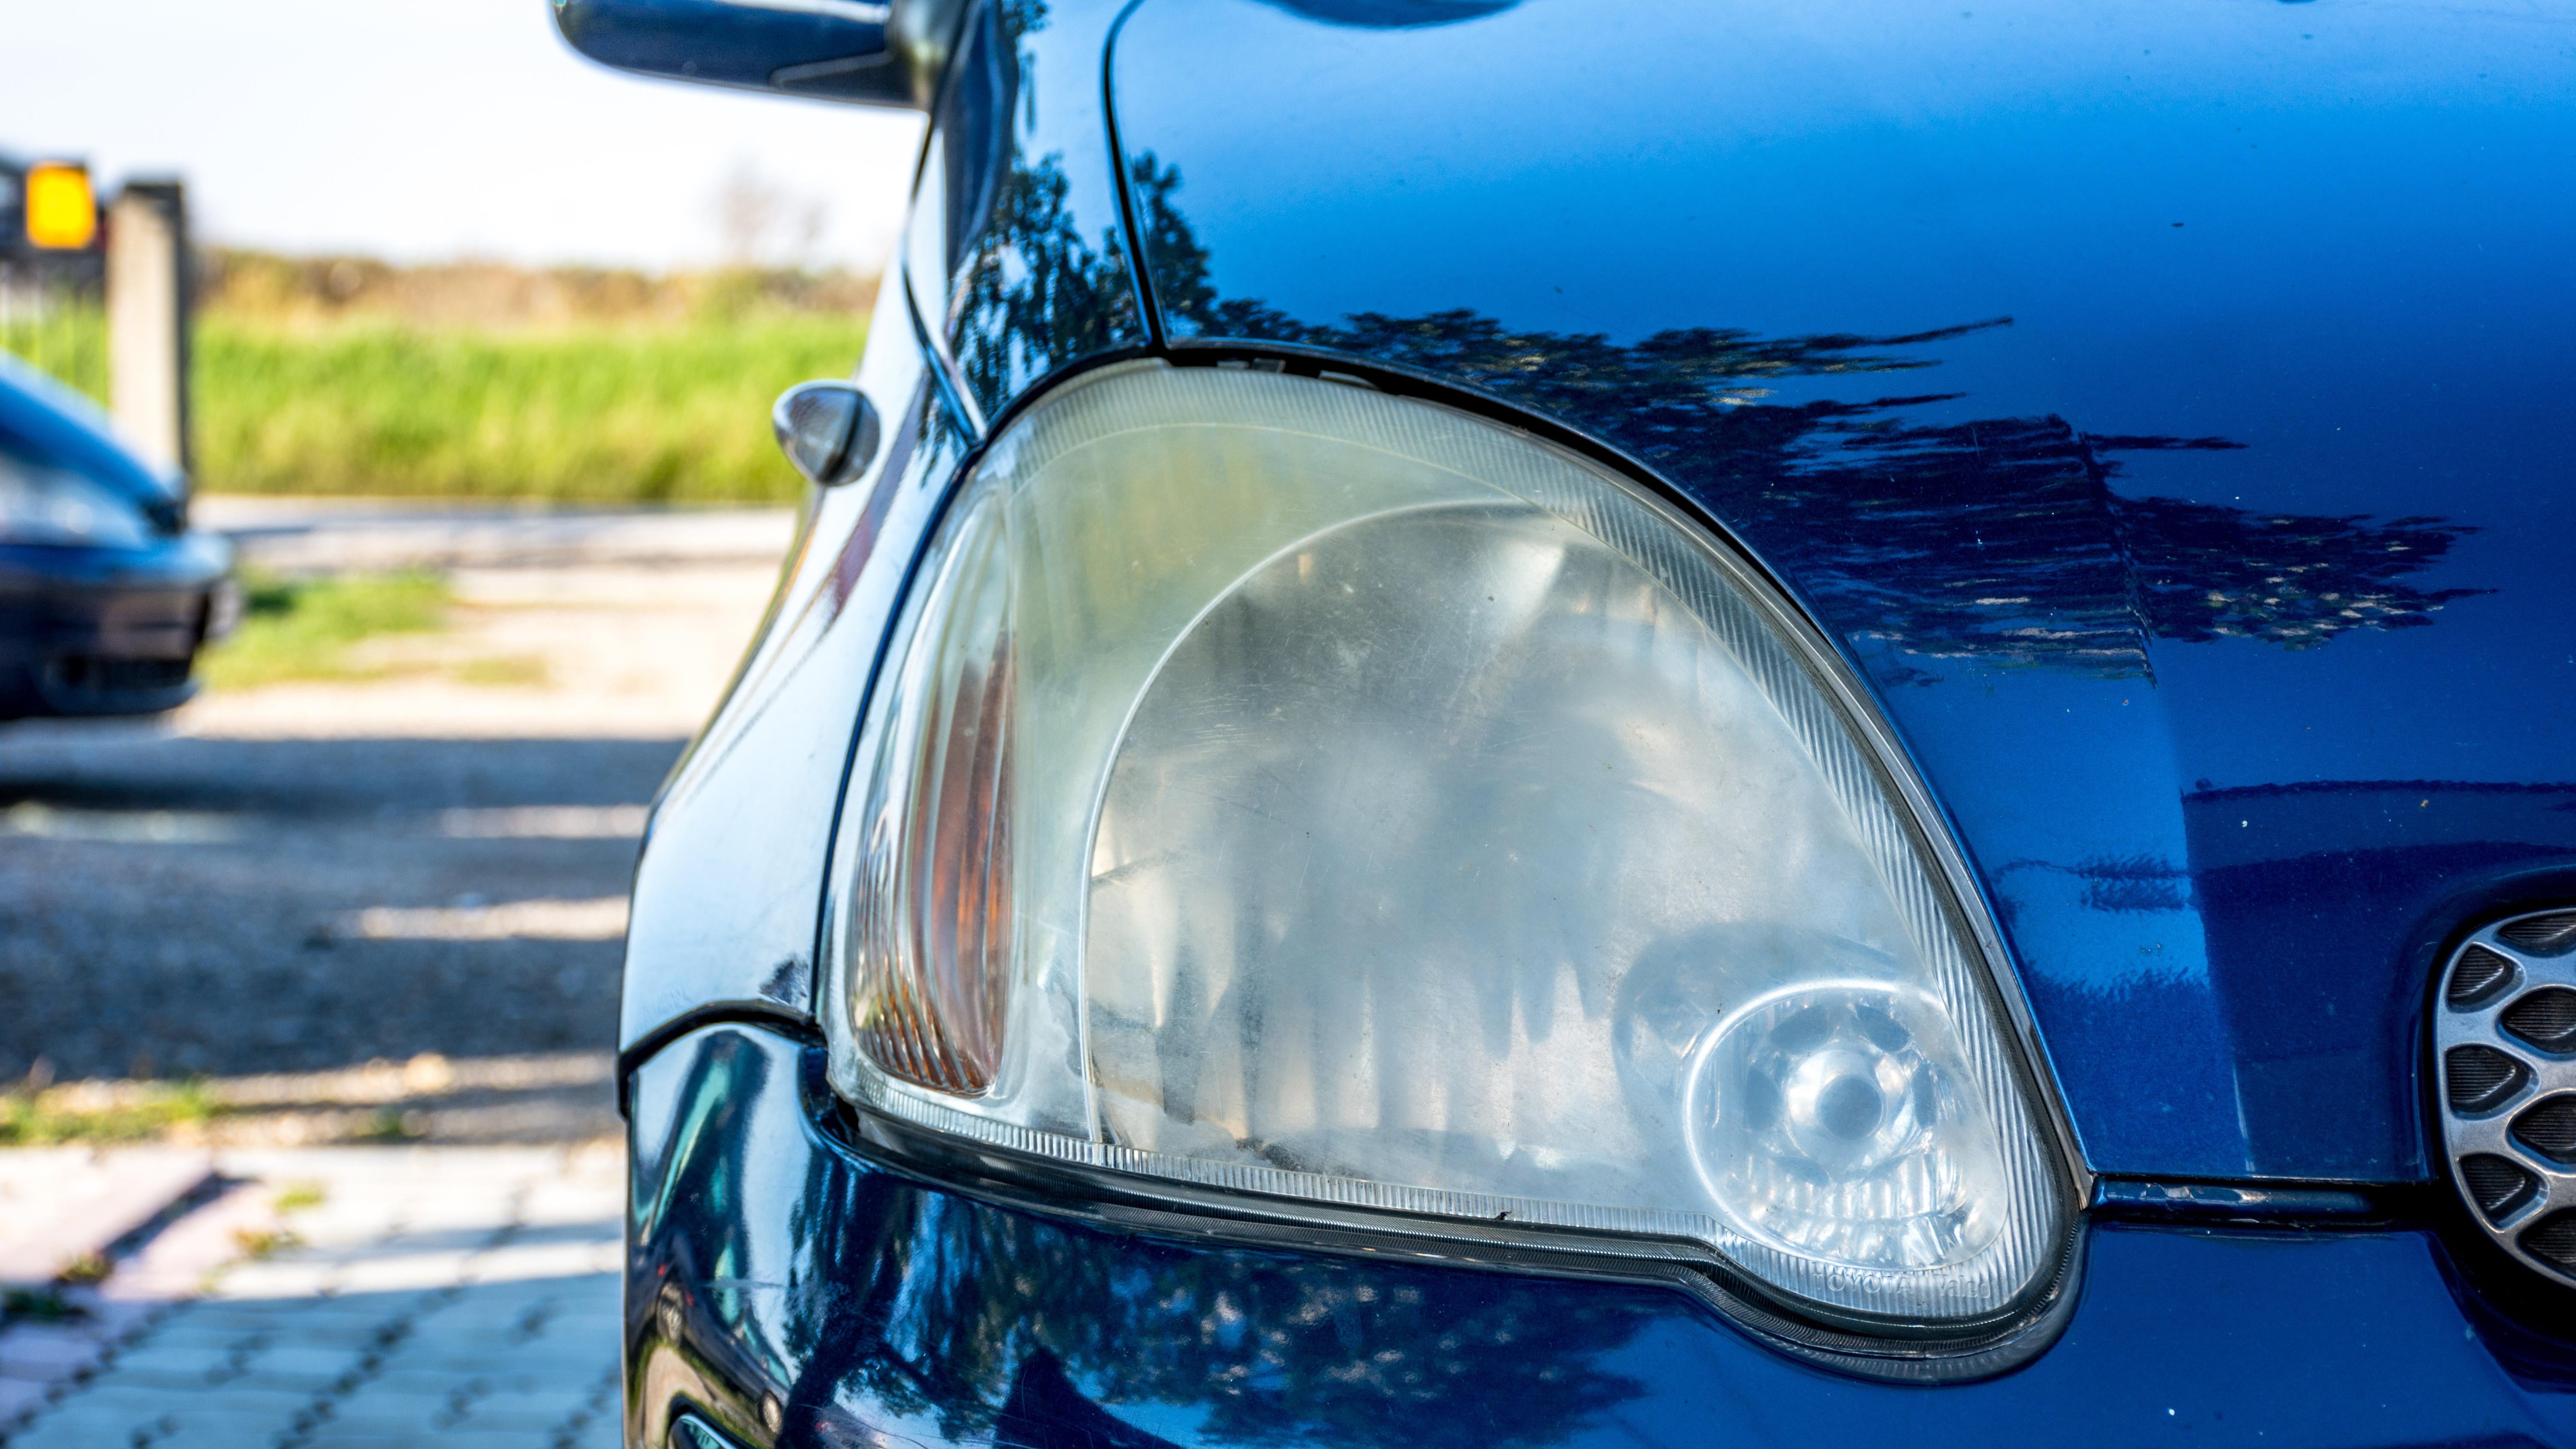
One of the wonders of the modern age is how you can spend an enormous amount of money on a really nice automobile only to have the headlights fog up, making it look like a beater. The good news is that some water and a sheet or two of ultra-fine (1,000+ grit) sandpaper will clear them up pretty easily — just clean, spray with water, and rub. You can use coarser (600-800 grit) sandpaper if your headlight covers are very oxidized, but these grits will leave scratches in most plastic, so only use them if you absolutely must. Typically, a 1,000 grit sandpaper (or even finer) will remove the fog without leaving behind visible scratches.
Open a can
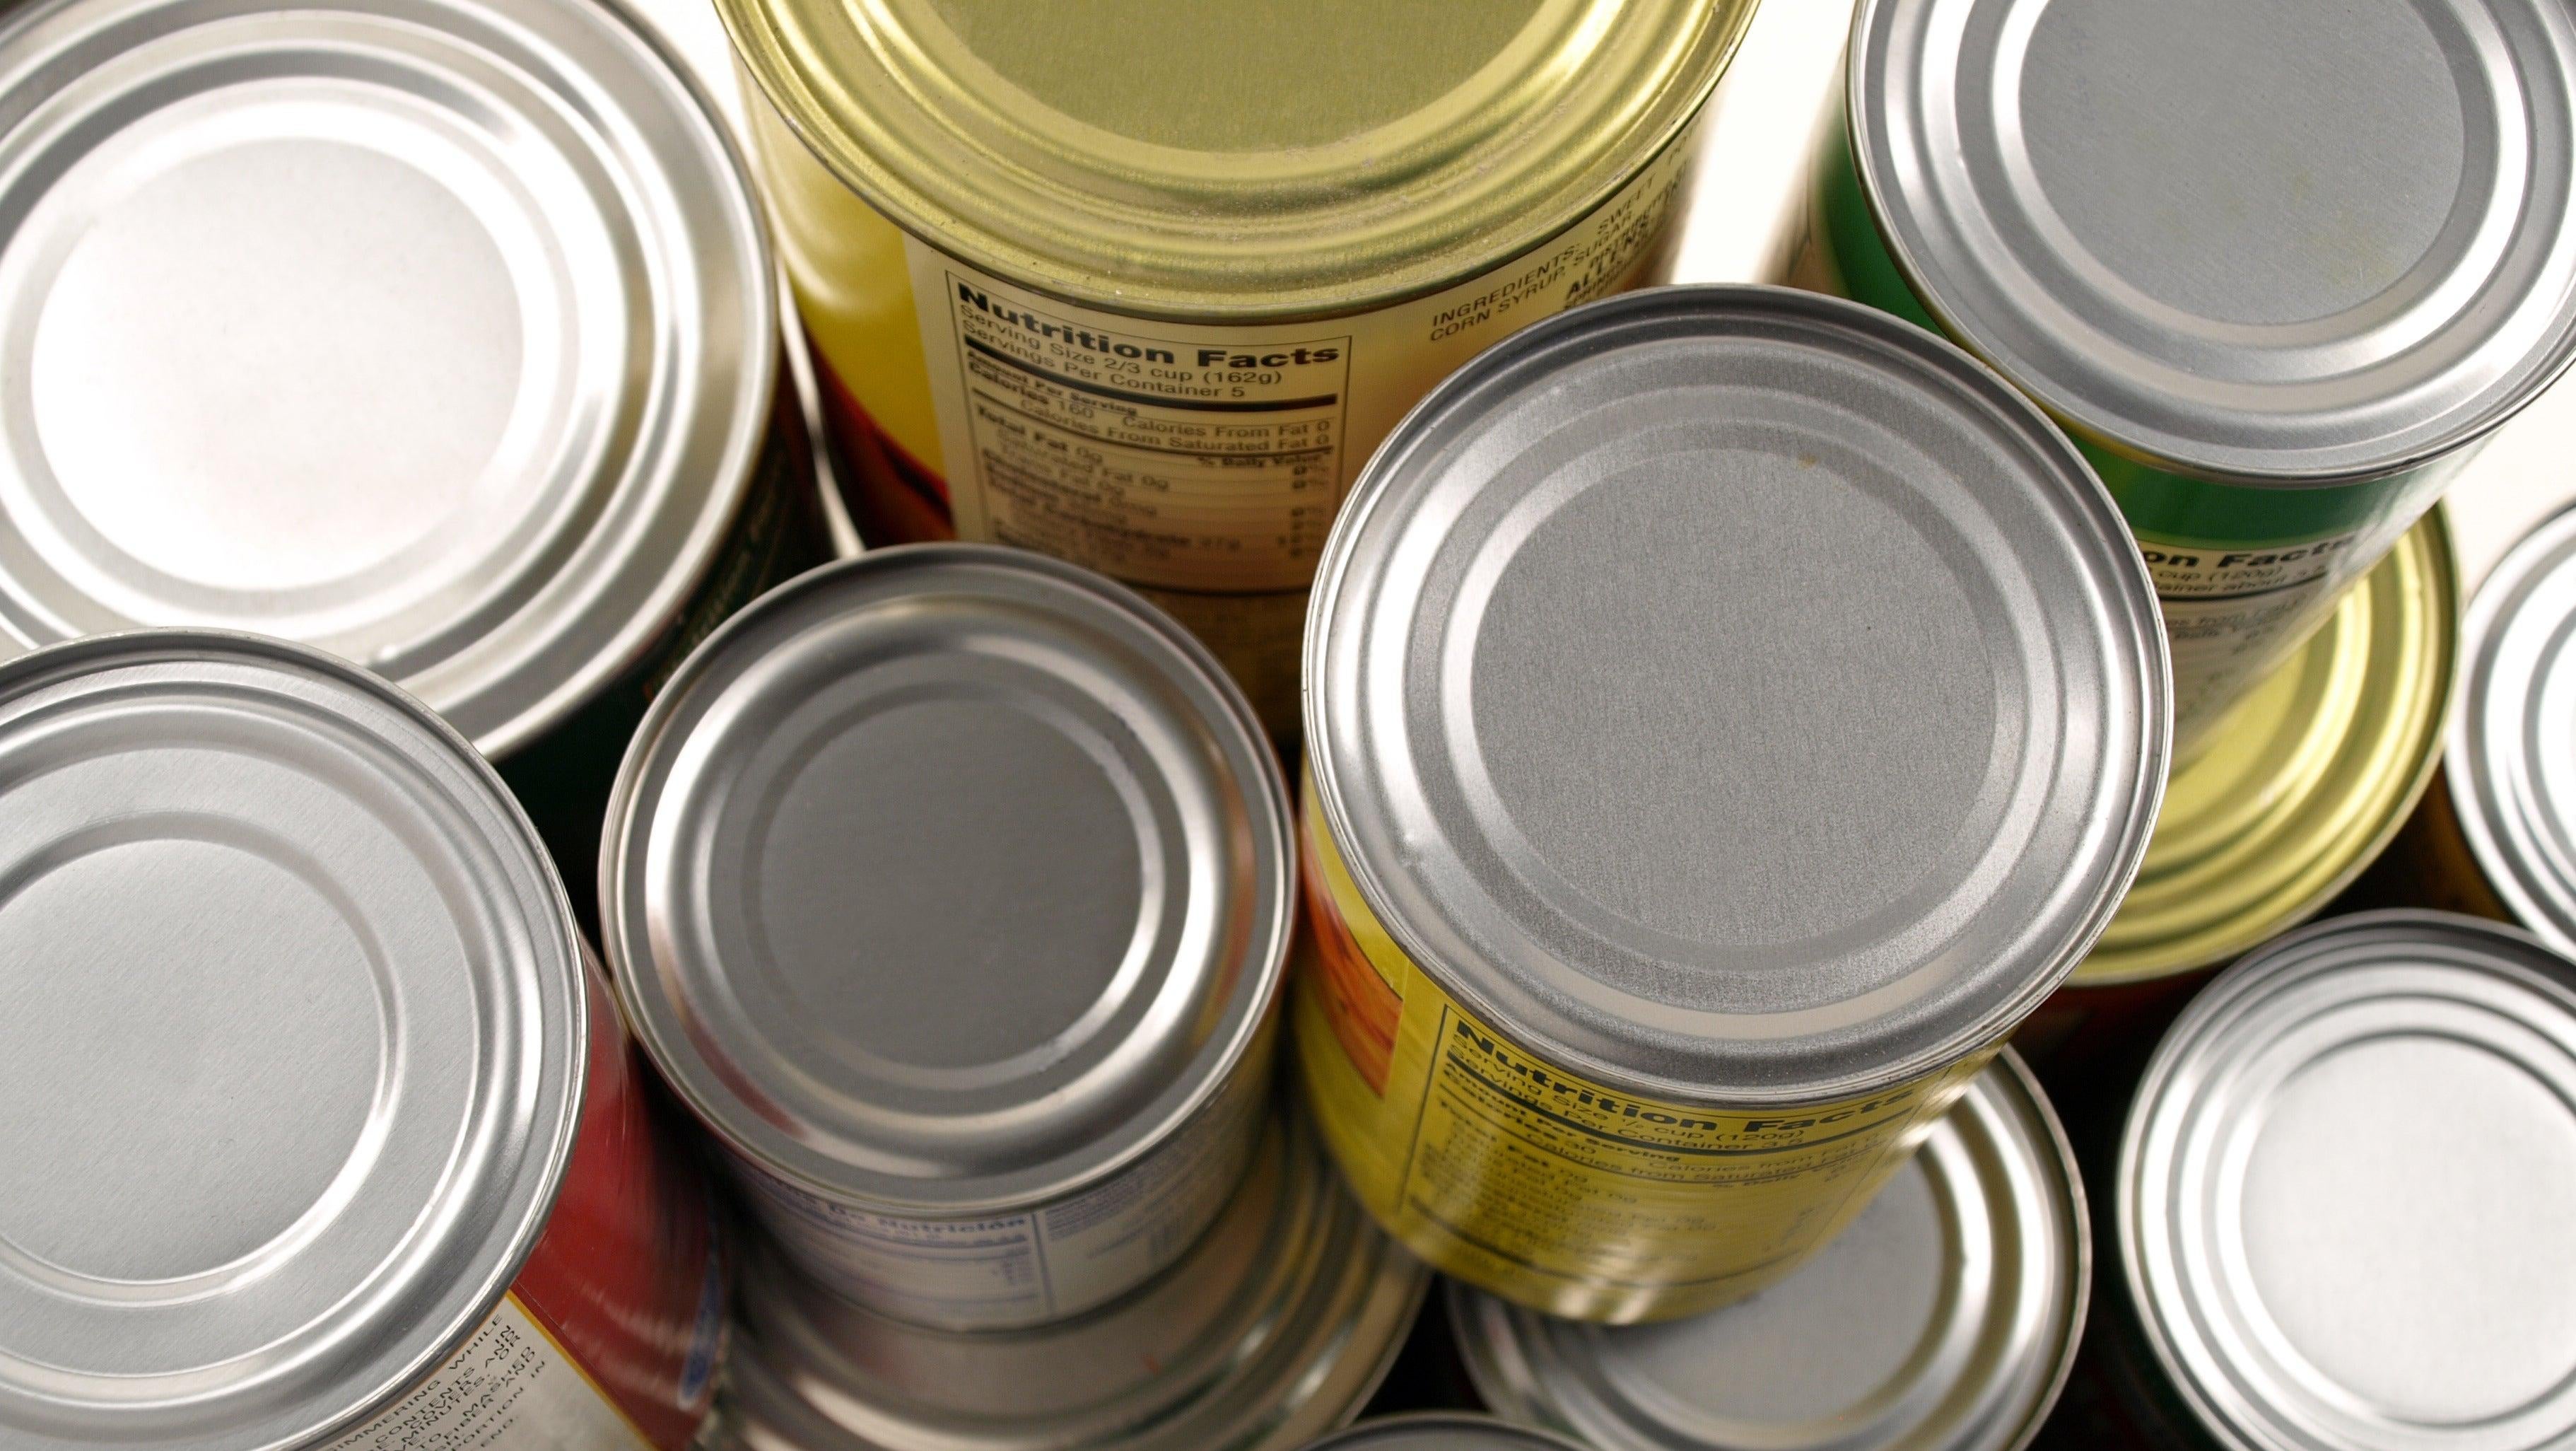
We live in an age of miracles, and yet many canned goods still lack a pull-tab. If you find yourself staring at a can of food with no idea how you’re going to open it, take some moderately fine sandpaper (150-200 grit) and secure it to a flat surface (tape works). Take your can and put it top-down on the sandpaper and start rubbing the can against the paper. Use moderate force and a twisting motion. Sand it until you expose the layers of metal folded over each other (where the can was sealed). When it’s thin enough, you can squeeze the can like Popeye and it will pop open.
Restore wiper blades
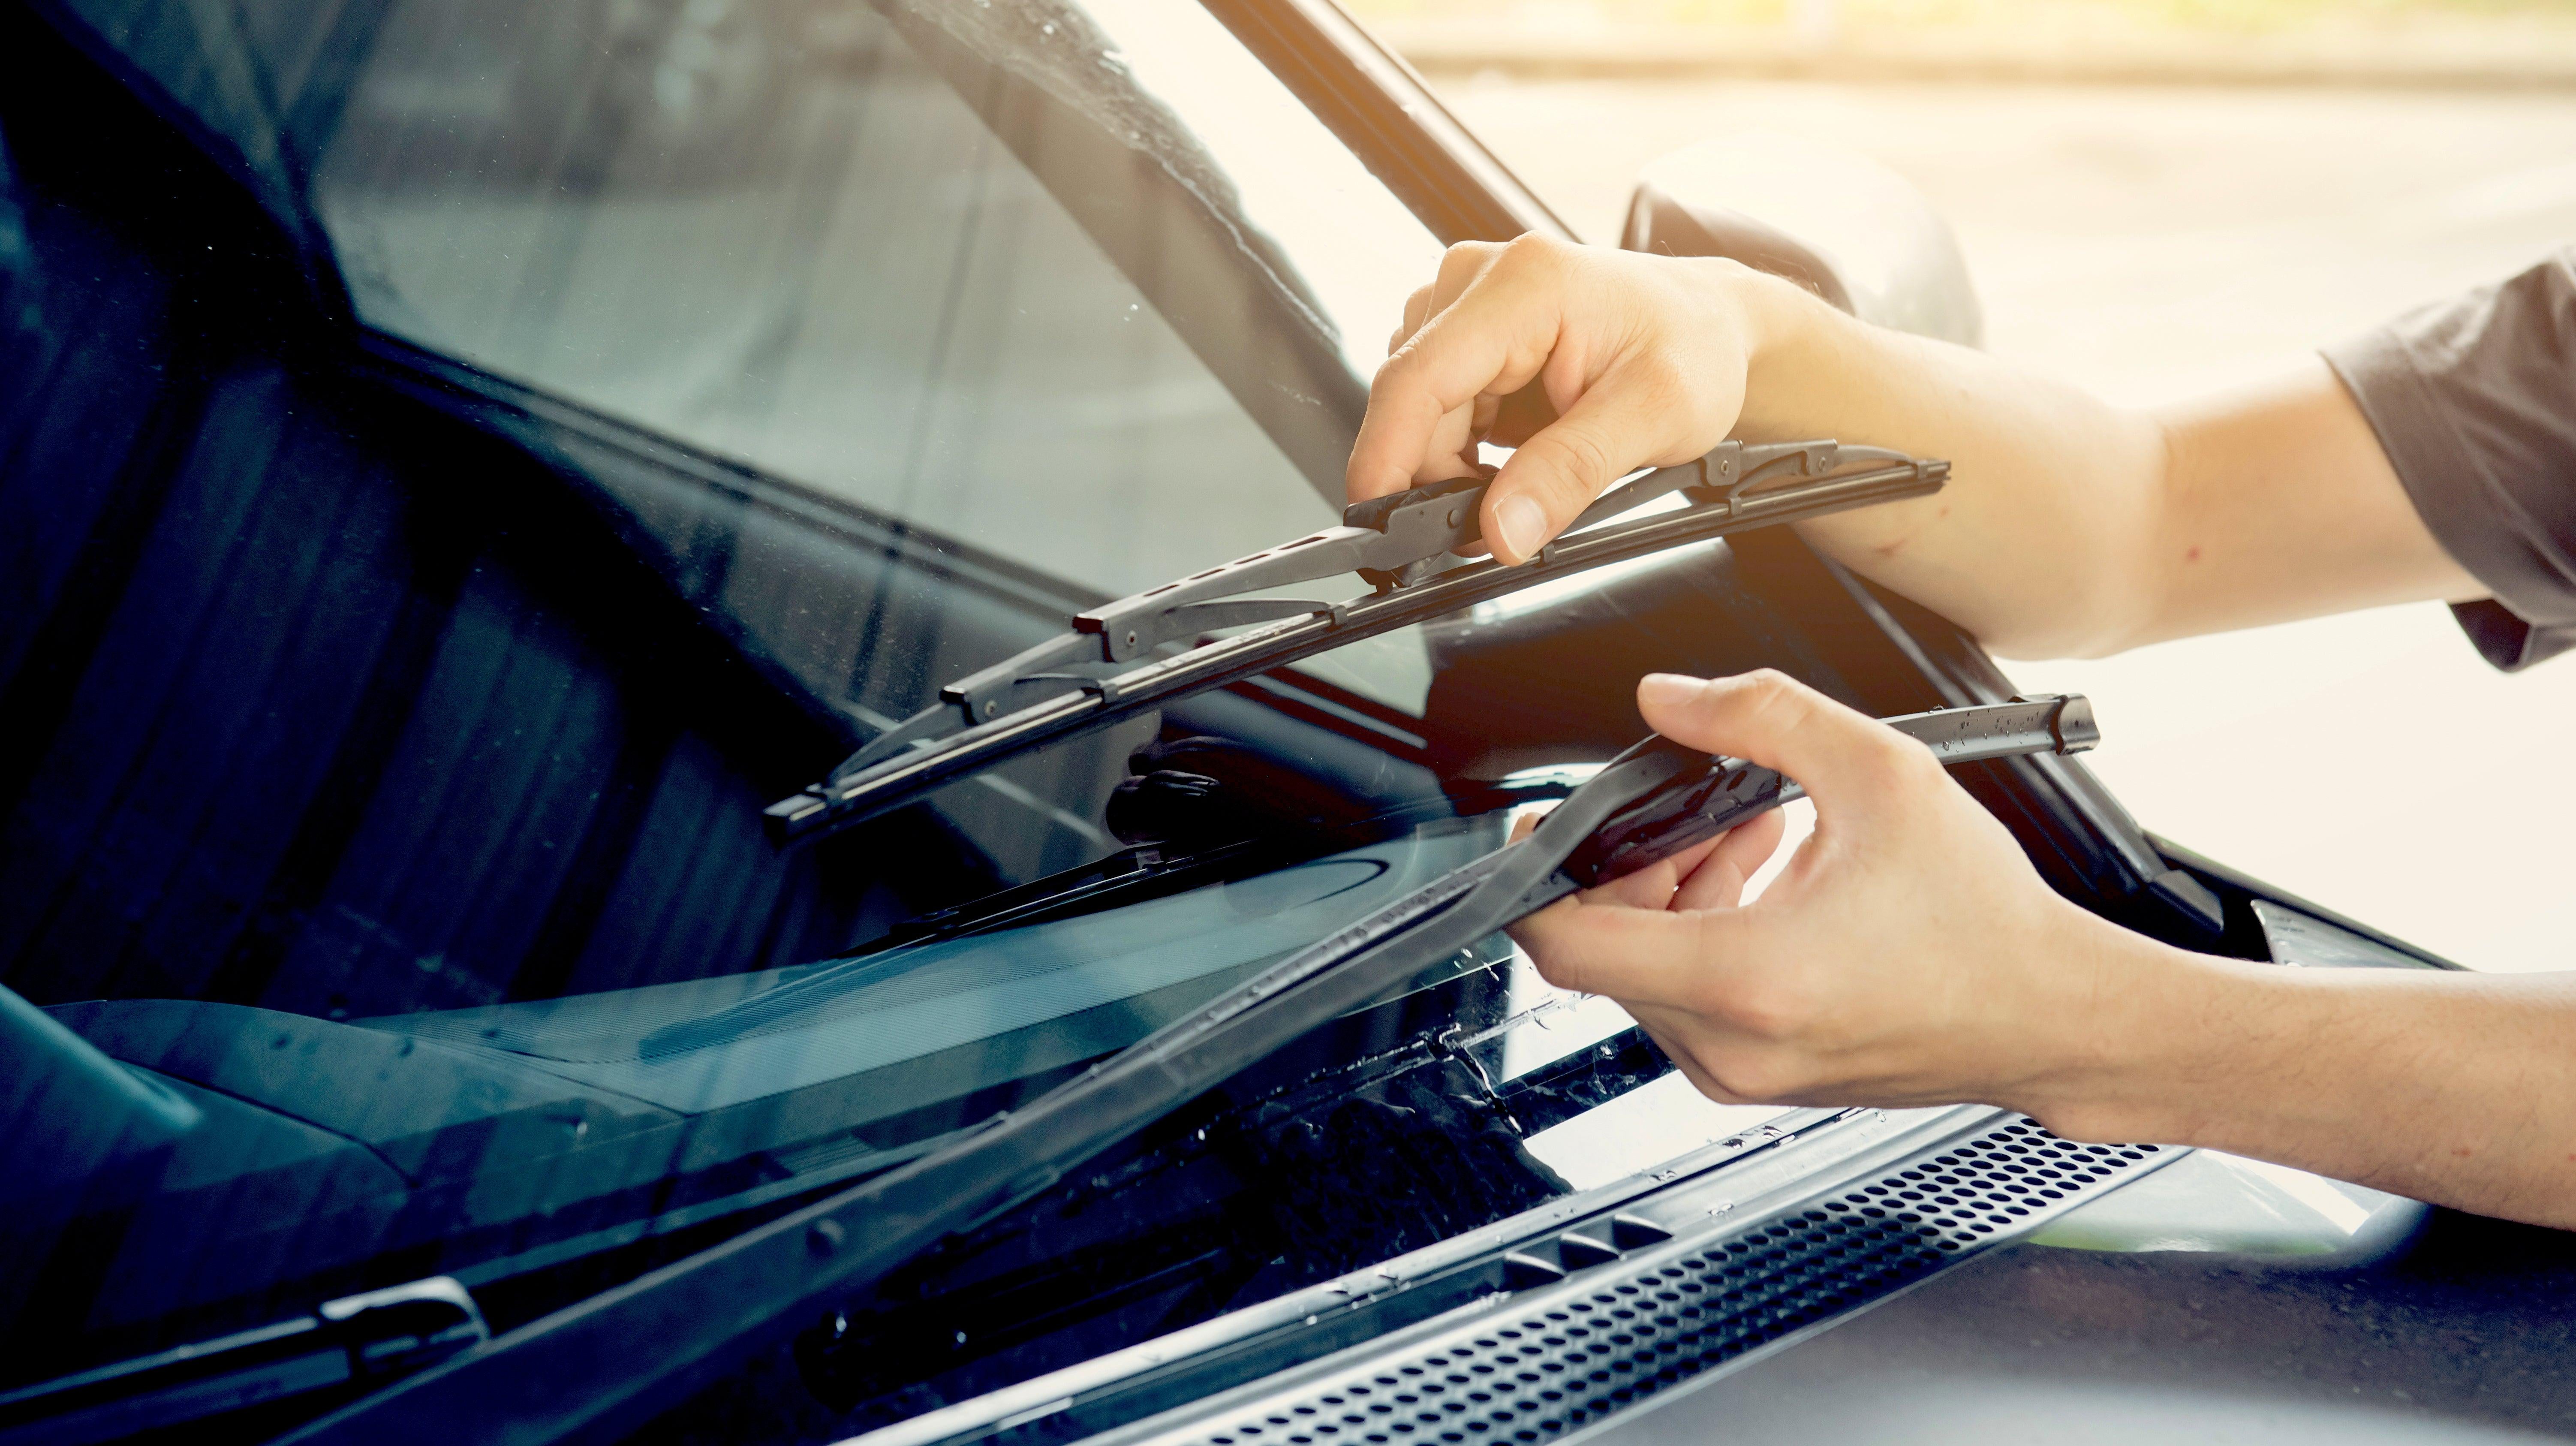
There’s nothing quite as panic-inducing as getting in your car on a stormy day and discovering your window wipers have become theoretical. If your wipers are simply not clearing the way for you, take some very fine (200+ grit — the higher the better) sandpaper and rub the blades thoroughly, about a dozen times up and down. That should restore them for a time. Repeat the process if necessary. You should probably replace the wiper blades when you can, however, as this fix is likely temporary.
Scarifying seeds

Planting a garden but got a late start? One way to speed things up is to scarify or ‘nick’ your seeds. This is a process of reducing or piercing the seed shell so it can germinate more easily. You can use fine grit sandpaper for this, wearing down the protective coating of the seeds prior to planting. After sanding, soak the seeds in water overnight, then plant. You’ll see results a lot faster.
Sharpen scissors
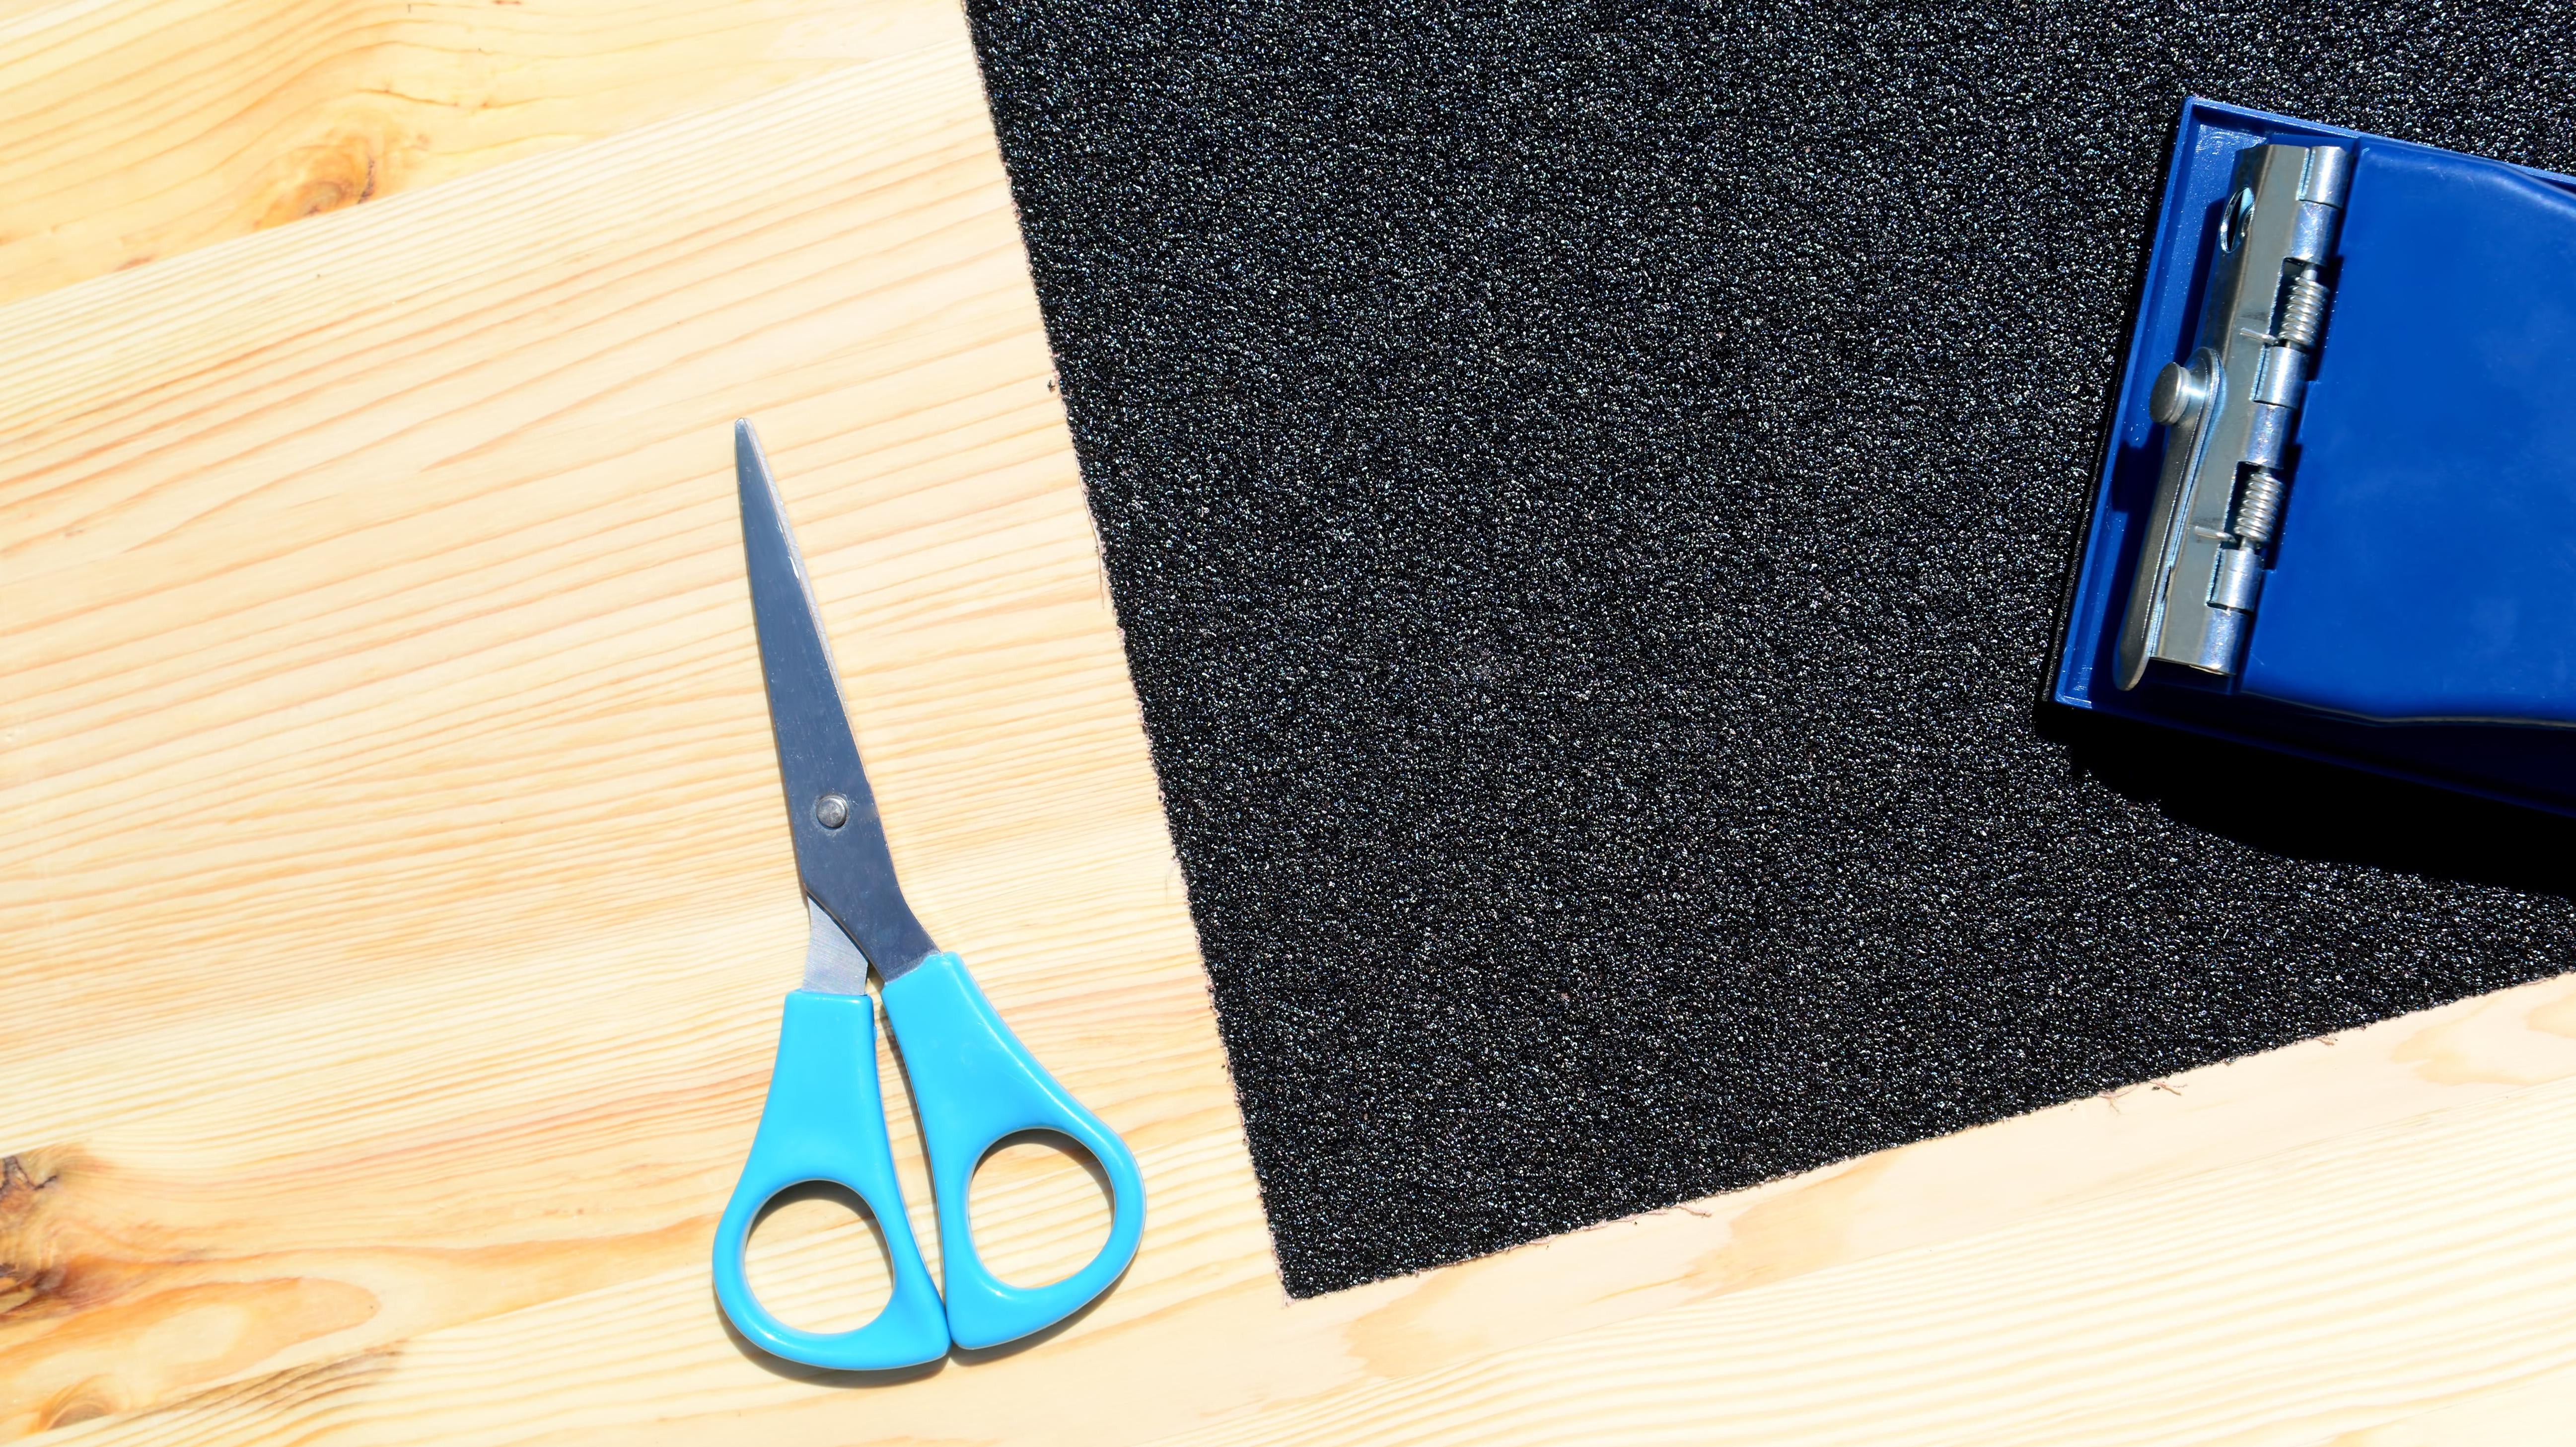
If you’ve got a pair of scissors that can no longer cut through paper easily, you can sharpen them using a fine grit (150-200) sandpaper. Some people will tell you that you can just cut into a sheet of sandpaper to sharpen scissors, but that’s not ideal — it might have a slight effect, but cutting sandpaper can actually dull your blades. Instead, take your scissors apart if you can and scrape each blade over the sandpaper, going in one direction as if you were using a sharpening stone. Repeat about two dozen times, and your scissors will be sharp once again.
Leave a Reply
You must be logged in to post a comment.