If you want to save a couple cents, get deep into zero-waste living, or prepare for your post-apocalypse lifestyle, recycling your old soap scraps into new bars is a great place to start. It’s easy, fun, and you can tell yourself your creation is just as good as store-bought soap.
The basic principle of re-barring soap is simple — you melt old scraps of soap, then press them into a new bar — but there’s not one perfect recipe or method. How you do it depends on how much effort you want to put into the project. Below are three soap-cycling methods, presented in giving-a-shit order, from “hardly” to “a ton.”
The easiest way to turn soap slivers into a bar of soap
The soap-glob method is perfect for stereotypical single guys moving into their first apartment and just-divorced dads who have no idea how to live their life at a most basic level. Here’s the step-by-step:
- Gather your slivers of soap.
- Put them in a plastic bag.
- Stick them in the microwave for a minute or two. (The exact time depends on how much soap and how strong your microwave is, but you want the soap to be soft.)
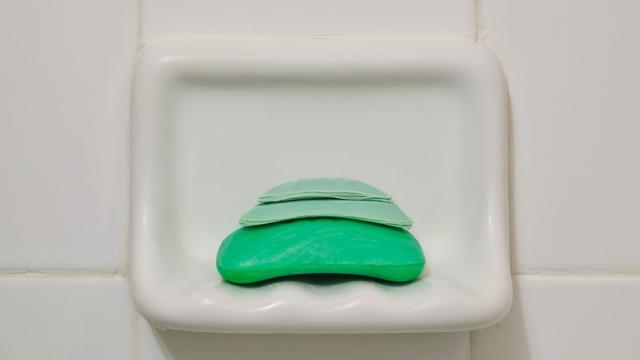
- When the softened soap is cool enough, mush it together into a glob.
- Put it in the freezer until it’s hard.
- Peel away the bag and you’ll have a misshapen soap “bar” that is ugly and will probably fall apart, but will wash your hands just fine. Great for using in the sink in the garage or basement.
If you have too much self-esteem to wash with a soap-glob you made in three minutes, this next method is a step-up.
Middle-of-the-road soap recycling recipe
- Gather your bars of soap.
- Grate them with a cheese grater or cut them into small pieces.
- Put your soap-shavings in a microwave-safe dish and add water (about a tablespoon per cup of soap).
- Microwave for about 30 seconds, then stir.
- Repeat as many times as necessary until you have a bowl of mushy-but-chunky soap goo.
- Line a small box, like the one your phone came in, with plastic wrap.
- Spoon the soap mixture into the box.
- Wait a few days for the mixture to fully harden and dry, and voilà: You have a basic bar of soap.
This method will likely result in a lumpy, grey soap. It will get your hands clean, but you’re not making the cover of Soap Monthly or anything. For that, you need the…
Ultra-full-deluxe soap creation method
I watched many soap-making tutorials on YouTube (it’s a surprisingly popular genre) and synthesized the following basic recipe. Keep in mind: Since the ingredients in soap varies from brand to brand, it’s not an exact science. So see what works best for you.
- Grate your soap. The finer you grate it, the less lumpy the final product will be.
- Put your grated soap flakes in a saucepan.
- Add water. Recipes vary as to how much water. Some say 1 part water to 2 parts soap. Some say “just add enough so the soap doesn’t burn on the stove.”
- Optional: Some soap-making recipes suggest letting the mixture soak for a day.
- Turn a burner to low/medium and stir the soap-soup every five minutes or so until it’s smooth. This can take a long time, like an hour or two. Some recipes say to bring it to a boil, but that seems excessive.
- Alternatively: You can make a double boiler by putting the soap in a heat-safe glass bowl and putting it in boiling water in a saucepan.
- The mixture will not fully melt. It should have the consistency of mashed-potatoes or paste. Don’t let it scorch.
- Take it off the heat.
- Some home soap-makers recommend adding light vegetable oil at this point, a tablespoon for each cup of soap, and stirring. I’m not sure of the benefits, but it could counteract the flakiness that comes from recycled soap.
- Personalise your soap: If you want an exfoliant, try some dry oatmeal. Add a few drops of fragrance or essential oil to make it smell nice (although, it’s going to smell like a mixture of the old soaps your used) or add a few drops of food colouring to change whatever colour you’ve ended up with.
- Add a little grease to prevent sticking, then spoon the soap goop into your molds. You can use muffin tins, ice cube trays, or maybe get creative with cookie cutters.
- Let it harden. It might take as long as a week, but will probably be ready in a couple days.
A no-cooking method of making soap from scraps.
If all this cooking isn’t for you, this YouTuber presents an alternative soap-making method that doesn’t involve melting the soap. Instead, you put soap scraps and water in a wooden box, and apply pressure with some c-clamps until the new bar holds together. That’s the idea, anyway.
Is recycling soap kind of gross?
Old bars of soap are clean (I mean, they’re soap) so there’s no rational reason to be skeeved out by soap made from old slivers, but it still seems questionable. Imagine if you went to a hotel and found out your bathroom was stocked with soap made from the reused bars from people’s rooms. Gross, right? Be aware of the disgust others might feel, and do not put homemade soap in the guest bathroom, unless you dislike your guests.
If you have ever made soap from old slivers, leave any tips you have in the comments.
Leave a Reply
You must be logged in to post a comment.