Ceilings are often overlooked elements in our homes, but a little bit of texture or some colour can really add a lot to a room. If pressed tin ceiling tiles are out of your budget, there are simpler ways to add some expensive-looking detail without breaking the bank. Here’s how to achieve a fast update that perfectly fits your style.
Why stencil a ceiling?
The great thing about stencils is that you can do as much or as little as you like. If you just want to add an accent around a light fixture, or if you want to cover the whole ceiling, there’s a corresponding stencil. You can also choose whatever colour (or multiple colours) you like, matching whatever decor you already have. But while stenciling is a fairly simple process, there are some things to consider when attempting to go DIY.
What you’ll need to stencil your ceiling
For this project you’ll need a stencil of your choice, some latex or water based acrylic paint, a stencil brush, some blue painter’s tape, and a ladder tall enough to reach your ceiling. Be sure that you won’t be standing on the top two steps of your ladder. A tape measure will also come in handy.
How to choose the right stencil
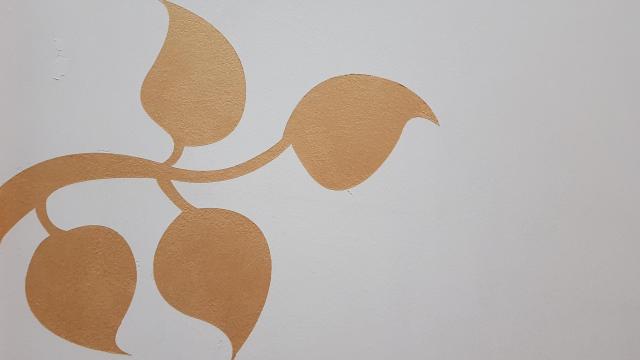
When choosing a stencil, the first thing to think about is scale. Depending on the height of your ceilings, the pattern you choose should be large enough to see from the ground and also match the shape and size of your room. If you have a small area, a smaller pattern might look better.
For a big room, a much larger motif may be in order. You can choose either a single motif — like a wreath shape around a light fixture — or a repeat pattern like those used to mimic wallpaper or tin tiles.
How to choose your stencil colour
The next thing to consider is colour. If you want your image to be bold, you should choose a colour that contrasts with the ceiling and the colours in the room. For a more subtle approach, you can choose a shade close to the one you’ve already got–you can even go with a gloss stencil in the same colour as a flat base colour for an understated, fabric-like texture.
How to apply your paint
First, plan where your stencil should go by holding it up to where you want it and making sure it’s lined up evenly. If you’re doing a repeat pattern, you should mark out where the edges of the pattern are so that you know where it will overlap, and make sure that the edges of the stencil can line up with the edges of your ceiling.
Use blue painter’s tape to hold your stencil tight against the ceiling surface, and then apply your paint with your stencil brush in a dabbing motion. Use small amounts of paint at a time to avoid paint bleeding in under your stencil. If you’re unsure of the technique, you can always practice on a scrap of cardboard before tackling the actual ceiling. Once you’ve got the method down, applying your design should be quick and simple.
Leave a Reply
You must be logged in to post a comment.