Apple makes a mean iPhone camera, but when it comes to their Macs, it’s a whole different story. Sure, they’re getting better, with the M1 Macs having the best of the bunch, but there are a lot of Macs out there with subpar webcams. If you use an external display for your MacBook, you might not even have a good webcam solution. As it turns out, though, you do — with your iPhone.
Don’t bother with an external webcam for your Mac, or even your PC; so long as you have an iPhone, you already have a webcam. Unfortunately, it isn’t as easy as connecting your iPhone to your computer and calling it a day, but it isn’t difficult to set up, either. All you need is a compatible app.
Our choice is EpocCam; this app has a lot going for it, but best of all, it’s free. There are features that are locked behind the paid version of the app, such as full 1080p video, but you might find that the standard video feed that comes with the free version is more than enough for your calls.
How to set up EpocCam as your computer’s webcam
When you first open the app, a welcome screen informs you that you need to install a driver onto your Mac or PC. If you’re using a Mac, you can AirDrop, email, or copy the download link for the driver. If you’re using a PC, you can only choose to email yourself the link.
On Mac, EpocCam works whether you plug in via USB or if you use wifi. It’s a great solution if you want to avoid any extra wires cluttering up your desk. On Windows, however, you’ll need to connect your iPhone to your PC in order for EpocCam to work.
Once the driver is on your computer, open it and follow the installation directions. On your iPhone, give EpocCam permission to use your device’s camera and network, and you should see a video feed above a “CONNECTING TO YOUR COMPUTER” message. You’ll need your iPhone and computer connected to the same wifi network; if all is set up correctly, the full EpocCam controls will appear on your iPhone.
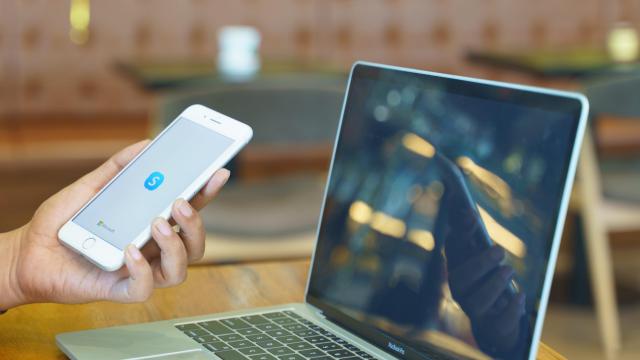
Now, all you have to do is launch your video app of choice on your Mac or PC and set your camera source as EpocCam. For example, if using Messenger for your video calls, click the three dots and choose the “Device settings” option. Then, click the menu under Camera, and choose EpocCam.
Extra EpocCam features
Once you do, you should see your iPhone’s video feed in your video call app. You’ll also find a few options on the EpocCam app; tap the triangles to flip your video feed, the camera icon to flip to your other iPhone camera, or the large button in the centre to choose between background blur or a green screen effect.
That’s all there is to say about the free app. With the $US7.99 ($11) paid app, however, you get access to the following:
- Remove watermark
- Full 1080p video
- Wide angle camera support
- Replace your background
- Choose your connection: wifi, USB, or NDI
- Microphone-only mode
- Use your flashlight
- HDR video streaming
- Manual focus
Among all the options held back from the free version, the one that might affect you the most is the watermark. It’s not huge, and it sits at the bottom of your video feed, but you might find it too annoying to use. For many people, though, it’s worth having a free webcam solution should you need it.
Leave a Reply
You must be logged in to post a comment.