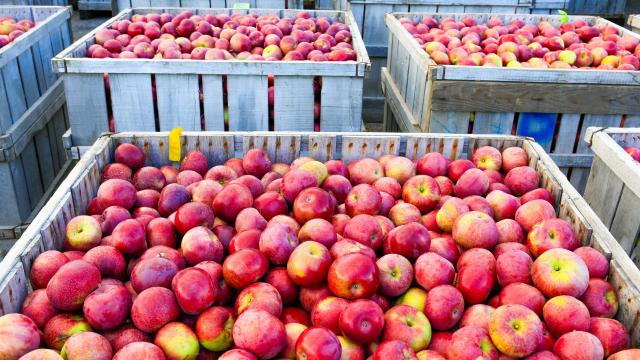
Apple season — arguably the best season of them all — is just around the corner. As you make your plans for what to do with All Those Apples, it’s good to stop for a moment and consider an important component: the peel.
An apple peel may not look like much, but it is a powerhouse of fibre and nutrients, so removing it (which is an annoying step anyway) diminishes the apple’s overall nutritional benefit. Fortunately, leaving the peel can result, in many recipes, with a taste that is every bit as rich and satisfying as using unpeeled apples — if not more. The peel can add a richness in flavour to applesauce or cider; it adds texture to a cake or crisp that you may find satisfying; and perhaps you’re among those who actually prefer a little peel in their pie (a touchy subject for some, I realise).
If you do use unpeeled apples in recipes, however, you may have to make a few minor adjustments. You might need to choose a variety that naturally has a thinner, softer peel, for starters: The default apple for pies and crisps is often Granny Smith, but you might be better off selecting a tart apple with a thinner skin, such as Gala, Jazz, or Braeburn.
With that in mind, here are some of our favourite recipes that have been adapted to use unpeeled apples.
Apple crisp
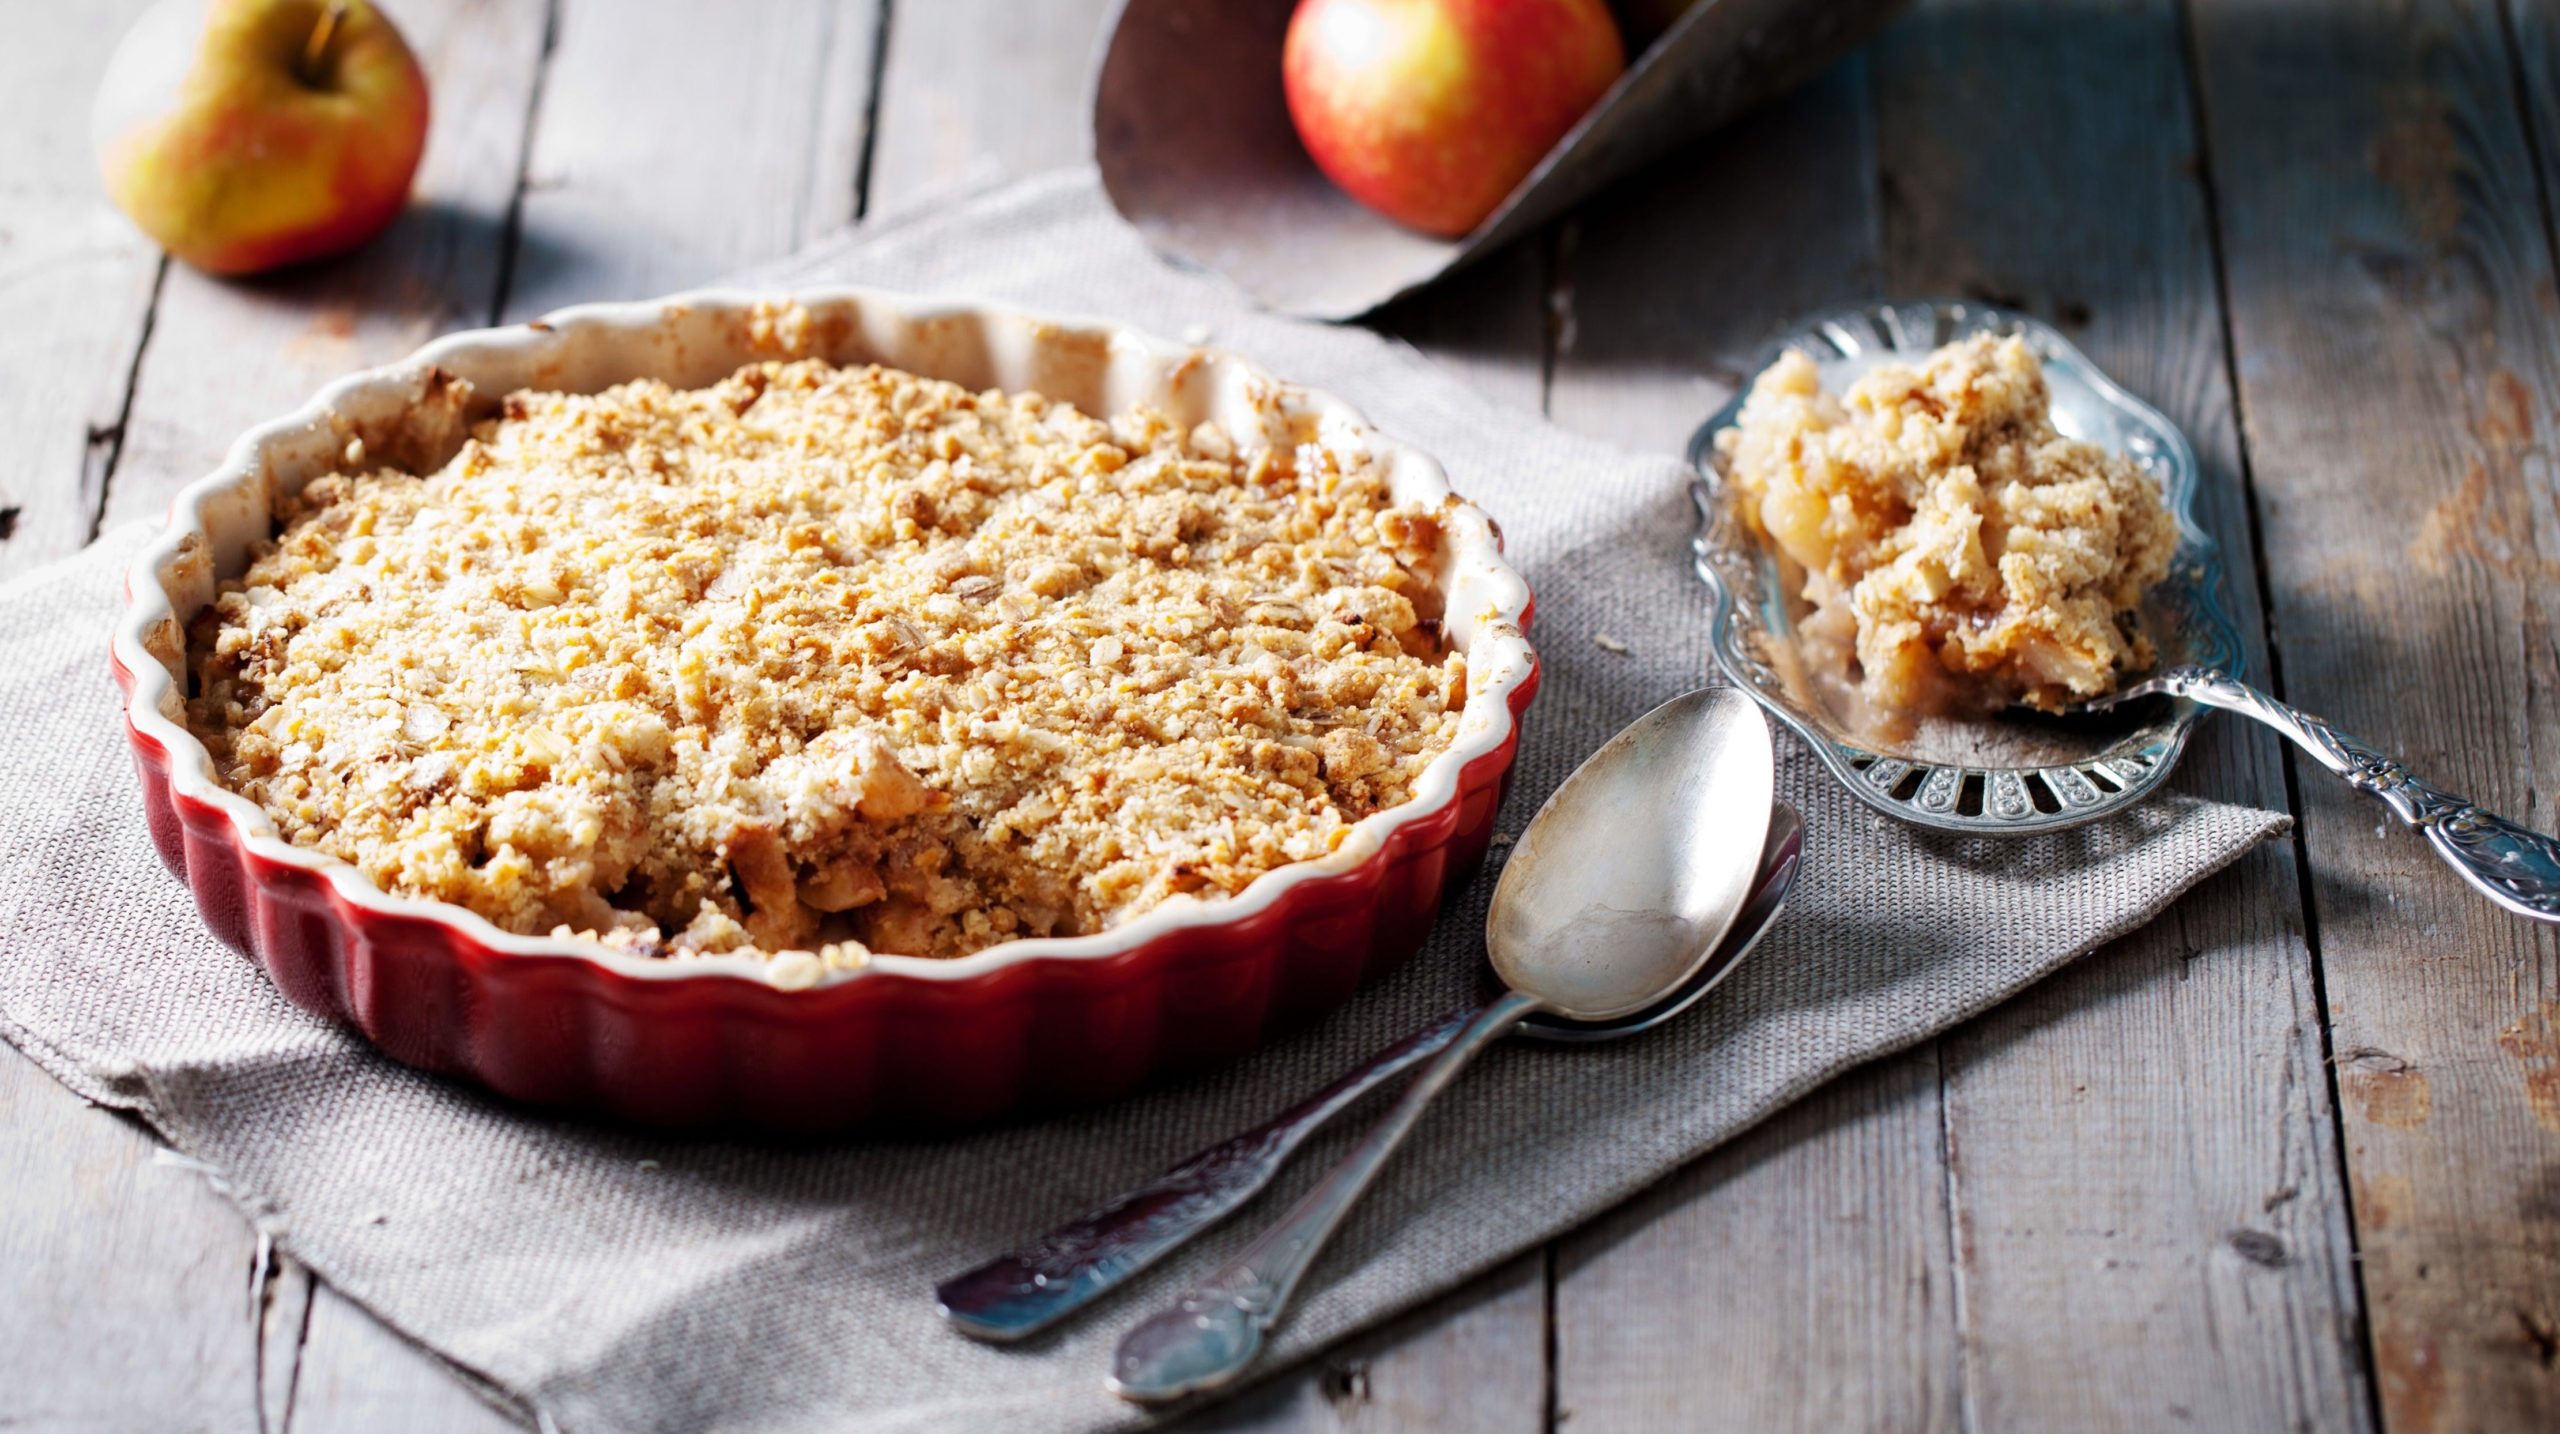
I like this apple crisp recipe, from the website Inspired Taste, for a couple of reasons. First of all, leaving the peel on the apples gives the filling a little bit of extra texture, which I enjoy. Second, using orange zest and juice, instead of the traditional lemon, creates a brighter, sweeter taste. Third, the oatmeal topping uses melted butter, which not only creates a crunchy texture, it’s also a lot easier than cutting the butter into dry ingredients.
All of that adds up to an apple crisp that is not only even easier than the traditional recipes, but tastes better as well. It also makes for excellent leftovers, assuming you have enough self-control to not eat the entire pan in one sitting.
Cinnamon sugar apple cake
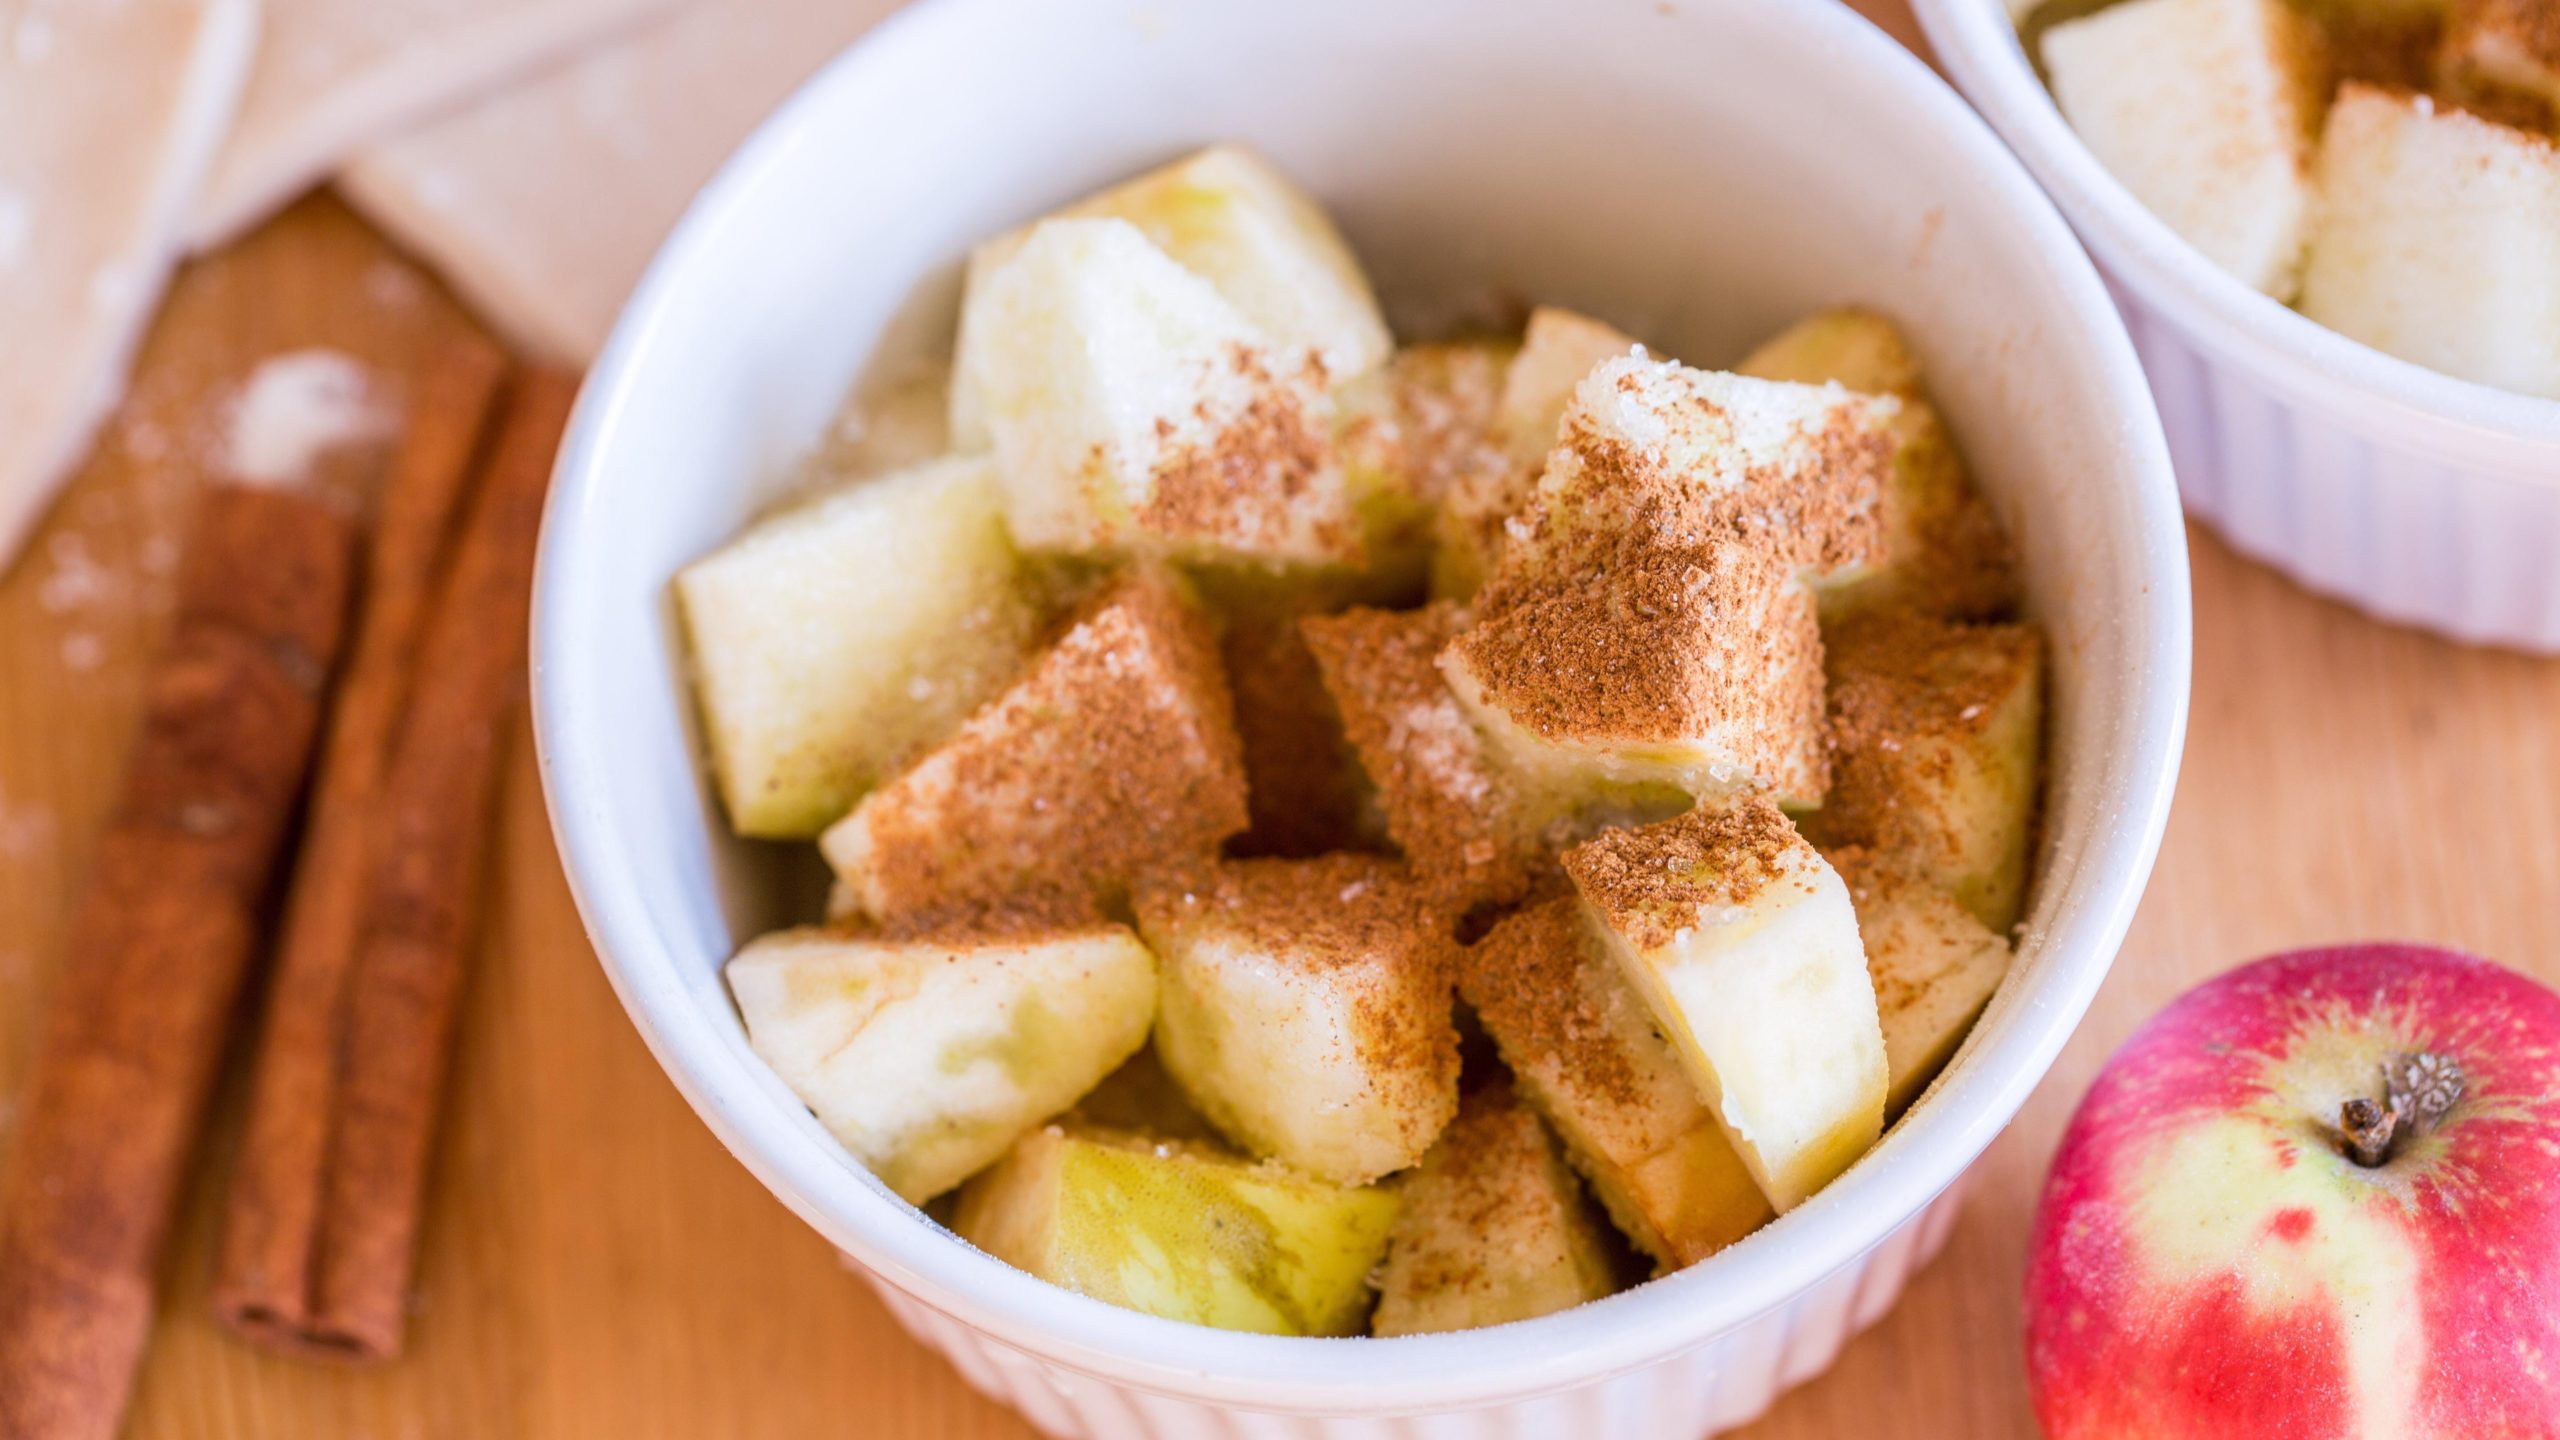
This cinnamon sugar apple cake, which comes from the website Pinch of Yum, is your classic coffee cake, complete with a crumbly cinnamon topping, that also includes a whole bunch of apple-y goodness. The recipe calls for finely cut apples, including the peel, which is mixed into a cake batter, and then sprinkled with a cinnamon-sugar topping.
To really get the texture and flavour right, cut the apple up very fine either by finely dicing them, slicing them very thin with a mandoline, or shredding them. The finer the apple pieces, the fewer heavy chunks end up at the bottom of the cake, and the more uniform the apple taste will be through the entire cake.
If you are looking for additional apple recipes that don’t call for removing the peel, you’re in luck, as the author of Pinch of Yum also agrees that spending extra effort removing the most nutritious part of the apple is not the best use of her time.
No-peel applesauce
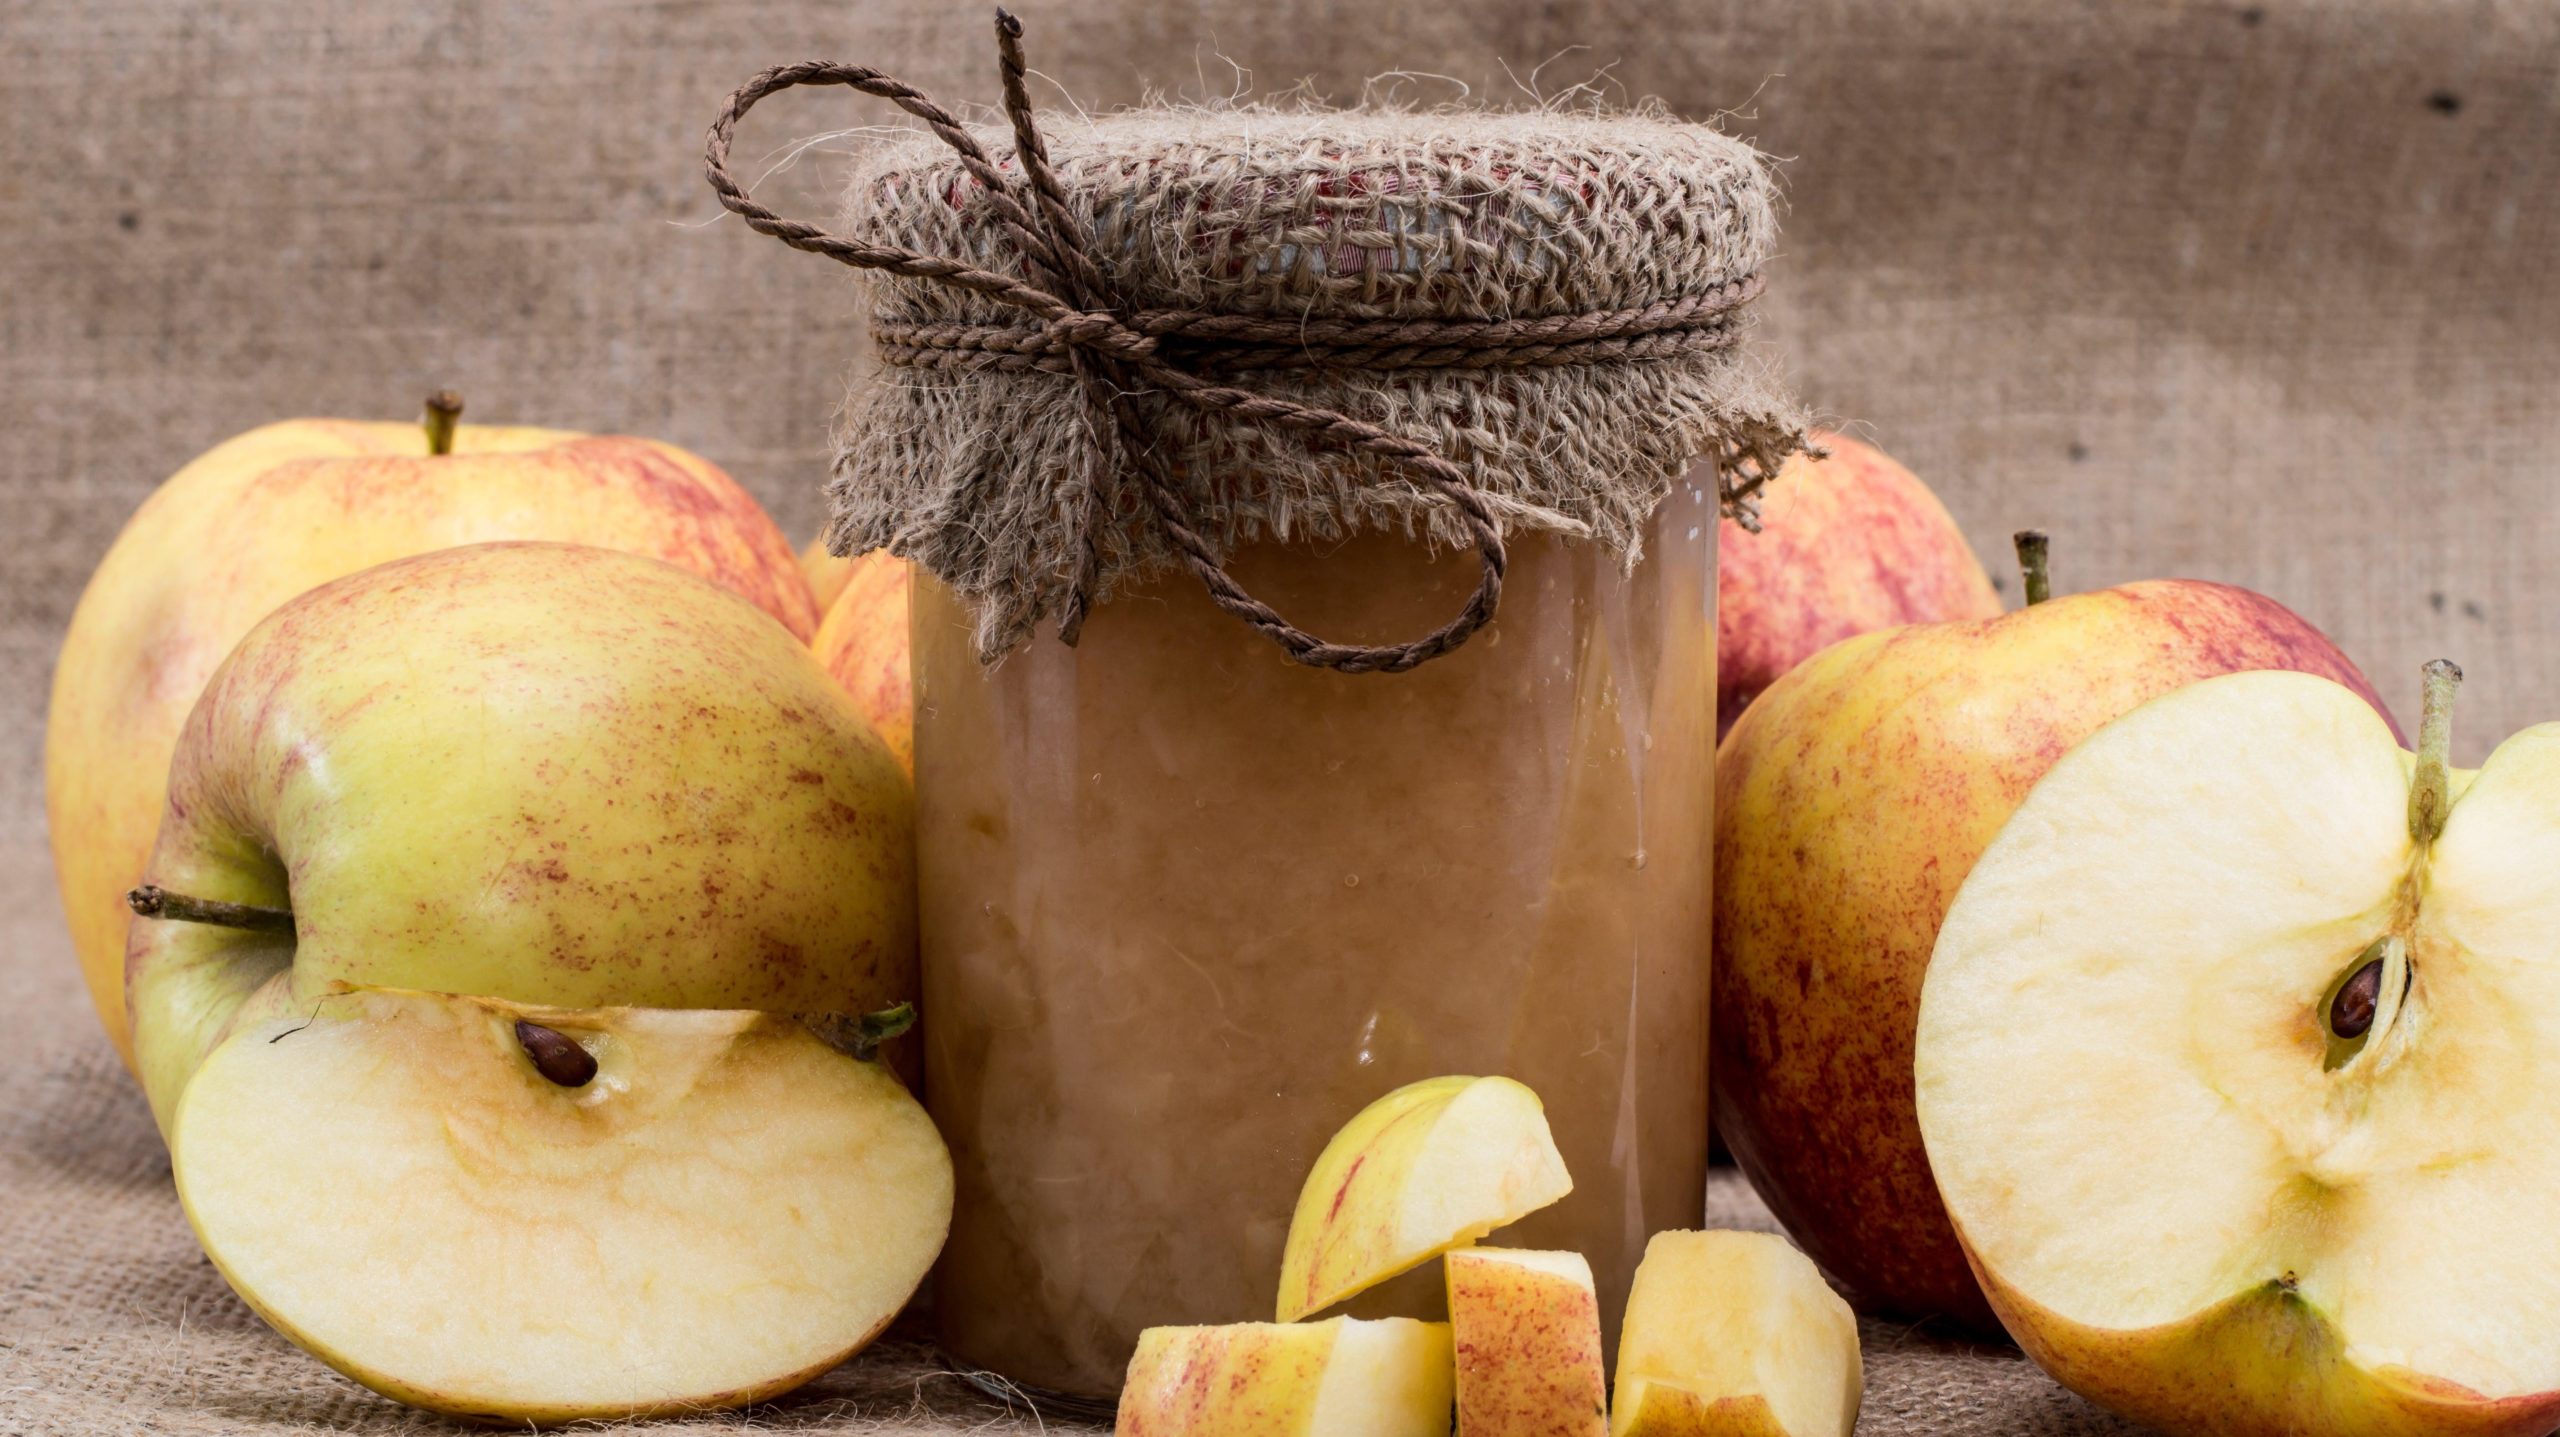
The main difference between the applesauce we buy in the store and homemade apple sauce made with unpeeled apples is the colour. (Plus, you know, the fibre and nutrients.) Instead of a light, golden colour, unpeeled applesauce is darker, with a richer taste. For this one, you are probably better off using an apple variety with a thinner skin.
When it comes to making apple sauce at home, you can either make it in a slow cooker, an Instant Pot, on the stovetop, or by baking the apples in the oven. Basically, whatever is the simplest, easiest method for you, that’s the one you want to use.
Since I don’t have a pressure cooker, and I didn’t have the patience to cook my apples in either a slow cooker or on the stove top, I used the oven, which takes about an hour. The trick is to cook the apples, with whatever sweetener and/or spices fit your taste-buds, until they get soft, then blend everything until smooth. (I like adding in both sugar and spices, as that makes everything nice.)
Slow-cooker apple cider

This recipe for slow-cooker apple cider comes from Sally’s Baking Addiction, which is usually a sign it’s worth your time. In this case, you core and quarter apples and put them in your slow cooker with a peeled orange, two teaspoons of ground cloves, a couple or cinnamon sticks, and sugar to taste. Add enough water to cover the tops of the apples.
Once the apples are soft (about 6-8 hours), mash them with a potato masher or immersion blender, let them simmer for another hour, and then strain out the solids with a sieve. If you don’t have a slow-cooker, you can cook this over the stove, simmering the mixture for about two hours before mashing, and then let it simmer for another hour.
Personally, I found it helped to throw the entire mixture into the blender just before straining; the result is a thick, sweet cider.
Apple pie
Reading some of the online comments about unpeeled apples in apple pie, I was initially quite sceptical. There aren’t a whole lot of apple pie recipes to be found that called for unpeeled apples: The main criticism seemed to be that leaving the peel on created a texture that wasn’t suitable for pie, mostly because the apple flesh got too soft, while the peel did not.
Eventually, though, I adapted this unpeeled apple pie recipe from Better Homes and Gardens. I didn’t have premade pie crust on hand, so I made my own, using this all-butter pie crust recipe from Inspired Taste that I’ve had luck with in the past.
In order to address the texture issue, I chose a thin-skinned apple variety, (Gala, in this case), rather than my standard sturdy-skinned Granny Smiths, and I par-cooked the apple slices beforehand, which is supposed to help them retain their structure, rather than get mushy.
The easiest way to par cook your apple slices is to pour boiling water over them, cover them, and let them sit for ten minutes. Pour off the water, add sugar, lemon juice, and flour to the apple slices, then ladle the mixture into the pie pan, being sure to drain off the liquid at the bottom.
The verdict? This pie was really good — one of the better ones I’ve made, in fact. The peel added a slightly different texture, but not so different that it was jarring, while the filling had all of the apple goodness I expect from a homemade pie. I suspect the par cooking made the difference, as the apple slices maintained their shape while the peel still had enough baking time to soften. Next time I make apple pie, I’ll be par cooking them again, and probably leaving the peel on as well.
No-peel apple pie recipe
Adapted from Better Homes and Gardens:
Ingredients:
- 2 pie crusts, for a 9-inch pie pan
- 8 cups sliced, unpeeled apples, from a thin-skinned variety, such as Gala, Braeburn, or Jazz apples
- 2 tablespoons lemon juice
- 2 tablespoons flour
- 1 teaspoon cinnamon
- ¼ teaspoon nutmeg
- Cream for brushing on the top of the pie
- Granulated sugar for dusting on the top of the pie
Instructions
Core and slice unpeeled apples, for a total of 8 cups. Place apple slices in a bowl, pour boiling water over top, and cover. Let sit for ten minutes, then drain off water. Once apple slices have been drained well, add in ½ cup sugar, 2 tablespoons flour, lemon juice, cinnamon, and nutmeg. Mix well.
Roll out the first pie crust, and place in a 9-inch pie pan, letting the extra hang over the edge. Ladle in apple pie mixture, being careful to strain out the liquid at the bottom of the bowl.
Roll out second pie crust, and lay over the apple pie filling. Crimp the edges, then cut small vents on the top of the pie. Brush top of the pie with cream, and sprinkle sugar over the top. Cover the edges of the pie with aluminium foil to prevent the edges from burning.
Place in an oven at 375°F. After 30 minutes, remove the aluminium foil and bake for another 30 minutes, until the crust is golden.
Leave a Reply
You must be logged in to post a comment.