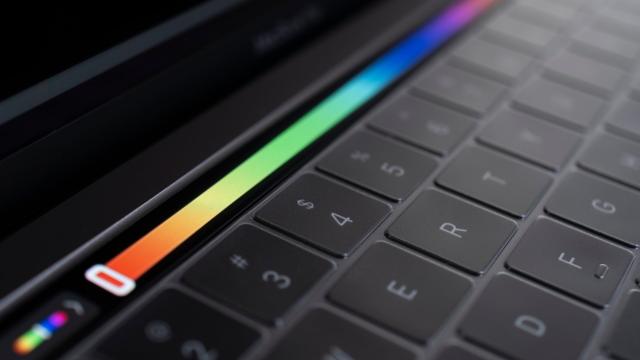
Love it or hate it, the MacBook Pro’s Touch Bar is a unique piece of tech. While Apple is rumoured to be phasing out the Touch Bar later this year, there are tons of MacBook Pros in the wild that still have this weird feature, and they will still be in service for years to come. So instead of just letting the thing sit there, you should really figure out how to make the Touch Bar actually useful.
Here are 14 ways — big and small, simple and complex, starting with the more straightforward and working our way up from there — that you should be using your Touch Bar. (And before you ask, yes, we talk about BetterTouchTool — it’s slide 12).
You should be tapping less

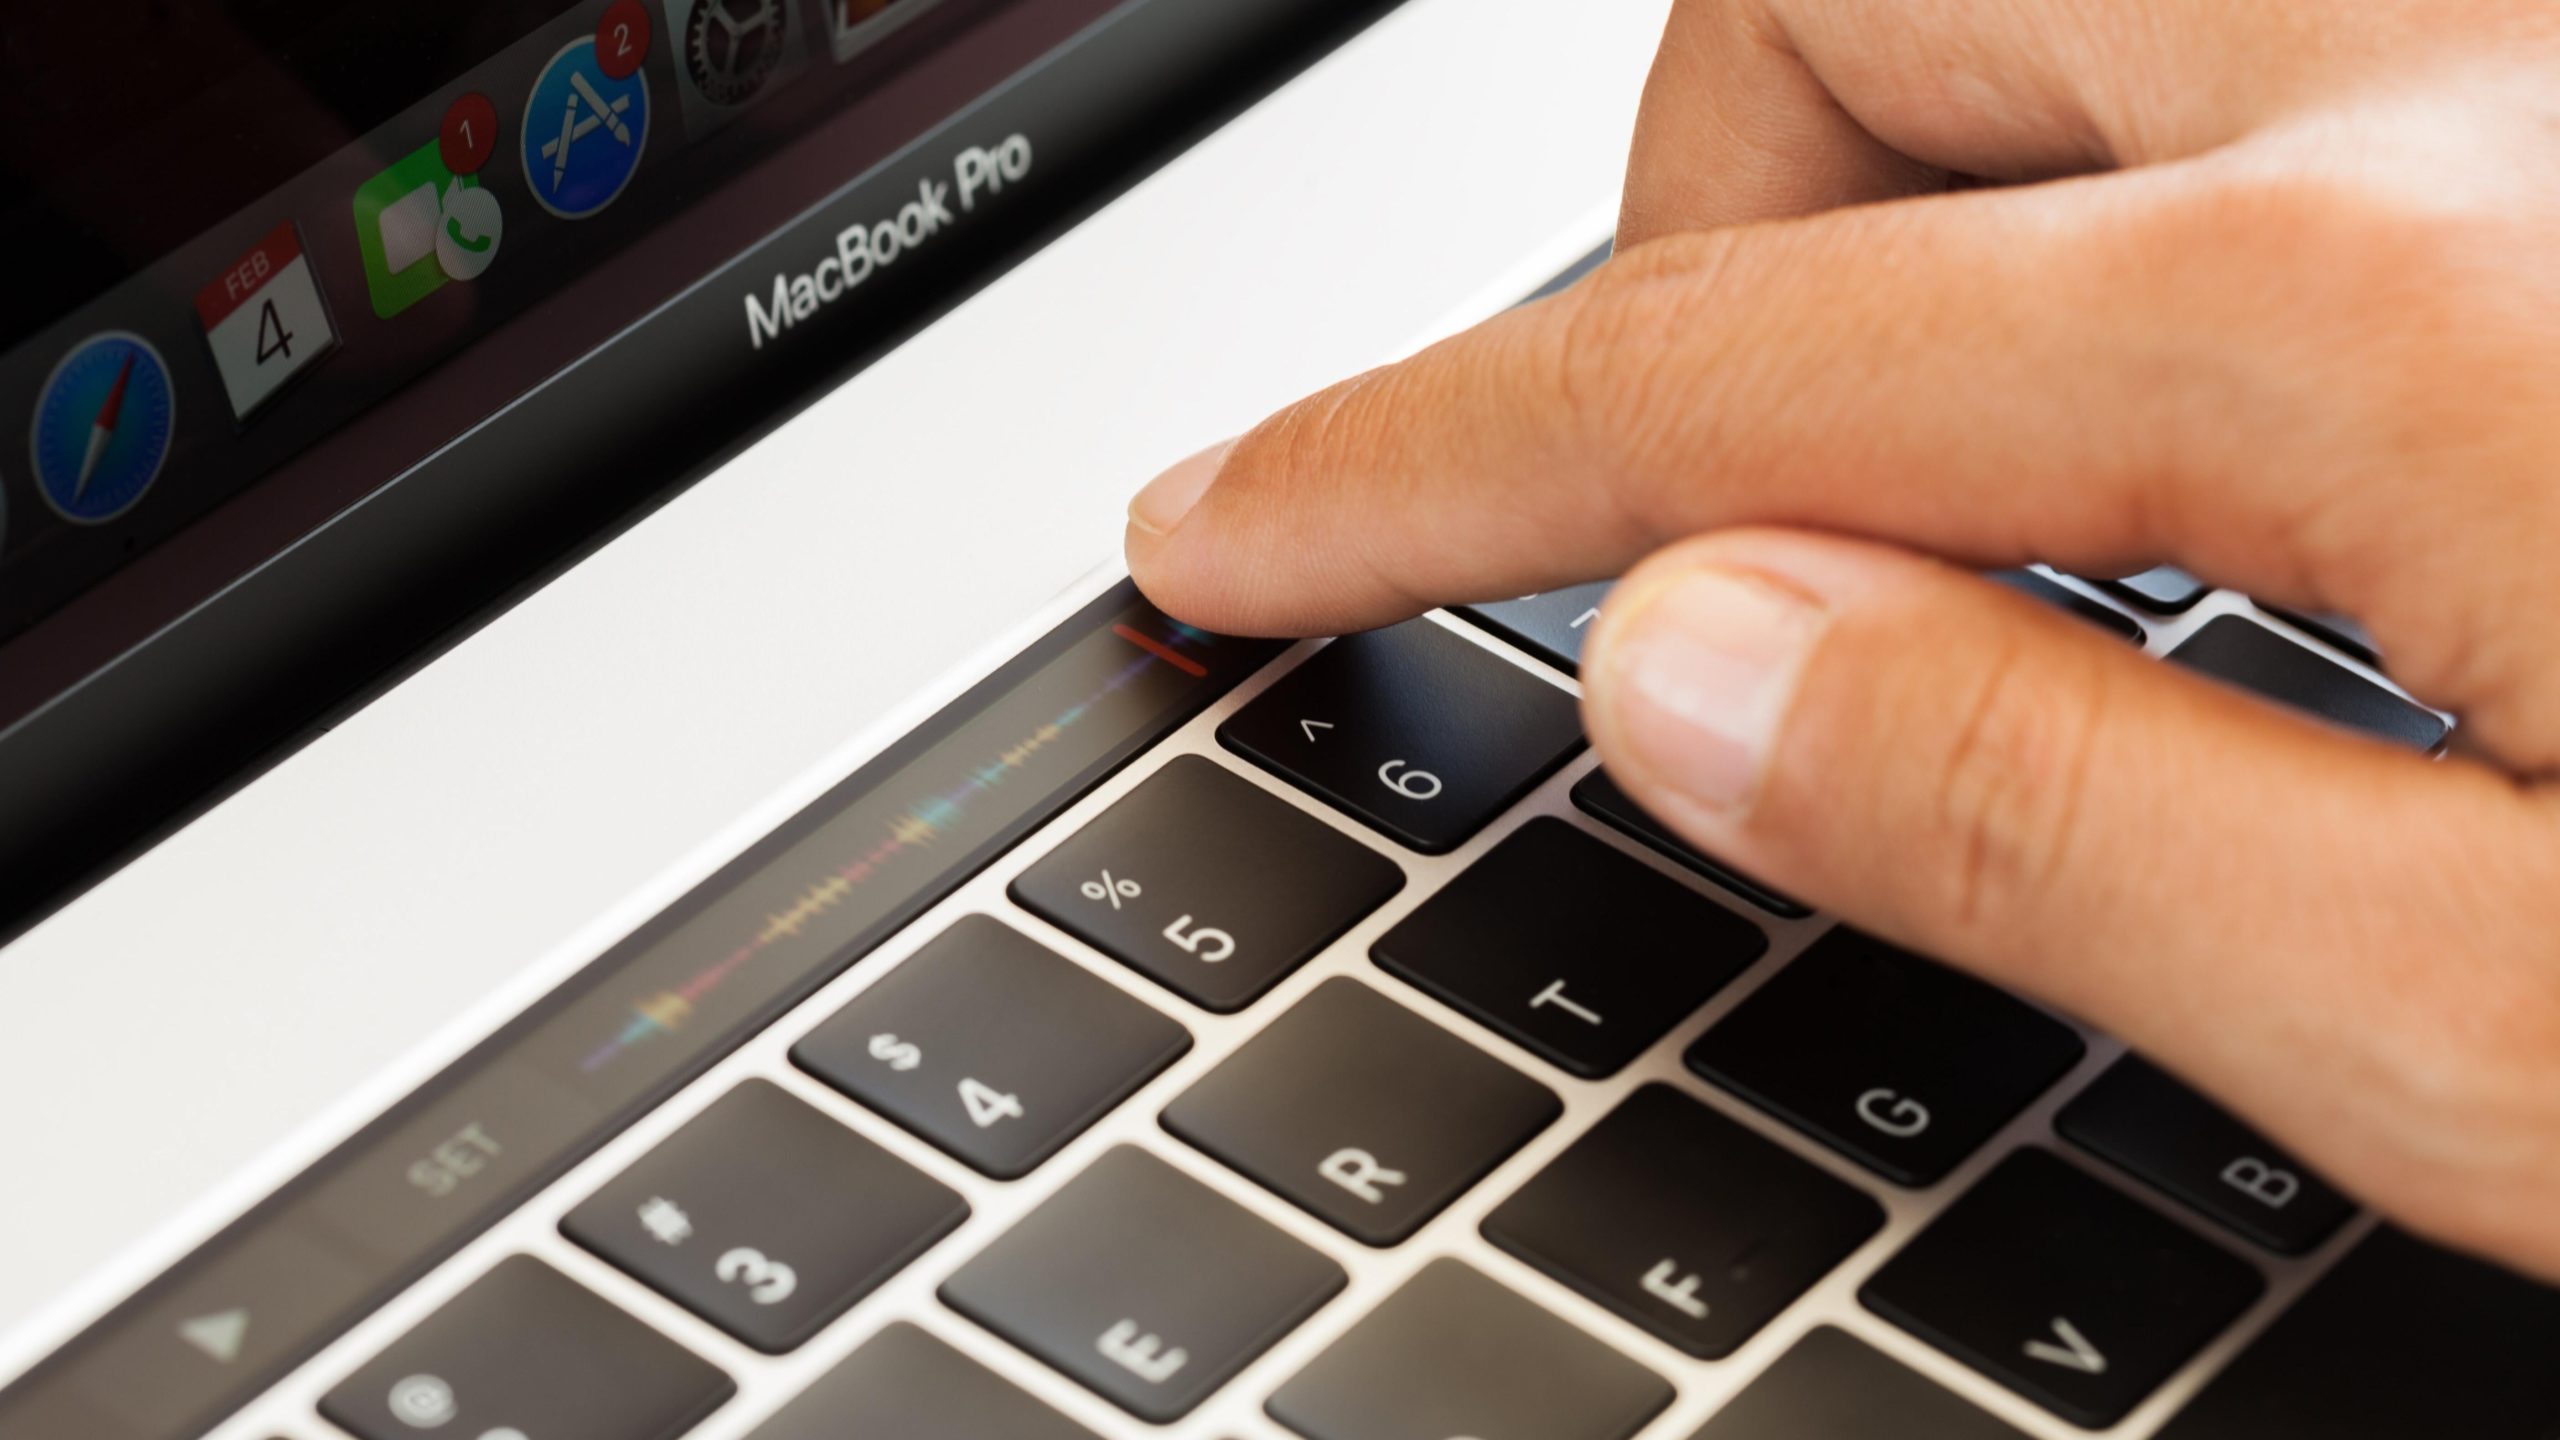
This is one of my favourite Touch Bar hacks, because it’s just so simple: Instead of tapping on the volume or brightness buttons on your Touch Bar, then tapping and dragging the slider that appears, just tap and hold on the button right off the bat. Like using a long-press on an iPhone, the slider will appear, and you can move your finger along it right away, even if your fingertip isn’t actually touching the touchpoint on the slider.
It’s a neat shortcut that saves a little time whenever you need to change the brightness or volume on your MacBook Pro. Plus, it just feels smoother to tap and slide.
Make the Touch Bar disappear faster

The Touch Bar is designed to automatically dim and disappear after a certain period of inactivity. But if you’re finding that it takes too long to disappear, there’s a way to speed that up.
Head into System Preferences, go to Keyboard, then choose “5 seconds” under Keyboard Backlight. Not only will that dim your keyboard’s backlight after five seconds (obviously), but that tells the Touch Bar to dim as well. Then, it’s just another 15 seconds before the whole thing turns off.
Choose the options that appear in the Control Strip

By default, the Touch Bar’s Control Strip displays brightness, volume, mute, and Siri options. While Apple thinks that should work for most people out-of-the-box, it might not work for you. Luckily, it’s easy to change.
Open System Preferences > Keyboard, then choose “Customise Control Strip.” You’ll see the options in your Control Strip begin to shake, as well as a number of new options appear on-screen. Review the different options, and, when you find one you like, drag it down to replace one of the existing Control Strips options. You can do the same for the expanded Control Strip; just tap the arrow while in this edit mode.
Another tip: you don’t need to have a fully loaded Control Strip or expanded Control Strip. You can actually drag your cursor “beneath” your display to the Control Strip, where the option will light up. Now, drag it back up to the window, and it’ll disappear from your Touch Bar. Alternatively, drag these options with your finger to the left of the Touch Bar, where you’ll find a trash can ready to remove them.
Show the expanded Control Strip all the time
If you find yourself constantly tapping the arrow on the Control Strip to see the expanded options, this tip might be for you: Open System Preferences > Keyboard, then tap the drop-down menu next to Touch Bar shows and choose “Expanded Control Strip.” Now, no matter where you go on your Mac, your Touch Bar will show all of your expanded Control Strip options.
Just know, going with this option will hide app-specific Touch Bar controls. If you like using those options in your favourite apps, you probably shouldn’t use this feature.
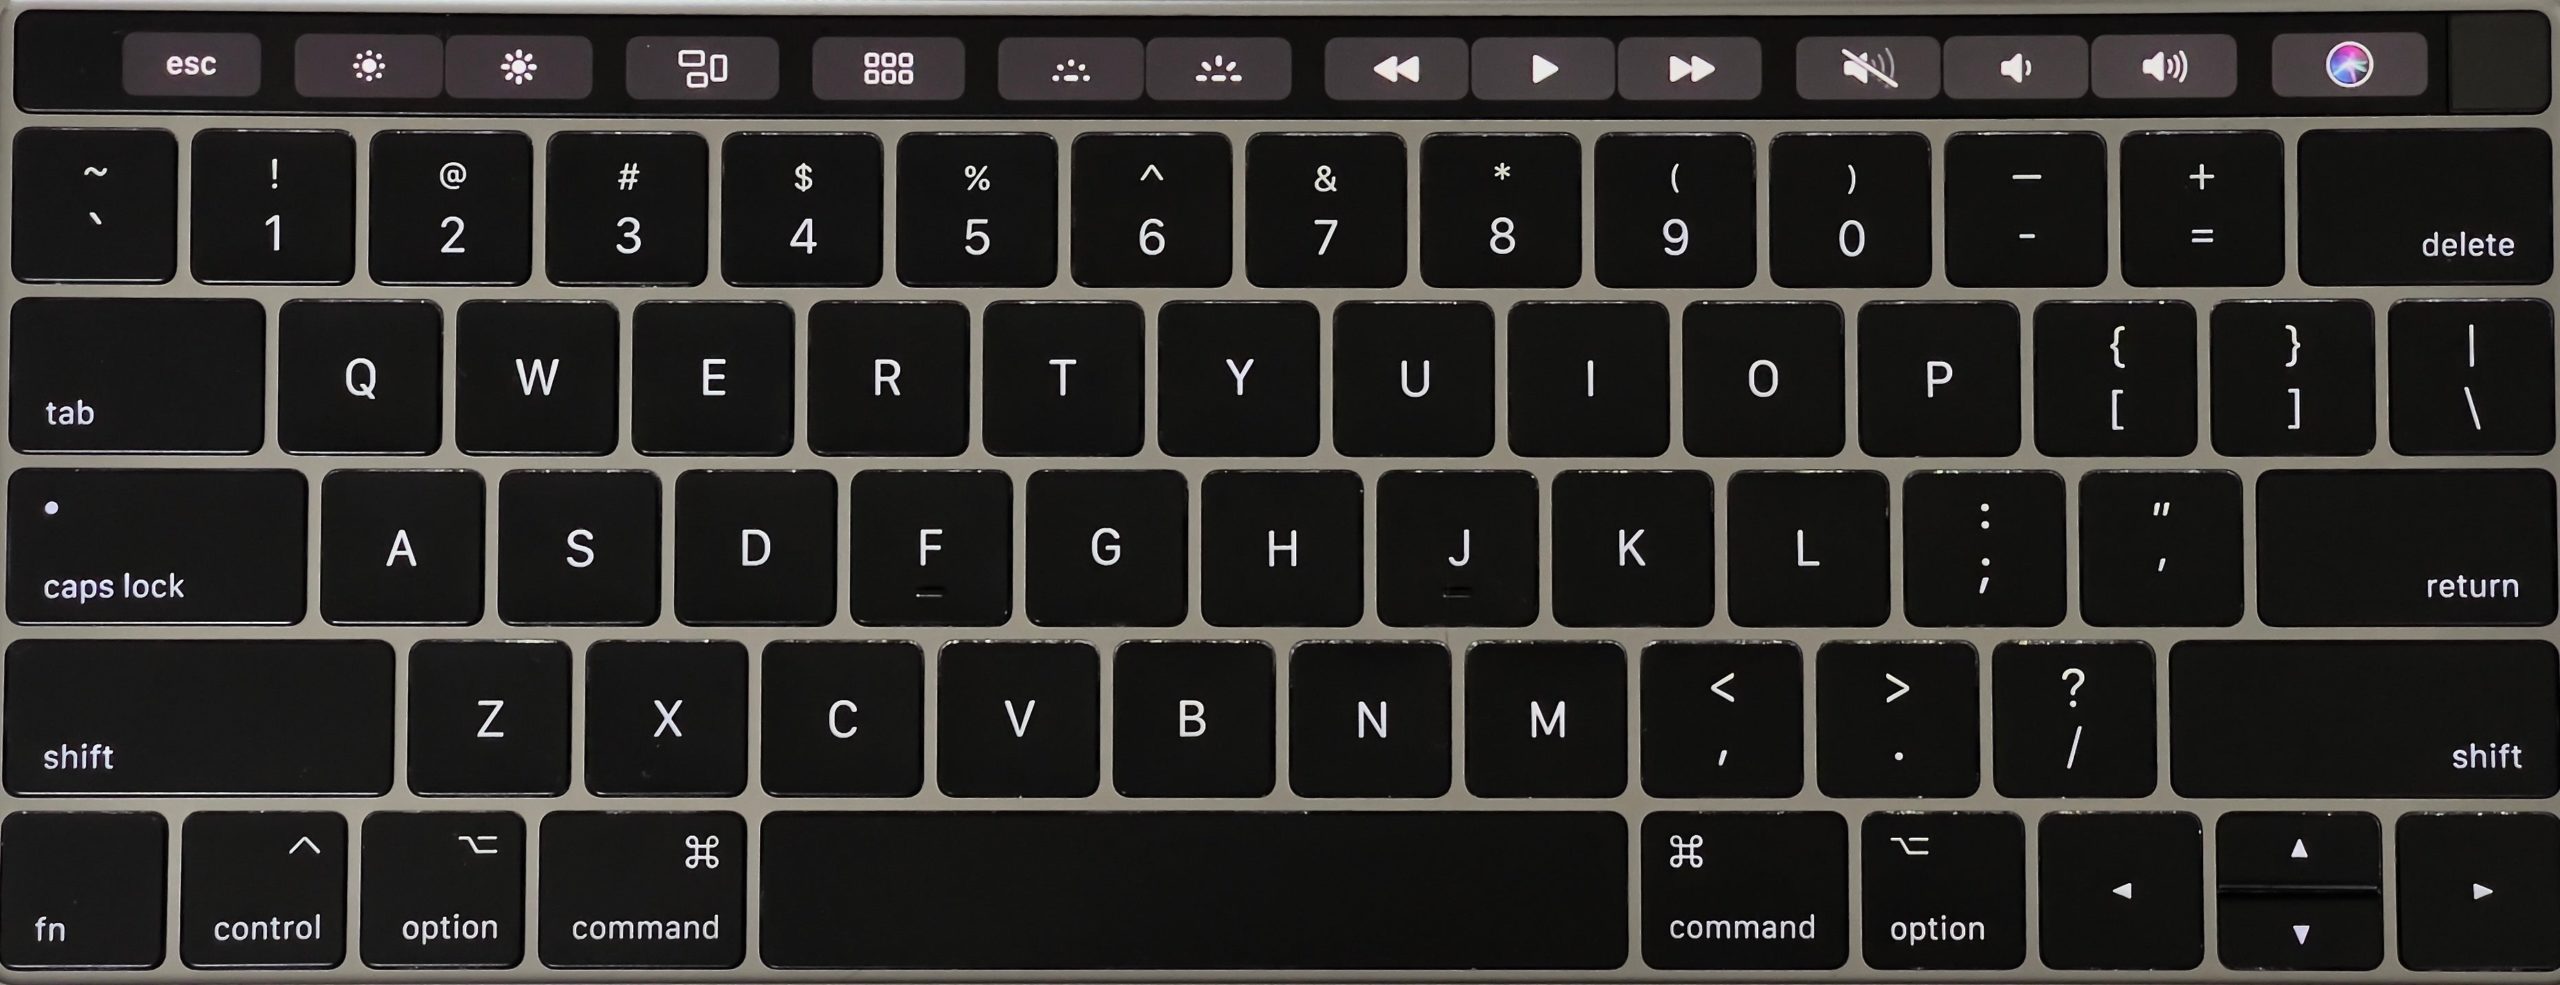
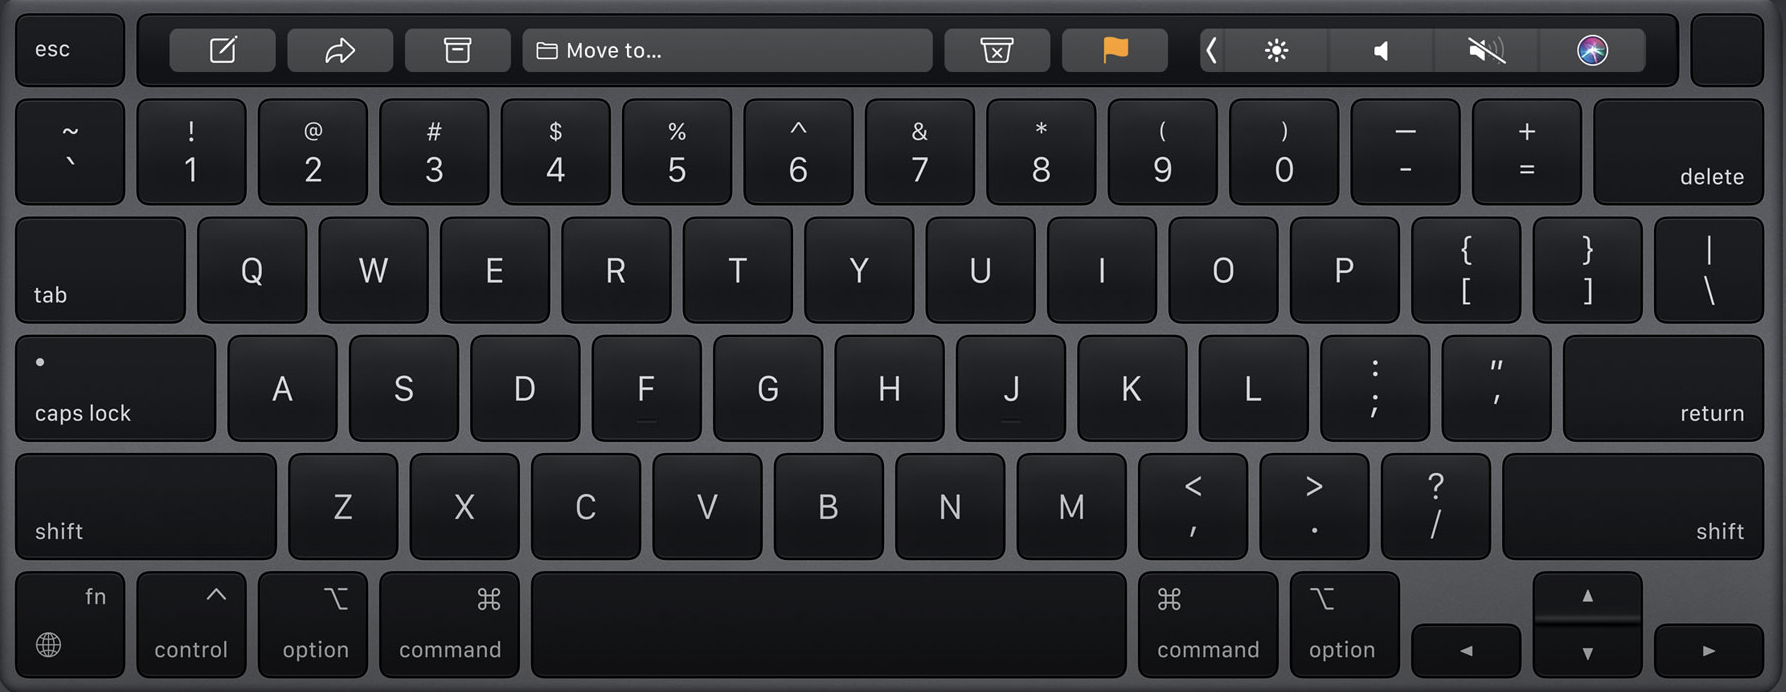
Press ‘Fn’ to make the Touch Bar show your function keys
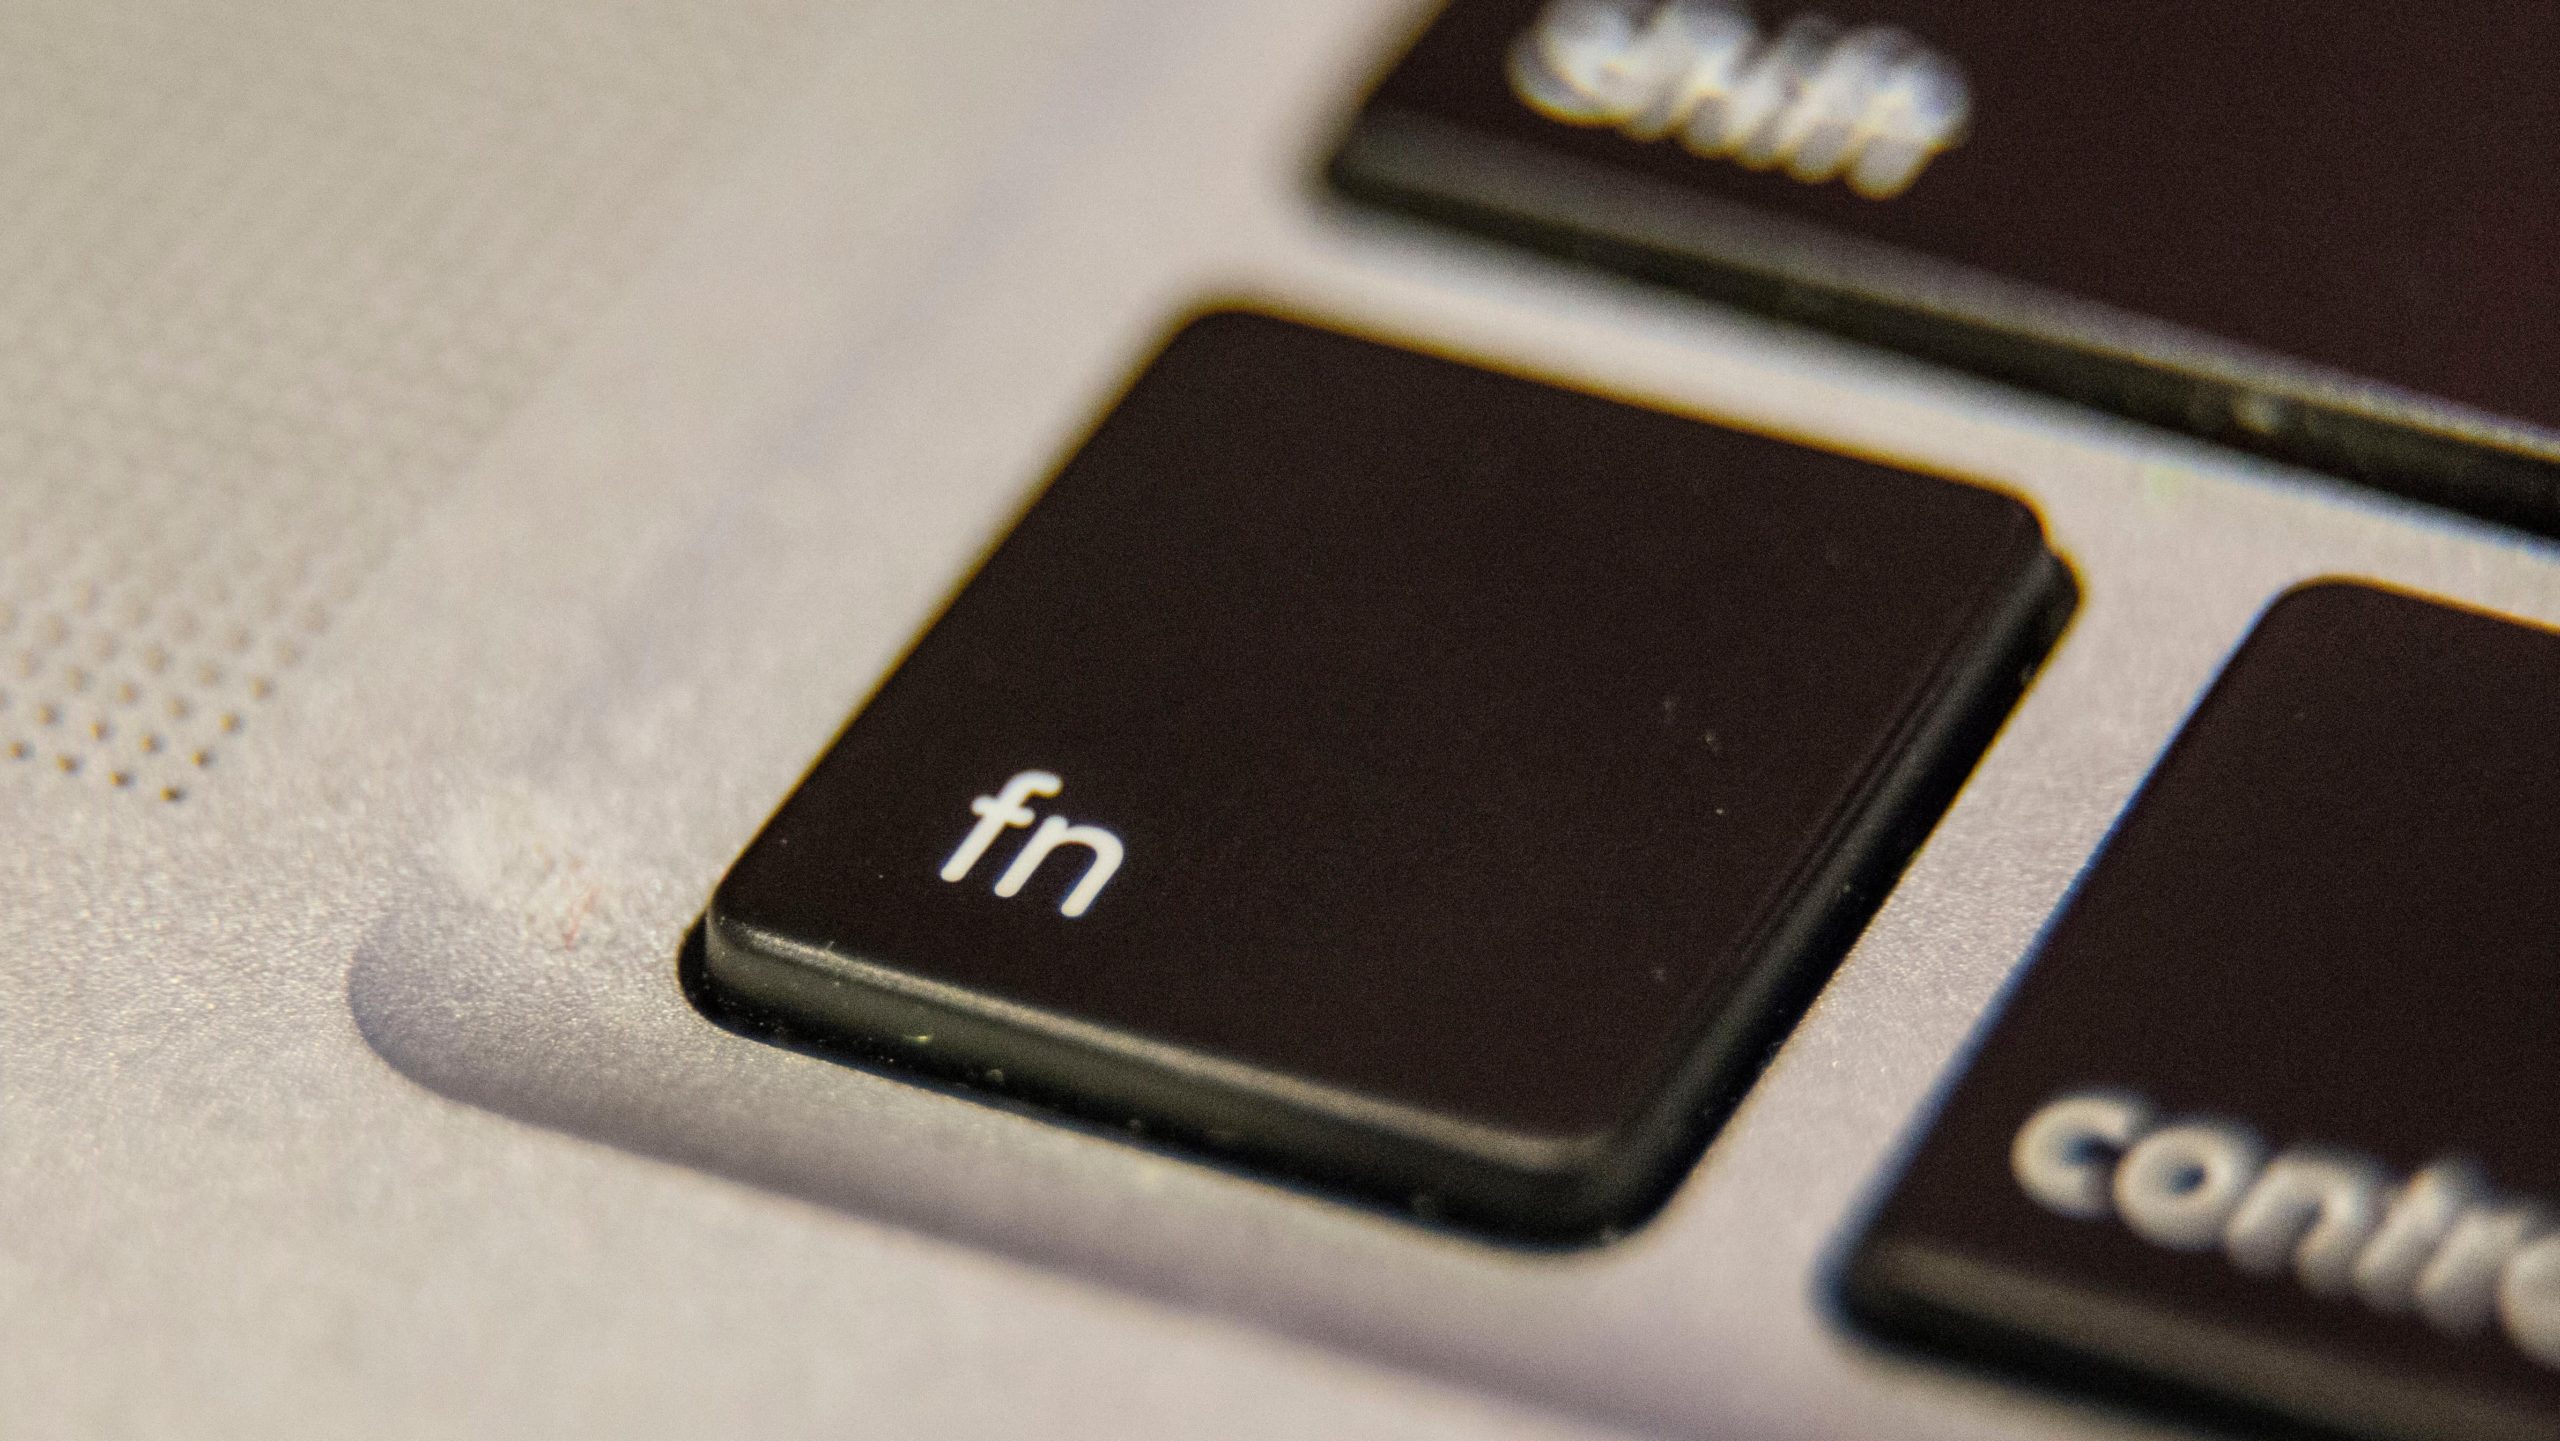
When the Touch Bar removed the top row of physical keys, it seemingly eliminated the function keys. If you rely on these for your workflow but you aren’t sure how to get them to easily appear on your MacBook Pro, here’s how.
Head back to System Preferences > Keyboard, click the drop-down menu next to Press and hold Fn key to, then choose “Show F1, F2, etc. Keys.” Now, when you press the Fn key, your function keys F1 through F12 will appear. If you’re a real function key-junkie, you could change the setting next to Touch Bar shows to “Show F1, F2, etc. Keys” to perpetually show the function keys, but that would eliminate both the Control Strip as well as any app-specific Touch Bar controls.
Customise the Touch Bar on a per-app basis
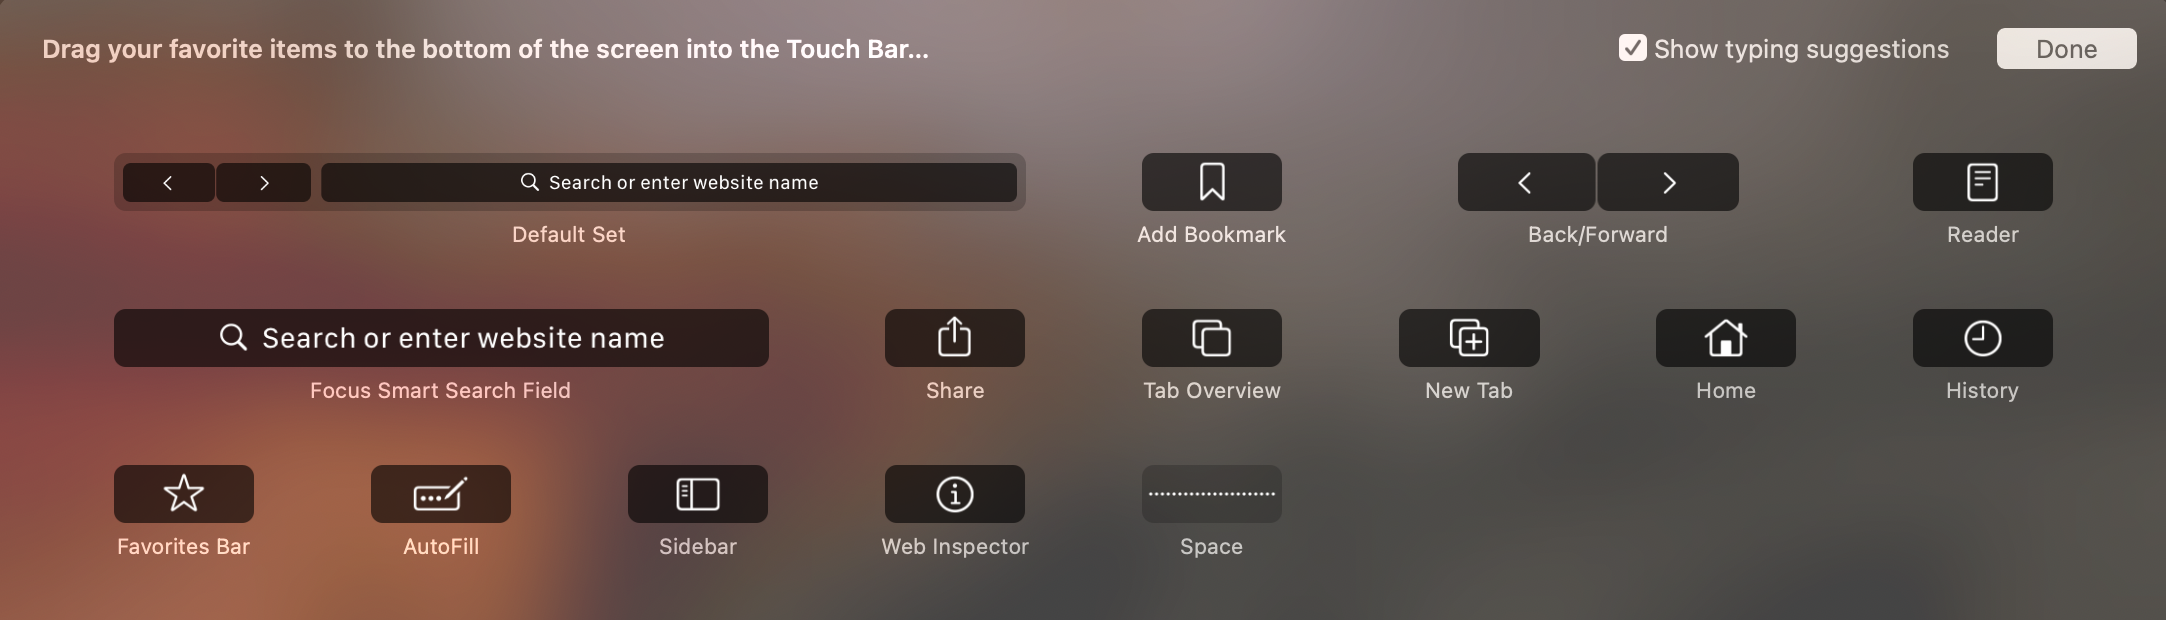
Not all apps use the Touch Bar in the same ways. That’s one of its best features! But you might not have known that those app-specific options that appear when launching a new program are likely customisable themselves.
Most of the time, you’ll be able to find and change these app-specific settings by clicking View in the menubar, then Customise Touch Bar. Some apps might not have this option, but if yours does, it works just like customising the main Touch Bar controls, as we covered above.
Show your active apps in the Touch Bar
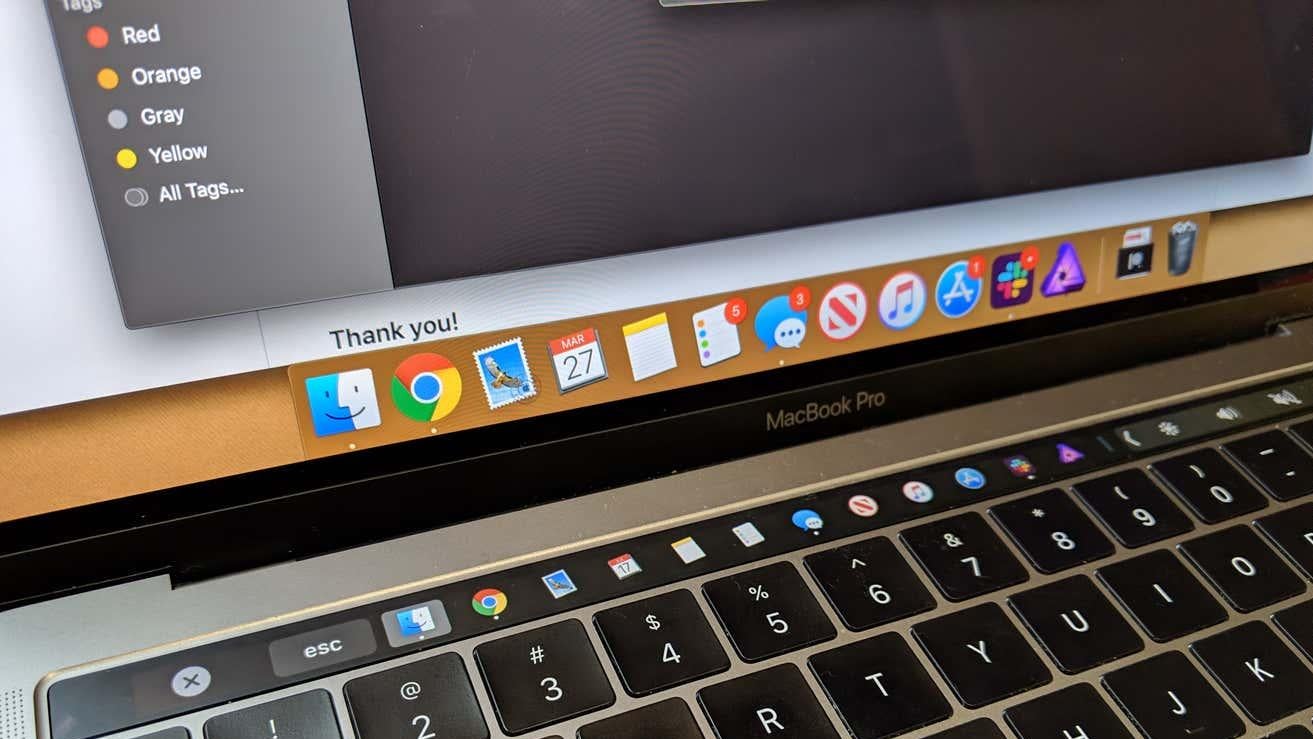
Putting the macOS dock in the Touch Bar seems like such a logical step, it’s surprising Apple didn’t do it themselves. Luckily, we have apps like Pock to pick up the slack. Pock lets you display your active apps on the Touch Bar, so you can quickly switch between them with just a tap.
It’s not just your apps, however: Pock also adds an option for a status widget, which shows things like wifi, battery, and date information; a Now Playing widget; and a weather widget. Use an app like Pock and you might be confused into thinking the Touch Bar actually was made to be useful.
Use function keys when running Windows
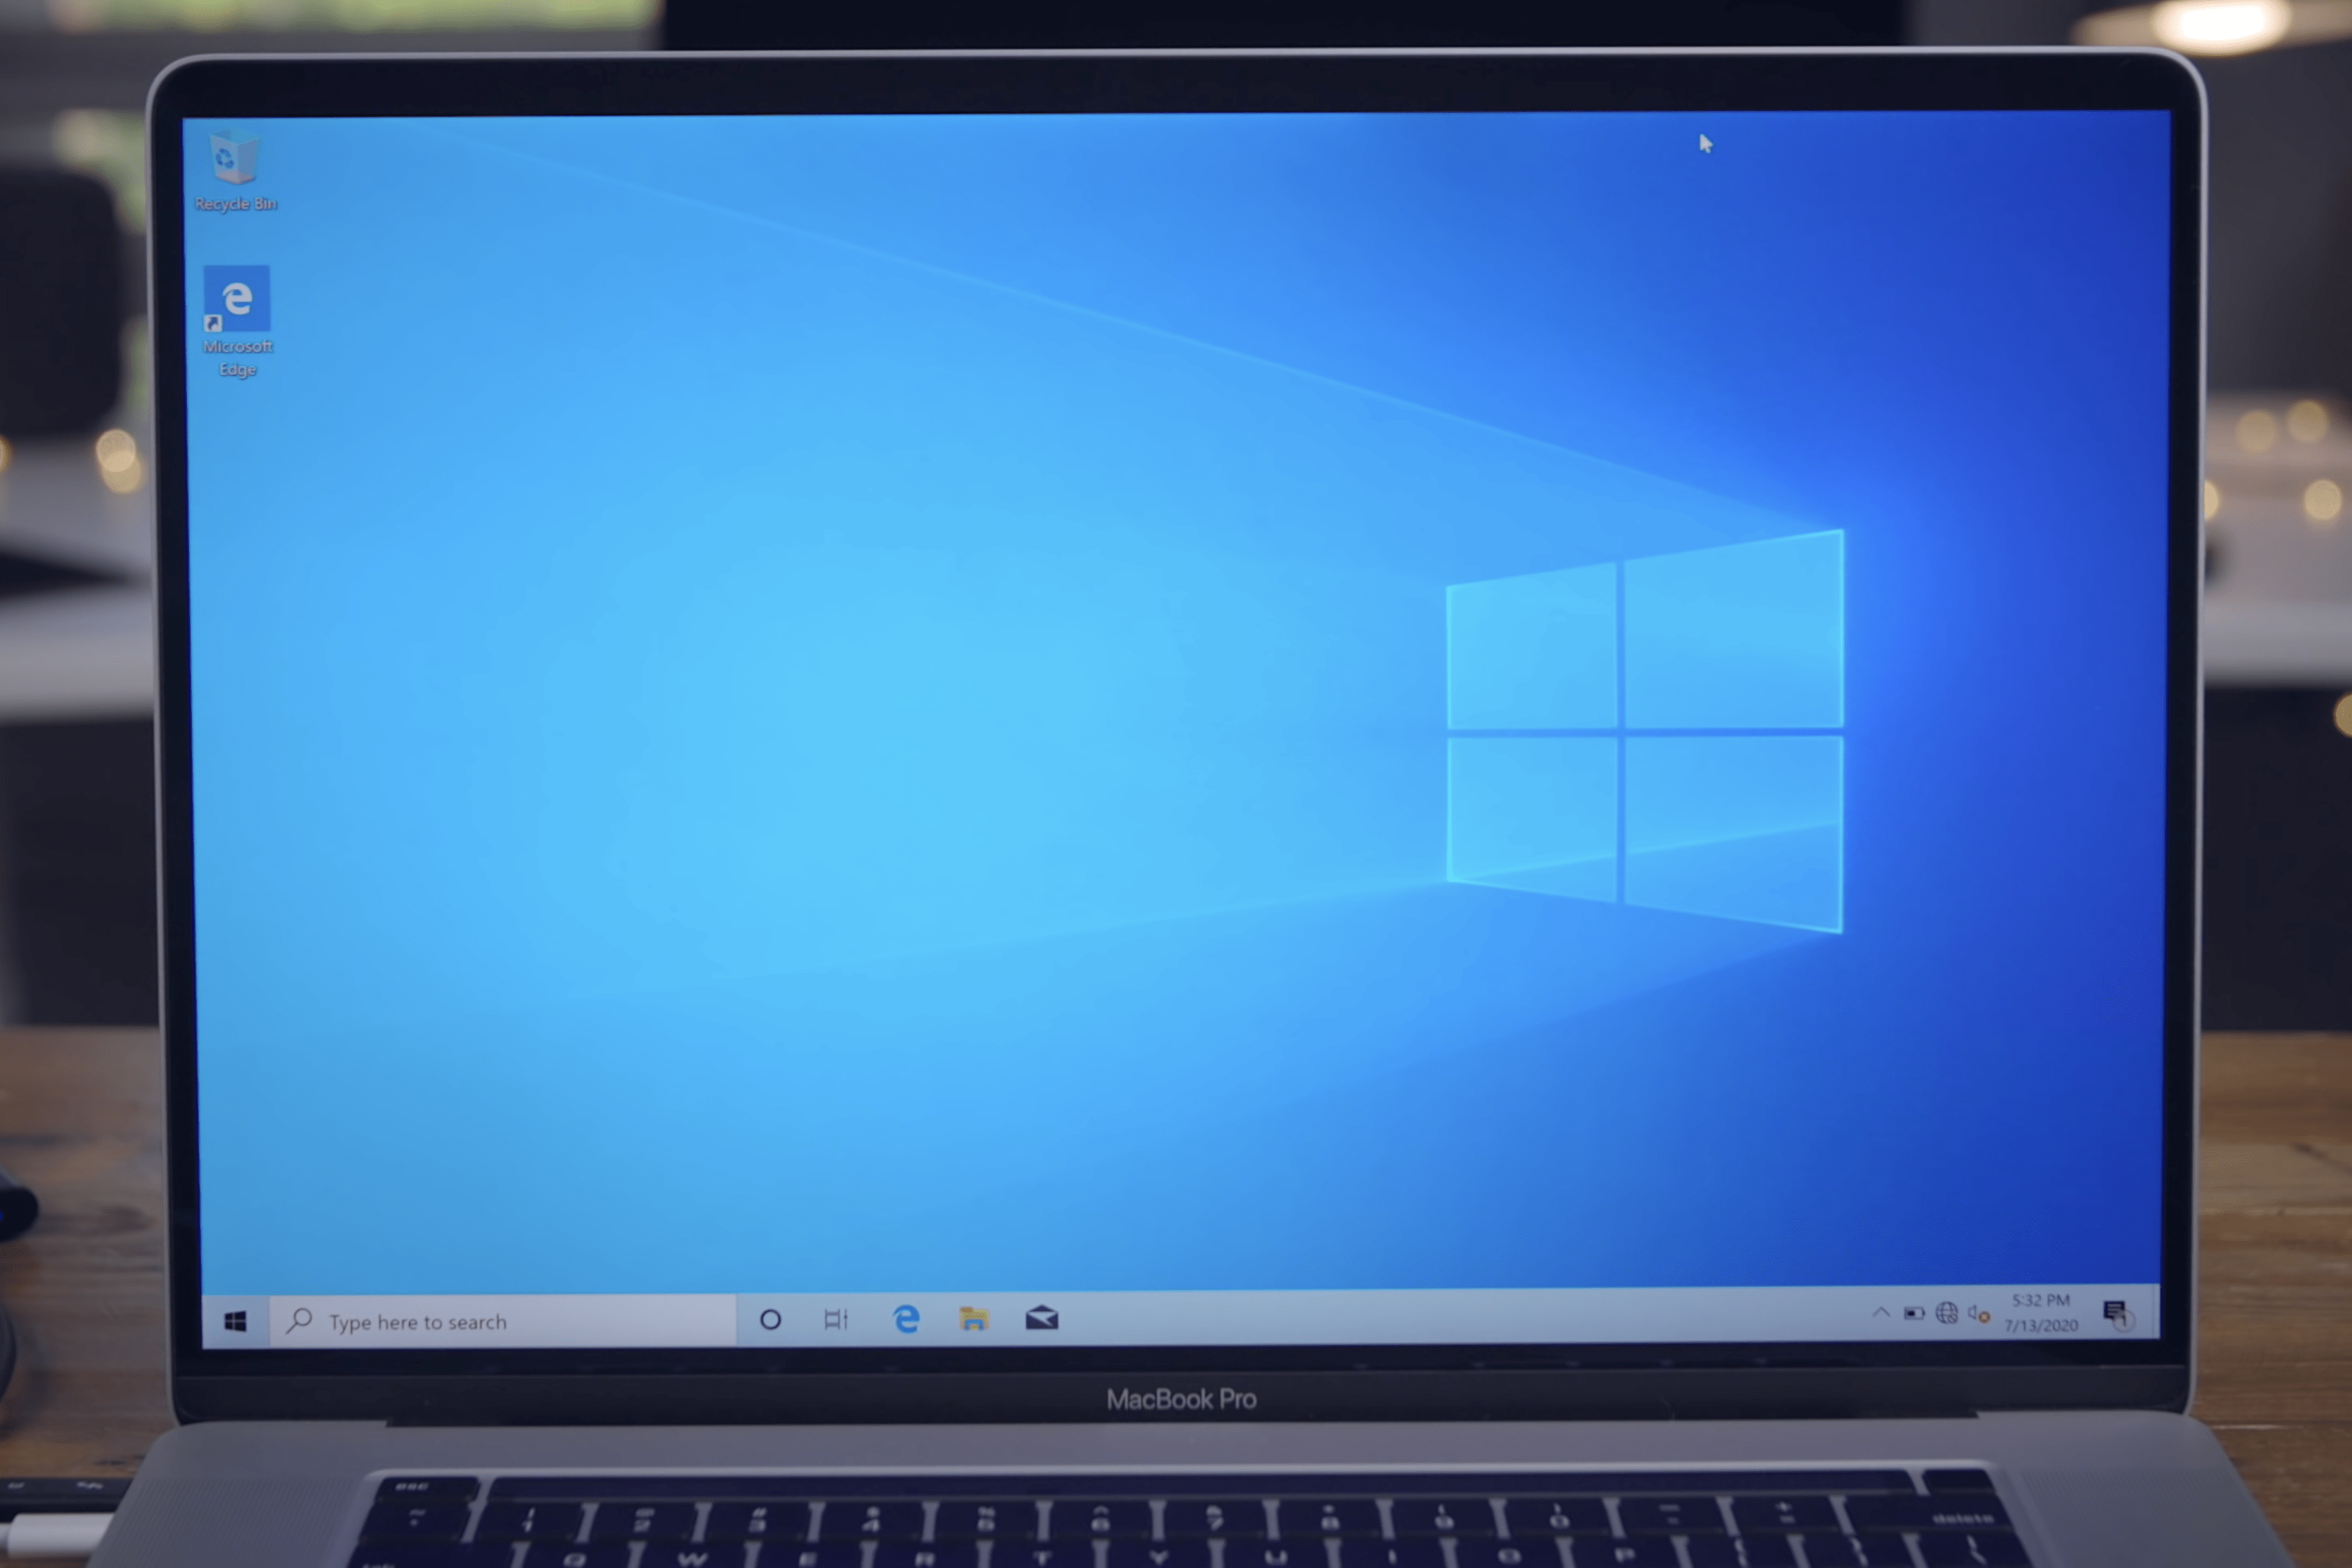
If you use your MacBook Pro to run Windows, you might be wondering how to use the function keys on your Touch Bar. If you’re using Parallels (or another virtual machine app) you can head to System Preferences > Keyboard > Shortcut, choose Function Keys, click (+), then add Parallels to the list. Now, the Touch Bar brings up your function keys when using the app.
If you’re using Bootcamp, open Apple’s Boot Camp Control Panel. From here, choose Keyboard, then check “Use all F1, F2, etc. keys as standard function keys.”
Get your physical escape key back
If you’re rocking a Touch Bar MacBook Pro with a physical escape key, this one isn’t for you. This hack is for those of us who bought one of these laptops with a touch-based version of this most critical key. If you’re losing your mind trying to use this buttonless button, there are solutions.
In many apps, the old Mac shortcut ⌘-. still works as an escape option. If an app doesn’t support that function (like Chrome) Ctrl-[ might work as well. If you’d rather one key to do all the work, we recommend reassigning the caps lock key to escape. To do so, head to System Preferences > Keyboard, then click Modifier Keys. Now, click the drop-down menu next to Caps Lock Key and choose “Escape.” While you can make any of these keys escape, caps lock is likely your least-used key of the bunch.
The Touch Bar escape key is bigger than you think
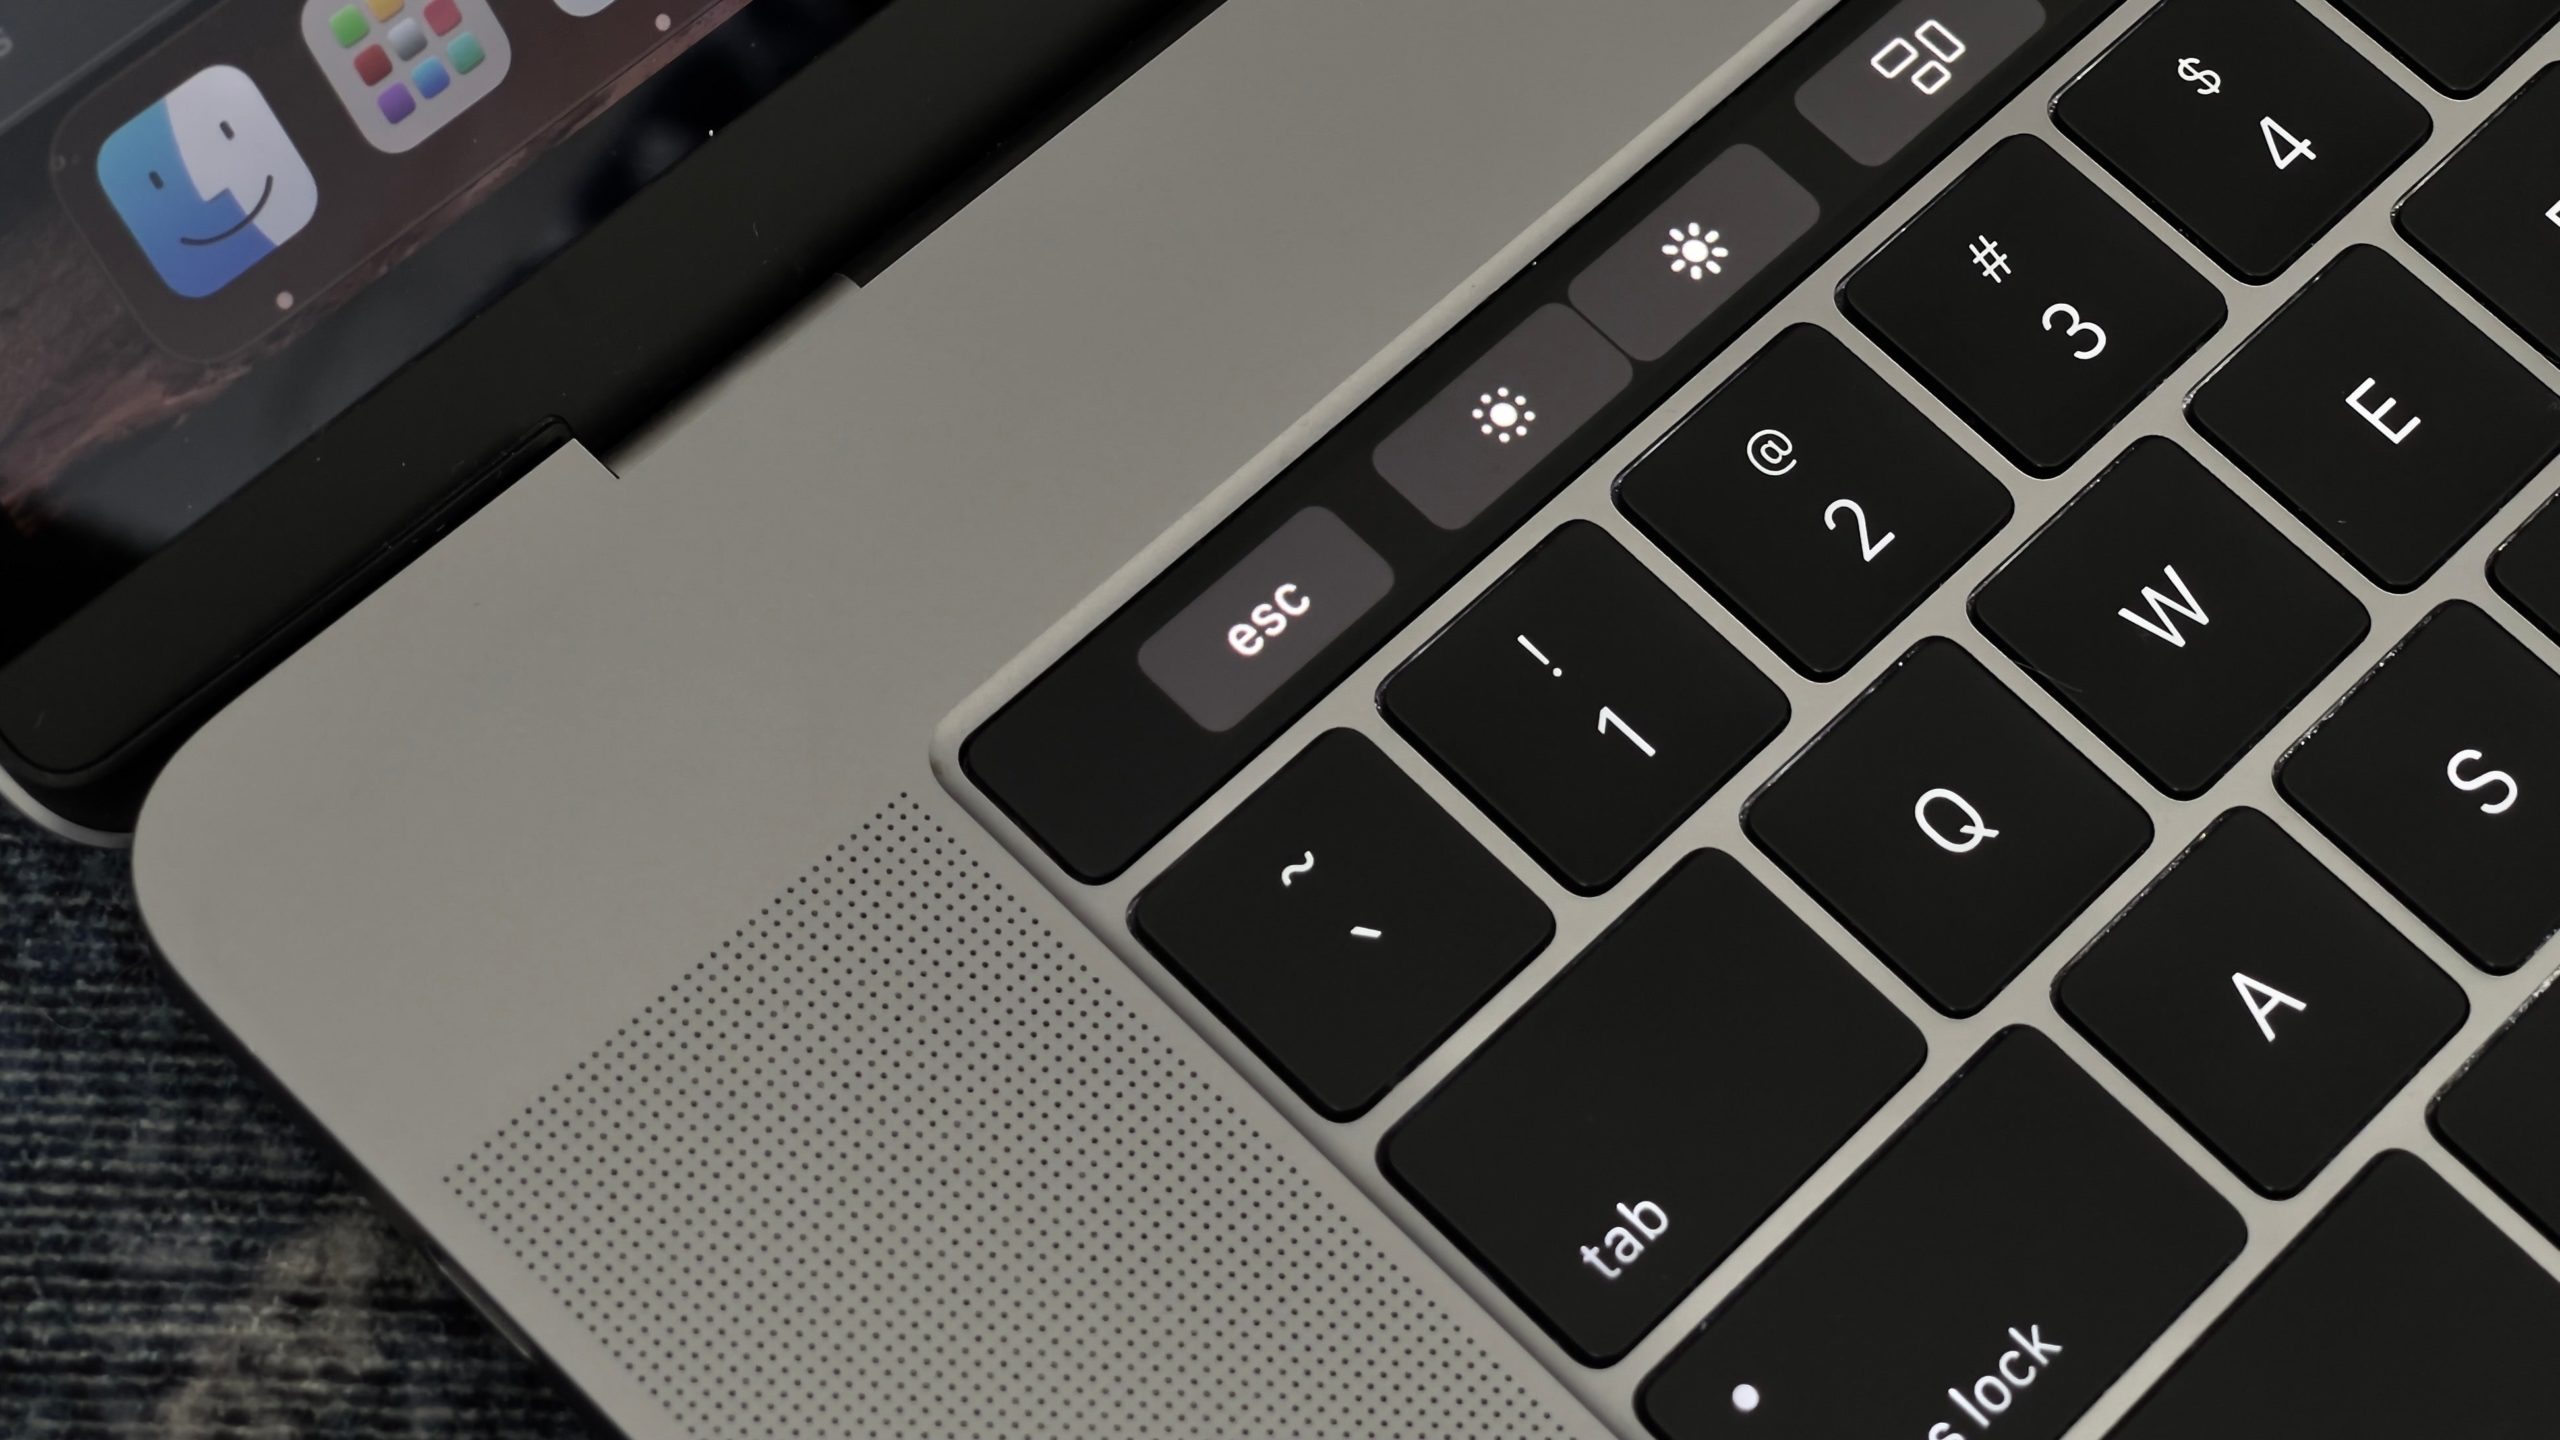
If you are going to use the escape key built into the Touch Bar, you should know you don’t actually have to tap the small “esc” button to get it to work. If you tap to the left of the button, your Touch Bar will register that as an escape key press as well, giving you more flexibility when typing without looking at your Touch Bar.
Add haptic feedback to the Touch Bar buttons
Haptic feedback is a great way to make touch-based inputs feel a little more like real buttons. While Apple hasn’t put haptics underneath the Touch Bar, there are haptics very close by… in the trackpad.
An app like Haptic Touch Bar can force a haptic out of the trackpad every time you touch a button on the Touch Bar. While it doesn’t beat having haptics directly tied to the Touch Bar, it’s certainly a neat effect, and one that you might want to keep around. The app is free to download, but costs $US4.99 ($7) after a two-week free trial.
Customise to Your Heart’s Content with BetterTouchTool
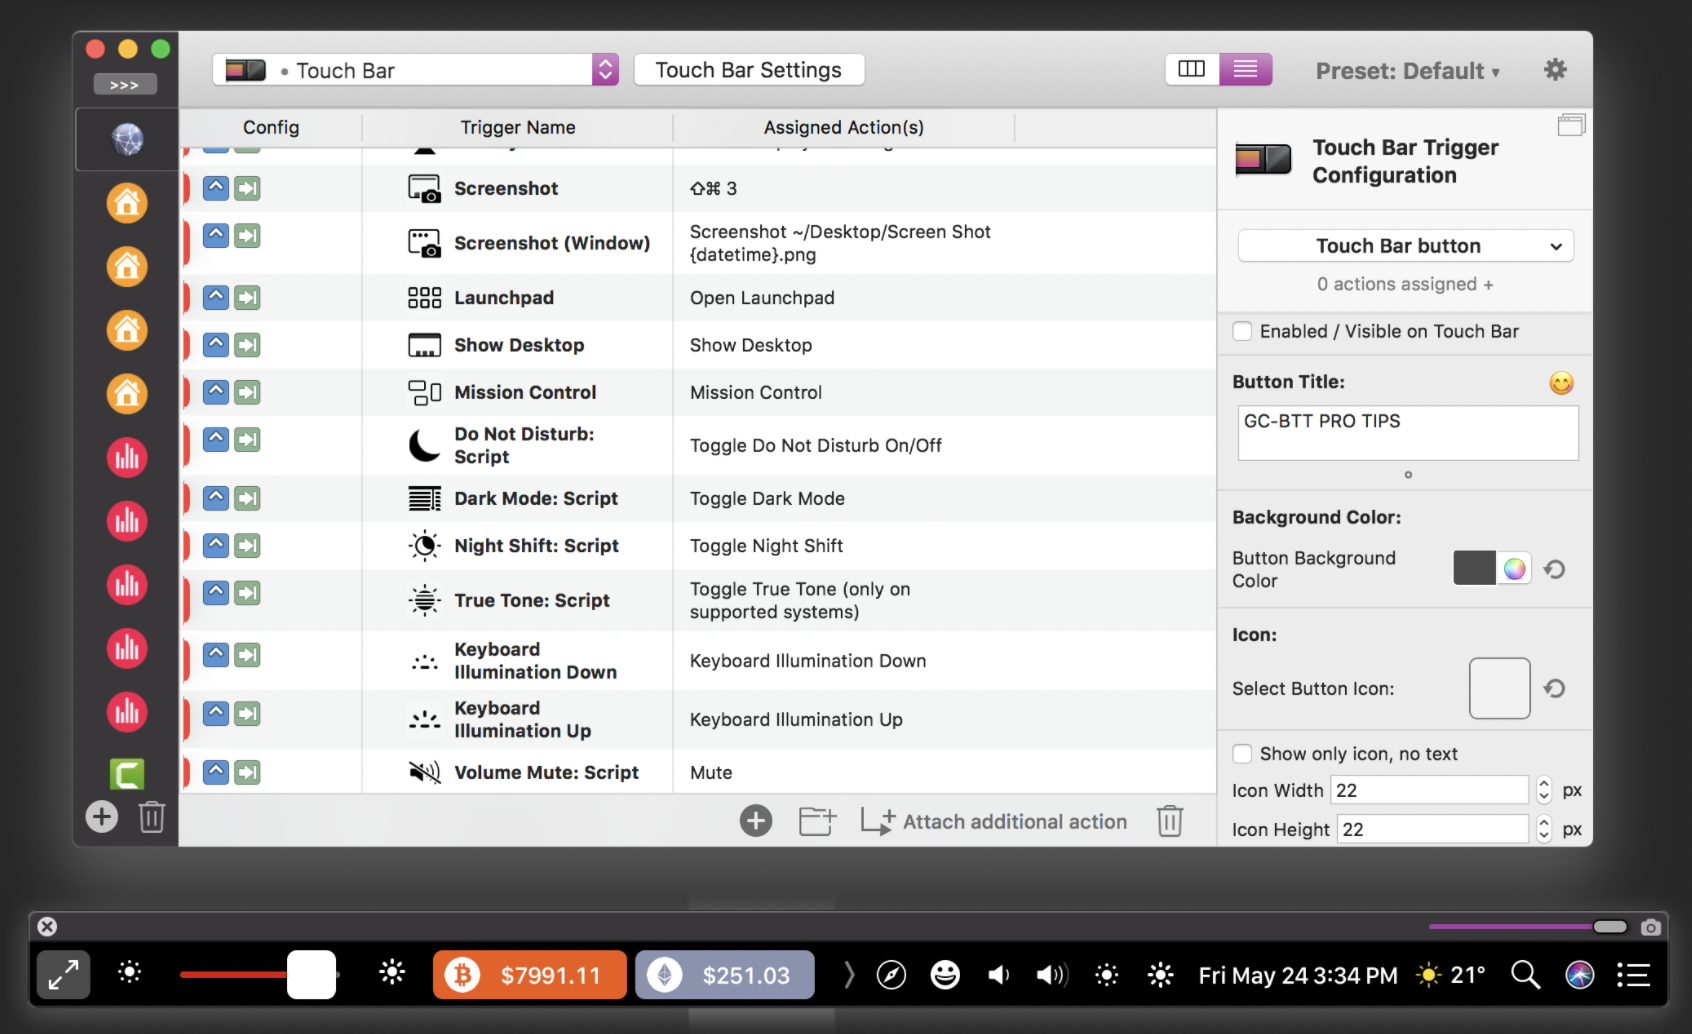
If you’re willing to put a little elbow grease — and a little cash — into customising your Touch Bar, you can’t do better than BetterTouchTool. The app gives you almost limitless customisation options for your MacBook Pro, and is a true favourite among Touch Bar tinkerers.
With BetterTouchTool, you can create custom buttons for your Touch Bar and decide whether they work across macOS or only within specific apps; you can make and display widgets, like battery information or your computer’s clock; you can add haptic feedback to your Touch Bar inputs; you can have a “pair to AirPods” option; the list goes on and on.
While the app might seem a bit overwhelming at first, there’s a whole community behind it posting their own presets for you to download and try. It’s possible to build an awesome Touch Bar without ever having to design any features yourself. It’s so good that many of the tips on this list can be replicated using the app. A two-year licence is $US8.50 ($12), while a lifetime licence runs you $US20.50 ($28) — but with a 45-day free trial, you should have plenty of time to figure out if the app works for you.
Use it to play games
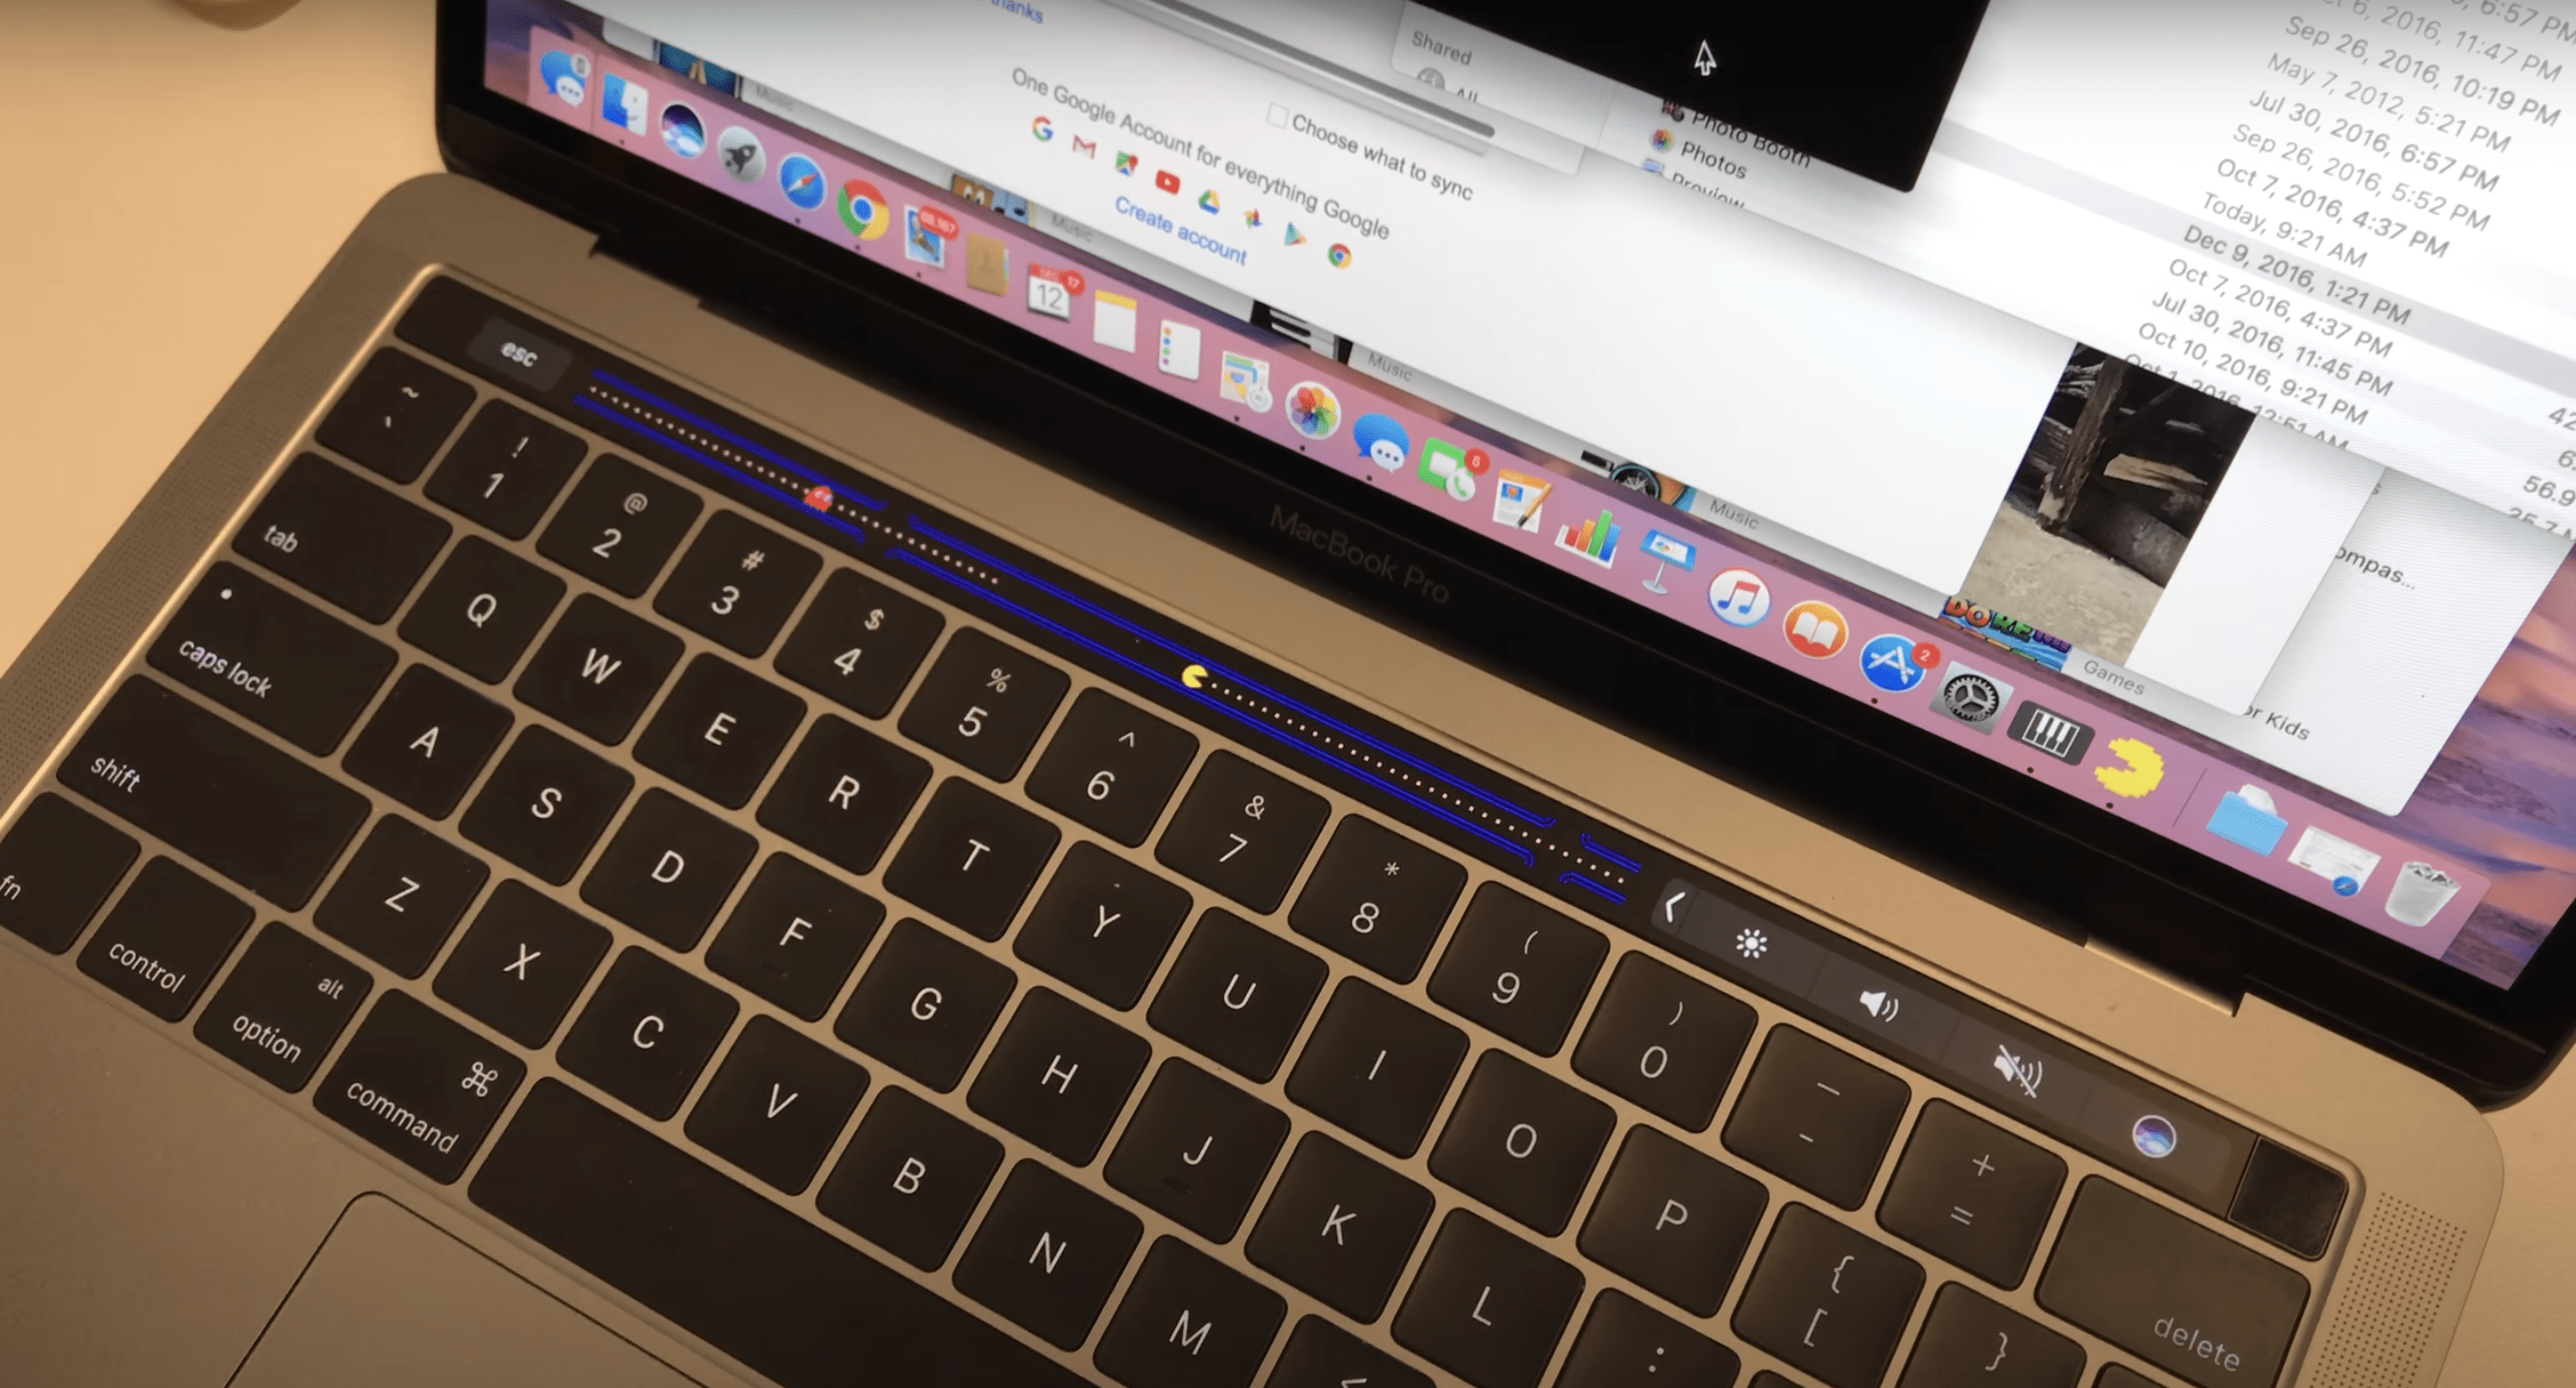
No, really — you can play games on your Touch Bar. From Pac-Man to Pong, you can use the Touch Bar to kill some free time. Obviously, the Touch Bar isn’t the, let’s say, ideal gaming setup. But it’s fun to see how creative game developers can be. (Make sure to check out our complete collection of games and fun apps that utilise the Touch Bar.)
Hide or disable the Touch Bar if you must
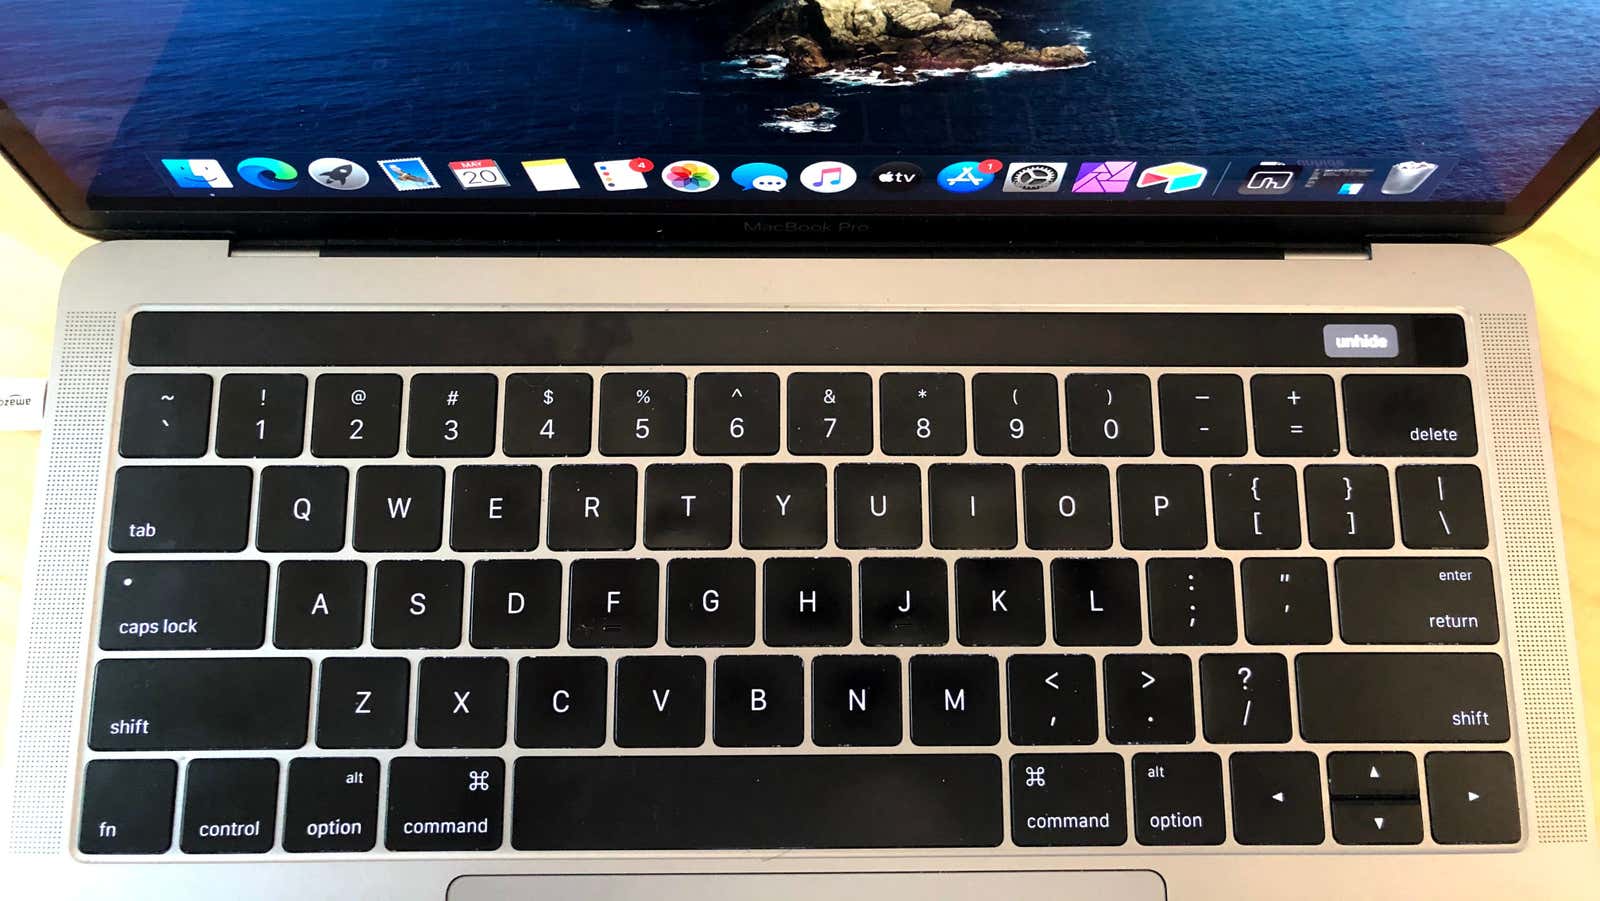
Look, the Touch Bar isn’t for everyone. Apple clearly gets that, if the rumours suggesting the next line of MacBook Pros will drop the feature are true. If you don’t want to see the Touch Bar anymore, or you simply want to stop accidentally pressing the touch-sensitive buttons while typing, there are a few options you can try.
For hiding the Touch Bar altogether, there’s a cool utility called Hide My Bar. While it’s not free, you can use it to set up shortcuts to quickly hide and show the Touch Bar controls, and you can customise it. You can also block Touch Bar inputs using a tool called Bar None, so you (or someone near your computer, like, say, a button-happy toddler) won’t mess up what you’re working on with unintended Touch Bar hits.
Leave a Reply
You must be logged in to post a comment.