Lifehacker’s tech column has a simple purpose: to answer your tech questions no matter big, small, or chaotic they might be. If you’ll permit me a little indulgence this week, an off-the-cuff conversation with Joel, patron saint of Lifehacker video, brought up a tech issue that some of you might also be wondering about, but have never asked.
As Joel wrote me in Slack yesterday:
Is there a way to airdrop photos without having them default to the HEIC format?
He’s speaking, of course, about his iPhone — if “AirDrop” didn’t give that away. However, his question gets to a core part of the iOS experience. The HEIC/HEIF file formats are designed for maximum performance. You’re saving a higher-quality image than a typical JPG using a lot less space on your device. And the file can store both editing information (allowing you to revert that which you no longer want) and multiple images contained within a single file, like that whole “Live Photo” thing that most modern smartphones can do nowadays.
The drawback? HEICs aren’t as compatible as JPGs depending on what app or service you’re using. Personally, I keep a handy HEIC converter on my desktop — integrated into Windows 10’s right-click context menu — so I can convert everything on the spot.
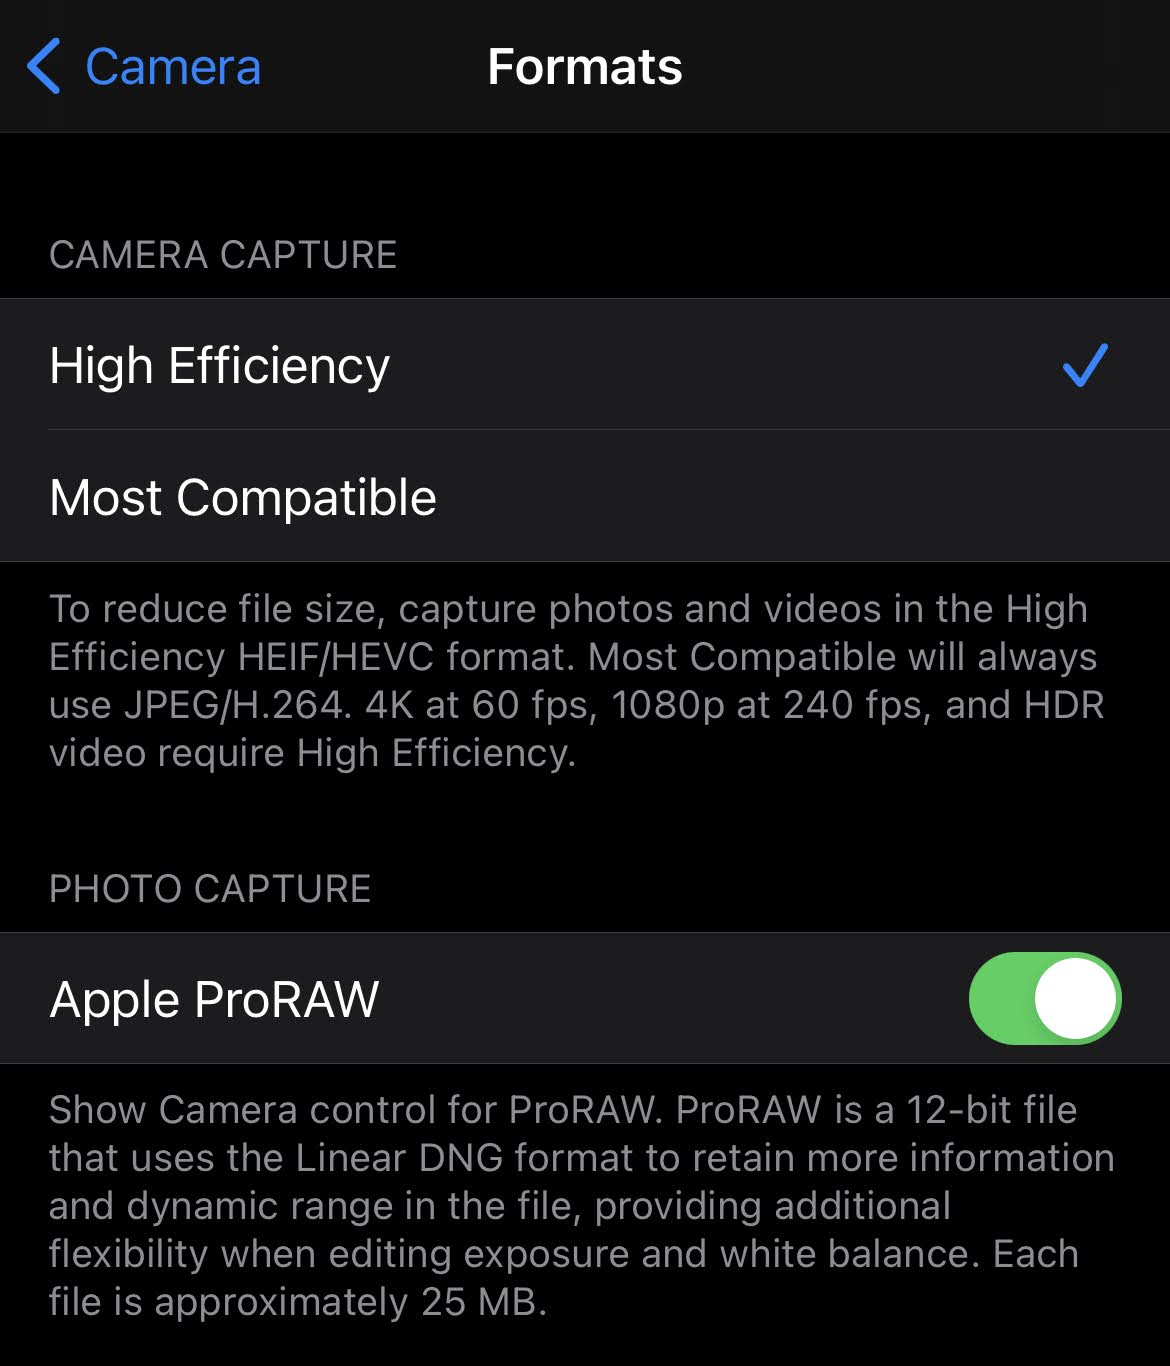
As for one’s iPhone, well, you’ll have to jump through a few extra hoops if you want to send a JPG version of an HEIC image to a friend via AirDrop. I’ll start with the nuclear approach. You can switch away from using HEICs entirely via Settings > Camera > Formats. Pick “Most Compatible” instead of “High Efficiency,” and you’ll be back to JPGs for any new images you shoot. In doing so, however, you’ll lose every single advantage HEICs provide. I don’t think the trade-off is worth it, but that’s just me.
If you don’t care much about sending over the original photo, a quick workaround is to pull it up in Photos, tap so your device’s UI goes away, and take a screenshot. Your screenshot’s resolution will be a lot lower than the resolution of your raw camera file (approximately 1170-by-1152 pixels versus 3024-by-4032 pixels, when I did this), but the JPG might do in a pinch.
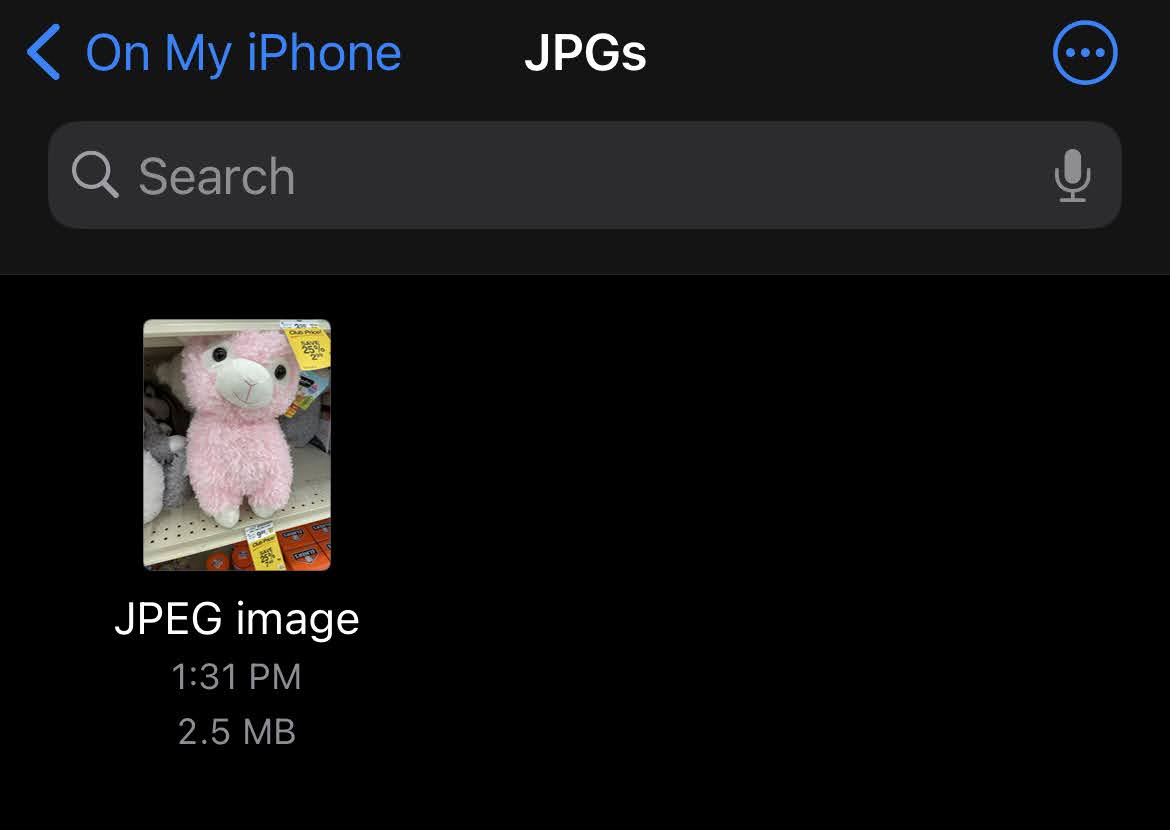
Otherwise, you’re going to have to convert that HEIC to a JPG on your iPhone before you send it along. One technique for doing that is to open up the Files app and make a new empty folder (for said JPGs).
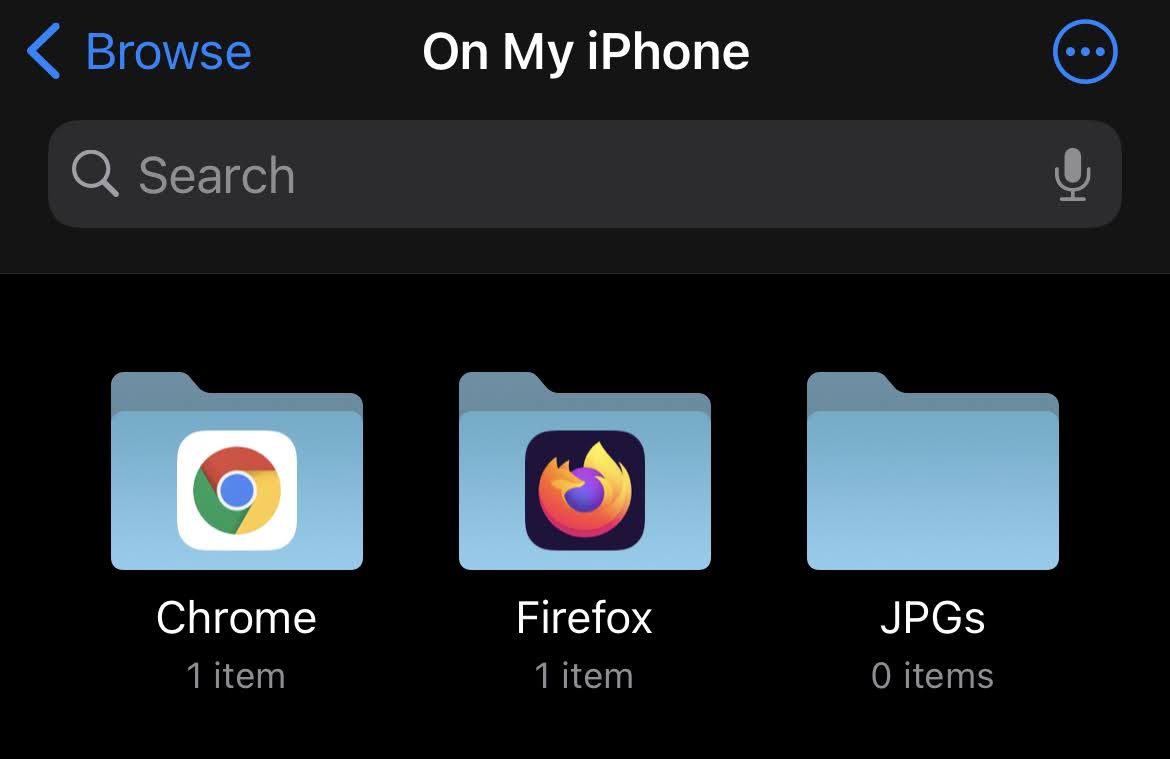
Next, open the Photos app and select the photos you want to convert. Tap the Share button in the lower-left corner and select Copy Photo. Head back to said folder in Files, long-press on the emptiness, and select Paste. You’ll now have a JPG version of the image, in full resolution, on your iPhone. Tap it, tap on the Share button again, and AirDrop it to whoever you want.
You could also make a handy Shortcut (or borrow one) that converts your HEIC images into JPGs. Here’s mine, which I added to my iOS Share Sheet for easy access:
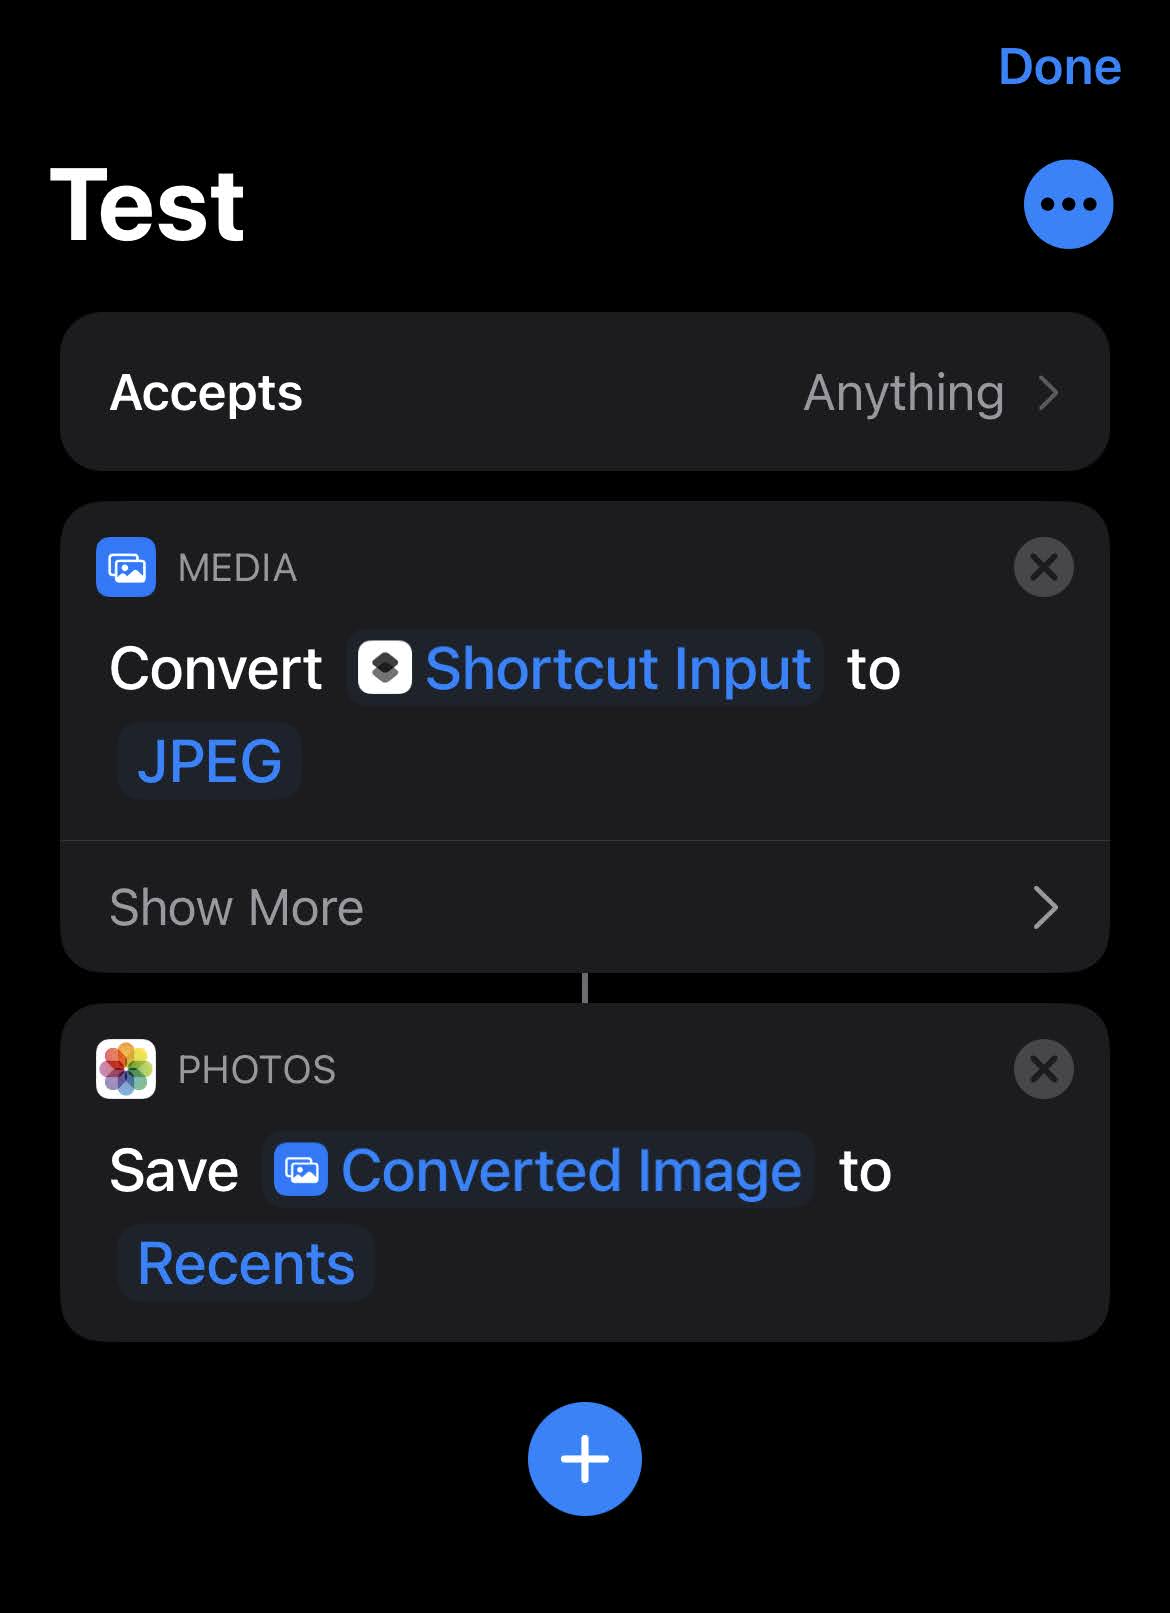
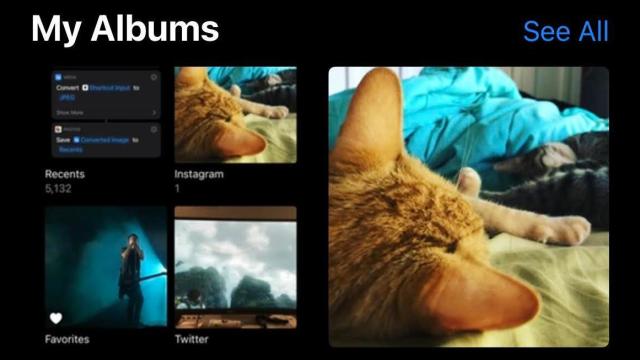
Now, all you’d have to do is pull up Photos, tap into an HEIC, pull up the Share Sheet, tap the shortcut, and a brand-new JPG version of the image appears in the “Recent” folder within Photos. Sharing it via AirDrop is just another tap or two away.
Leave a Reply
You must be logged in to post a comment.