I am what most people would call a “good cook,” but I am by no means a good griller. Up until two weeks ago, I had never barbequed on anything but a gas grill, and honestly, I wasn’t very skilled at that either. As you probably know, cooking with charcoal involves a bit of a learning curve, but after a few weeks of experimenting, I’m still surprised by just how complicated the combination of fuel, fire, and air flow can get.
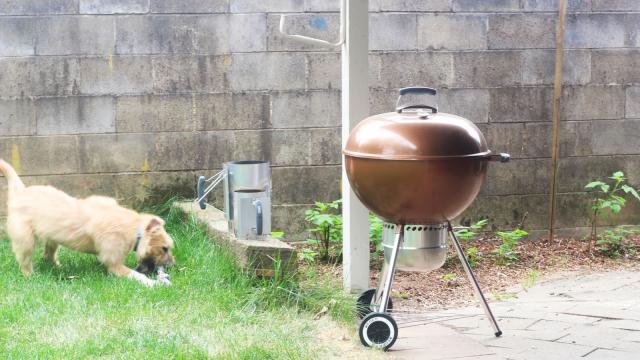
I have always been wary of “getting into” grilling because it seems to involve a lot of men shouting about the “right” way to do it. But men like to shout about everything, and denying myself the thrill of coal-cooked food because I’m low-key conflict-avoidant is silly. (Another factor is that this is the first time in quite a while that I’ve had a yard, and having an outdoor space where the grill can live is a must.)
Ideally I would be able to master the cooking method overnight and pass my wisdom onto all of you, but that’s not how expertise works. So in the coming months, I am inviting you to join me on a learning journey as I grow from a grilling infant to (hopefully) a #grillboss. This column is meant mainly to benefit grill babies like myself, but I welcome BBQ dads and avid barbequers to share their favourite tips, tricks, and recipes with us, so that we all might learn.
These are the first few things owning and operating my 22-inch Weber Kettle BBQ has taught me, in no particular order.
You need a charcoal chimney
Unlike my ex-husband’s gas BBQ, there is no “on” switch on my Weber Kettle. You have to light a fire under or otherwise near the charcoal and hope that it gets hot enough for the coals to become nice and “ashed over.” There are many ways to do this, and it did not take long to identify my favourite.
Lighter fluid is not it. Though it would ideally burn off before your food hits the grates, most people douse their coals a little too liberally, and any leftover fluid can end up flavoring your food. Plus, you simply do not need it if you get a chimney, which is much more cost effective and much more consistently effective, and something you absolutely should purchase. If you’ve never seen one before, a chimney is basically a metal tube with a handle on the side and a cone-shape grate near the bottom, with lots of holes for air flow. (Air flow — aka access to oxygen — is a very important aspect of keeping that combustion reaction going.)
To use a charcoal chimney, you fill it with charcoal, then place it on the charcoal grates (the lower grates that are closer to the bottom of the grill) over something flammable. You can use newspaper, but I, a millennial, never have any of that, so I bought these little lighter cubes, and I am very pleased with them. Once everyone is situated, just set the flammable thing on fire with a long match or a grill lighter and let the chimney do its thing. Depending on how much charcoal you have in there, your coals should be hot and just starting to ash after about 15 minutes.
Dump the charcoal onto the charcoal grate and move it around to form an even-ish layer on one side of the grill. (There are many other charcoal arrangements and configurations, but a two-zone setup with charcoal on one side is a good way to start.) Once about 2/3rds of your coals are white and have stopped smoking, you are “ready” to proceed with your recipe.
Chimneys come in different sizes!
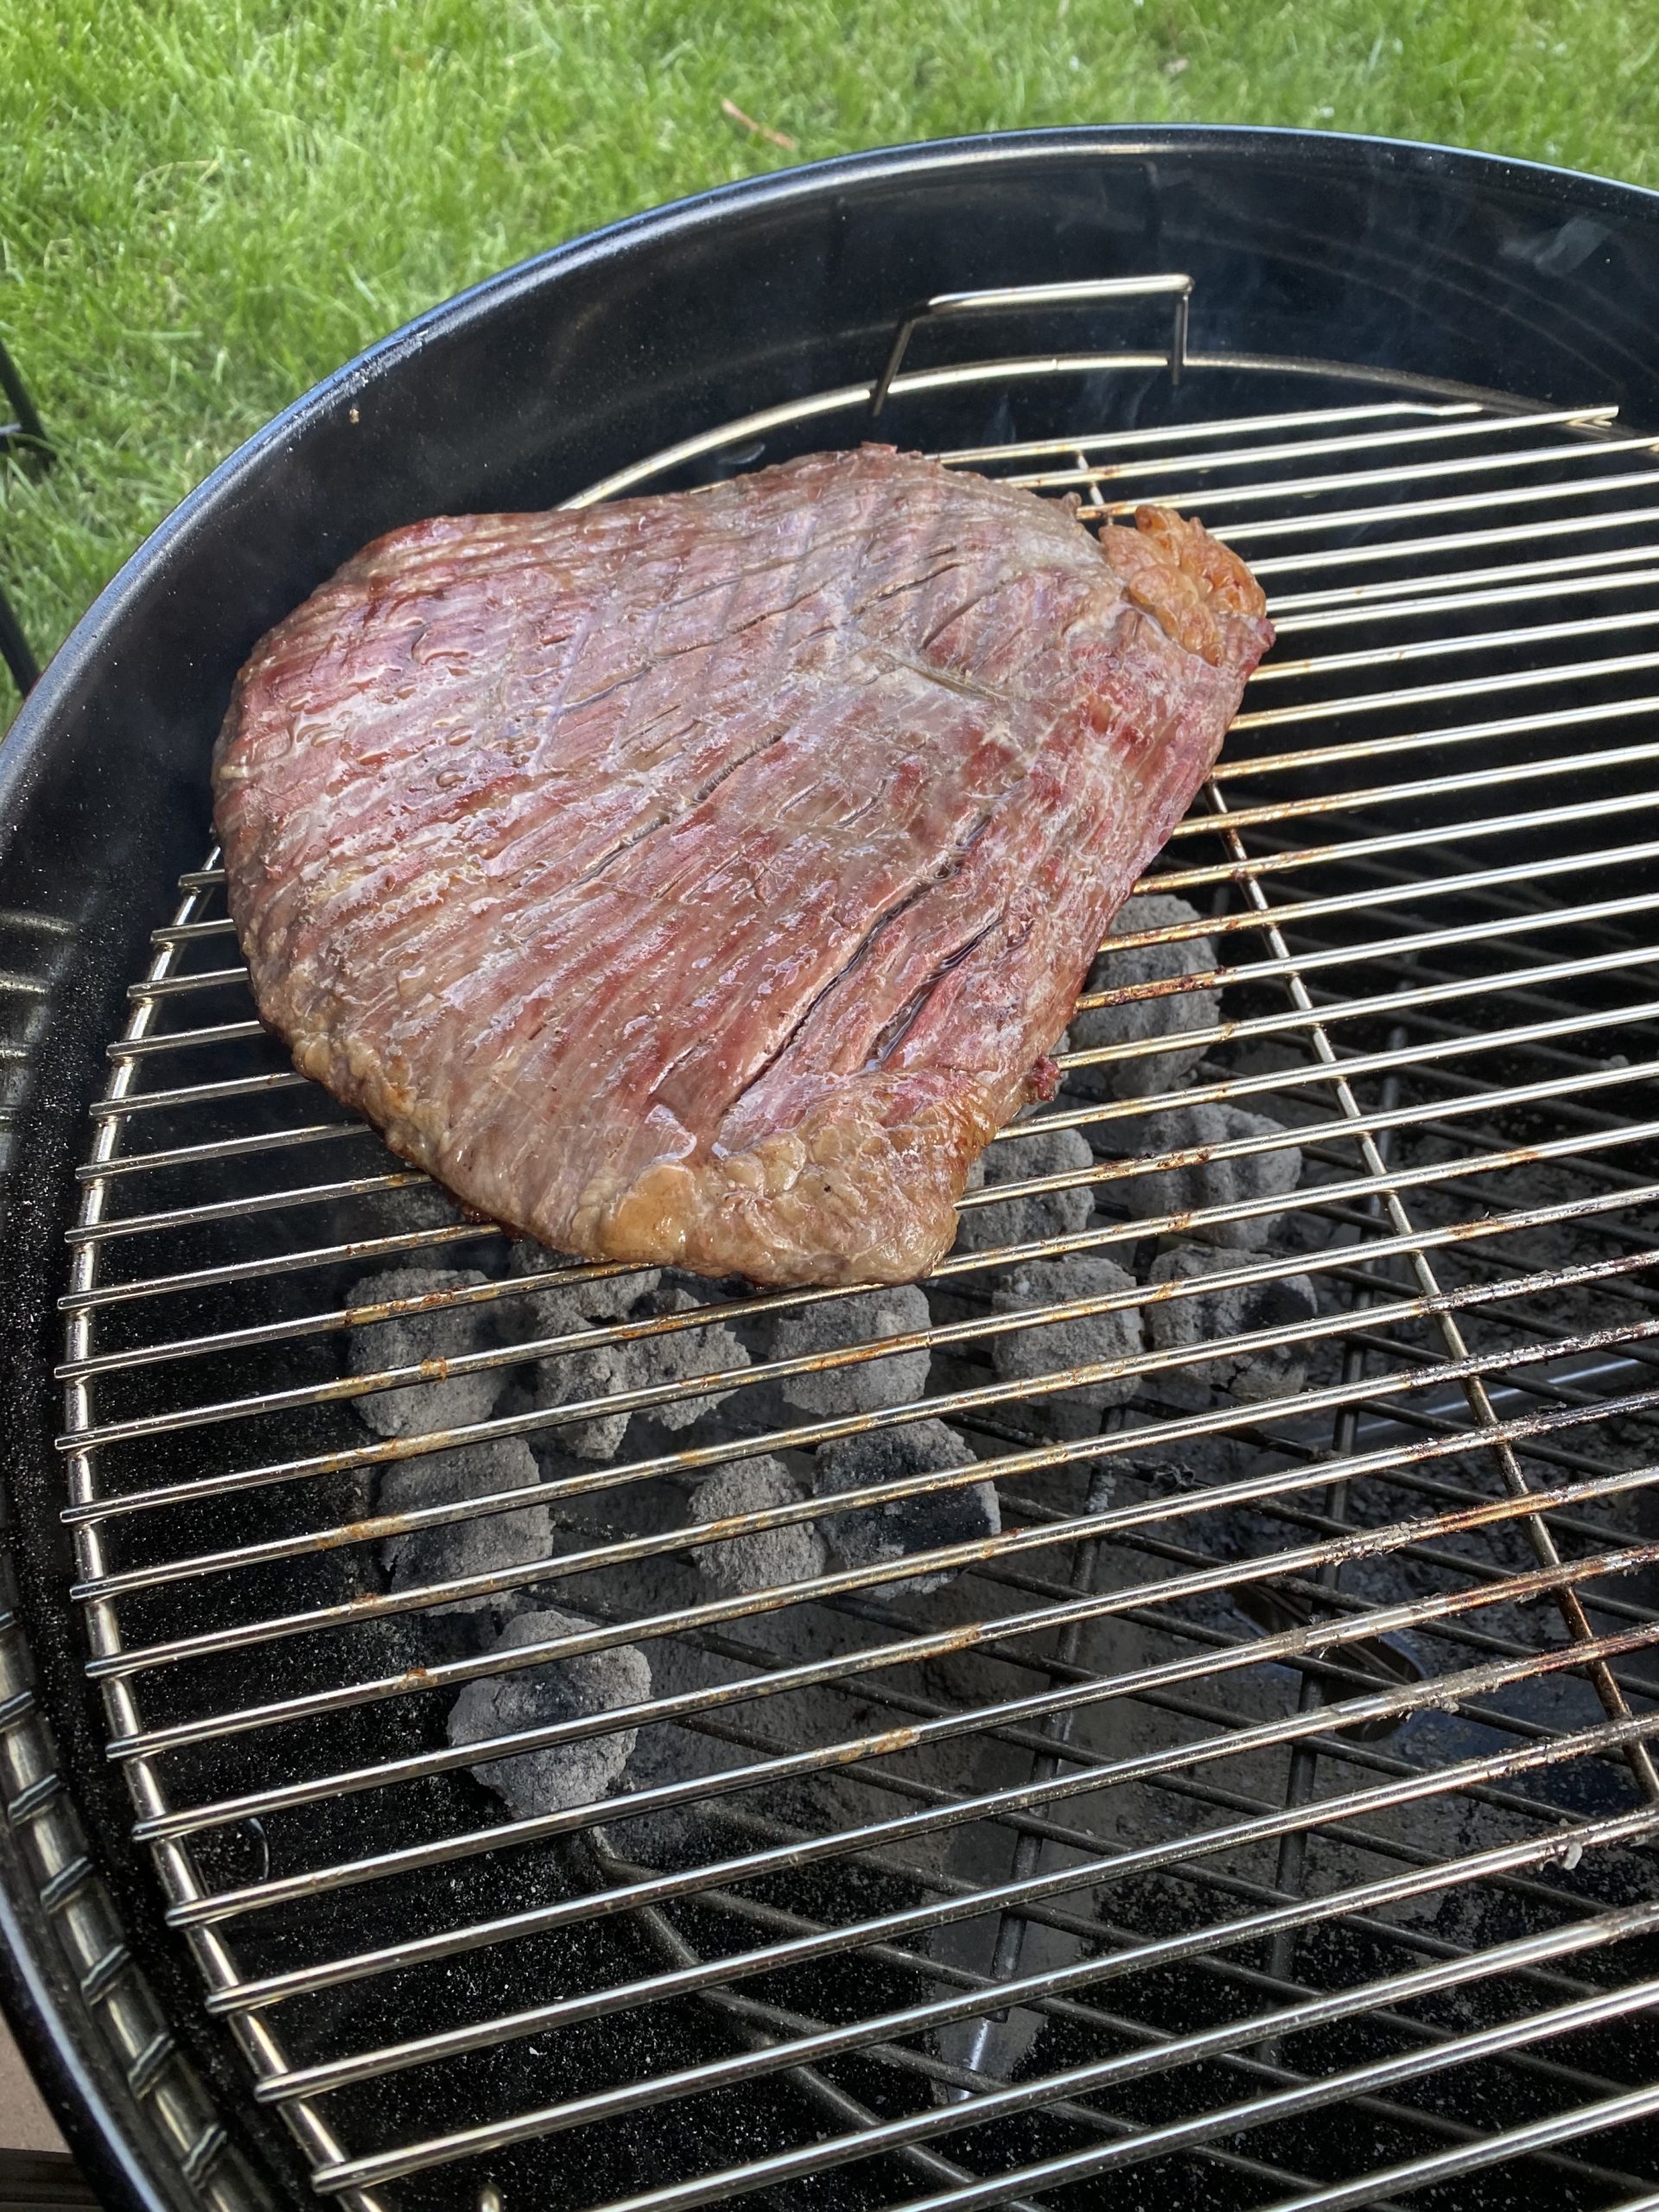
Honestly, who knew? After reading many tutorials that told me a “whole chimney” would be “plenty” of charcoal for an entire meal, I filled my boyfriend’s small, picnic grill-sized chimney with charcoal, lit ‘em up, dumped ‘em out, and then was puzzled as to why the grill would not get hot enough to sear my steak.
I’m being very vulnerable sharing this embarrassing photo with you, but just look at how silly that flank steak (which obviously never got properly seared) looks over this tiny pile of sad coals.
This was a problem easily fixed. I just had to buy a normal-sized chimney. (And cook a new flank steak to redeem myself; it ended up being the one I used for this blog about board sauces.)
Air flow is very important
As I mentioned earlier, there are no switches or handy temperature control knobs on a charcoal BBQ. Instead, you have vents. On my Weber Kettle, there are two vents — one below the grill and one on the lid. Opening the vents fully allows the most air to flow through the grill, which provides oxygen and gets your coals super duper hot. Closing them denies the combustion reaction the oxygen it craves, which cools things off. Setting them somewhere in between open and closed lets you control just how hot it gets in there.
Positioning-wise, placing the top vent on the side opposite of you pile of coals ensures hot air actually flows over to that side to create a zone of indirect heat. If you’ve ever cooked a steak or a thick piece of pork using the “reverse sear” method, this is the zone that takes the place of your oven when cooking.
The thermometer on top of your grill dome is garbage
Most BBQs come with a little thermometer on the top that — supposedly — tells you the ambient temperature inside your grill. In reality, they are not that accurate. These little guys sit at the very top of your grill and can be influenced by the temperature of the air in your yard. I’ve yet to use a recipe that required I know the exact internal temperature of my grill, but I’ve already bought a digital thermometer with two probes — one for taking the temp of the food, and one for taking the (accurate) temp of the grill.
You do not need fancy charcoal
Getting good at barbequing requires being consistent with your grilling. If you change your charcoal every time you BBQ, you’re introducing a whole new set of variables. Briquettes and lump charcoal burn differently, and there are even variations between brands within each category. AmazingRibs.com has a great, in-depth explainer on the differences between briquettes, lump charcoal, and even fancy-boy burners like Dan Barber’s animal bone charcoal, but the upshot is that basic briquettes are the most consistently manufactured and shaped, which is a big benefit when you’re first trying to figure out how to control your temperature with air flow. (If you are lured by the promise of the “better flavour” that comes with wood lump charcoal, just by some wood chips and throw those on the briquettes; that way you can control the heat and the amount of flavour with precision.)
There are a lot of different ways you can arrange your charcoal
The most common charcoal BBQ setup is a bunch of hot coals on one side of your grill with nothing on the other side. This two-zone setup creates an area of direct, radiant heat (for searing), and an area of indirect, convection, oven-like heat (for gentler cooking). This is the only setup I’ve messed with so far. It has worked well for burgers and steak, and I plan to use it later this evening to cook some chicken thighs. If you are just starting out, I recommend getting comfortable with this arrangement before moving on to “the snake,” “the vortex,” or anything that involves baskets or extra pieces of metal. (I will, however, probably invest in a Slow ‘N Sear very soon, as it promises to turn my Kettle “into a smoker and a blistering hot sear machine — ALL WITH ONE DEVICE!” Damn.)
Clean before you cook, not after
If you are used to cooking in a kitchen, you are probably also used to cleaning up after you are done cooking, but the best time to clean your grill is right before your next meal, when the grates are nice and hot, and last night’s burger bits are carbonized. There are a lot of different tools for doing so, but I’ve been using one of these Safe Scrape wood paddles, as I have heard and read that the metal bristles on conventional grill brushes can break off and potentially lodge themselves in your food, which would be bad. (I’ve also been eyeing one of these, but I’m pretty happy with my paddle.)
What else do I need?
In addition to the Slow ‘N Sear, there are a few items I plan to buy soon to make my BBQ setup a little safer and more enjoyable. Heat-resistant gloves are high on that list, as I’ve just been using a regular cloth oven mitt, and covering my arms with the (flammable) sleeves of an old sweatshirt. I’d also like to get a little side table for prep, and something to hang my tools on. Speaking of tools, I’ve just been using the tongs and spatulas I already had, though I think I need a spatula with a longer handle. If you have any other suggestions — or any condemnations — please drop them in the comments. I am, after all, very baby (but only when it comes to barbequing).
Leave a Reply
You must be logged in to post a comment.