We try to cover just about everything you can do with your iPhone, but even if you feel like you’ve mastered Apple’s smartphone, there’s always something new you can learn. To help stay vigilant about the people (and companies) that can access your device, data, and account, Apple has released a super-useful support guide that walks you through a ton of key features for your various Apple devices.
It might not be the most scintillating read — unless you’re me — but it’s a document you should absolutely spend at least ten minutes glancing through, and either bookmark it or save it to your system so you can refer to it later if you ever need help locking down your device (or Apple ID). Or, worse, if you’re actually having some kind of issue with your security or privacy and need all the ammunition you can get to address it.
While I strongly recommend that you skip to page 18 of Apple’s document — where Apple gets into its quick-hit security and privacy checklists — I’ve also gone through the full text of Apple’s “Device and Data Access when Personal Safety is At Risk” document and extracted all the useful tips I can find.
My favourites include (emphasis mine):
Keeping your Apple ID safe and secure

Don’t share your Apple ID password with anyone, even family members. If you share an Apple ID, you’re giving someone else access to all your personal data and your content. If someone else set up your Apple ID and password, you should change your password. You can use Family Sharing to share information and services without sharing accounts.
Use two-factor authentication for your Apple ID. Two-factor authentication is designed to ensure that you’re the only person who can access your account, even if someone knows your password. With two-factor authentication, you’ll need to provide your password and a six-digit verification code that automatically appears on your trusted device(s) when you want to sign in to a new device for the first time.
Pay attention to notifications about your Apple ID. Apple notifies you by email, text, or push notification when changes are made to your account, such as when you sign in for the first time on a new device or when your password is changed, so it’s important to keep your contact information up to date.
Double-checking your app privacy settings
In Settings > Privacy, you can see the apps you have allowed to access certain information — such as Location Services, Contacts, Camera, Files & Folders, and more — as well as grant or revoke any future access to this info.
Select a type of data from the list to see which apps have asked for permission to use that data. An app won’t appear on the list until it asks for permission, and you can grant or remove permission from any app that has asked for access. An app can use the data type in the setting only if you have given the app permission.
[referenced id=”1040382″ url=”https://www.lifehacker.com.au/2020/12/the-best-new-features-and-fixes-of-ios-14-3/” thumb=”https://www.gizmodo.com.au/wp-content/uploads/sites/4/2020/12/17/hmci0safulagrewrwjke-300×169.jpg” title=”The Best New Features and Fixes of iOS 14.3″ excerpt=”iOS and iPadOS 14.3 are here, and they appear safe to download. At least, I haven’t noticed any major reports of the update bugging out iPhones left and right, but it’s also still a little early. If you’re tentative, or you’re not foaming at the mouth to get your hands…”]
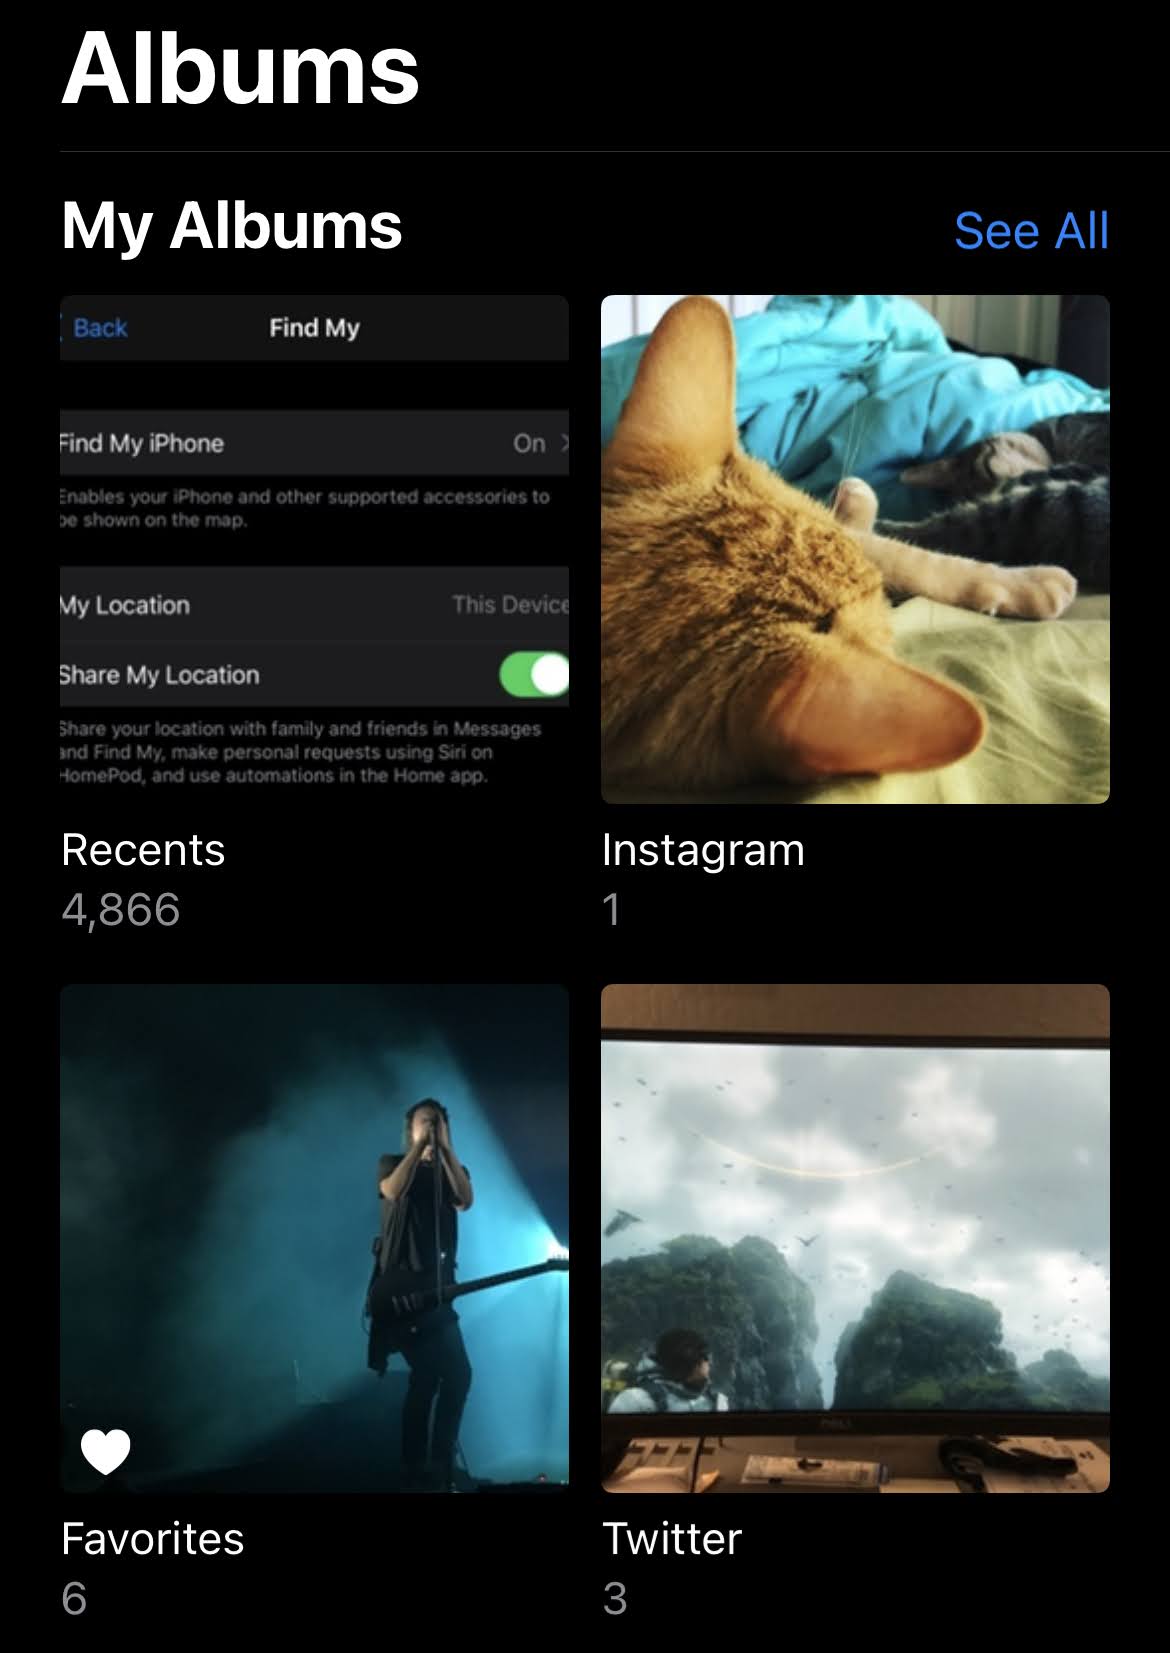
Check that nobody is tracking you via ‘Find My’
To see people with whom you are sharing your location, go to the People tab. When someone shares their location with you, you can choose to share your location back, or not.
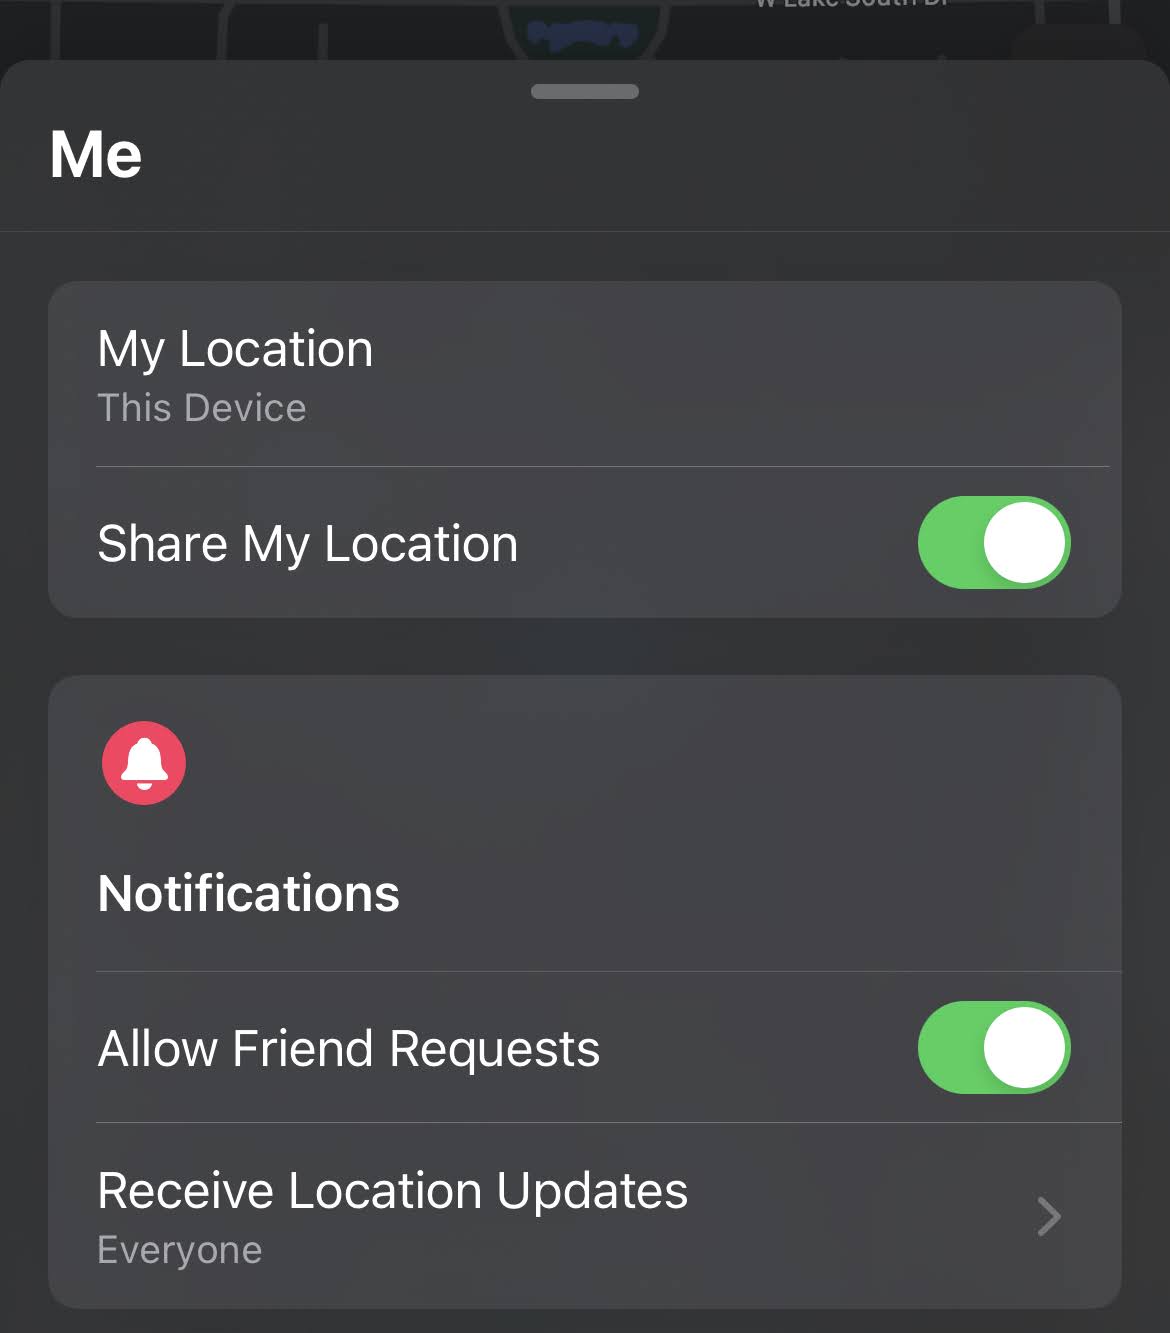
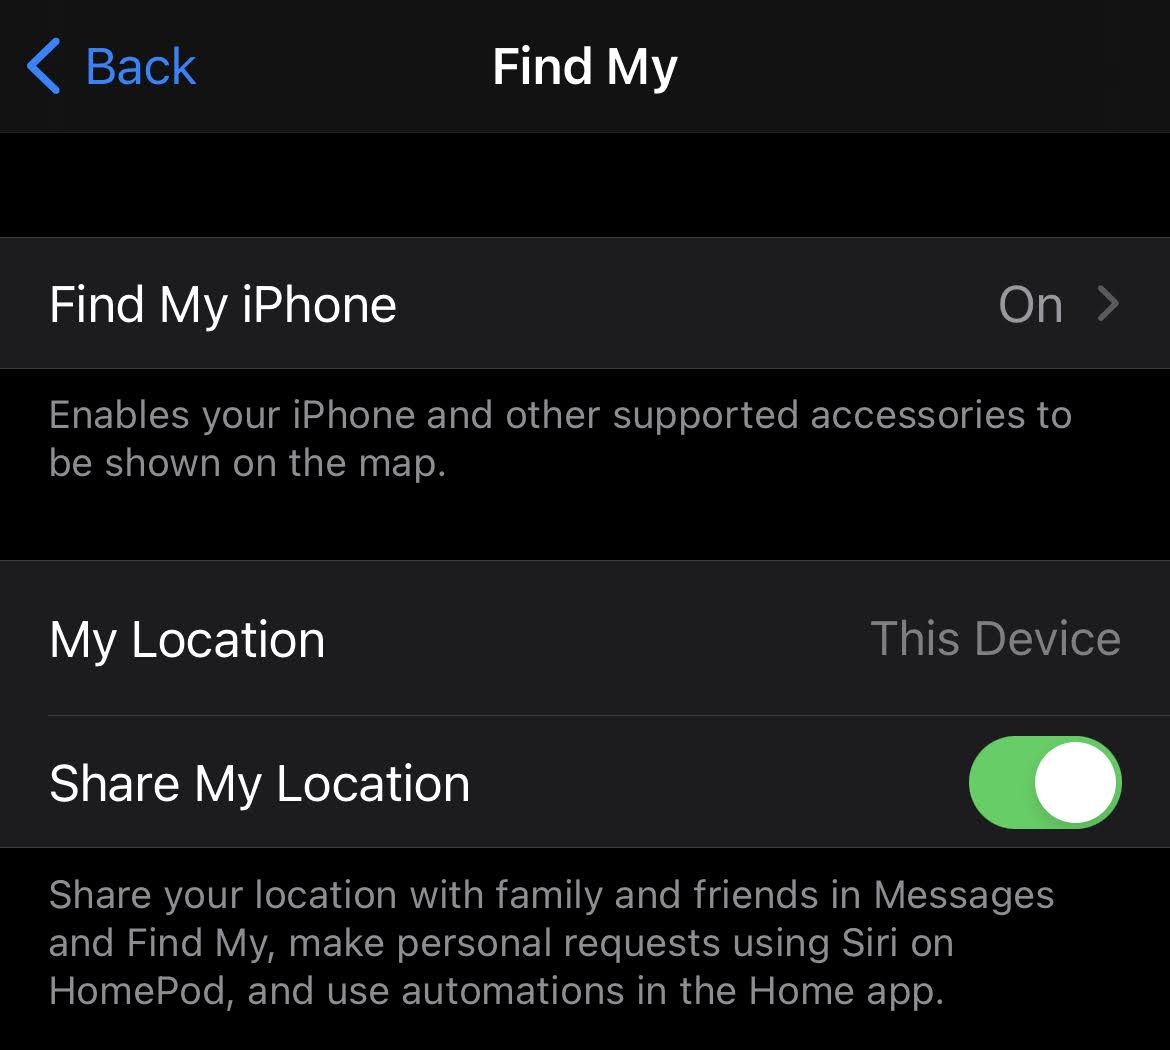
You can stop sharing your location with a particular person in the People tab. Just choose the person, scroll down and select Stop Sharing My Location. Or you can stop sharing with everyone by turning off Share My Location in the Me tab.
If you stop sharing your location in Find My, the person will not receive a notification, but they will not be able to see you on their list of friends. If you re-enable sharing, they get a notification that you have started sharing your location with them.
If you shared your location from iMessage rather than the Find My app, and you stop sharing, the person you stop sharing with sees a notification that you have stopped sharing your location.
Prevent apps and services from accessing your location
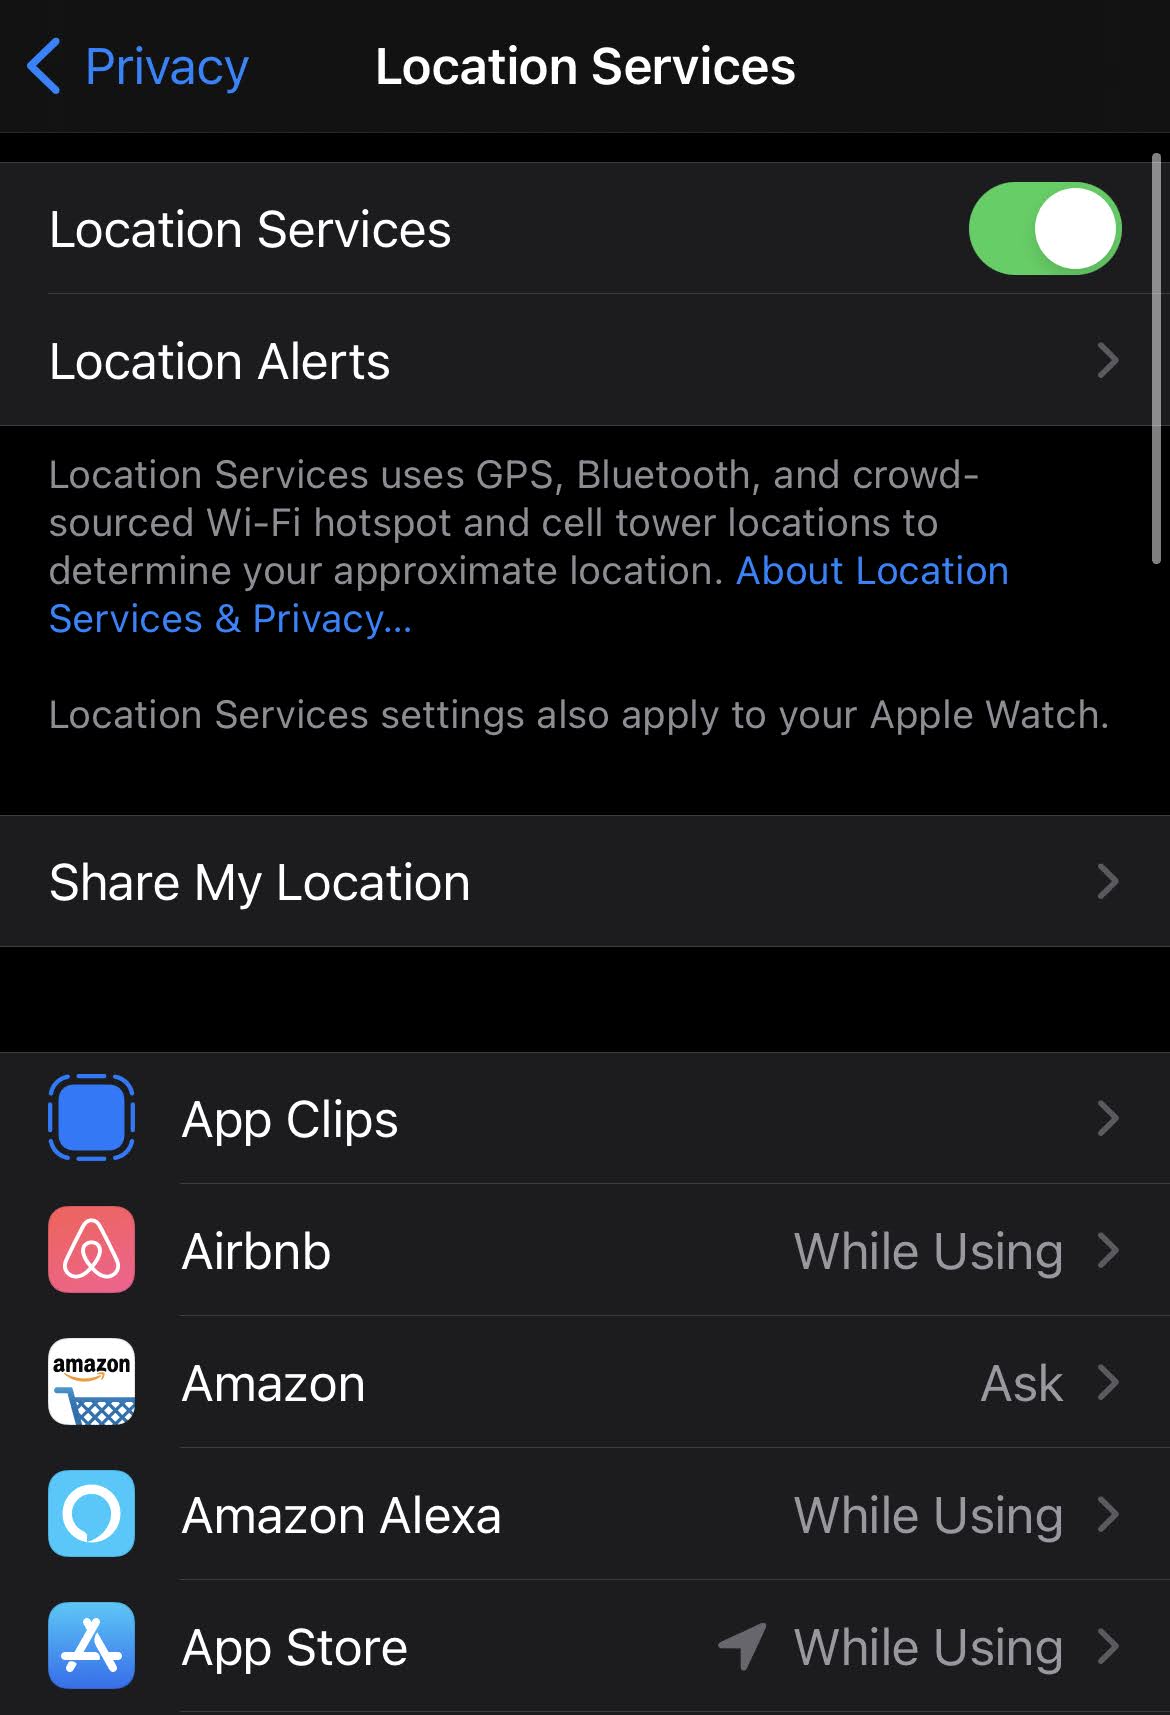
To stop sharing your location with apps and services, for even a short period of time, go to Settings > Privacy > Location Services and turn off location sharing. This stops all apps on your device, such as Maps, from using your location. No one is notified if you turn off location services, but features may not work as expected without access to your location.
In Settings > Privacy > Location Services, you can also grant access to your location for individual apps and indicate how often the app may use your location.
Stop sharing your photos with others
To see who you have shared albums with, go to Photos > Albums > Shared Albums. Select a shared album and tap the People tab to see the owner of the shared album and who the album is shared with.
If you are the album owner and would like to stop sharing, tap the name of the subscriber for options.
Stop sharing your calendar events with others

To see who you have shared a Calendar with, go to Calendar > Calendars. Select a shared calendar and tap the Info icon to see who the album is shared with.
If you’re the Calendar owner and would like to stop sharing, tap the name of the subscriber for options. If you’re a subscriber, you can select Delete Calendar from the bottom of the screen.
Make sure there aren’t any unknown configuration profiles on your iPhone or iPad
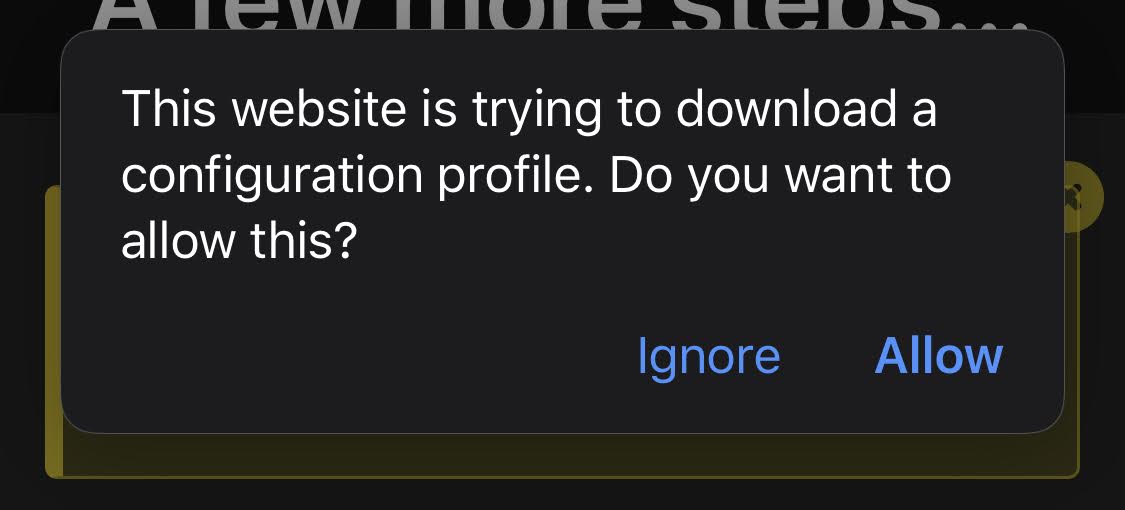
If you see a profile installed on your device, and don’t know of any reason for it, you can remove it and delete any associated apps. If your device belongs to your school or organisation, check with your system administrator before deleting a necessary app or profile.
To remove a profile or MDM configuration from your iPhone, iPad, or iPod touch, go to Settings > General > Profiles & Device Management.* Select the profile, tap Delete Profile, and follow the onscreen instructions. Restart your device.
Don’t get phished by scammers
Use caution if you receive unsolicited messages prompting you to accept gifts, download documents, install software or follow suspicious links. People who want to access your personal information use any means they can — spoofed emails and texts, misleading pop-up ads, fake downloads, calendar spam, even phony phone calls — to trick you into sharing information, such as your Apple ID or password, or to get you to provide a verification code for two-factor authentication.
Leave a Reply
You must be logged in to post a comment.