
I can’t go a day without taking a screenshot of something on my computer. Whether it’s for work, some dumb snippet of a video I want to share with my friends or the incredible results of a rare Overwatch session gone well, there’s always something.
Windows and macOS give you plenty of ways to take quick screenshots of anything you want, from quick keyboard shortcuts to built-in tools for capturing, annotating and saving screenshots and screen recordings. There are also plenty of third-party apps you can use to level up your screenshot game if you need more firepower than what your operating system can provide.
In this guide, we’ll cover three topics:
- How to take screenshots on your Windows PC or Mac
- How to annotate your screenshots
- How to record a video of your screen on your Windows PC or Mac
How to take screenshots on your Windows PC or Mac
If you want to grab an image of your entire screen — including all windows, toolbars, docks and any part of your desktop that’s peaking through — the easiest option is to use keyboard shortcuts.
Screenshots on Windows
Look for the Print Screen key on your keyboard, which might be labelled PrtScn or something similar.
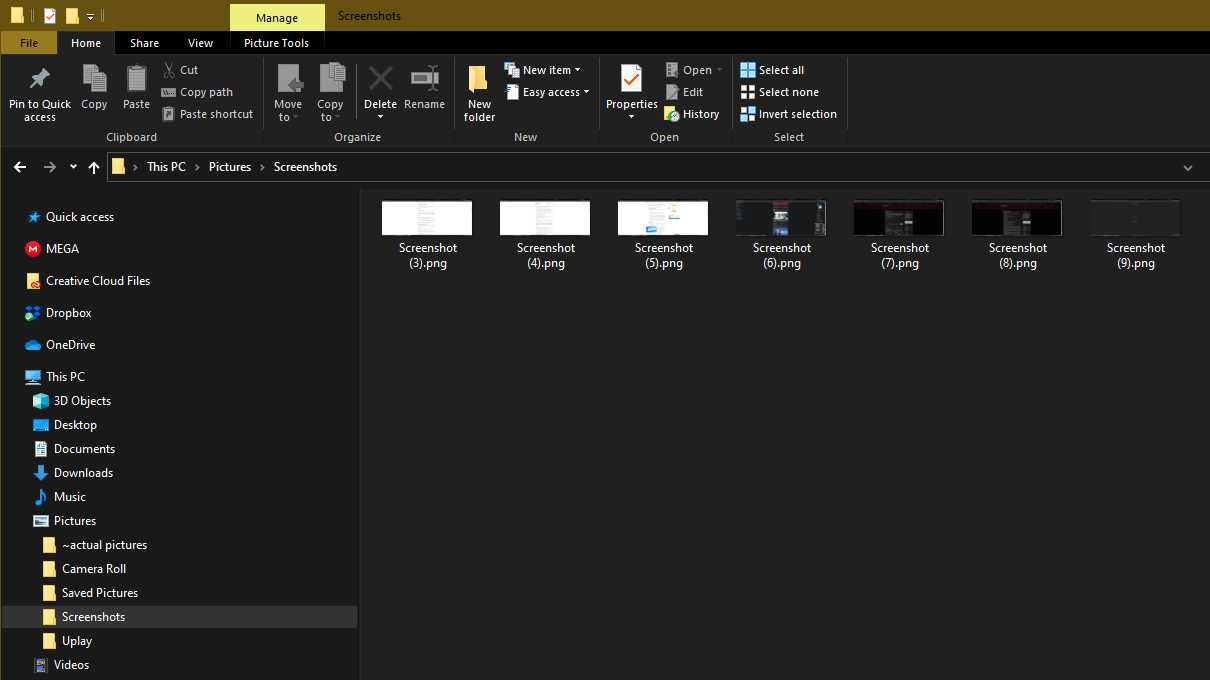
To capture the entire screen (everything you see on the screen, including all open windows), press the PrtScn button. This screenshot will be placed on your clipboard for you to paste wherever you want. You can also press Windows Key + Print Screen to save the screenshot to your [User]PicturesScreenshots folder.
Screenshots on macOS
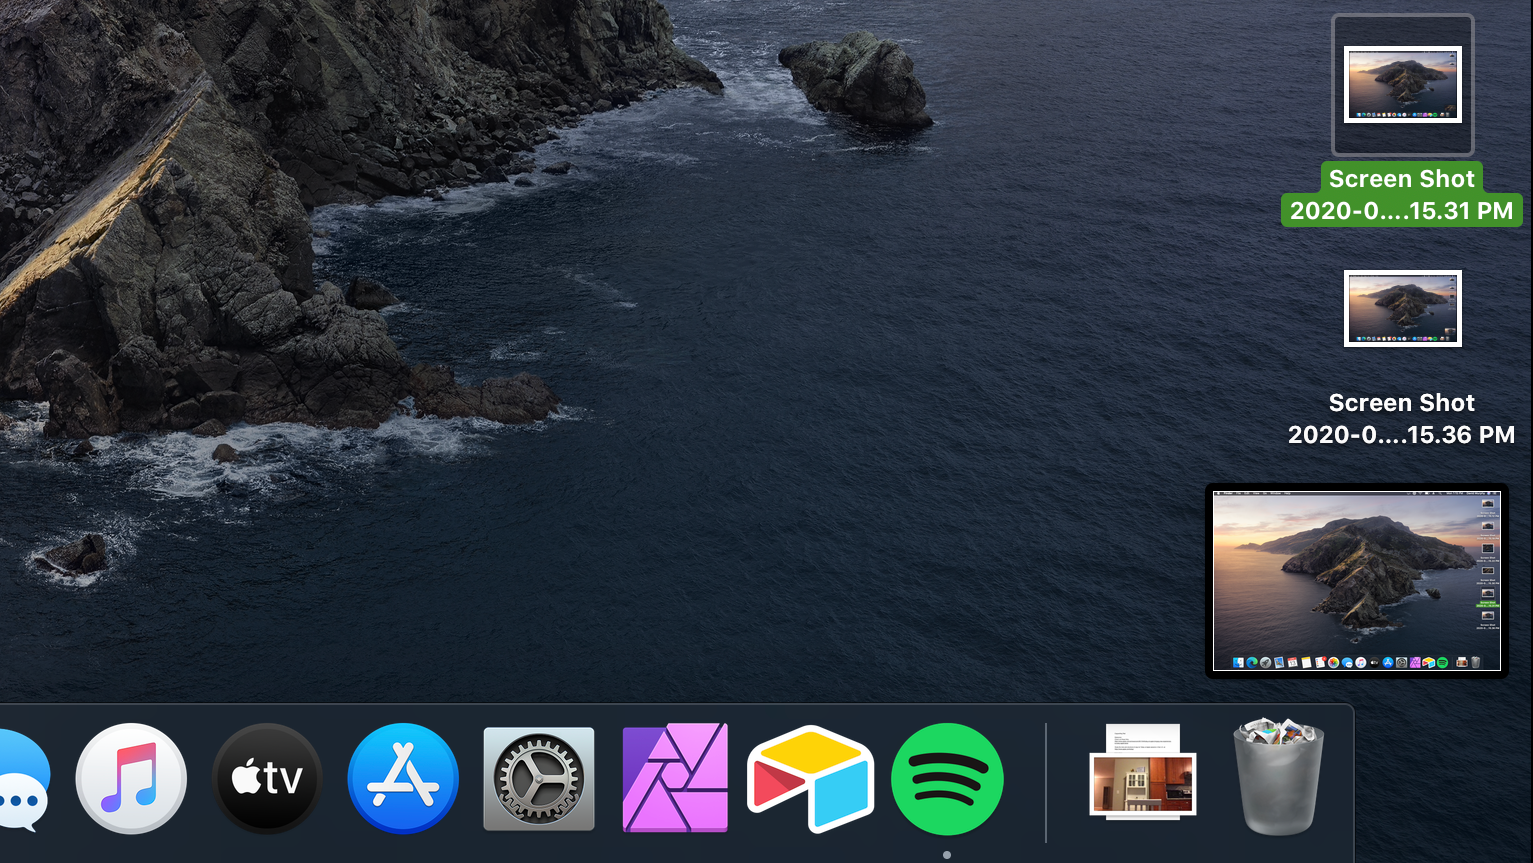
To capture the entire screen, press Cmd+Shift+3 at the same time. When you do, you’ll hear a click, and the screenshot thumbnail will appear in the lower right corner of your screen
Screenshots are automatically saved as PNG files to your desktop. If you want to save to the clipboard instead, press and hold Control+Cmd+Shift+3
How to capture part of your screen
If you want to grab a single window, a quick paragraph of text, or a photo, you can screenshot a selection of your screen using various keyboard shortcuts or easy-to-use tools that are already baked into your operating system.
Capturing your screen on Windows
To capture just the active or foremost window, press Alt+PrtScn. (If you’re on a laptop, you might have to also tap Fn at the same time.) The image will get copied to your clipboard for you to paste wherever you want.
To capture something that normally disappears when you press the Alt key — like a drop-down menu — press Ctrl+PrtScn instead.
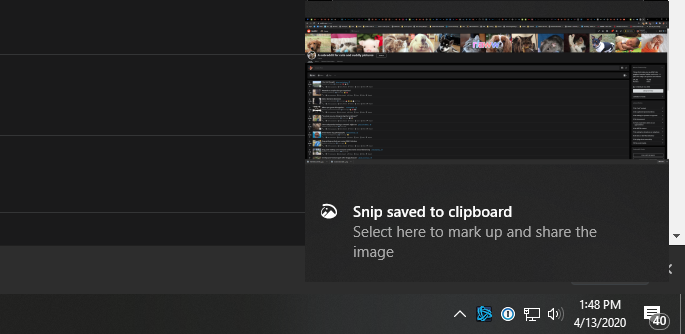
If you want to select a portion of your screen to grab, hit Windows Key+Shift+S. In Windows 10, this will open the “snipping bar,” which we’ll explain below.
- Using the Snip & Sketch app
Windows 10 has a screen capture app called Snip & Sketch. With Snip & Sketch, you can define areas of the screen to capture (an irregular shape, a rectangle that you draw, a selected window or the entire screen), annotate the screen capture and share your screenshot via email.
If you don’t use the Windows Key+Shift+S keyboard command to launch a miniature version of Snip & Sketch, you can launch the full app by clicking Start and typing “Snip & Sketch” into search. Select New to start a new snip and select the capture type (rectangular, free form, windowed or full-screen). The image goes to your clipboard, but you’ll also see a pop-up prompt to annotate or share right from the Snip & Sketch tool.
- Using the Snipping Tool
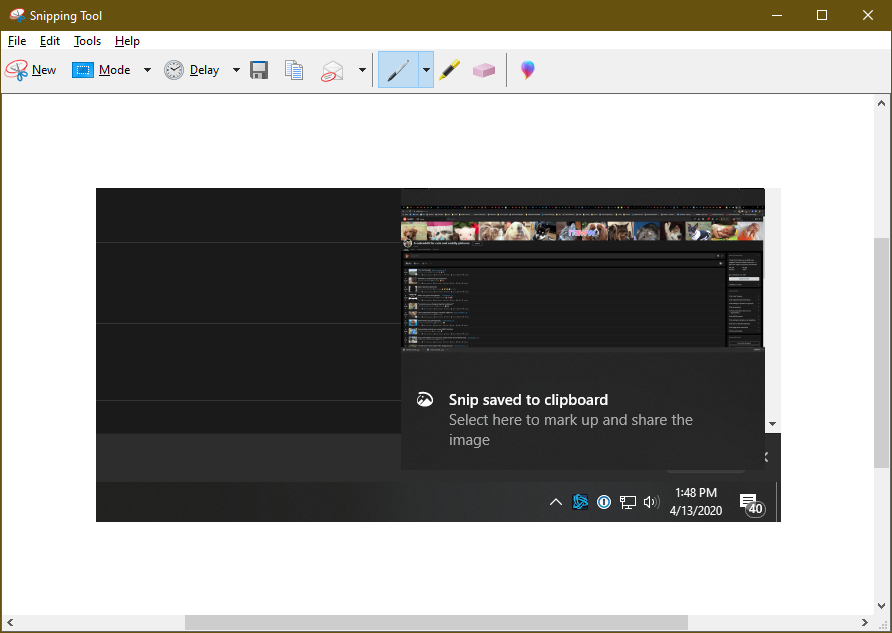
Windows 10 still has the older Snipping Tool, too; launch it by typing its name after clicking your Start button. From there:
- Click Mode to select the type of screen grab you want to take: a free-form drawing, a rectangle drawing or a full window. Then, use your mouse to select the area of your screen or window you want to capture.
- To draw over or highlight parts of the screenshot, click the pen or highlighter buttons in the menu. You can also set a timer in the utility, which is useful if you need to give yourself a few seconds to get your shot ready — perhaps if you need a screenshot of a context menu, for example.
Once you’ve got your screenshot, you can save it, email it or copy and paste it into another application.
Capturing your screen on macOS
To capture a specific area of your screen, press Cmd+Shift+4. Your cursor will turn into a crosshair and you can drag around the area you want to capture.
To capture a specific window or something like the Dock or menu bar, press Cmd+Shift+4 and then hit the space bar. The crosshair will turn into a little camera and highlight the window or objects you can capture.
To capture what’s on your Mac’s Touch Bar, if your Mac has one, press Cmd+Shift+6.
- Using Screenshot
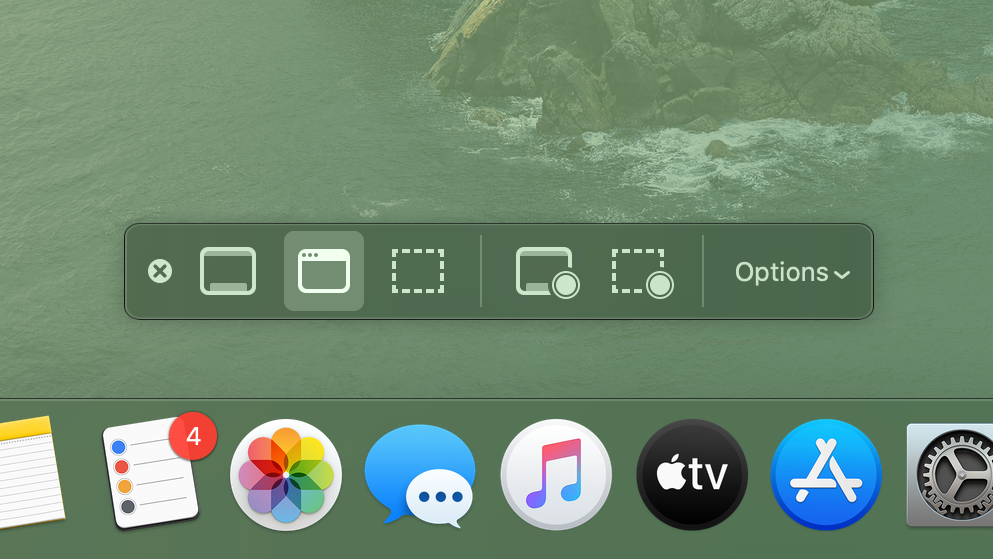
macOS Mojave (and later) also has a tool for taking screenshots called — obviously — Screenshot. You can access it using Cmd+Shift+5 or under Applications > Utilities.
When you open Screenshot, a floating toolbar will appear at the bottom of your screen. You can select whether you want to capture: a selection, a specific window or the entire screen. You can also set up a 5- or 10-second timer delay (found under Options).
The default setting saves your screenshot to your Desktop, but you can select other destinations under the Options menu.
- Using Preview
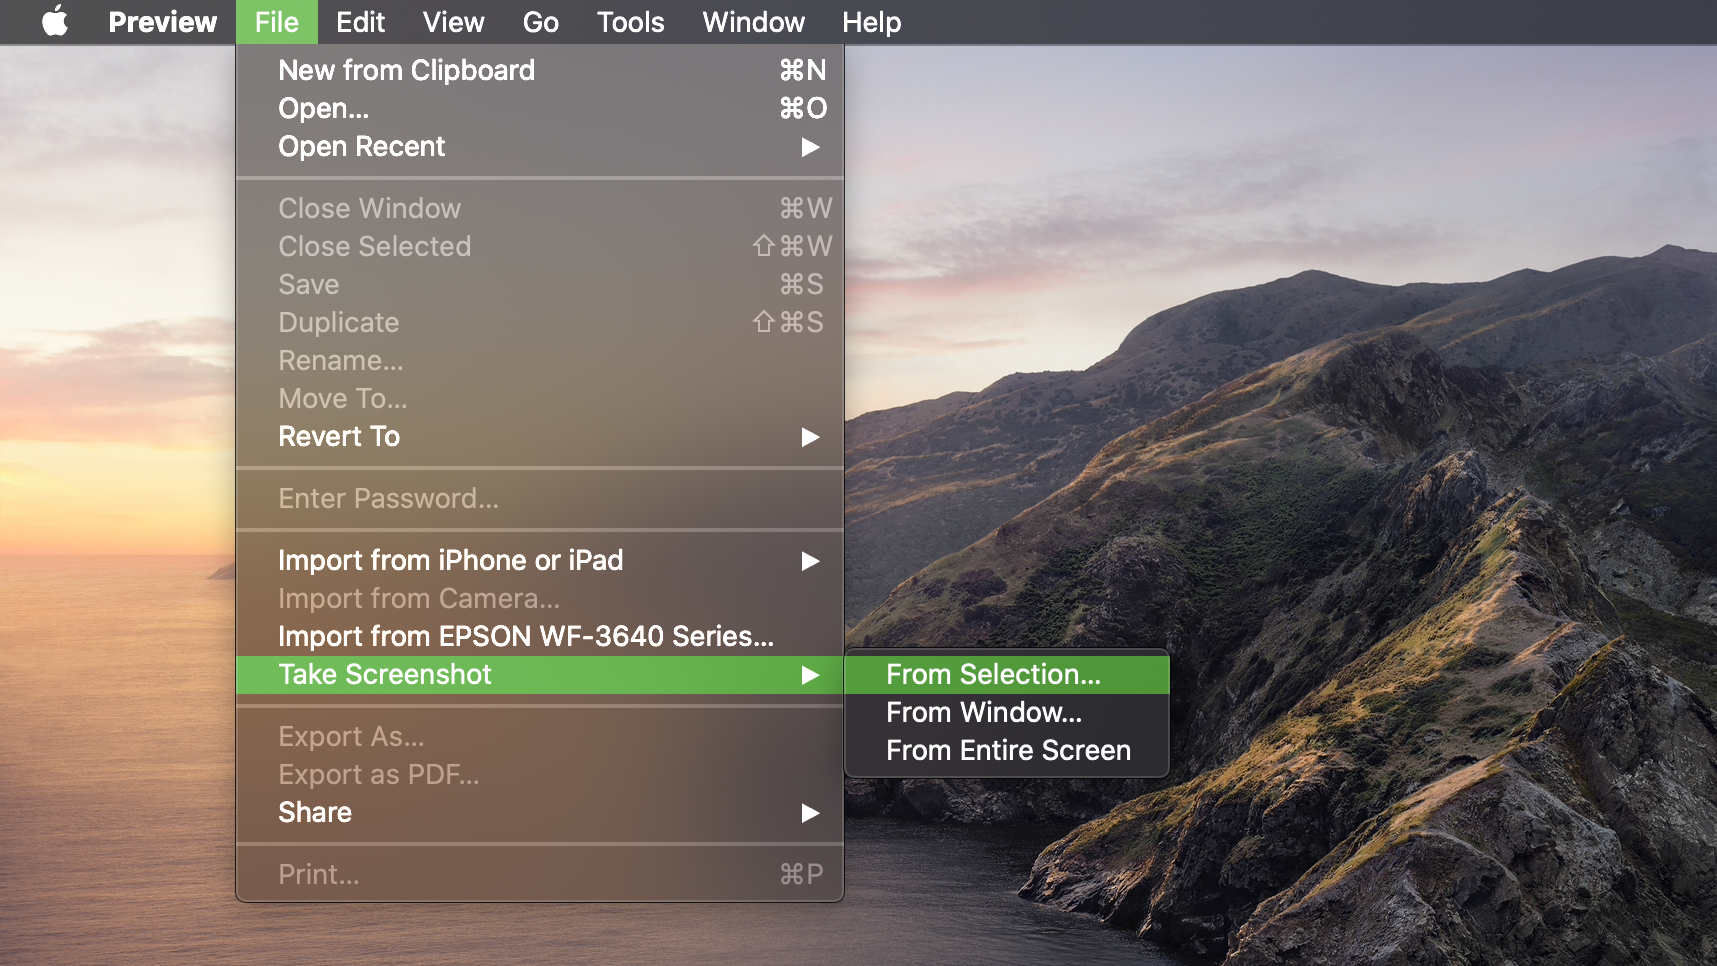
macOS’s built-in PDF viewer has a screen capture tool. that lets you annotate and edit you screenshot right away, then choose a folder to export or save to. Open Preview and go to File > Take Screenshot. You can grab a selection (drag the crosshairs), a window (press Enter) or the entire screen (a countdown gives you a few seconds to move windows around).
How to annotate, save and share screenshots
What’s the point of a screen capture if you can’t mark it up? Both Windows and Mac have free built-in tools for cropping, drawing on and editing your screenshots.
Annotating and sharing screenshots on Windows
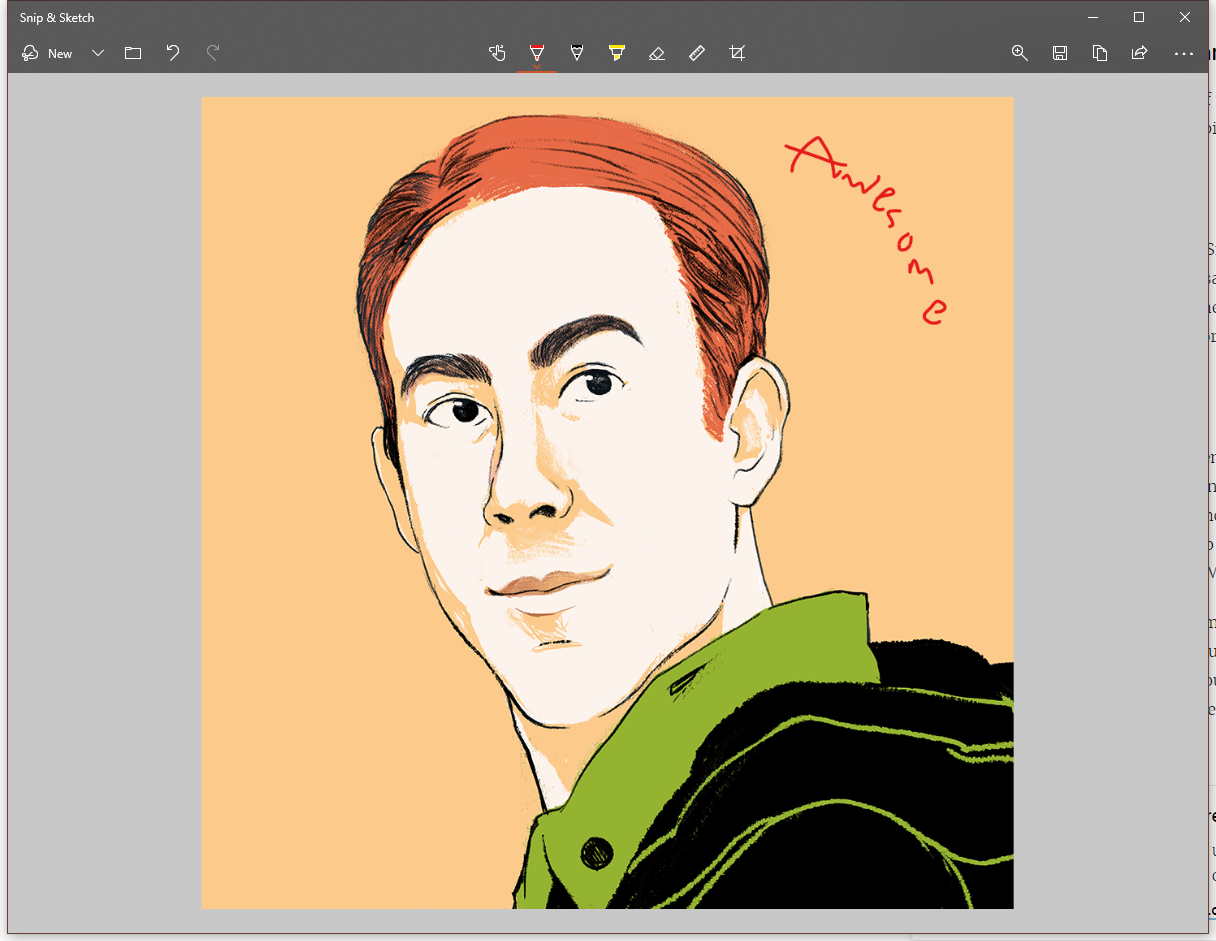
As mentioned, Snip & Sketch and the Snipping Tool both come with annotation tools as well as different options for saving and sharing screenshots. You can also use Snip & Sketch to annotate other images — useful if you capture a screenshot with a keyboard shortcut or pasted a screenshot out of your keyboard.
Annotating and sharing screenshots on macOS
If you use keyboard shortcuts or Screenshot for your screen capture, a thumbnail of your image will appear in the lower-right corner of your screen for a few seconds. Click on the image to open up macOS’ annotation and editing tools. Click Done to save your image to your desktop — or click the Share button in the upper-right corner to share your screenshot via Mail, Messages, AirDrop and more.

If you don’t catch the thumbnail in time, double-click the image from your desktop to open it in Preview. You’ll see the same annotation tools and sharing options — plus, you’ll be able to save your image to a different location or in a different format.
[referenced id=”848803″ url=”https://www.lifehacker.com.au/2018/08/how-to-take-prettier-screenshots-on-a-mac/” thumb=”https://www.gizmodo.com.au/wp-content/uploads/sites/4/2020/04/09/euf9ej4maldzcxali1kz-300×169.png” title=”How To Take Prettier Screenshots On A Mac” excerpt=”Mac: If you’re clipping a bit of text to send in a tweet or saving info from a rental car confirmation page, your standard Command-Shift-4 shortcut for a screenshot is more than adequate. But adding a couple of keystrokes can make all the difference when you want to, say, include…”]
Third-party screenshot tools
That’s the rundown on native Windows and macOS screen capturing tools, but there are third-party apps that can take even better screenshots and recordings and give you more editing options. Lightshot and TinyTake (for Mac and Windows) have detailed annotation functions, while ShareX (Windows) has a long list of capture options, like scrolling and GIF creation, on top of its editing tools.
How to record your screen on your Windows PC or Mac
A picture says a thousand words, but a quick video that captures exactly what it is you’re trying to do on your PC might be an even better solution. Thankfully, it’s scarcely more complicated to take a screen video on Windows or macOS than it is a screenshot.
Recording your screen on Windows
Windows has a built-in recording tool called Xbox Game Bar. To get started, click Start > Settings. Select Gaming and click on Game Bar. Toggle the “Record game clips, screenshots and broadcast using Game bar” option.
When you’re ready to record, open Game Bar by pressing Windows Key+G. The Capture window should appear automatically, and all you have to do is click Record to start and stop the screen recording.
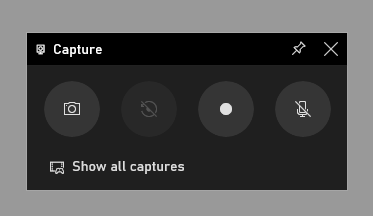
If the Capture window doesn’t pop up, find and click the webcam icon on the main Game Bar overlay to display it. Don’t feel thwarted if you get a weird message that looks like this:
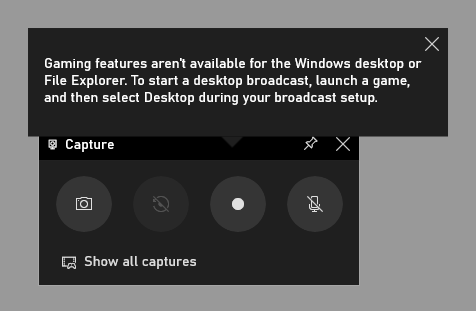
To get around that, I simply pulled up a web browser, relaunched the Xbox Game Bar (with Windows Key+G) and started recording anyway, annoying message and all. (You can always trim out this little workaround in your final video.)
Recording your screen on macOS
Within Screenshot (Cmd+Shift+5), you have the option to record your entire scree or a selected portion (via the two right-most icons). Once you select a recording option, the Capture button on the far right will switch to Record. Click it to start, and then click the tiny Stop icon in your Mac’s Menu Bar to stop. Like a screenshot, an image/link to your recording will then pop up in the lower-right corner of your screen.
This article was originally published in 2011 by Melanie Pinola and updated in April 2020 by Emily Long and David Murphy. We significantly revised the article, adding additional links to third-party apps, rewriting portions of the article for clarity and suggesting new tools and advice for taking screenshots and screen recordings. Rechecked for accuracy on October 19, 2020.
Leave a Reply
You must be logged in to post a comment.