It’s almost inevitable that we’ll all need to securely and reliably save a voicemail at some point. Whether it’s a message from a loved one who has since died or just an important recording you want to keep, there are several ways to save important voicemails indefinitely.
You can technically keep a voicemail saved in your voice mail box, but this isn’t a viable long-term option. Voice mailboxes fill up, at which point some services and apps will auto-delete old messages. And if you buy a new phone, migrate to a new app, swap carriers, or any number of similar small changes, it can result in your losing the voice messages you wish to keep. Luckily, there are quite a few ways to keep your cherished voicemails safe.
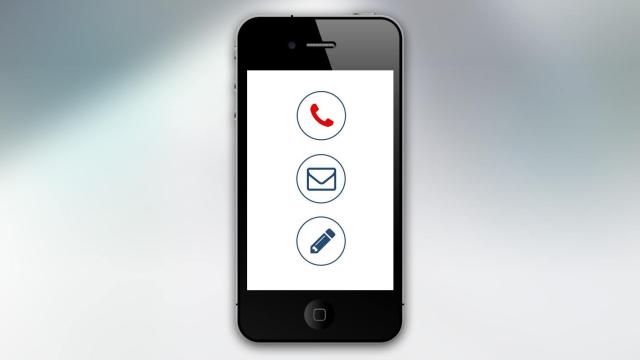
Saving and backing up voicemails on iPhone
Instead of keeping the file stored in your voicemail, iPhone users can save and save voice messages to various apps and services via the share function.
-
Open the Phone app.
-
Tap “Voicemail”
-
Tap the message you want to save, then tap the Share icon (Sharing a voicemail this way won’t delete it from you voicemail storage)
-
From here you have several potential ways to save the file:
-
“Notes” lets you save the file as a new note or add to an existing one
-
“Voice memo” will save an audio file to your phone that can be edited in the Voice Memo app and automatically backed up to iTunes.
-
“Message” and “Mail” will send the file as an MP3 over SMS or email
-
“Airdrop” will lets you share the file as an MP3 wirelessly to other devices within range
Tap the option you want to use, then finalise sending the file.
Once you’ve shared and/or saved the file, you should backup another copy as well. Sync your iPhone with iTunes to automatically backup your Voice memos to your iTunes library (requires you to have syncing turned on). Similarly, you can share the files to cloud storage services like Dropbox, Google Drive, etc. or with other iOS devices via AirDrop.
How to save voicemails on Android
Most Android users can save their voicemails, too, but the process will differ slightly based upon your service provider, voicemail app, and/or smartphone model.
The stock phone or voicemail apps from most major providers include an option to save copies of your messages. Open your phone’s voicemail app, then tap (or in some cases, tap and hold) the message you want to save. You should be presented with a list of options; the save option will usually be listed as “save”, “save to phone,” “archive,” or something similar. Tap the appropriate option for your app, then select a storage location is prompted, and save the file. Backup the saved voicemails to your cloud storage service of choice and download a copy to physical storage like an HDD, SD card, or USB flash memory for extra safe keeping.
Unfortunately, not all providers offer voicemail apps that are compatible with all android phones. There are some third-party apps that will let you save your voicemails, but some are paid, and many will only let you save voicemails after you’ve installed the app. Google Voice features an option to have your voicemails sent as MP3s to your email inbox, but much like with third-party apps, this will only work for voicemails received after you’ve signed up for the service and enabled the setting—previously received messages will need to be stored another way.
Saving voicemails with your PC
If you can’t seem to save a voicemail through your smartphone’s voicemail or phone apps, there is one other option for backing up your voicemails: Recording and saving them through your PC.
This works for both iPhone and Android, but requires a few extra pieces of equipment and software. You’ll need a PC with the free audio recording program Audacity installed (other programs like Adobe Audition and Garageband work, too), and either a male-to-male 3.5mm audio cable or a mic attached to your PC. Those whose smartphones have ditched headphone jacks will also need to use an adaptor or opt for the external mic option.
-
Plug one end of the audio cable into your PC’s microphone jack, and the other into your phone’s audio jack (if you’re using a computer mic instead, make sure it’s plugged in and recognised your PC)
-
Open Audacity and change the recording source to the “Line-In mic” option in the drop-down menu next to the microphone icon.
-
Next, go to Edit & Preferences & Recording, and check the box next to “Software Playthrough.” (those using an external mic can skip this step)
-
Open or call your voicemail service on your phone and ready the voicemail. In Audacity, click the red Record button when the message begins. If you’re recording through a mic, make sure your phone is on speakerphone and pointed at the mic. You should see the audio being captured in Audacity’s timeline.
-
When the message is done and successfully recorded, hit the yellow Stop button in Audacity to stop recording
-
If you feel comfortable, you can use Audacity’s editing tools to trim or change the file. Otherwise, skip to the next step.
-
Go to File & Export, designate where you’d like the file to be saved, then name and save the file. Audacity will then export and save the file, which you can then save copies of to various other storage devices or services if desired.
Comments
One response to “How To Save Important Voicemails For Both iPhone And Android”
Does the iPhone solution require Visual Voicemail from your provider? I am with Optus, and the Voicemail page in the Phone app only has a button centered on the screen to “Call Voicemail”