When I take photos or shoot video, I like to use a nice camera, and then import the photos to my iPad — which is my dedicated photo editing and social media sharing device. But if I want to import video from that same SD card, it’s a more complicated process. Here’s how you do it.
Photo: Patrick Allan
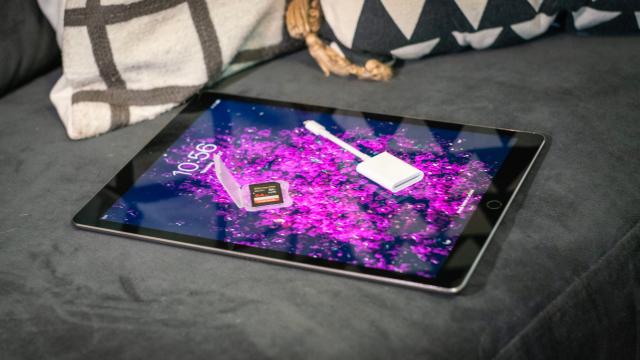
Step 1: Buy an Apple Lightning to SD Card Camera Reader
These little dongles are amazing for photographers on the go. All you have to do is plug it into your iPad’s Lightning port and then stick the SD card in the slot. You’ll quickly see all the images on the card and you can import as many of them as you like (even RAW images).
Whenever I’m travelling, I shoot on a Sony a7R II, transfer the images to my iPad, and then use Adobe Lightroom to make them look even better. It’s a great setup.
What you won’t be shown, however, is any video files on the card. For whatever reason, Apple doesn’t make it easy to transfer video files to iPads or iPhones unless it was shot on one of those devices (or already lives on your Mac). It’s a shame, especially since iPads have some decent video-editing capabilities. So, you’ll need to get creative.
Step 2: Make Sure You’re In MP4 Format
Before I begin, a quick note on formats. Whatever you’re using to shoot, make sure the video files come out as MP4s, or that you can convert them to MP4s. Otherwise your iOS device probably won’t be able to do anything with them.
Step 3: Move the Video Files to the DCIM Folder
One of the reasons the iPad won’t see your video files is because they’re probably in a separate folder that iOS won’t check. For example, with my Sony camera, video files are stored in PRIVATE > M4ROOT > CLIP, but they need to be in the DCIM (or “digital camera images”) folder instead.
If your files aren’t in a DCIM folder, you’ll need to move them. I use a laptop with a built-in SD card reader to do this, but you can also use a USB-based SD card reader. Copy the files from their origin folder and then paste them somewhere in the DCIM folder. If your SD card doesn’t have a DCIM folder, you’ll need to create one.
Step 4: Rename the Files With 8-Character File Names
Now that you have the video files in the right folder, you’ll probably have to rename them. The new file name — and yes this is bizarre — must be exactly eight characters long, plus the file extension (“.MP4”). For example, my Sony camera names video files something like “C0300.MP4”, but I have to rename them to something like “clip0001.MP4”.
I do not fully understand why this is necessary (if you do, hit me up), but it is.
Step 5: Import the Video Files
Your video files are in the correct format, they’re in the right folder, and they’re renamed. You’re finally ready to import! Plug the Lightning dongle into your iPad and insert your SD card. You should see your video files among your photos on the import screen.
You can now edit them with various apps or share them on Instagram — like I was finally able to do with this cute ducklings video:
This entire process is a pain, but you get used to it pretty quickly. And while it’s unfortunate that you’ll need a laptop for it, at least you can plan ahead and load up a bunch of video to work on — during long plane rides, for example.
There are other ways for importing video that don’t require renaming files, but they can be even more complicated, and require several more adaptors. For now, this is as easy as it gets.
Comments