My girlfriend Jessica just got a brand-new MacBook Pro — keyboard issues be damned. It can feel a little jarring to go from physical buttons to the MacBook Pro’s new Touch Bar, especially when you’re used to being able to just function-key your way through system commands in macOS.
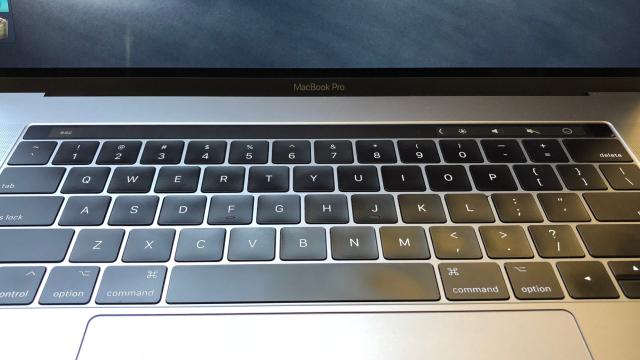
Photo: David Murphy
I don’t remember exactly how she phrased it, the gist of Jessica’s question was “Where is that button that makes all my windows pop out?”
She was referring to the Mission Control button on her previous MacBook, which defaults to function key F3. There’s no F3 on the Touch Bar of the new MacBook when you’re looking at your macOS desktop. The bar is almost blank, with a gaping chasm between Esc key and your Control Strip.
You can pull up your function keys by simply pressing the function button, but you still won’t see the icons that used to live under them. (And, obviously, pressing a virtual button like F3 after hitting the Function button is going to do whatever F3 does, not summon Mission Control.)
So where did Mission Control go? If you look at the default icons on the Touch Bar — found in its Control Strip — you won’t find what you’re looking for. However, if you tap on the left-most arrow, that expands the Control Bar to show you the full range of shortcuts that you used physical buttons to access on older Macs. And right there, fourth from the left, is Mission Control.
Still, that’s a convoluted way to access it, and there are a few tricks you can do to put Mission Control — or other virtual buttons — more front-and-center on your new MacBook.
How to customise your Mac’s Control Bar
First, click on the Apple icon in the upper-left corner of your Mac and select System Preferences (or just click the icon on your Dock).
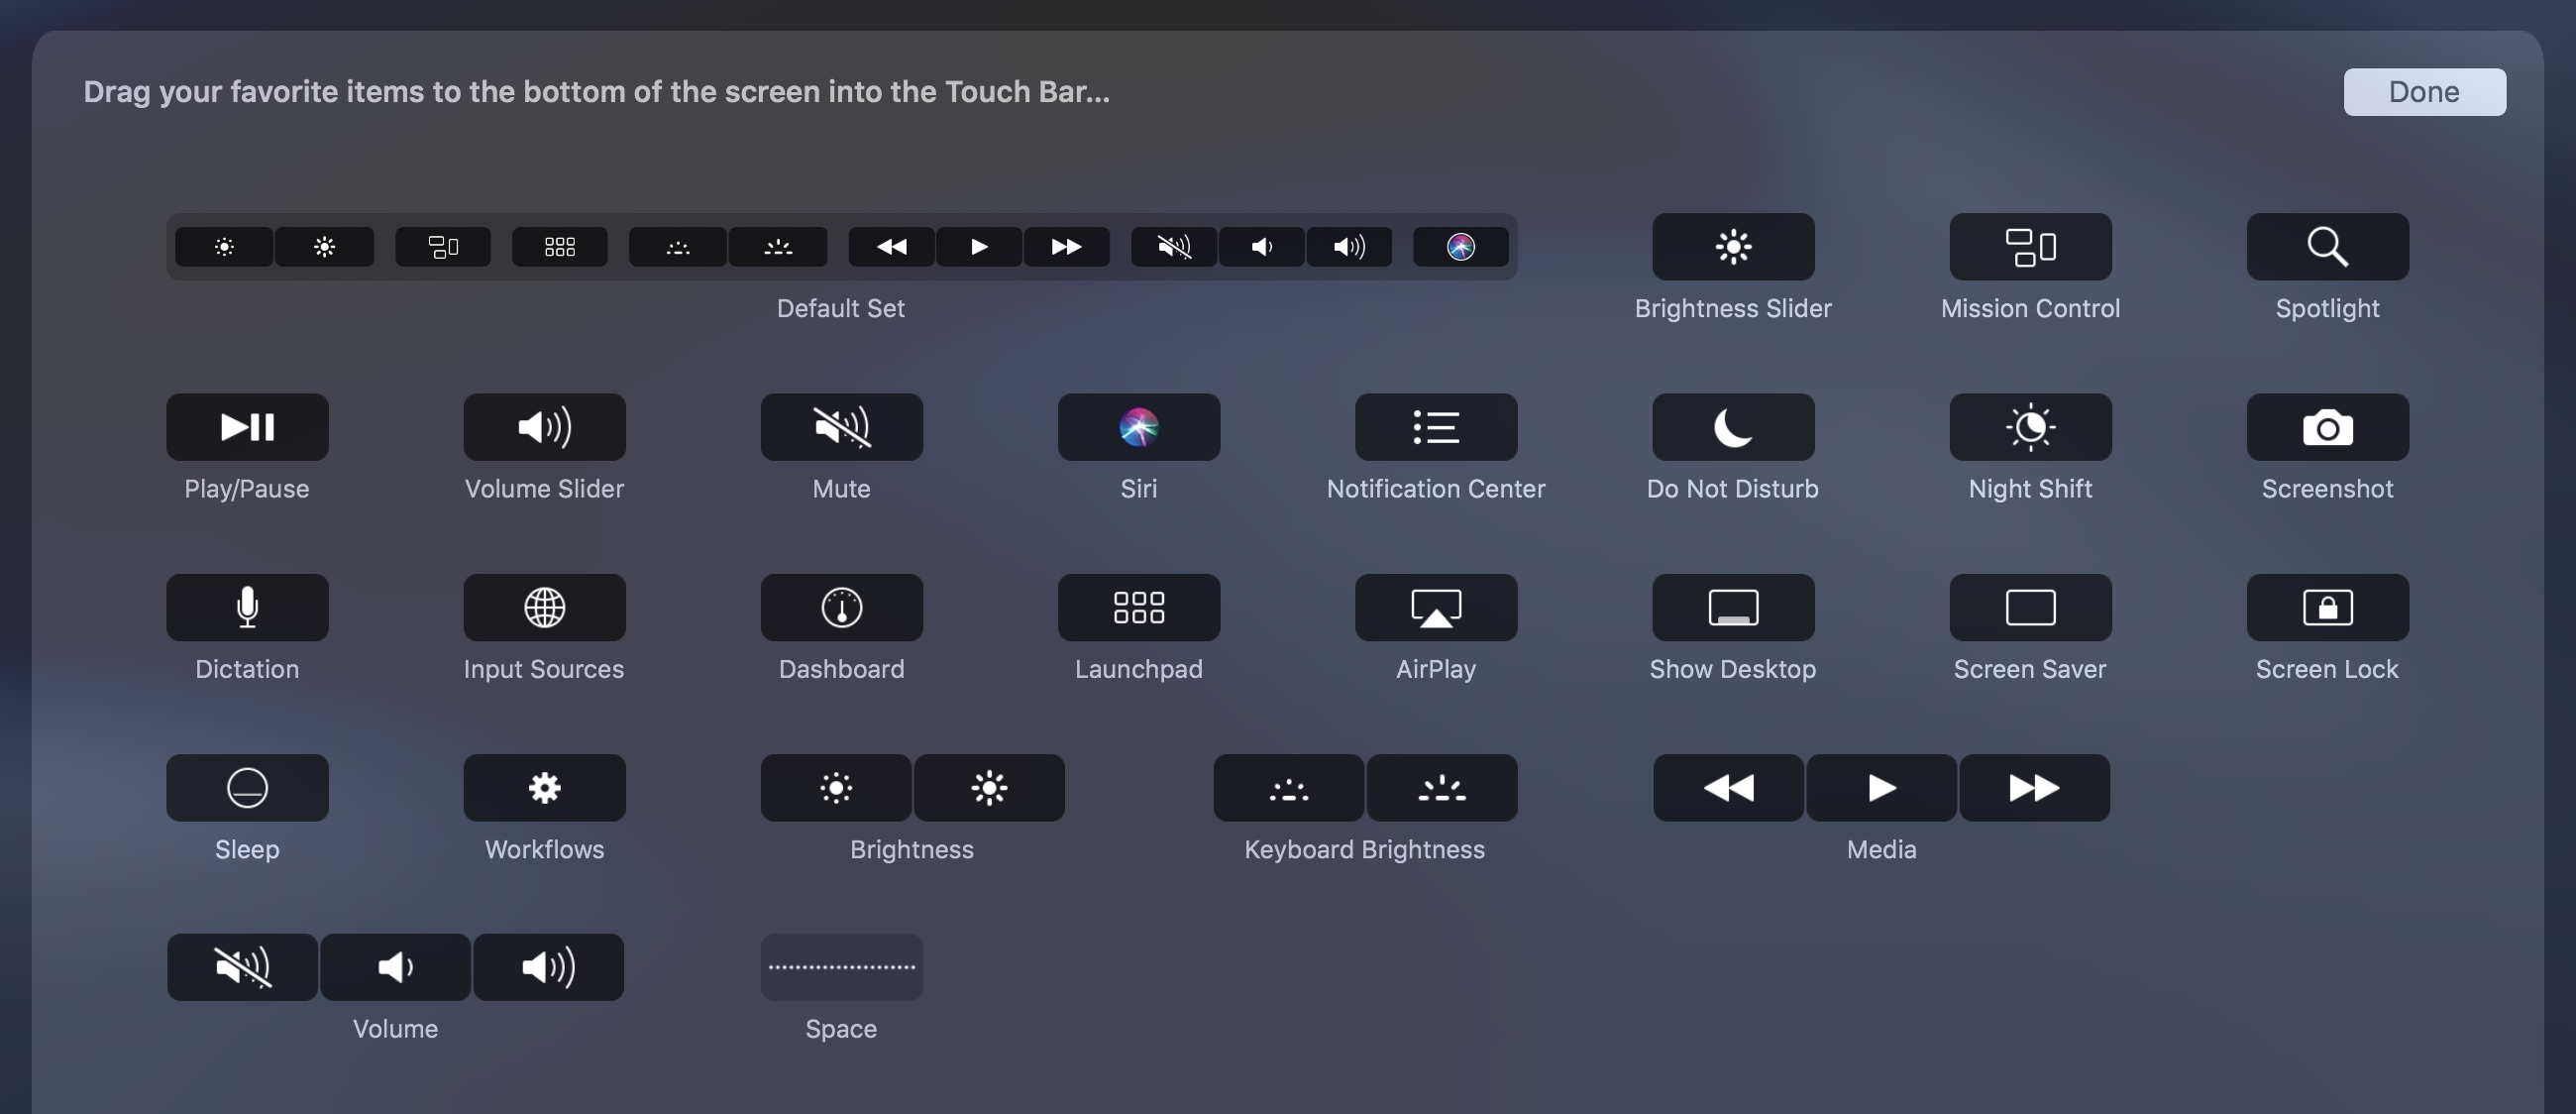
Select Keyboard, and then select Customise Touch Bar. You’ll now be able to move your mouse cursor down to your Touch Bar to remove any icons you don’t want on your Control Strip or, if you expand it first, the full Touch Bar. Swap out what you own’t use for what you will, or rearrange icons to an arrangement that better fits for your needs. The power is yours.
One important caveat, though: The Control Bar can only be so big. You get four easy-to-access icons, but that’s it, no more.
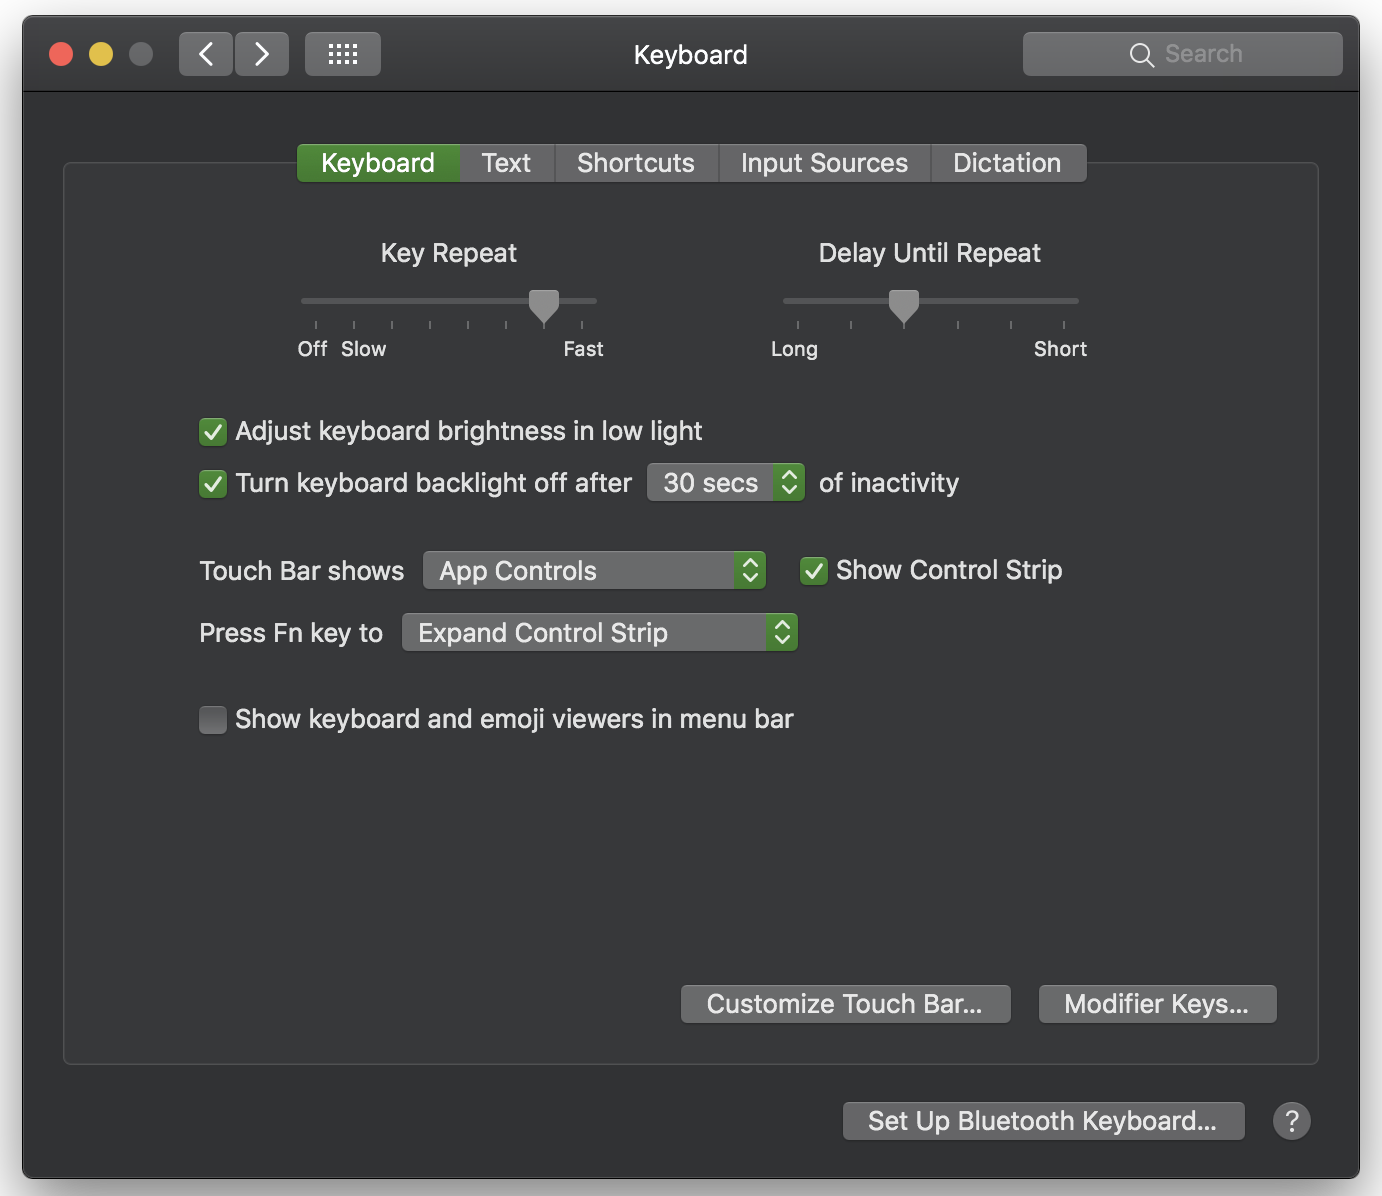
If you aren’t happy with that — and I’m certainly not — head back to the Keyboard settings window. In there, look for the “Press Fn key to…” option, and set that to “Expand Control Strip” for an easier way to show even more button shortcuts.
You can also set the Touch Bar to show the Expanded Control Strip by default (via the “Touch Bar shows…” menu), but the option is a double-edged sword: It will be easier to use your various system controls, but you’ll lose out on the specialised app controls that pop in and out as you switch through various programs.
Why Apple can’t just let you expand your Control Strip by default and flip the Touch Bar over to App Controls when necessary, I’ll never know. I think the best bet is to just remember the function key trick, which will give you all the old hardware keys you’ve abandoned without ruining most of the point of the Touch Bar.
Comments