The Raspberry Pi is the cheapest and smallest way to emulate the old video games you still love to play. You have a few different ways of going about making your own retro game console, but RetroPie and Recalbox are two of the easiest to use. Let’s take a look at their differences, and pick the best one for you.
The Contenders

Retro game consoles are, hands down, the most popular project for the Raspberry Pi. Once you’re set up, you can play tons of old video games using a variety of controllers. All you need is a Raspberry Pi and the right software. RetroPie was the first full emulator operating system for the Raspberry Pi. Recalbox is newer, but simplifies the whole process quite a bit.
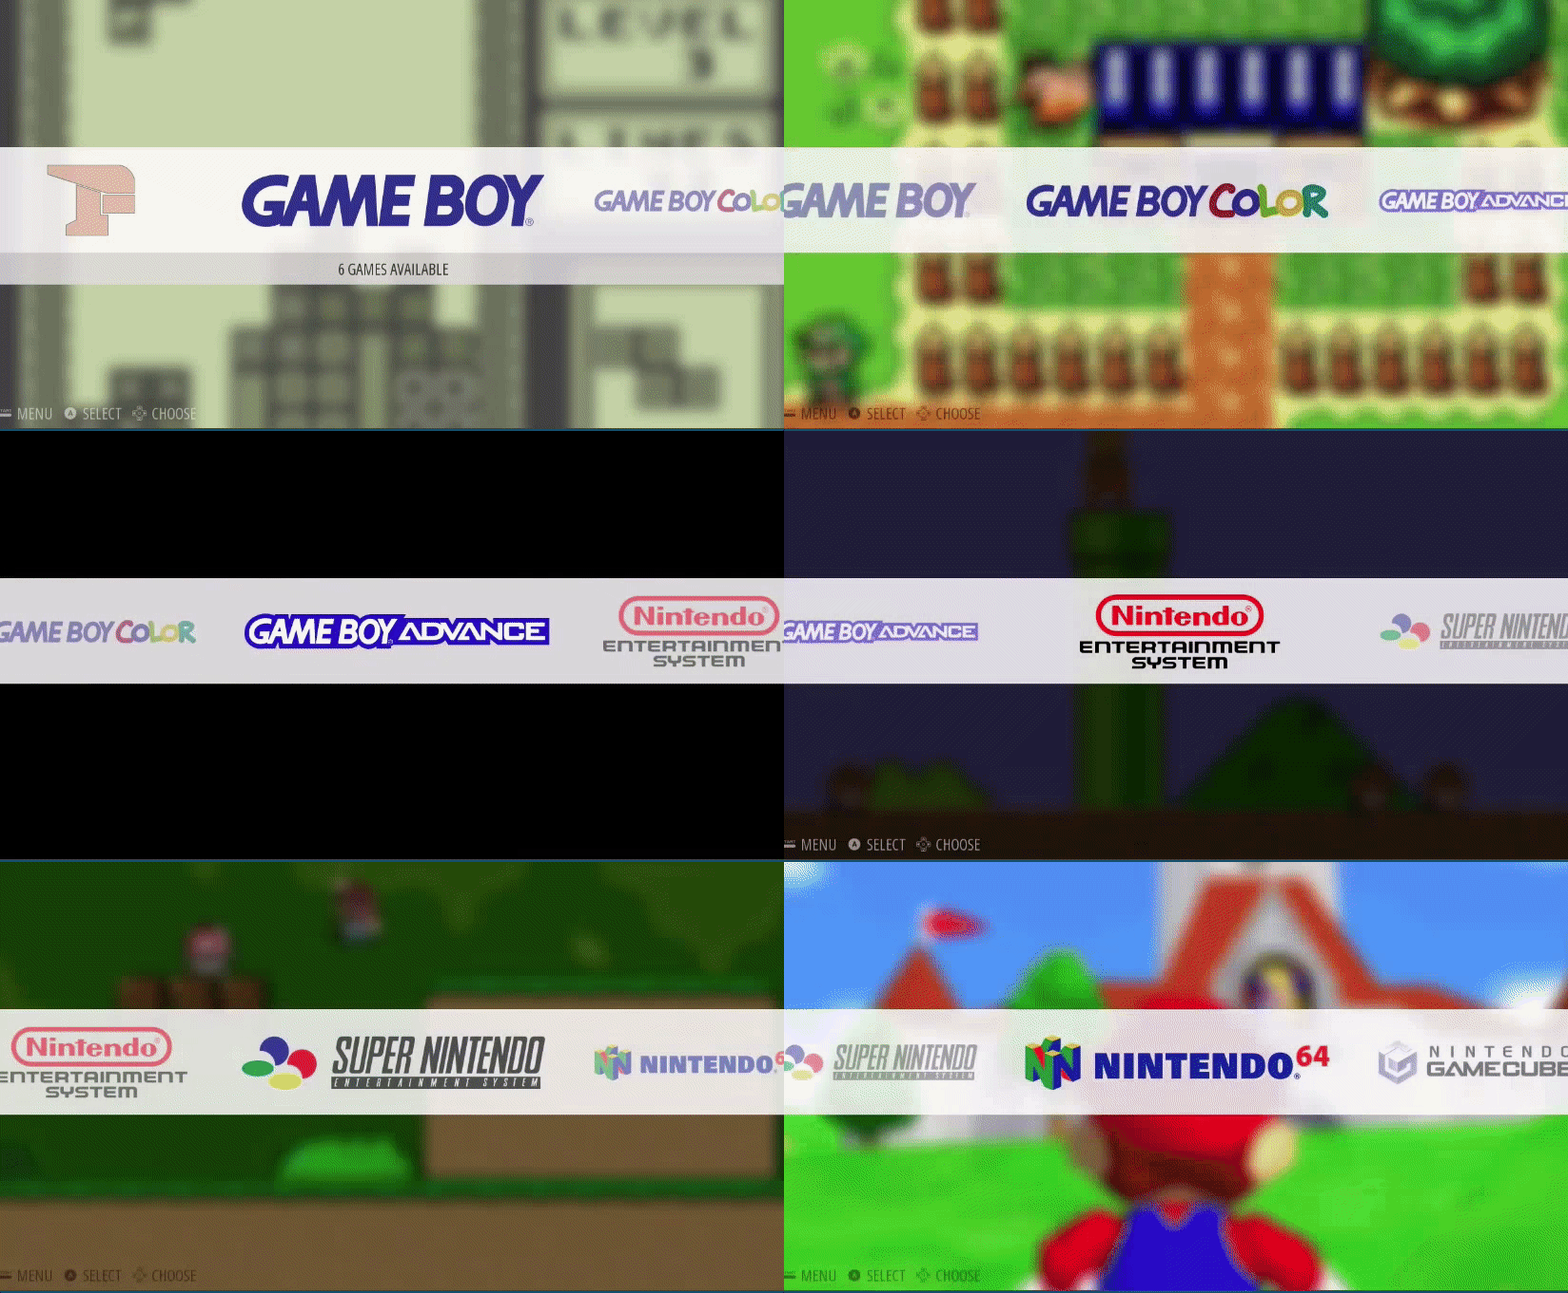
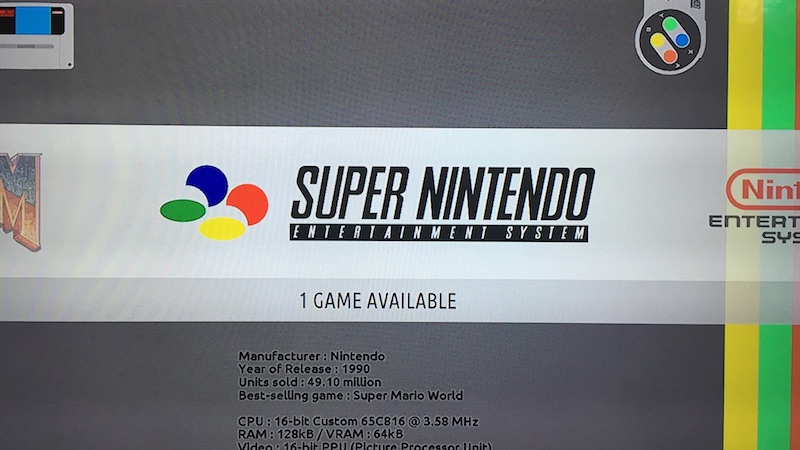
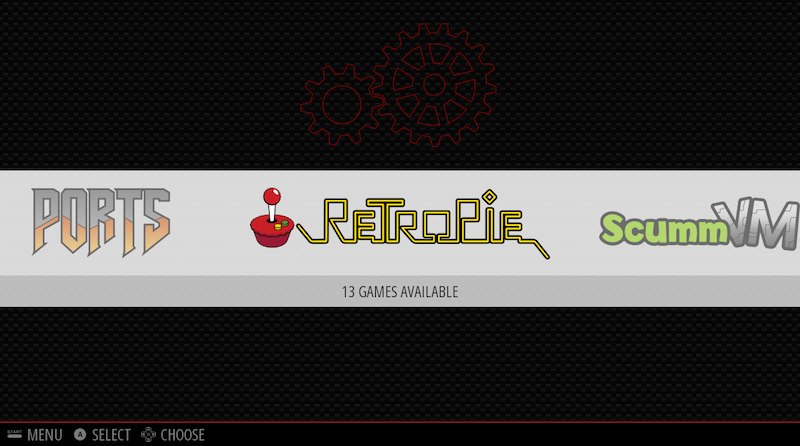
Both systems are based on RetroArch and EmulationStation, which combined are a front end that allows you to choose from a variety of emulators. Both RetroPie and Recalbox also come with the multimedia center Kodi, so if you’re looking for an all-in-one entertainment center, either will work. Both also look about the same, so aesthetics won’t play much of a role here. Finally, both RetroPie and Recalbox support online updates, rewind features, save states, and screenshots. Here are the other basics.
- RetroPie: RetroPie was initially a small project that launched right around the same time the Raspberry Pi became widely available. It has been a part of our guide to setting up a retro game console since the start. Nowadays, it’s a much bigger project. Its main purpose is to emulate as many games as possible on every model of the Raspberry Pi It’s also almost always updated within a couple days of a new Raspberry Pi release. Thanks to its longevity, it also has active support forums and well-written documentation.
- Recalbox: Recalbox is a bit newer than RetroPie, and while it’s easier to set up, it doesn’t have quite the cultural reach RetroPie does. Aside from being a totally DIY operating system, it also rather awkwardly works as a storefront too, though you’re by no means required to buy anything to use Recalbox. Out of the box, Recalbox looks pretty much identical to RetroPie.
Both options get you a great DIY game console, but the setup process, game system support, and customisation options vary between the two.
Recalbox Is Easier for Beginners to Set Up

Let’s get this out of the way: Recalbox is hands down the easier of the two to set up. While RetroPie has become much easier to set up over the years, Recalbox still blows it out of the water in simplicity.
First off, you don’t need to know anything about burning a bootable SD card with Recalbox, which is typically one of the more annoying parts of any Raspberry Pi operating system. Instead, download the newest version of Recalbox, copy all the files to your SD card, then put the SD in your Pi. Recalbox handles the rest. Retropie, conversely, requires that you use a third-party SD card builder or use the command line. Both are easy enough, but Recalbox is still easier and less intimidating.
As for controllers, both Recalbox and RetroPie automatically ask you to configure your controllers on first boot, but Recalbox has the out-of-box support for PS3 controllers over Bluetooth (RetroPie requires a bit of finagling to get this working.) While the process is nearly identical in both tools, setting up a controller in Recalbox just feels smoother.
Once the controllers are set up, both RetroPie and Recalbox have all the same options where you can set up Wi-Fi, make configuration changes, and update your system. Otherwise, you’re ready to start playing games.
RetroPie Has Way More Customisation Options, Better System Compatibility, and More Support

Recalbox may be easier to set up, but Retropie is much easier to bend to your will — especially if you like to customise things. RetroPie allows you to adjust nearly every aspect of the system so it can work on a huge variety of displays, with tons of different controllers, on different operating systems, and more.
Out of the box, RetroPie is configured to do everything RetroArch can do, which means custom shaders, settings per emulator, and more. Beyond that, it’s also built so you can choose what options get installed, change the version of Linux it runs, create your own splash screens on launch, tweak display properties, and tinker with nearly every setting imaginable. You can also use an insane number of controllers with RetroPie, ranging from Nintendo 64 controllers to custom-made ones. To cover all this, RetroPie has extensive documentation that walks you through all kinds of different customisation projects. If this all sounds overwhelming, well, it is. But if you’re building something like an arcade cabinet, then you want this much control over everything.
Conversely, Recalbox supports PS3, Xbox, Bluetooth controllers, and standard USB controllers. Recalbox simplifies shaders by simply including two of the most commonly used, scanlines and “retro” (which automatically chooses the best shader for each system for you,) but if you want to add your own, it’s a pain to do. In fact, doing anything outside of the default on Recalbox is a bit of a pain, and its general lack of in-depth documentation doesn’t help matters much. If you want to set up Recalbox as an arcade cabinet, it’s doable, but the process isn’t as well documented as it is for RetroPie. All of this is totally fine for most people who just want to plug their Pi into the TV and play classic games, and in fact, it’s probably better for most people — but if want to tinker with everything, then Recalbox is not for you.
RetroPie is also updated way more often. Within days of the launch of the Raspberry Pi 3, RetroPie added support for it. By contrast, the last non-beta build of Recalbox was released in March of 2015 as version 3.2.11. Which means there hasn’t been a stable update since the Raspberry Pi 3 was released. If you’re not living on the cutting edge of cheap microcomputers, this doesn’t matter at all, but it’s worth mentioning if you’re the type to grab a new Pi every time it’s released.
Recalbox Is Best If You’re New or Want Something Simple, RetroPie Is for People Who Need Control
Picking which operating system to use here really just depends on how much you like to tinker with settings. Want to just skip the setup and play the Super Nintendo games of your childhood? Go with Recalbox. It’s easier to set up and works fine for a majority of popular games.
Want to play obscure games on obscure systems, like Coco or Dragon 32? Or do you you want an easy way to deeply customise everything, like choosing which shaders appear in which games? Looking to build a handheld system or an arcade cabinet? RetroPie is your best bet.

Comments
4 responses to “DIY Retro Game System Showdown: RetroPie Vs. Recalbox”
Which one has preinstalled games when you first boot it up?
I would doubt that either one of htem does because the legal specs around emulated games is a bit of a gray area.
Recalbox actually does include some games, I tried it a few months ago and from memory there were some obscure arcade games and, more importantly, Doom.
Actually, they both do. Only a couple, though. Doom and quake iii for the PC, and a few open license NES titles mostly.