
You’ve dreamed of composing ear-blasting symphonies, but gave up because you didn’t want to spend thousands of dollars on equipment and software. Well, GarageBand’s Live Loops makes it easy to craft, record and share professional-sounding jams without spending a ton of money. Here’s how to get started.
GarageBand has always been a useful tool for fledgling and professional musicians, but Apple’s new Live Loops update has made creating music so easy now that almost anyone can do it. There’s a surprising amount of depth to Apple Loops, and we’re only scratching the surface, but by the end of this guide you should have the tools to make something great. GarageBand is compatible with any iOS device that can run iOS 9.1 or later, but the Live Loops update is only available for iPhone 5/5c, iPad (4th generation), and later devices. You can download GarageBand on the iOS App Store for $7.99.
How to Create a Live Loops Session
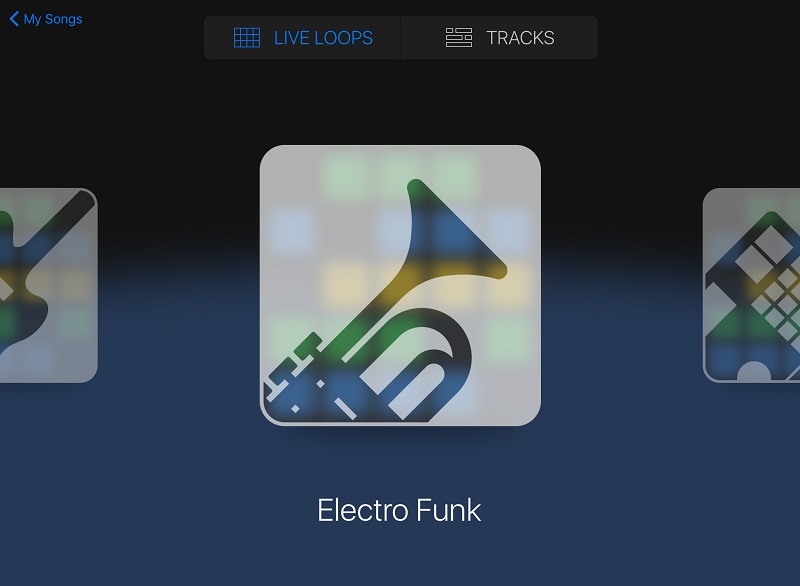
Once you have GarageBand updated and open on your iPad or iPhone, tap the plus sign in the upper left-hand corner of your screen. Then tap “Live Loops” at the top of your screen and choose the type of song you’d like to create. Apple provides nine pre-made soundboards for you to use, including EDM, Hip Hop, Dubstep, RnB, House, Chill (my favourite of the bunch), Rock, Electro Funk and Beat Masher. Pick your favourite flavour and you’ll be given a soundboard filled with great pre-made looping sounds and beats from Apple.
Before you scoff at the idea of using pre-made sounds, give them a try! It’s a solid way to experiment and get a feel for how Live Loops works. Here is an example of a song I literally made in a few minutes that’s comprised entirely of pre-made Apple loops:
Of course, if you want a blank slate to work with, you can also tap “New” and bake your cake from scratch.
How to Play a Loop
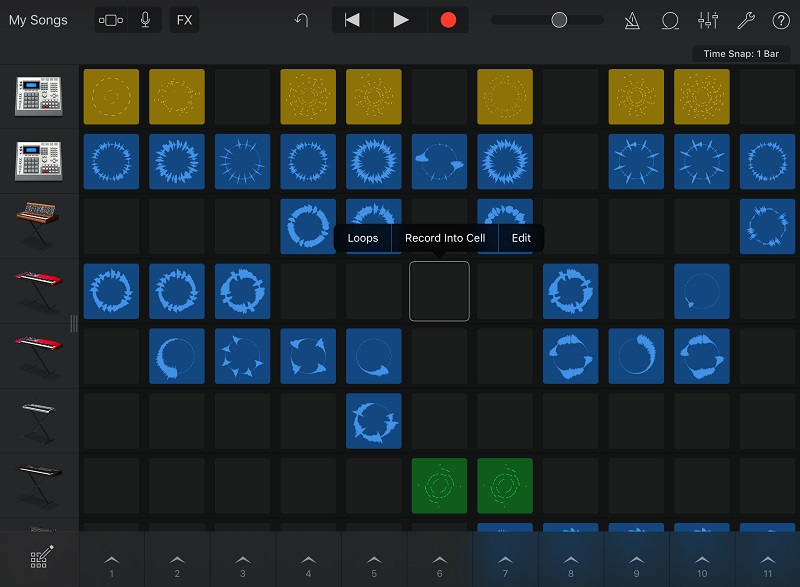
When you select one of the pre-made soundboards, it will just look like a grid of coloured squares. These squares are the audio tracks, or loops. On the left-hand side of the screen you’ll see a column of instruments, and each instrument gets its own row filled with several different loops. Tap a loop and it will start playing in real time. A few things to keep in mind while you get a feel for playing loops:
- You can only have one loop per row playing at a time, but you can have one loop from each row playing all at once.
- Loops with a waveform in the shape of a circle will play continuously until you tap them again.
- Loops with a waveform in a straight line will stop once they have finished playing just once.
If you drag an instrument to the right with your finger, you’ll be able to adjust an entire row’s volume, or mute it entirely. You can also tap the headphones symbol to have that instrument’s row play solo and mute every other row and loop. After a few taps, you’ll start to feel like a musical super hero who can unleash awesome sounds with your fingertips.
Organise Loops Into Columns for Easier Playback
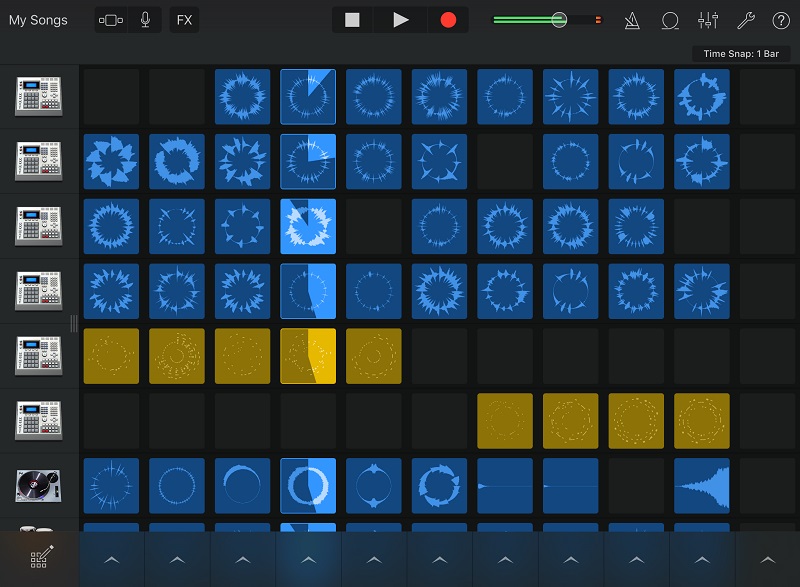
You can play an entire column of loops at once by tapping the corresponding arrow at the bottom of your screen, under the column you want to play. When you find some loops that sound great together, a little organisation is going to save you a lot of work when it’s time to record your track.
If you plan carefully, you could lay out your entire composition so it’s just a matter of tapping columns from left to right while you’re recording. The first column could be drums, the second column could be drums and bass, the third column adds the main riff and so on. Here’s an example:
This is important because when you record your track, you do it live, so tapping one wrong loop means you have to start the recording process over from the beginning.
Import Apple Loops and Custom Audio Tracks
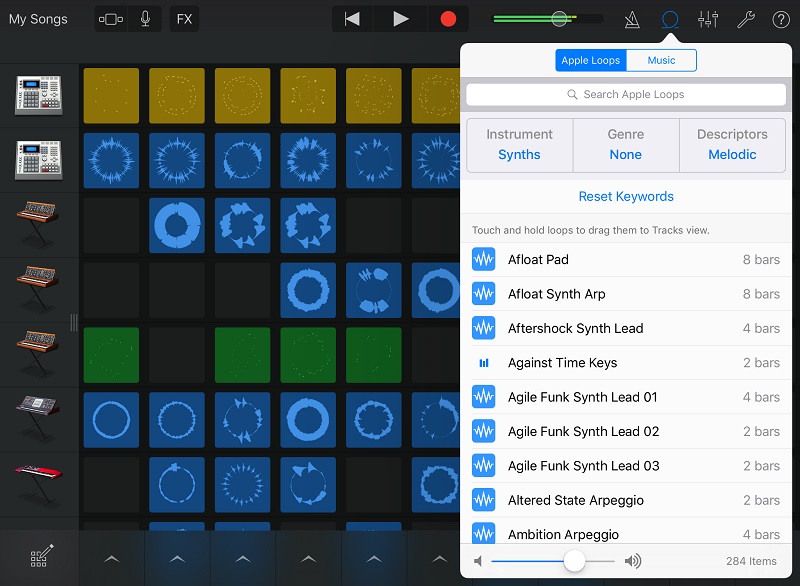
You’re not stuck with the loops Apple gives you in each pre-made soundboard. You can import more of Apple’s over 1300 pre-made loops by tapping the loop symbol (looks like a rollercoaster loop) in the upper-right toolbar. From there, you can search for more loops by keyword (like “electric guitar”), or browse by instrument, genre or descriptors (like “acoustic” or “dark”). As you browse, you can tap the loop to see what it sounds like, and it will also tell you how many bars (or how long) it is. Once you find one you like, tap and hold it with your finger and drag it to an empty square on your soundboard grid. You can add it to a new row, or you can add it to an existing row to consolidate screen space. Just remember that only one loop per row can play at a time, regardless of how different they are. You can have drum and guitar loops in the same row, but you can’t play them both at once.
You can also add custom audio tracks and unprotected (AKA DRM-free) songs. Tap the loop symbol, tap the “Music” tab, and you can browse the available tracks on your device. This can come in handy if you’re producing a remix, sampling part of another song or want to use something you’ve personally recorded in the past.
Now, Create Your Own Loops
If you want to create a song that’s comprised of all your own custom loops, Live Loops makes that easy too:
- Tap the plus symbol in the instruments column and select an instrument. Or, if you already have the instrument on the soundboard grid, double tap an empty square within its row. Then select “Record Into Cell”.
- Adjust how long you’d like the loop to be by tapping the number below the question mark symbol in the upper right-hand corner (four bars is usually good). You can also select “Automatic” so your loop recording will easily sync with the rest of your loops.
- Tap the red record button at the top of the screen and record your loop. If you’ve used GarageBand in the past, this part should be very familiar.
- When you’re happy with it, tap the grid symbol in the upper-left corner to return to your soundboard grid.
You should see your custom loop ready to be tapped and played along with the rest.
Customise Your Soundboard Grid to Your Liking
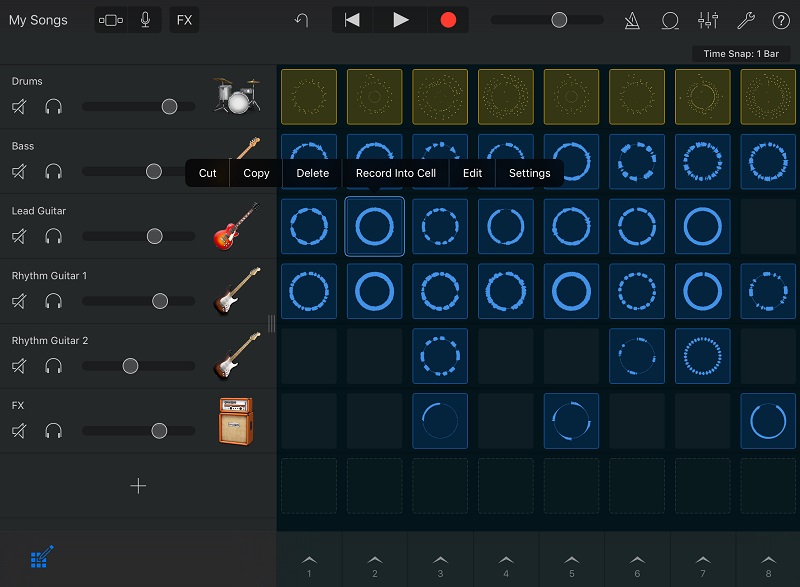
If you’re not digging the layout of your soundboard grid, you can customise just about everything you see. Tap the symbol in the lower-left corner (looks like a pencil over a grid) to enter Edit mode, and you can:
- Pinch to zoom in and out on your soundboard grid (you can also do this by pinching only the instrument column).
- Duplicate or rename instruments or columns by tapping them.
- Move instrument rows or columns by tapping, holding and dragging.
- Copy, cut, paste and edit individual loops by selecting them with a tap, then tapping them again after a moment (not a double-tap).
- Adjust a loop’s settings by double tapping it (quick taps). In this menu you can turn looping on or off, change the tempo and adjust the length.
While I do recommend customising your layout as much as possible, it’s probably best you don’t go adjusting too many low level loop settings at first (unless you know what you’re doing). By all means, experiment, but be aware that it’s possible to change something and have no idea what you did or how to undo it. You can tap the undo button in the top centre of the toolbar to fix mistakes, but it only goes back one step.
Use Virtual Session Drummers to Create Unique Beats
There are a ton of great pre-made beats to choose from in Apple’s library, but maybe you want a beat that feels a little more alive. Maybe someone you can boss around a little. Virtual session drummers let you do that:
- Add an instrument row as if you were going to record a custom loop.
- Scroll until you find “Drummer” and select it.
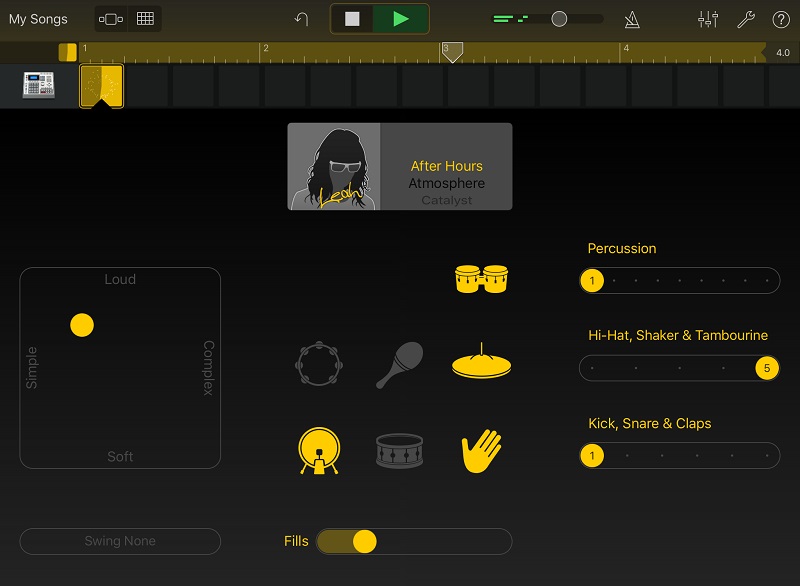
- From there, you can choose your virtual drummer by tapping the creepy featureless face. There’s drummers like Kyle, who likes to play rock-influenced beats, and Magnus, who mixes beats like an EDM festival headliner. Find one that matches the sound you’re going for.
Once you have a “drummer”, you can choose a beat style for them to play (to the right of your drummer’s picture) and experiment with different settings until they play a beat loop you like.
Use FX to Tweak Your Track In Real Time
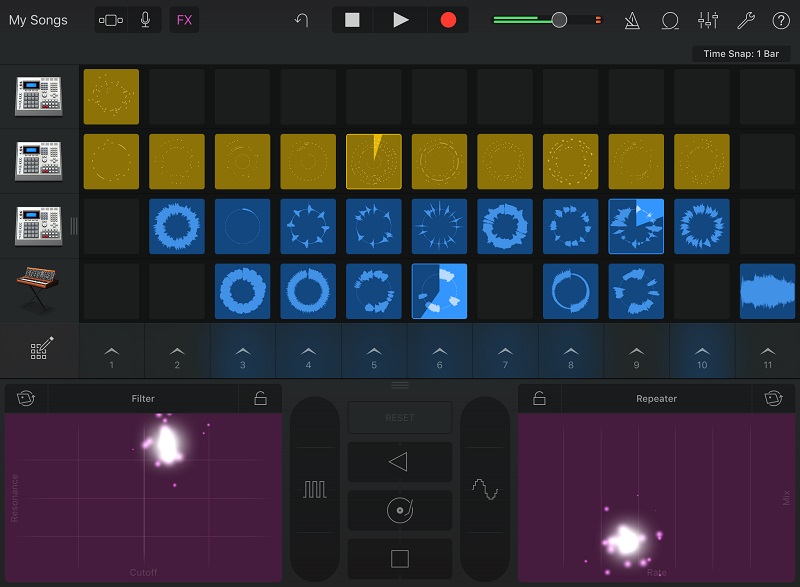
I know what you’re thinking: what about all the cool live DJ effects? Well, there are plenty of those and they are super fun. While your loops are playing (or while you’re recording), tap the “FX” button at the upper-left. This brings up the FX toolbar at the bottom of your screen. You’ve got some classics like a Filter and Repeater, as well as a few others like a vinyl scratch. Here’s an example of how you can change your sound on the fly:
For the most part, you just use your finger to drag along the FX board, but you can also use your device’s accelerometer. I’d explain what each effect does, but it’s way more fun if you play around and experiment for yourself. Go nuts.
How to Record and Share Your Track
When you’re ready to record your track, just hit the red button at the top of your screen and tap away. Hit the record button again to stop and that’s it. You just recorded your first track! If you’re happy with what you’ve got, tap “My Songs” in the upper-left corner and GarageBand will save your track. If you’d like to share your track, here’s how:
- Tap “Select” in the upper-right.
- Tap the song you just recorded to select it (you can also tap and hold the song to do the same thing).
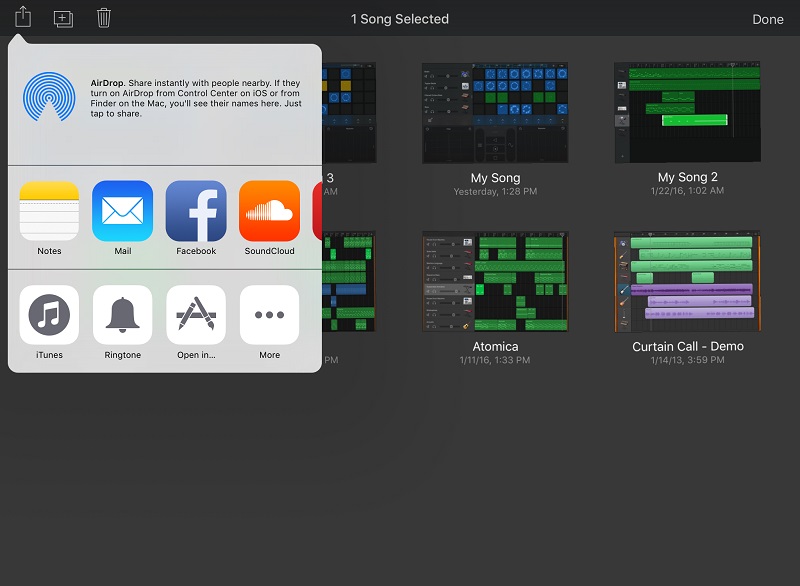
- Then tap the symbol farthest to the left in the upper-left hand corner.
- From there, you can export your song to your Notes app, iTunes or even make it a ringtone. You can also share it on Facebook, or post it to your YouTube or SoundCloud account.
Will your first few Live Loops creations make you the next deadmau5 or Calvin Harris? Probably not — but the Live Loops tool set has everything you need to get started making music, and it’s a great, and affordable, gateway for wannabe music producers.
Comments