Most people just use the camera in their smartphone out of sheer convenience, but some of us prefer the superior image quality of a standalone camera. Can’t decide between the two? There is a middle ground: with a few apps, tips and techniques, your smartphone can connect to your camera to shoot and share a whole lot better.
Sony recently released a set of lens cameras that use your smartphone as a body and viewfinder. It’s a great idea — quickly snapping high-quality pictures on our mobile devices — but these cameras may have a way to go before most people would consider them a worthwhile supplement.
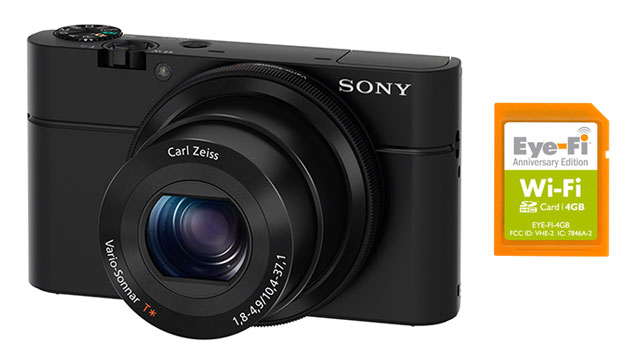
That said, they’re not the only way you can use your smartphone to take better photos. Many brands can connect to your phone over Wi-Fi, including other Sony cameras and models from Canon, Nikon, Samsung and some others. Even if you don’t have a Wi-Fi-enabled camera, you can get in on the fun with an Eye-Fi card and by using a few other options that work with just about anything. You can even tether over USB with many options, if you prefer. A connected camera makes it easier to get relevant shooting information, edit images and share them with ease. In this post, we’ll take a look at how you can get amazing photos with the help of your smartphone.
What You’ll Need to Connect Your Camera
You can remotely control all sorts of cameras, from point-and-shoots to DSLRs. As previously mentioned, some come with the feature built into the hardware and have corresponding apps. That said, you don’t need this functionality to participate in all the stuff we’ll accomplish in this post. Just make sure you’ve got what’s on this list:
-
A Wi-Fi connected camera (with a corresponding app for your smartphone), an Eye-Fi card and the Eye-Fi mobile app, or a camera you can connect over USB with a tethering app on your smartphone.
-
A smartphone running Android or iOS. (While some options exist for other platforms, you don’t have much to choose from so we’re sticking with the big two here.)
-
A general knowledge of how cameras work. As we’ll discuss in later sections, you’ll need to know some basic terminology like aperture, shutter speed, focal length and a few others. If you need to brush up on your basic photography skills, read this first.
While you can use USB for tethering purposes, this guide will mostly concentrate on your wireless options. If you want more in-depth information on how to connect to your camera with a cable, read this guide first.
Shoot Better Photos
Having a fancy camera tethered to your smart device will already get you better photos. However, you can take that a step further with some other tools.
Lighting
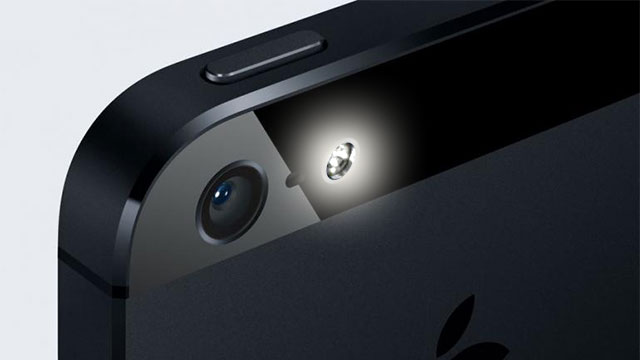
First of all, most smartphones have a flash of some kind that can double as a continuous light. If you need a little extra illumination, just turn on flashlight mode. If you don’t have a flash in your mobile device you can use the screen instead. Just download one of the many apps that turns it white or just visit a completely white web page like this one.
Having enough light makes a big difference, but you need to consider more than just quantity. The direction of the light, its colour temperature, and how it hits your subject all have a large effect on the quality of your photo, its colouring and the mood you set. When you control the light, great! Just use Virtual Lighting Studio to create a setup to figure out what you want. When relying on natural/available light, however, you need to what you’re working with.
iOS and Android (including Kindle Fire) users can pick up LightTrac. For $5, the app tracks light sources at your location so you can figure out the quality of the source in any given direction and estimate the shadows it will cast. A simple slider will take you to any time of day if you need to plan for later instead of right now. The app provides nearly invaluable information if you want to find the perfect natural light.
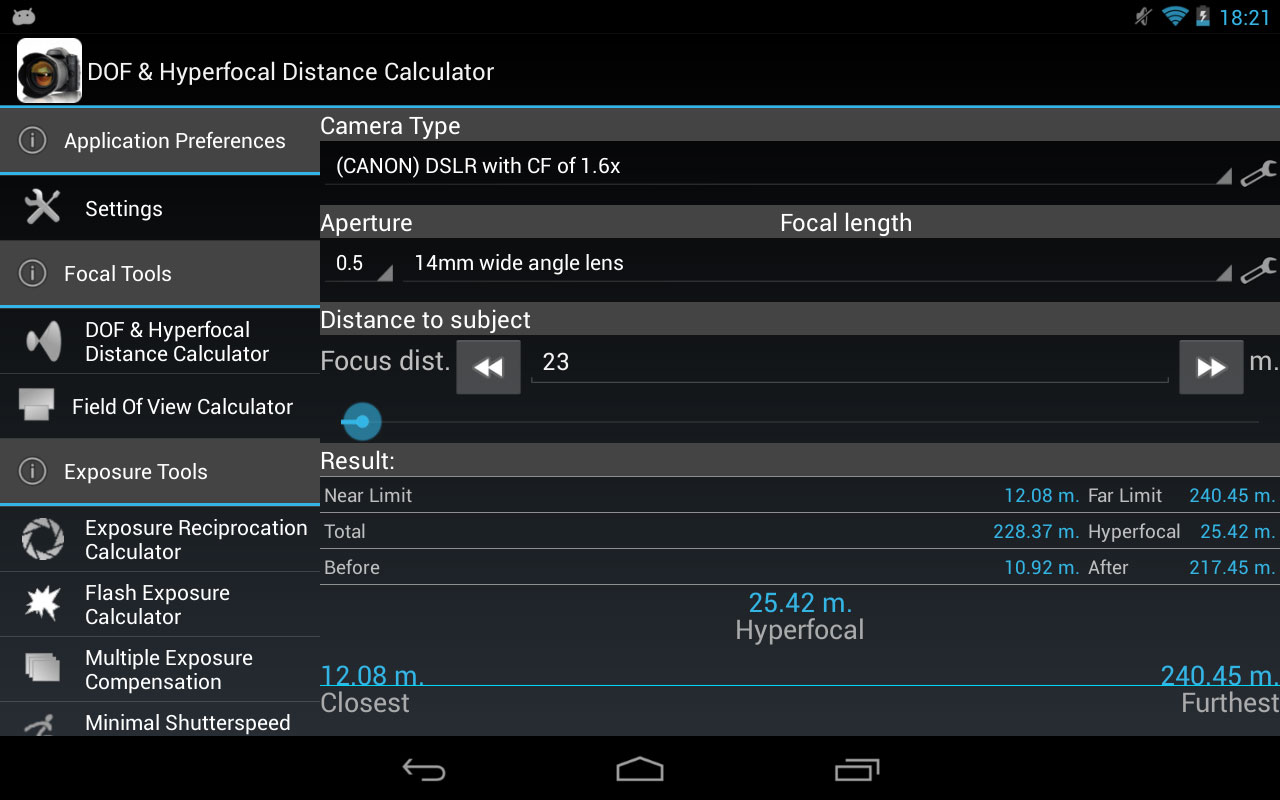
Photographic Calculations
Digital cameras handle a large amount of the work for us, but sometimes you need manual controls to get the exact image you want. While you can make some good educated guesses, you’ll serve yourself better by getting your settings just right. Even seasoned photographers will use tools to calculate the correct aperture, shutter speed and ISO rating (among other things) for an ideal image. Too much trial and error can frustrate anyone, so use your smartphone to give you the information you need.
Make Quick Edits
You may not look at your smartphone as a great image-editing tool, but you can do more than you’d think with a few key apps. Colour correction, red-eye reduction, tonal changes, filters, cropping and more work just fine on your mobile. Tablets will give you a little more space to mess around, but overall you can accomplish any common task on the smartphone of your choice.
The app you’ll need will depend on the kind of edits you want to make. These choices offer a range from simple to powerful:
-
Adobe Photoshop Express (Free, Android and iOS) only handles simple edits but doesn’t take much time to figure out. If you take great images and really just need to make a few adjustments here and there, this free app will do the trick.
-
Aviary Photo Editor (Free, Android and iOS) takes a step up from Photoshop Express by offering many common tools as well as fun filters and effects. If you need a free option that does a little more and don’t need to add a bunch of extra filters, clipart, and the like (which costs about $2 per pack), you’ll get a reasonably powerful app for free.
-
iPhoto (iOS, $5.49) may entice some iOS users who like its desktop counterpart. In fact, even if you don’t, iPhoto for iOS offers a lot of great editing tools that don’t take much effort. Sure, it’ll cost you, but you get quite a few more options with iPhoto than you will with free photo apps. If you want a professional level of control, however, you’ll need something more.
-
Adobe Photoshop Touch ($5-$10, Android and iOS), while a minimal version of its desktop counterpart, actually packs a pretty big punch. It gives you an unparalleled level of control once you get past the learning curve. The app can handle real photo work, so pick it up if you want to accomplish a lot.
Try the free apps out first. You might find that you don’t need the paid options because most of what you want to accomplish on your mobile doesn’t require a lot of power. You may not. Either way, better to find out before you drop $20 on apps you won’t need.
Share Your Images (Automatically)
If you’ve ever shared photos on your smartphone before, you already know a few things you can do. Popular apps like Instagram and Flickr allow you to share pictures you’ve already taken, so you can stick with your existing favourites if you don’t want to do anything fancy. A few cool options lie beyond your standard choices, allowing you to automatically sync images, share with specific friends and more.
Android and iPhone users alike (among some others) can benefit from Dropbox’s automatic photo synchronisation. Just get the mobile app for your phone (or tablet) and turn it on. Dropbox will automatically grab any photos in your camera roll and sync them to the cloud. (Note: iOS users will have to open the Dropbox app for this to happen.) If you have Dropbox installed on any computers, the photos will end up there as well. This way you don’t have to bother transferring anything to your computer or to the web. It will all happen by itself.
Speaking of automation, iPhone users will want to grab the IFTTT app for lots of awesome sharing possibilities. By creating a few rules, you can automatically share any photos with a variety of services like Flickr, Picasa and Facebook. You also don’t have to upload every photo. You can tell IFTTT to only bother with images you add to a specific album to help avoid sending every picture you take to every social network you belong to.
Currently Android doesn’t have an IFTTT app, unfortunately, but you can emulate some of its automated functionality. Instead of looking for a single app to do the job, focus on the services you want to share to. Google+ automatically syncs photos (which go to your Picasa account), Facebook’s official app does as well, and you can generally locate a third-party option for other services (e.g. Flickr). Whatever service you need to auto-upload to, just look for a specific app that can do it and you’ll probably find one.
Once you’ve got your sharing automated — or at least made a bit easier — you’ve completed the cycle. You’ve used your smartphone to take some awesome images and used your smartphone to handle the rest.
Comments