
Of all the first world problems I’ve wanted to fix, I’ve long had gadget charging at the top of my list. I keep them well-organised in my bag but their batteries die far too often. I don’t want to take them out every day to charge them, then stick them back in the bag. Furthermore, on long days or even weekend trips, I also don’t always have the ability to charge said gadgets, and have to resort to an external battery. So I carry that with me, and I have to take that out to charge as well.
Title image remixed from originals by Sarawut Padungkwan (Shutterstock) and PaintDoor (Shutterstock)
While I love a well-packed bag, I don’t want to pack and unpack one every single day. So I wondered if I could make a bag that can both charge gadgets and power them on the go so I never have to remove anything unless I want to. After a little research, I learned it can be done — and it’s awesome!
What You’ll Need
Here’s a basic list of what you need for this project; we’ll get into the details during each step:
-
A high-capacity USB battery of at least 10,000 mAh, or multiple batteries that meet or exceed that number
-
A bag of your choice, preferably with a handy pocket area to store the battery or batteries
-
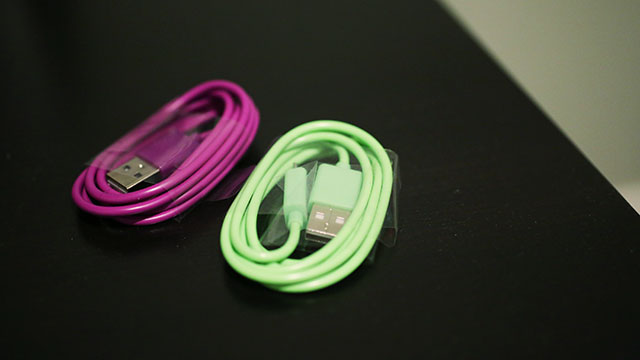
Cables for your gadgets around one metre in length, and preferably no longer than two metres
-
A knife or scissors, for making holes in small areas of your bag to route cables
-
A sewing kit for fixing the damage you do and making your bag look pretty again
Again, don’t worry about the specifics if you’re not sure exactly what to get. We’ll talk about that in more detail as we go along.
Step One: Pick the Right Battery
I own quite a few external battery packs, but until recently I didn’t own a single one that could charge itself while still charging the gadgets plugged into it. I’d always assumed the batteries could handle both tasks until I tried them, only to learn very few actually have this functionality. As a result, if you really want a battery-powered charging go bag, you need a battery that can manage it all. I only found two options that performed well.

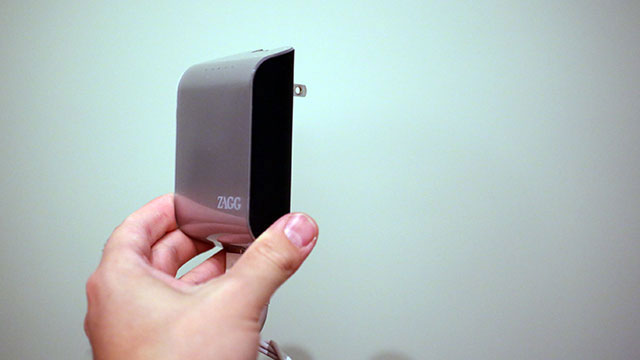
Either option works, but if you can wait you should go with the Zendure as you have many capacities available that take up less room, offer more features, and cost a lot less. You may find other options out there, but nothing I came across (aside from the previously mentioned batteries) met all the criteria or charged more than one gadget at time.
Step Two: Decide Where To Store Your Power Supply
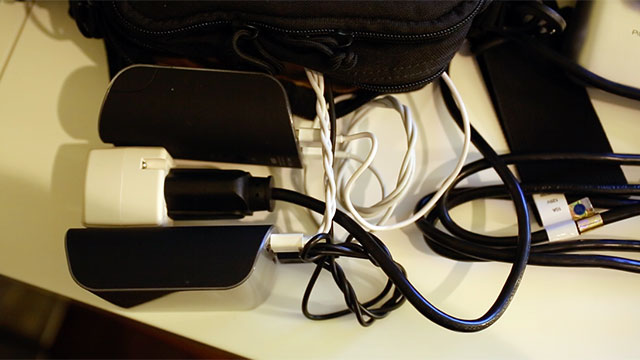
Once you have your battery and its extension cable or power plug (depending on what you purchased), you need to figure out where to put all of it so it can hide in your bag. As you can see above, I stuck mine in a large pouch in the back of my bag. This made it easy to route cables to everywhere else in the bag (which we’ll do later), including the front flap, but bags vary. Backpacks often offer a front storage pocket that works well. If you’re feeling ambitious, many bags have multiple layers at the bottom and you could cut them open and store your batteries inside. Take some time to think about this before you begin.
Once you’ve chosen a location, you need to take care of a few things:
-
Put the batteries (or single battery, if you’re only using one) in your compartment of choice. If you’re lucky, you can just stick it in. If you’ve chosen a difficult location, you’ll need to cut it up, stuff the batteries in, and add a new zipper or Velcro to the bottom to secure the batteries without making the compartment inaccessible.
-
Ensure your batteries have their USB ports facing wherever the cables will need to go in your bag (if possible). You can always move them later if you don’t know exactly where your cables will need to go yet, but it helps to plan that out in advance.
-
Cut a hole or create an opening in your bag that the plug can fit through, but no more than you need. Stick the plug through to make sure you’ve got the right size, then sew around the hole using a whip stitch. Do not sew the hole you made back up! You’re simply sewing around the edges to prevent the bag’s fabric from fraying and unravelling. If you want to see me do this on my bag, watch the video at the top of the post.
-
Pull the plug through your newly-made hole and you’re good to go.
Step Three: Route Your Cables
Now that you’ve got your batteries (or battery) set up in your bag, you need to route all the cables to charge your gadgets. Before you do anything else, put your gadgets where you want to keep them in your bag so you know where these cables have to go. Once you’ve determined the path to your gadgets, follow these steps:
-
Just as you did for your power cord, you need to cut holes in your bag for your gadget charging cables to pass through. Most bags have multiple layers of fabric, so you won’t need to cut through them all if you want to pass cables through the interior of your bag. When this is the case, cut carefully with your scissors or knife so you don’t damage the outside.
-
Once you’ve cut all your holes, route the cables through to make sure they fit and can go where they need to go. (If you made any mistake with the holes, sew the problems back up and try again, then route the cables correctly.) Plug them into your gadgets and see if the gadgets function on battery power, then plug the bag into the wall to make sure everything charges as expected.
-
Remove the cables, then use your trusty whip stitch to seal the edges of the hole to prevent the bag’s fabric from fraying and unravelling.
-
Route the cables back through again.
With those steps complete, you’ve finished everything you need to do! You now have a bag you can plug into the wall to charge your gadgets with an integrated battery back that can power them when you can’t find an outlet. As an added bonus, you’ll find the plugs keep your gadgets in place in your bag if you put them in an open compartment. You now have one of the most functional bags around and you’ll never run out of power again.
Comments