Homemade charging stations make for great DIY projects, because they only require a basic skill level to assemble. That said, you ought to know a few things to make an effective and well-rounded nightstand charger that keeps quiet while you sleep.
Pick a Good Night Stand
If you want to create a charging station in a nightstand, you better start with a good one. Keep the following in mind:
- You want at least one drawer in your nightstand that’s about 20cm in height and 25cm deep. This will give you enough room to hold a small, rectangular basket for your gadgets and hide their cables and power source(s). If you plan to store other items, get one with two (or more) drawers.
- Make sure your nightstand has an opening in the back (or ensure that you can add one) in order to feed an extension cable through.
- The drawer that will contain your charging cables should light up comfortable with the height of your bed. You won’t want to use it if you have to reach uncomfortably to access anything when you need it.
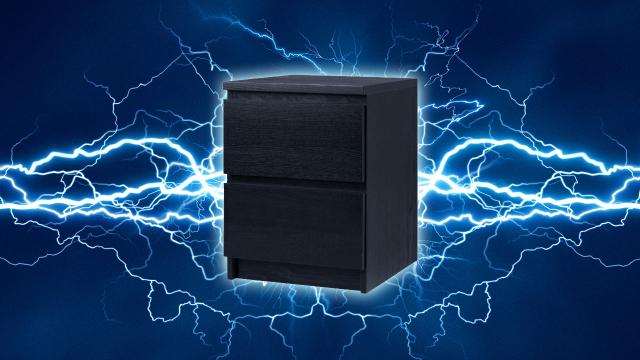
We imagine many nightstands meet these criteria but found the IKEA MALM works great for $89 (if your bed sits relatively low to the ground).
Supply Sufficient Power
Not all gadgets charge in the same way or require the same amount of power — even if all of yours charge over USB. For example, you probably know that most tablets require more power than a smartphone. When you charge multiple gadgets, you have to consider a few things in order to ensure they all receive the power they need, or you might wake up to a dead device.
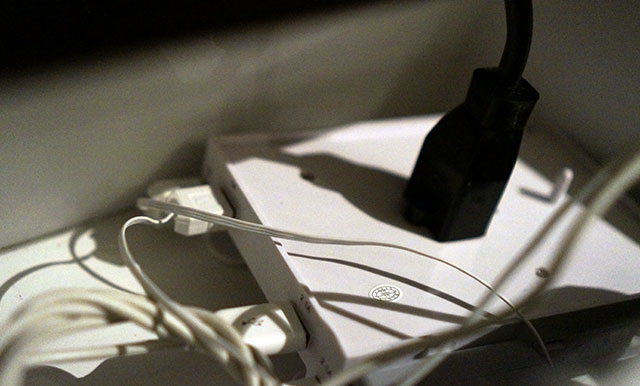
You have a couple of options. First, you can feed a standard surge protector/power strip into the back of your nightstand’s drawer and plug individual chargers into it. The upside? You probably have everything you need already. The downside? You have to fit all your chargers onto a single power strip. Depending on what you want to accomplish, this may work fine. If it does, go with it — you won’t pay as much (or anything) using what you already have.
If you want a more versatile solution, you can get a compact USB charger that supplies enough power, or a larger unit that offers both standard plugs and USB charging ports. A four-port high-output USB charger takes up less space than my fist (and I’m not a big guy) and can power up to four gadgets. Depending on your needs, you can pick up one or two of these and have enough power for everything. Alternatively, a USB wall charging station (which doesn’t require a wall, just a grounded outlet or extension cord) offers the same number of charging ports plus six standard outlets.
The units I’m using provide 4A of total power with two ports that supply 2.1A each (for charging tablets) and two ports that supply 1A each (for smartphones and other devices). That means you can only use up to three ports at a time, so you may need to invest in multiple chargers if you intend to charge more devices.
Regardless of how you put it all together, find out the power required by all the gadgets you need to charge and ensure your chargers can handle the job. If you do that, it won’t really matter what you use.
Organise and Mark Your Cables
Before adding a charging basket to your drawer, you want to get your cables connected to their chargers and nicely organised. You can use retractable or short cables to keep the mess to a minimum, but if you already have longer ones lying around you can just shorten them with a simple wrapping technique.
You may also want to mark your cables so you know what kind of power they can supply. A sticker, ribbon, coloured tape or whatever else you can think of can help distinguish between cables hooked up to 2.1A ports and those hooked up to ports supplying less power. If you can identify the high-power options visually, you won’t accidentally plug the wrong gadget into the wrong charger.
Pad Your Charging Basket
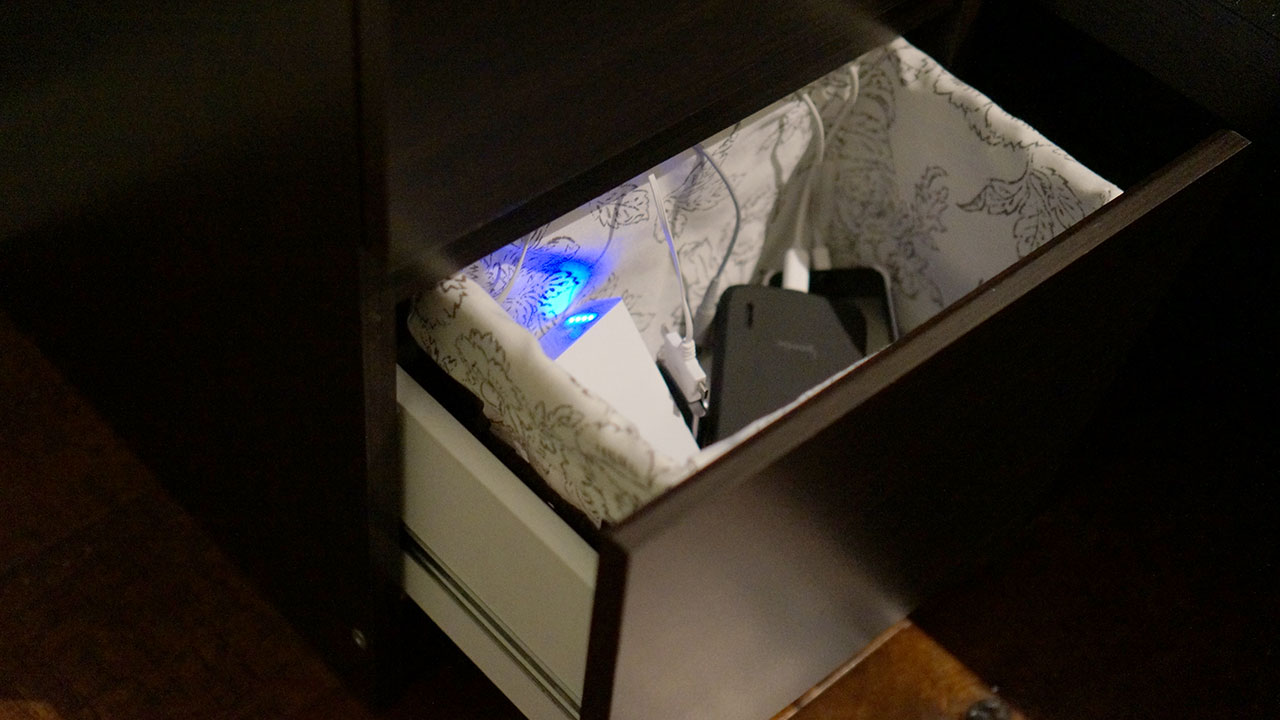
A padded basket makes all the difference in a charging nightstand. Sure, your gadgets have their various do not disturb and silent modes so they don’t go crazy at night, but software bugs occur and so does human error. If you want to stifle the noise, get a padded basket (or add padding to a regular one). You won’t hear the subtle sounds you want to avoid, but alarms will get through just fine.
Once you have your padded basket in place, pull your cables over the edge of it from the back of the drawer. Now you can plug in all your devices, let them charge, and sleep without vibrating interruptions in the middle of the night.
Pictures: Ase/Shutterstock, Adam Dachis
Comments
4 responses to “Turn Your Nightstand Into A Charging Station The Right Way”
This is why Wireless Charging in the way, I have my Qi charger built into one of my shelfs and it does an amazing job 🙂
However it sadly only works for my Nokia phone as none of my other devices have it but one hopes soon all devices will have Wireless Charging 🙂
Well the only problem with wireless charging is that it is pretty inefficient with only 70~80% of energy being used to actually charge the phone. If we all used wireless charging, that would be a pretty large amount of energy being wasted.
Hopefully some smart cookie comes up with a nearly 100% efficient way of wireless charging. 🙂
Bad idea. Having so many devices charging so close to your body at night exposes you to high levels of electromagnetic radiation from the chargers and other devices that have radios, such as mobile phones. If you want to fry your brain, more than you are already doing by spending hours with your phone glued to your head, then go ahead. But don’t complain when you get cancer in 15-20 years time and wonder why.
At least your tin-foil hat will protect you.
With the length of time it took you to write that comment while sitting in front of a computer, you should probably get yourself checked.
Exactly!
This is why I keep my electronic devices 10m away from me at all times, and never go anywhere with out my tin foil hat.
Glad someone here is speaking sense.
There’s a difference between Ionizing & Non-Ionizing Radiation. Unless you’re charging your portable X-Ray machine, or Gamma Ray Gun, you’ll be ok. http://www.epa.gov/radiation/understand/ionize_nonionize.html
With batteries prone to exploding while charging is it wise to do that in what is effectively a padded wooden box?