vlc
-

How To Enable VLC’s Best Hidden Features
 16
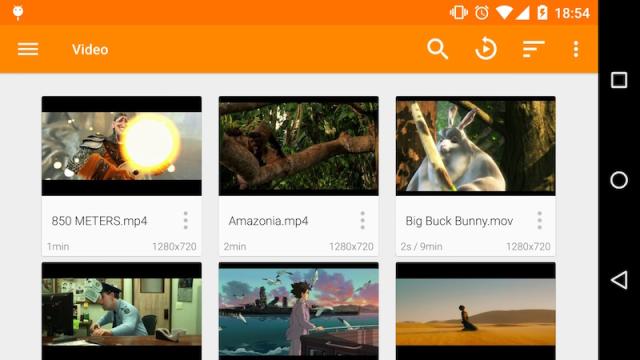
16VLC is easily one of our favourite media players (and yours too). While it can handle nearly every movie you throw at it, it can also do so much more. You don’t need to be a power user to understand all of its incredible, built-in features; you just need to know they exist. And we’re…
-
Use The Blacklisted VLC App On Your Huawei Smartphone
VideoLAN and Huawei are in a fight. So much so, that you can no longer grab the ever-popular, feature-packed VLC media player app from the Google Play Store on Huawei smartphones — VideoLAN’s nuclear option. But you can still download the VLC APK directly from VideoLAN and you should… with a few adjustments.
-
How To Download VLC 3 With Native Chromecast Support Right Now
If you’ve been hitting VLC’s nightly builds, then most of the new features of v3.0.0 will be old news. For everyone else, the major update — the first since 2.0.0 came out in 2012 — adds loads of goodness, including native Chromecast support, hardware HEVC decoding and advanced network browsing. While VLC’s website hasn’t been…

-
VLC Releases Preview Player For 360-Degree Videos And Photos

It’s hard to say if 360-degree videos will ever be more than a novelty — especially with the rising popularity of VR — but the folks behind VLC are confident it’ll be around for a while, so much so the developers have pushed out a technical preview of VLC with support for 360-degree videos and…