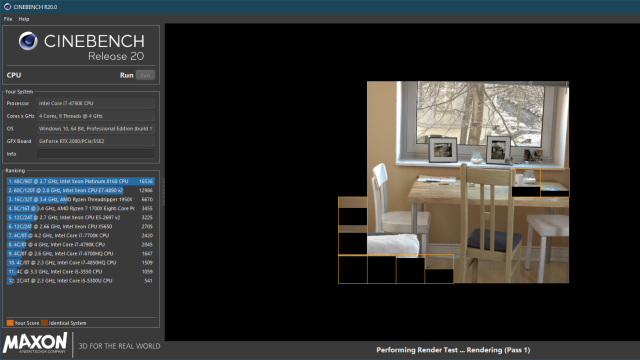
I was thrilled to read about the launch of Cinebench R20 last week. That’s one of the geekier things I’ve ever said, but it’s still true. This free benchmarking app is great for putting your PC through its paces, if you’ve been curious about how fast it runs (and how well it might stack up against other systems).
That said, the previous version of Cinebench (R15) came with a handy OpenGL test that you could use to tax your system’s GPU as well. That’s out in R20, which mainly focuses on making your CPU suffer. Scores between the two apps aren’t comparable, since they’re using different workloads to test your system.
When I recently ran both apps on my system, my system’s ranking definitely on Cinebench R20 compared to R15, but that’s easily explainable. The older Cinebench R15 compared my CPU to older processors, and back then, my system wasn’t so bad. The new version, however, has an expanded list to draw from—as I noticed when newer AMD Threadripper chips put my ageing Intel Core i7-4790K CPU to shame.
And while I have yet to find a giant public database of users’ Cinebench R20 score submissions—like this handy one for Cinebench R15 — there are plenty of forum threads you can jump into if you want to compare your system’s performance against others (including similarly configured systems).
Creating a portable version of Cinebench
The one downside of Cinebench R20 is that its developer, Maxon, has decided to offer the app through Microsoft’s and Apple’s app stores. While that’s not the biggest problem to deal with, it does mean that you can’t just download an executable or .ZIP file and install the app yourself; you have to go through an app store, which might not be how you like (or want) to get your apps.
It didn’t take very long for others to hack together a portable version of Cinebench R20, and it didn’t take very long after that for Cinebench to send legal threats to those offering the download. While you should follow in their footsteps and not list a portable version you’ve created for public consumption, there’s nothing stopping you from making one for yourself to use on your own system.
I’m focusing on the Windows version of this app, since I suspect most Mac users don’t mind Apple’s App Store nearly as much as Windows users prefer alternatives to Microsoft’s offering. And, yes, you’ll have to download it from the Microsoft Store to create a portable version (unless you use a site like Adguard to grab the link), which defeats the point of bypassing the Microsoft Store, but at least you’ll be able to use your portable version on other systems going forward.
Once you’ve downloaded the app, launch it and pull up Windows’ Task Manager. Look for the Cinebench listing, but don’t right-click on it. If you do, most of the options will be grayed out. Instead, left-click on the arrow to the left of the listing, which will pull up another mention of Cinebench nestled below the first. Right-click on that and select “Open file location.”
You’ll now find yourself in a “bin” folder, located within a folder with an absurdly long name (that starts with “MAXON…”). Right-click on the “bin” folder in the left sidebar, select “copy,” and paste the folder somewhere else on your PC. You now have a portable version of the app that you can slap on any Windows system you want, which I tested by uninstalling the Windows app version of Cinebench R20 and launching the Cinebench executable from the newly copied “bin” folder instead. It worked perfectly.
Comments