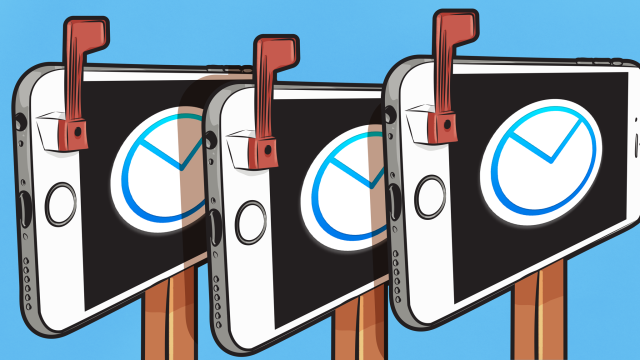
Your phone is probably the device you use for email the most, and Airmail is one of the best iPhone apps to read, reply and organise it. Airmail is all about management through customisation, and while it’s fine out of the box, a little tweaking makes it even better.
Illustration by Sam Woolley.
Airmail is available for both Mac ($14.99 ($13)) and iOS ($7.99), but we’re going to focus on the iPhone version. However, if you have both, almost every setting you tweak on iPhone will transfer over to Mac using iCloud Sync. Likewise, everything we walk through below is also an option on the Mac.
Get Only the Most Important Notifications by Creating VIPs and Custom Rules
Hands down, the most annoying part of having email on your phone is the notifications. If you’re not careful, you get hundreds of useless notifications a day, making it next to impossible to get to the emails worth reading. In Airmail, you have three different ways to customise when you get notifications, how you get them or who you get them from. You change these settings on a per-account basis, which means you can use one method for you work email and another for your personal email.
Set Up VIPs for Your Most Important Contacts
Airmail’s VIP contact system works just like the one in Apple Mail. You create a set of VIPs, then they are the only senders you get notifications from. Setup is easy:
- Tap the menu icon, then Settings and then tap one of your email accounts.
- Scroll down to Account Notifications.
- Tap Only VIP Contacts.
- Now, add contacts to your VIP list. From the menu screen, tap the Contact tab, then tap All Contacts. Search for contacts you want to add to your VIP list. Tap a name, then tap the heart icon to add them to your VIP list. You can also tap the name or email address of a sender from your inbox, then tap the heart icon there.
The VIPs list is most useful if you only want to get notifications from your boss, family or another smaller set of people.
Use Smart Notifications If You Don’t Want to Spend Time on Setup
If you don’t want to spend time setting up VIP contacts, you can enable a “Smart Notification” system where Airmail only notifies you of emails from people you contact often.
- Tap the menu icon, tap Settings, then tap one of your email accounts.
- Scroll down to Account Notifications.
- Set the Smart Notifications toggle to on.
Smart notifications are best for getting a ping for replies to emails you’ve sent out, or from people you contact often. Airmail takes a little while to learn exactly what is worth sending a notification for, so you might need to train it a while before it works well.
Create Location-Specific or Scheduled Notifications
You can also set notifications to arrive at a certain time or location. For example, you could set notifications to only arrive when you’re at your office, but they will stop the second you leave work.
- Tap the menu icon, tap Settings, then tap one of your email accounts.
- Scroll down to Account Notifications.
- For a schedule, tap Do Not Disturb, then select the days and times you do not want notifications to appear. For location, tap Location, then add the locations you want notifications to appear. For example, add your work address, but not your home address to receive notifications only at work.
Location-based and scheduled notification are most useful for when you have a very clear work/life balance, and you don’t get super important emails (or rather, any emails you need to see after work) when you’re away from the office.
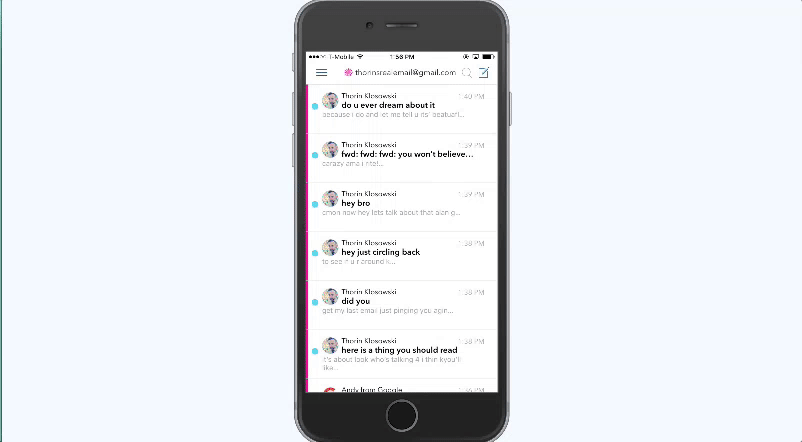
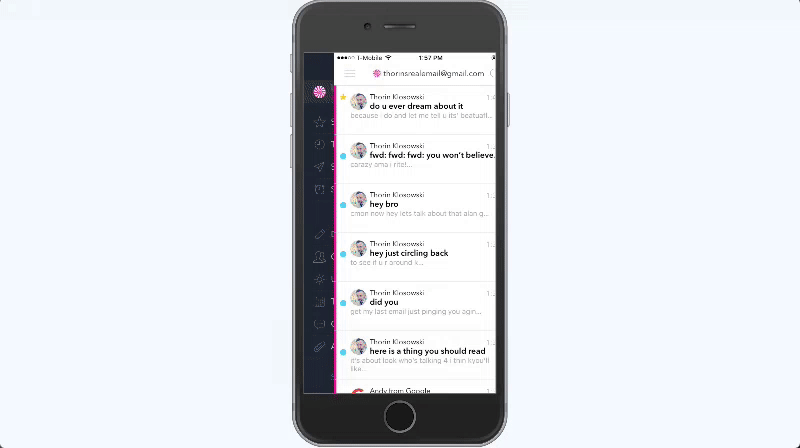
Customise Airmail’s Sidebar With Your Most-Used Menu Items
The sidebar menu is where you bounce between accounts, folders, attachments, sent mail, drafts and so on. You don’t have to just accept the default menu items, though. Here’s how to customise what appears in the sidebar:
- Tap the menu icon.
- Tap the Edit button on the bottom right of the screen.
- Tap and hold any menu item to move it around, or tap the checkbox to add or remove it from the sidebar.
What you choose to put here is up to you and depends on how you use email. For example, if you don’t use drafts or labels, you can get rid of those and replace them with an unread section or menu item with emails tagged “important”. You can also add in up to two spacers, so make sure you use those to keep your list a little more organised. There’s a ton of different menu items, so take your time to organise this however you see fit. Personally, I like to make sure my starred emails, list of emails from today and conversation emails are all readily available near the top.
Tell Airmail What You Want It To Do When You Swipe Left or Right
Swiping to organise email was once a revolution, but now it’s common in about every email app. While most of us are fine with the default behaviour of swiping right to archive or left to move an email to the trash, Airmail allows you to do more.
You can assign up to four different actions to each direction of a swipe. When you do so, you can swipe for a different length to move an email to a different place. For example, if you choose four options for the right swipe, say, “archive”, “snooze”, “reply” and “spam”, you can move an email to any of those places with a long, slow, swipe. As you swipe your finger, the destination for the email changes. You can customise the behaviour of right or left swipes:
- Tap the menu icon.
- Tap Settings.
- Tap Swipes.
- Tap the swipe direction you want to change. Then tap up to four actions you want to appear here. To change the order of them, tap the edit button and then tap and hold to rearrange them. Your most used action, which is probably “archive”, should be at the top, that’s your short swipe. Regardless of how many other options you have, the short swipe will always be a quick swipe.
Swipes are the best way to manage your email right from the inbox. This is good if you’re organising emails into different locations, archiving or clearing out the trash. That isn’t the only way to organise though. You can also organise emails from the individual email screen using actions.
Set Up Action Lists With Sorting Tools, Archiving and Additional Mail Options
When you view an email in Airmail, you’ll see a menu icon in the top right corner with three dots. This is your actions list. This includes all the same options as the swipe menu and then some. It includes everything from archiving messages to turning an email into a PDF, and you can customise what appears here based on the features you need quick access to most often:
- Tap the menu icon.
- Tap Settings.
- Tap Actions.
- Tap Edit.
- Tap each item you want to appear in the Actions menu. Then, tap and hold to reorder them however you see fit.
The action menu is useful for the things you do right after reading an email. That might mean moving an email to a specific folder, snoozing it for later, starring the message or, if you’re in the midst of clearing out newsletter hell, unsubscribing. Whatever you choose to put here, make sure you rearrange them in an order that makes sense.
You can also create your own actions, which chains together several actions in a row. For example, if you tend to “move an email to a specific folder and then create a to-do for that email” you can make a single action that does that. Head to Settings, then Custom Action to make your own, then you can add that one into your actions list wherever you see fit.
Customise Your Snooze Options So They’re Actually Useful
The idea of snoozing emails came along a few years ago, but it’s only useful if it works with your schedule. When you don’t want to deal with an email in the moment, you snooze it. Doing so makes the email disappear, then sends you a new notification at a later date or time when you’re ready to deal with it. Airmail lets you choose those times:
- Tap the menu icon.
- Tap Settings.
- Tap Snoozes.
Here, you can change your snooze behaviour to a variety of options. You can alter what time “later today” means, what time “tomorrow” or “this evening” mean and change your weekend date. If you use the snooze feature, it is absolutely necessary to pop in here and change your default times.
Link External Accounts like Dropbox and iCloud
To get the most of out Airmail, you want to link your third-party, external accounts. This means services like Todoist, Google Drive or Pocket. When you link a third-party app to Airmail, you can then use actions to instantly send an email to that app. This is great for sending attachments to cloud storage or an email to your to-do app. Here’s how to set them up:
- Tap the menu icon.
- Tap Settings.
- Tap Services.
- Tap the toggle to enable whatever services you use. These will now appear in the various different menus throughout Airmail.
Aside from linking together your favourite services, you can also change the default browser that opens when you get a link in an email:
- Tap the menu icon.
- Tap Settings.
- Scroll down to the advanced options and then tap Default Browser.
- Pick whatever browser you want to use, or use the in-app browser if you want links to open in Airmail.
If you use services like these, this feature is huge and well worth setting up. Airmail is all about letting you use the various tools you already have, not providing new ones.
Other Settings Worth a Look
Airmail has so many options that we can’t dig into each one here. Most of them are a matter of preference though, so let’s run through a few options you might want to take a closer look at. You can find all these by tapping the menu icon then Settings:
- Tweak your appearance settings: You can alter a few things about how Airmail looks, like whether it highlights subjects, includes icons or uses different colours for different accounts. You can also change how many lines appear in the preview panel in your inbox.
- Change how email is displayed: You can alter the behaviour of several basic parts in Airmail. You can swap conversation threads between recent or oldest, change the “mark as read” behaviour when you open an email and remove filters.
- Dig into the advanced options: The advanced options includes a small handful of options worth looking at. You can alter when Airmail downloads attachments, change the remote image download behaviour and add Touch ID protection if you want to add another layer of security.
- Customise your email composer: Finally, the last list of options you’ll want to look at in the composer section. Here, you can change your default sender account and decide where to include the signature in emails you send. Most importantly, you can also alter the Undo Send behaviour here. The default undo send lasts five seconds, but you can change that to 10 seconds.
With that, you should be well on your way to utilising Airmail in the best possible way. It’s an incredibly powerful app that you can bend to fit your needs, so spend a little time playing around with every option.
Comments