Whether you’re a seasoned veteran or a command line noob, there’s no way you remember every command, manual page, or tooltip. Lucky for you, we have some tools to make the command line less intimidating to newcomers that also help old timers remember what to do in a number of common circumstances.
Homebrew Makes Installing Apps on Mac Way Easier
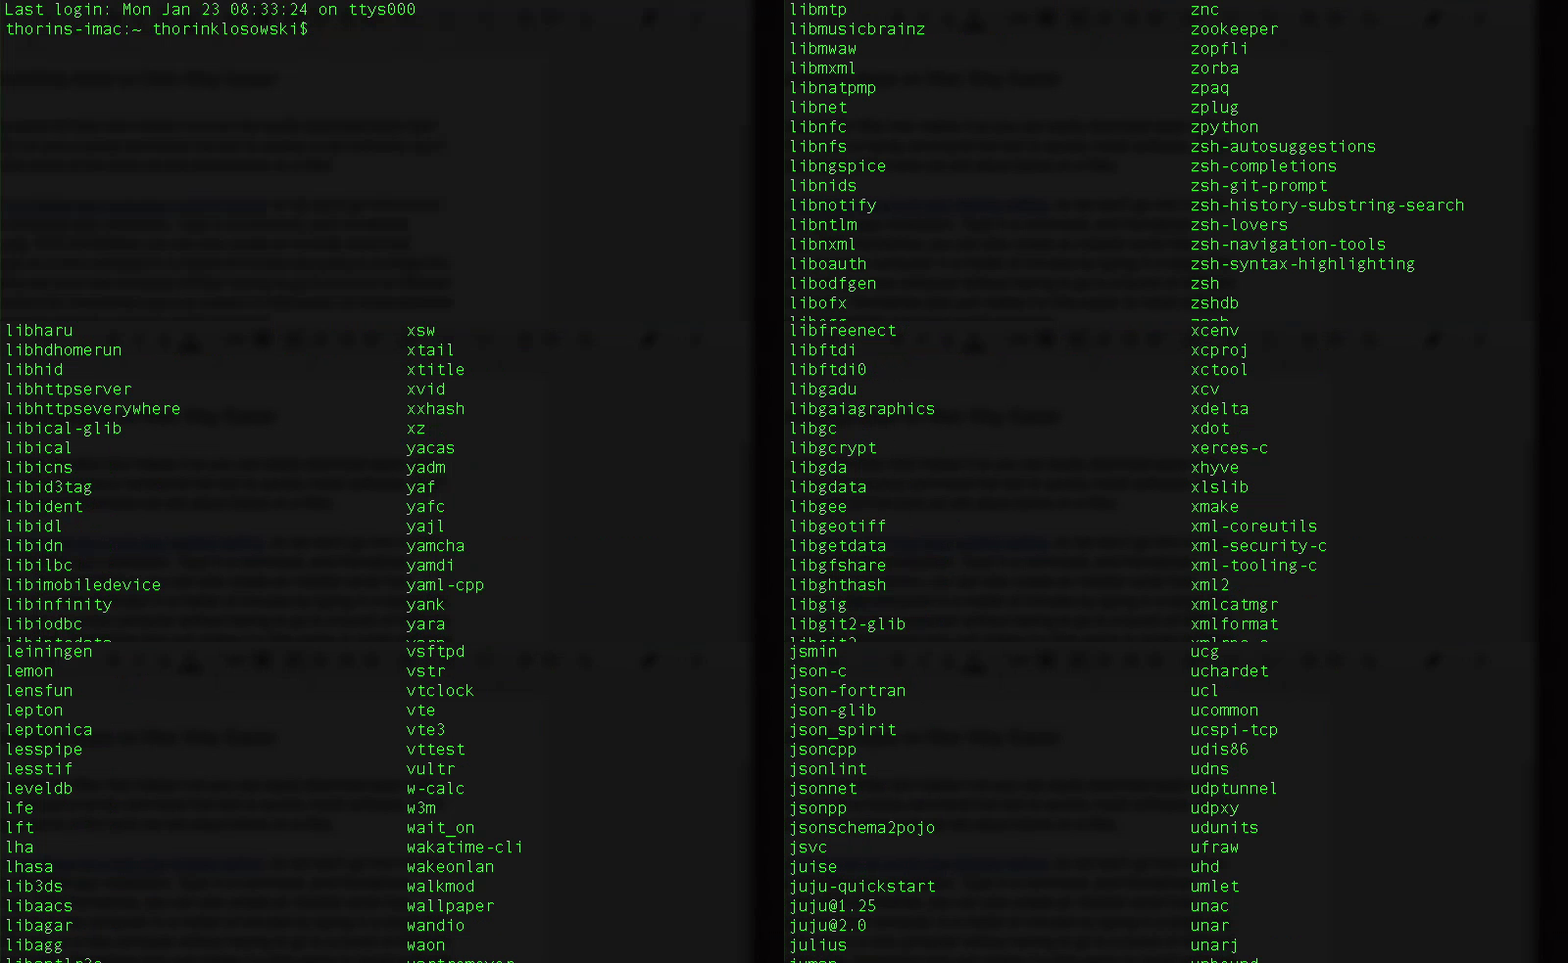
Homebrew is a package installer for Mac that makes it easy to download and install apps right from the command line. You’ll also need it to install some of the tools we discuss below.
We’ve talked about using Homebrew as a bulk app installer before, so we won’t go into it a ton here, but the basic idea is to streamline installing any apps you need. Type in a command, like brew install appname and Homebrew downloads and installs it.
With Homebrew, you can also create an installer script using a tool called Homebrew Cask that installs all your favourite apps on a new computer in a matter of minutes with a single command.
Mac-Cli and Climate Simplify Your Most Used Commands
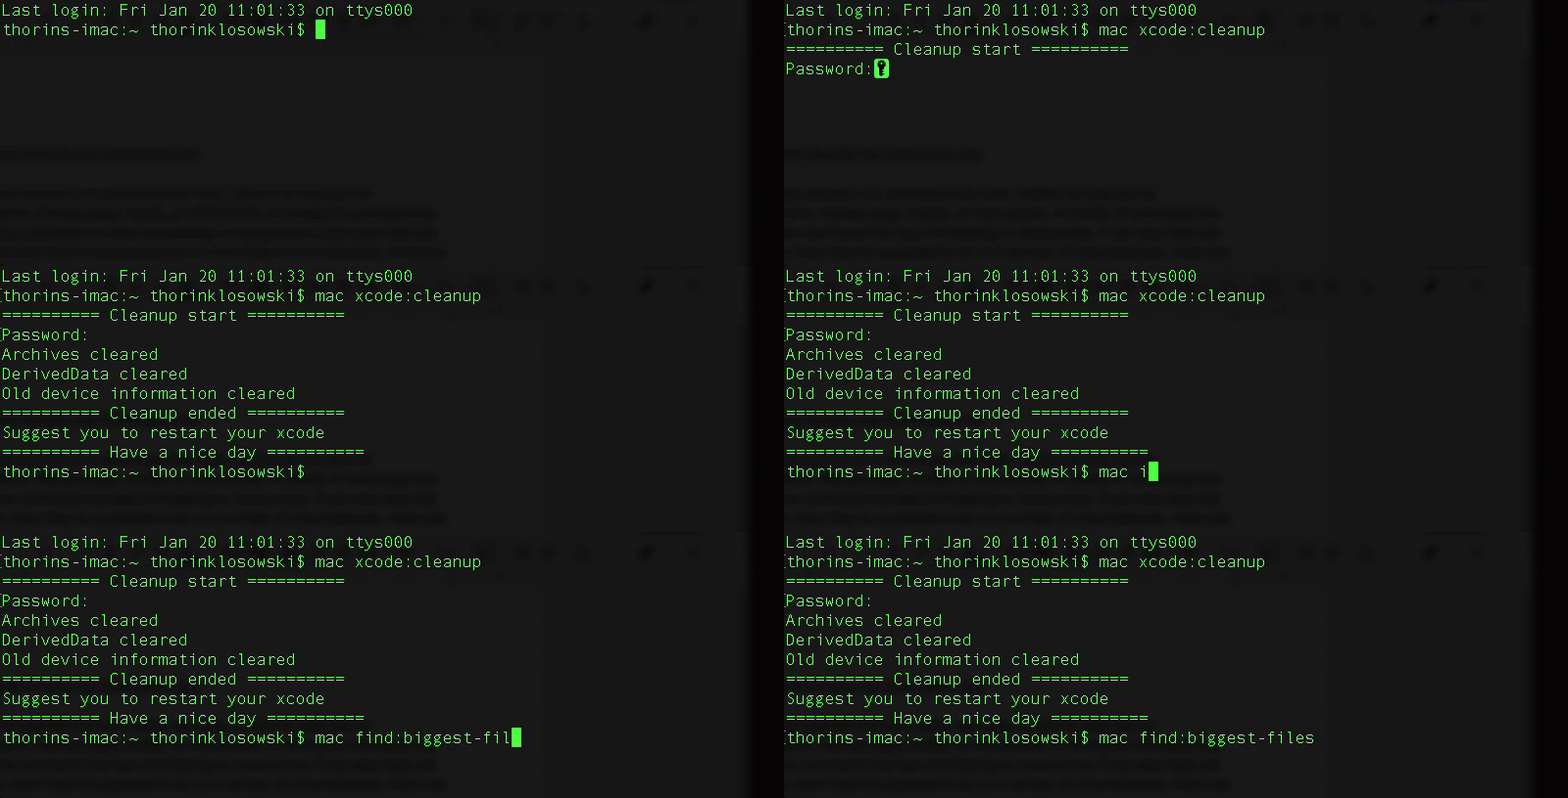
While there is a certain amount of prestige that comes when you gleefully remember some complicated command that takes 30 seconds to type, most of us don’t have the time or willpower for that. Previously mentioned, Mac-CLI and Climate are both tools that simplify some of the most common commands by turning them into normal human language. Climate is made for Linux, while Mac-CLI is made for the Mac. Both do essentially the same thing, with different commands. Climate requires the Climate command. Mac-CLI requires the Mac command.
Here are a few of our favourite from Mac-CLI to give you an idea of what you can do with them:
-
mac update: Installs software updates, Ruby gems, Homebrew updates, npm updates, and more. -
mac find: biggest-files: Searches and displays the biggest files inside the current directory. -
mac system: Show system information to review performance. -
mac xcode:cleanup: Cleans up Xcode files. -
mac git:branch: Show all Git branches -
mac dev:optimise-images: Optimise all images in the current directory for the web.
Climate works similarly, but with Linux-specific tools:
-
climate update: Updates your climate install. -
climate find biggest-files: Searches and displays the biggest files inside the current directory. -
climate overview: Displays a performance overview of our system. -
climate list-branches: Displays a list of all your Git branches.
That should give you an idea of what to expect here. Check out the full list of all commands over on the Mac-CLI and Climate GitHub pages. The basic idea of both is to make the command line a little less intimidating for beginners by standardising commands, but it’s really just as useful for experienced users who can’t remember the commands they don’t use very often. Mac-CLI isn’t your only option here for Mac, m-cli is basically the same, but doesn’t require the same third-party dependencies. It’s not quite as robust a toolkit, but still worth a look if you’re curious.
Cheat Shortens Manual Pages with Plain English Instructions
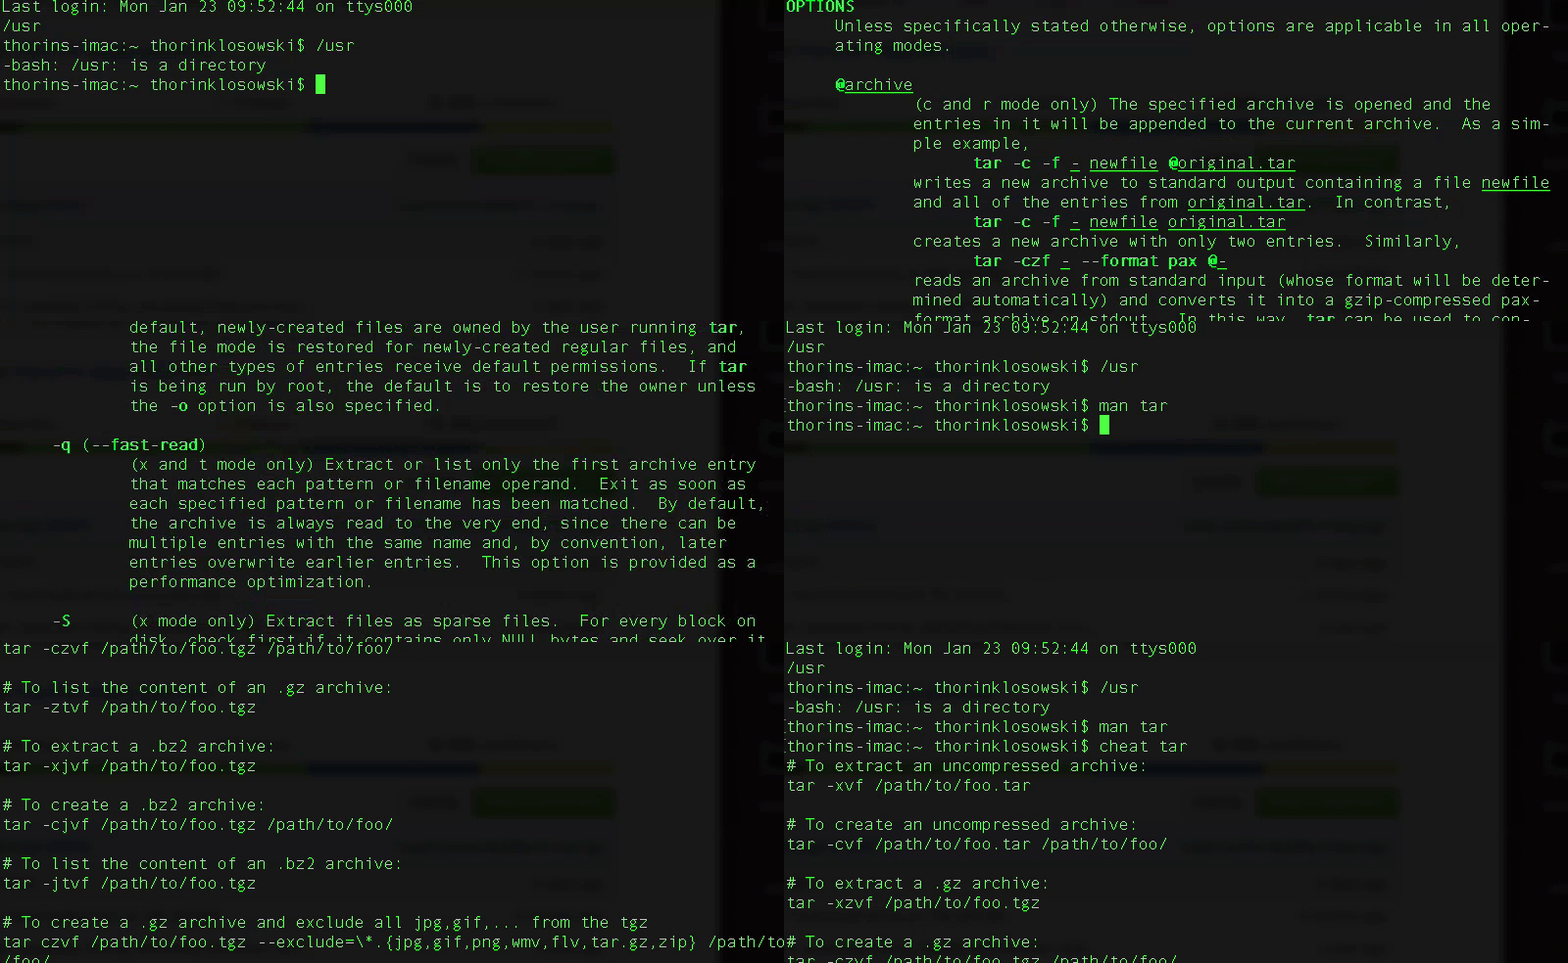
The manual pages that you access by typing in man at the command line are often intensely long, going on and on for pages. This is useful when you really need to dig in and figure something out, but more often than not, you’re looking through a manual page just to find what commands you can run. Cheat takes those manual pages and shrinks them down.
For example, if you head to the command line and type man tar right now, you’ll see several pages of documentation. Cheat gives you a much more practical manual. Type in cheat tar and this is what you get:
# To extract an uncompressed archive:
tar -xvf /path/to/foo.tar
# To create an uncompressed archive:
tar -cvf /path/to/foo.tar /path/to/foo/
# To extract a .gz archive:
tar -xzvf /path/to/foo.tgz
# To create a .gz archive:
tar -czvf /path/to/foo.tgz /path/to/foo/
# To list the content of an .gz archive:
tar -ztvf /path/to/foo.tgz
# To extract a .bz2 archive:
tar -xjvf /path/to/foo.tgz
# To create a .bz2 archive:
tar -cjvf /path/to/foo.tgz /path/to/foo/
# To list the content of an .bz2 archive:
tar -jtvf /path/to/foo.tgz
# To create a .gz archive and exclude all jpg,gif,… from the tgz
tar czvf /path/to/foo.tgz — exclude=*.{jpg,gif,png,wmv,flv,tar.gz,zip} /path/to/foo/
# To use parallel (multi-threaded) implementation of compression algorithms:
tar -z … -> tar -Ipigz …
tar -j … -> tar -Ipbzip2 …
tar -J … -> tar -Ipixz …
That’s much more useful information, right?
Cheat is not the only tool of its kind. If for whatever reason you’re not a fan of Cheat, take a look at TLDR and Bro Pages. Both are very similar to Cheat, but take a slightly different approach in how they present the information to you.
Howdoi Hunts Down Answers to Common Questions
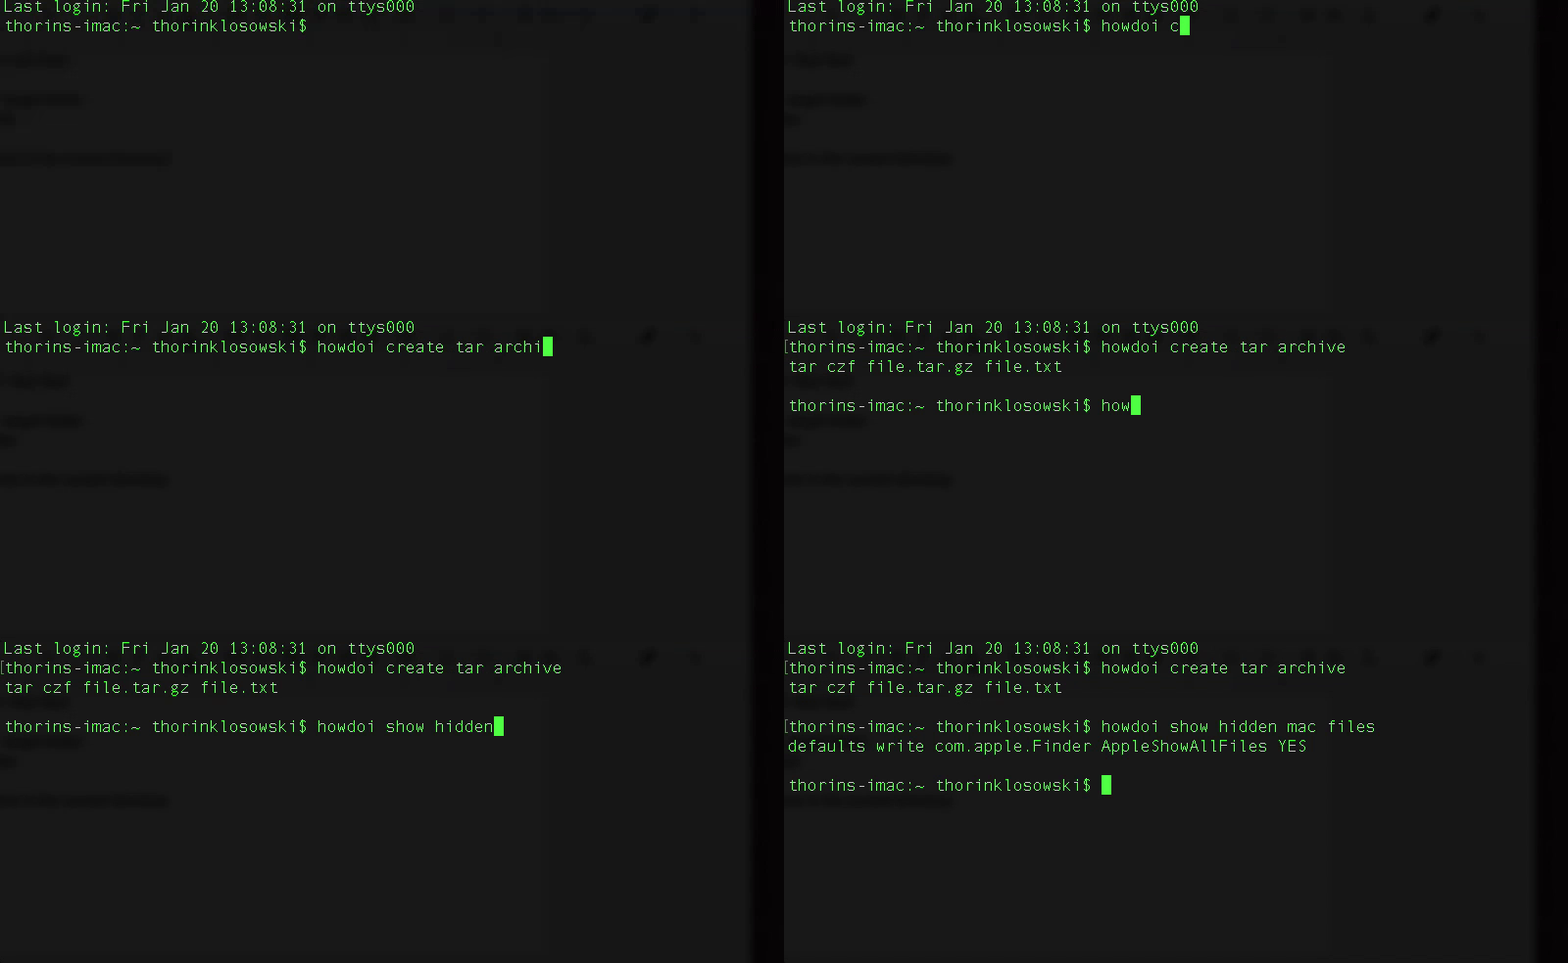
While the shorter, easier to read manual pages of Cheat should help you get to the root of most questions you’ll have, it can’t help with everything. Howdoi is a utility that can help with the rest.
Howdoi is structured like a question and answer system. You ask a question about how to run a command, and Howdoi attempts to answer it. Let’s go to good old TAR again for an example. If you type this into the command line:
Howdoi create tar archive
You’ll get a tiny how-to guide as a response:
Tar czf file.tar.gz file.txt
Howdoi isn’t perfect and sometimes you’ll have to finagle your wording a bit to get the answer you’re looking for, but it’s still much easier than opening up a browser and searching Google for the answer. You can also add Howdoi to Alfred or Slack.
The Fuck Corrects Your Last Console Command
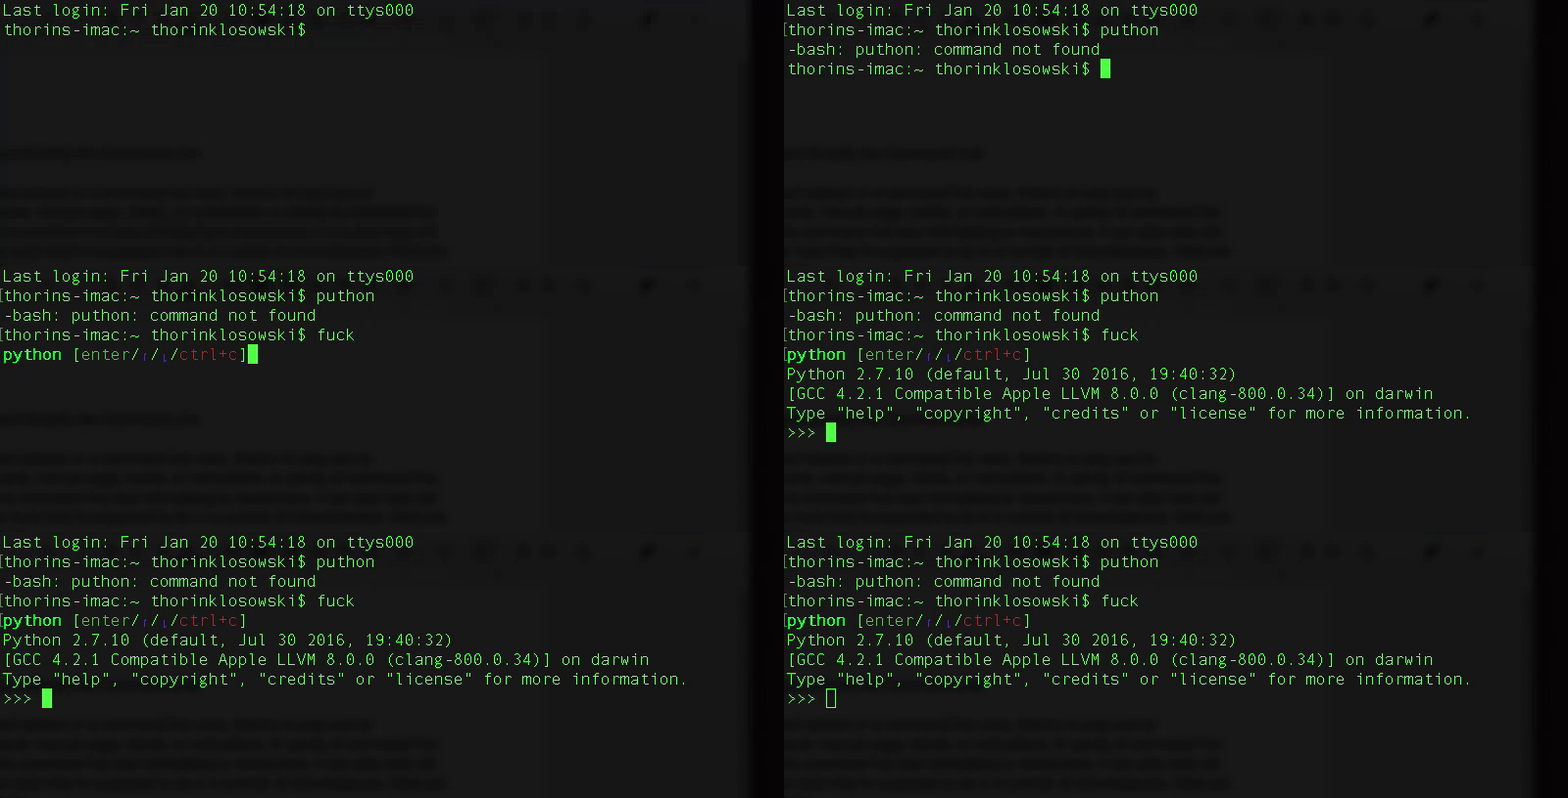
The Fuck does one thing: corrects your last command when you mess it up. So, if you mistype a command, miss a required sudo, or forget to use a hyphen, type fuck to correct that command. While this doesn’t work all the time for every typo you make, The Fuck is surprisingly intelligent about finding your mistakes. Here are a few example of how you’d use it:
-
apt-get install vimfuck
sudo apt-get install vim
-
git brndhfuck
git branch
You get the idea. You don’t have to blindly agree with whatever The Fuck says. You’re required to confirm the corrected command before it runs, so you’ll never accidentally mess anything up. If you’re like me, you’re dropping typos into the command line all the time, so The Fuck is a lifesaver.
There are lots of other tools out there for very niche purposes. Awesome Shell is a curated list over on GitHub that has a ton more that suit all kinds of different needs.
Illustration by Sam Woolley.

Comments
One response to “Five Tools For Beginners That Power Up The Command Line”
Awesome post, I’ve been using cli for over 10 years daily and didn’t know about this stuff. Can’t wait to try out cheat to find the curl flag to print output to screen and Howdoi to find the file size of this dir. du -ksh somthing? I hate man pages! Thanks!