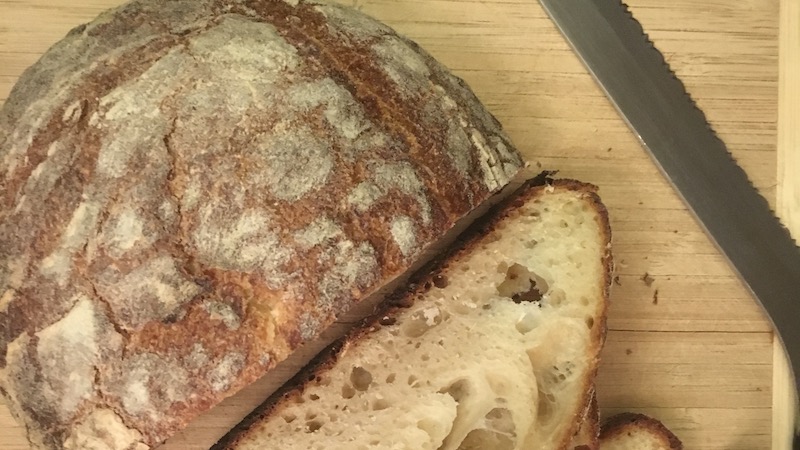
Bread is nothing but flour, water, and salt, yet making true sourdough bread has tested not only my patience, but it’s sent me through weirder internet rabbit holes than any other DIY project I’ve ever made. For me, bread has become the Linux of cooking, complicated and fiddly, but ultimately rewarding.
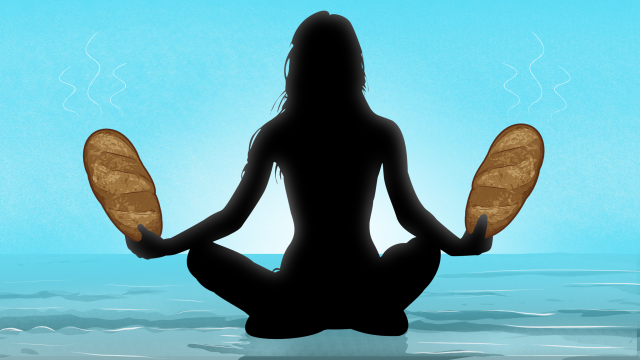
Illustration by Sam Woolley. Photo by Francis Storr, Jim Champion.
I am generally a fan of making things and doing repairs for myself. I would rather spend four hours learning how my bicycle works and fixing it than spending no time and $70 to have someone else do it for me. Over the years I’ve learned to love cooking too. Slowly but methodically I’ve gotten over fear and laziness to enjoy my time in the kitchen. Then, one day a couple of months ago, a friend convinced me to make my own sourdough bread. Bread’s easy, I thought, so I decided to give it a try.
The first thing I learned was the difference between bread and “true sourdough” bread. Basic sandwich bread and other similar breads are easy enough to make using commercial yeast and require just a few hours of your time. Sourdough bread uses an active yeast culture starter you make for yourself and a couple of days of effort.
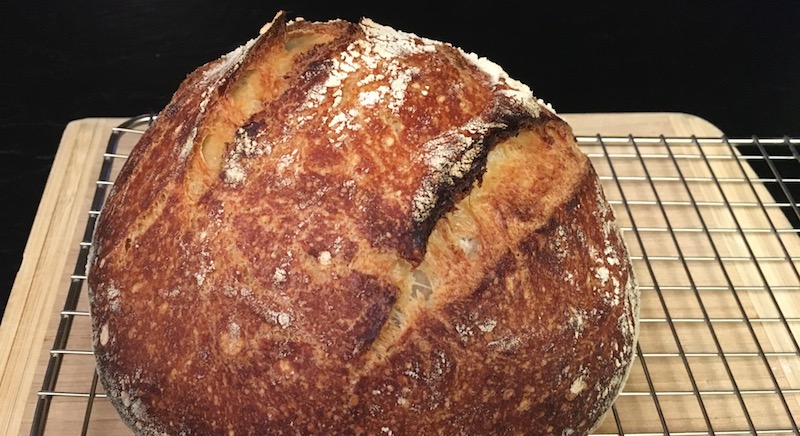
It took me eight attempts before I had an edible loaf of sourdough bread. I went through several false starts and I spent a couple weekends toiling away only to make inedible globs of cooked flour that better resembled hockey pucks than bread. Last weekend I finally made a couple of loaves of edible bread, but I still have a lot of tinkering ahead of me before it will be any good.
Regardless, the different skills I’ve utilised making a simple loaf of sourdough is surprising. There’s a lot happening here. Like any baking project, sourdough requires a close attention to detail, but it also requires an understanding of both chemistry and biology just to get started. Even after you have a base understanding of how it all works, there’s still plenty of troubleshooting ahead. It’s a dull, complex, slow process that in turn is calming, challenging, and insightful.
I’m Flexing Science Muscles I Haven’t Used Since High School
Science and baking have always gone hand-in-hand, but sourdough in particular feels like a science experiment from the start. Before you can make bread, you have to make a starter, which feels exactly like the type of science experiment you’d do in school.
A “starter” is a means to cultivate wild yeast so you can bake with it. Yeast is a live, single-cell organism that causes the bread to rise. This happens because when you mix flour and water, the yeast eats the sugars in the flour and that produces carbon dioxide, which creates the air bubbles used to help your bread rise. To make use of this yeast, you need to create an environment that the yeast wants to live in.
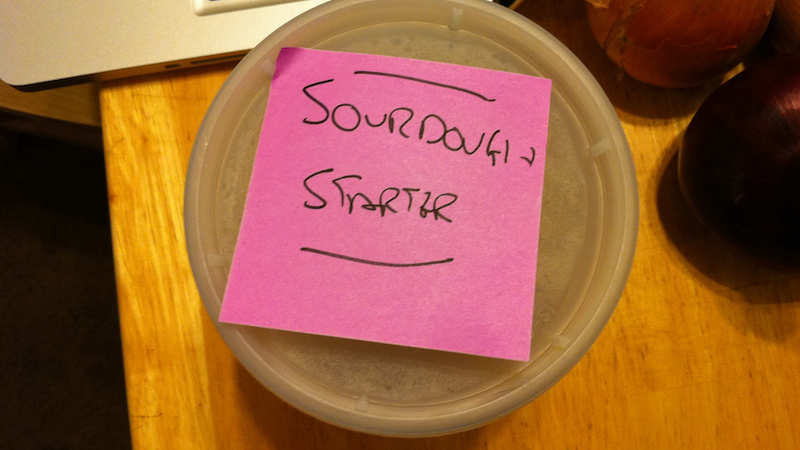
Wild yeast is pretty much everywhere, but it’s notably present in flour. So, the easiest way to cultivate it into a starter is to mix flour and water and let it sit around for a few days to ferment.
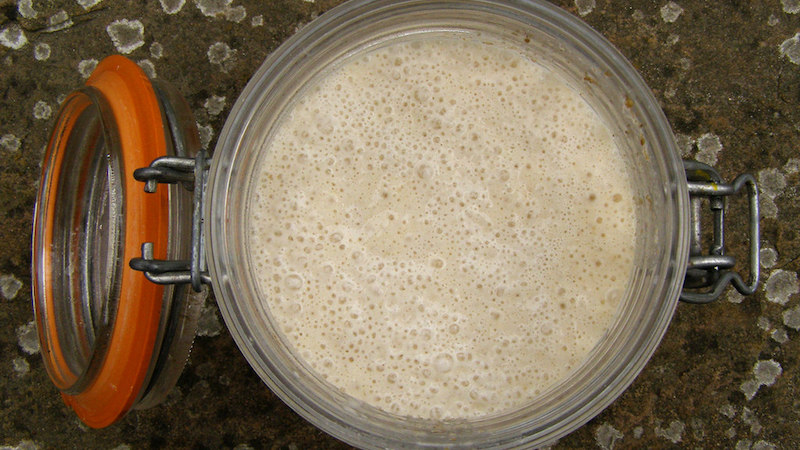
To make a starter you just take one part flour and one part water, mix them in a container, then leave that out for a day. The next day, add more flour and more water. People refer to this as “feeding” your starter. Repeat this for a few days, and the yeast starts bubbling. A few more days, and it will get frothy and kick out the sour scent that gives sourdough its name. Of course, if it was that easy, I wouldn’t have screwed up three times.
Practice Makes (Kinda) Perfect
My first attempt at a sourdough starter didn’t end well. After a couple of days, a heatwave struck Los Angeles and three days straight above 100 degrees made the starter smell foul. The second attempt failed because it had cooled down too much, and the general recommendation of five or so days of feedings wasn’t enough. On the third attempt, I finally got it right. I chalk this success up to the fact that I bothered to read about the science instead of just blindly following the directions.
With cooking, like a lot of things, it’s easy to follow the directions without learning the “whys” as you go, but just as with everything else, doing so ends in disaster more often than not. Once I took the time to learn how fermentation works and how yeast affects the quality of the sourdough starter, it all started to click together. I’m a grown man, but I leapt with the joy of a mad scientist the first time I saw bubbles form in my starter.
The science of sourdough starters is far more interesting than just a lab experiment on your kitchen counter. People keep their sourdough starters alive for decades, passing them down to family members. As they do so, the starter takes on qualities all its own, not the least of which is flavour. That’s because on top of the yeast, which various regionally, different microbes are also along for the ride, and those little microorganisms can have just as much an effect on the flavour and quality of bread. How all this works together is enough of a mystery that research into the topic resulted in the Sourdough Project. This collaboration between Tufts University, the Natural History Museum of Denmark, and North Carolina University is doing DNA analysis on starters from around the world to see what exactly is in them, ultimately leading to clues to what microbes lead to the best breads.
You’ll find hundreds of recipes for sourdough starters out on the internet, but I like this one at The Kitchn. It takes the time to actually explain what terms mean and how everything works. It’s also written for true beginners, and explicitly states each step you need to make, even if it’s redundant and identical to previous steps.
Baking Bread Helps Cultivate My Patience and Self-Control
Between getting the starter going (five or more days at first,) then the full day of baking required to actually make the bread, sourdough tests your patience to an extreme.
Most sourdough recipes have at least 10 steps but upwards of 30 depending on how they’re written. My personal favourite when it comes to taste is The New York Times‘ recipe for Tartine’s Country Bread, which clocks in at 13 steps. As for actual readability, The Kitchn’s excellently written recipe is 25 steps. 25!
How does this all look when you plot it out on a to-do list? Pretty overwhelming, actually, even when you generalize the steps:
- Make starter from scratch (around five days), or take your cultivated starter out of the fridge, feed the starter, and bring it back to life (around one day depending on the age of the starter.)
- Make the “leaven,” which means taking a very small bit of your active starter and putting it in a small bowl, adding some more flour and water, then leaving it on the counter to ferment again for another eight to twelve hours. Some recipes use “starter” and “leaven” interchangeably, which is confusing. Worse, “leaven” is both a noun (the yeasty substance you add to dough) and a verb (the process of causing dough to rise), so poorly written recipes end up being hard to read.
- The next day, you mix the dough with the leaven, then let it rest for a half an hour. This is the autolyse stage, where the flour absorbs the water. This stage helps the gluten form and enzymes break down the starches into sugars.
- Once that’s done, you “fold” or knead the dough every 30 minutes for about two and half hours. This process varies from recipe to recipe.
- After that, you divide the dough into two parts, shape each into little rounds, then let the dough rise for anywhere from two to five hours.
- Finally, after what seems like 600 hours, you bake the damn bread.
The basic, literal process of scheduling this out takes extreme project management skills. You have to plan several days in advance, then be somewhat flexible in case the starter ends up being a little slow. No matter how you divide up the work, you’ll still need to spend a day noodling around the house while the bread does its thing.
Thankfully, a few points in the recipe allow you to put the whole thing on pause. For instance, you can always let the dough rise overnight in the fridge, which helps when you can’t sit around all day long. The whole thing is so time consuming that most beginner’s guides lay out an actual baking schedule for you to use. For example, Clever Carrot’s outline for a Friday-Sunday schedule is useful, while Phickle has one that condenses the schedule a little when you’re in a time crunch. Every recipe’s a little different, but once you settle into a schedule it’s easy to adapt to other recipes.
The point is, bread is a trying exercise that will put a test to not only your patience, but your basic scheduling skills and self-control. I’ve plotted out my weekends, accepted that “two-three hours” in a recipe can also mean four sometimes, and for once, I pay attention to the food itself, not the directions.
Troubleshooting Is a Zen State
My first reaction to a bad loaf is to get angry and throw it away. Then, my brain turns to troubleshooting and I attempt to understand the problem. Unlike most things, this is a problem I can fix by myself.
Troubleshooting is something we all do, but I don’t think I ever realised how relaxing it was for me until I started my first attempts at making bread. Problem solving is something I’ve always associated with work and therefore a cause of stress, not a reliever of it. Yet, that’s exactly what is for me, and much like any electronics project, troubleshooting sourdough bread is a never ending process.
My first two loaves of bread were under-proofed, which means I either didn’t give them enough time to rise or my starter was junk. The next batch was the same, even though I kept an eye on them when they were rising. That suggested my starter wasn’t fully active, so the next time around, I gave the starter extra time to ferment before I created the leaven. Finally, that produced a loaf of bread I could actually eat.
Even when things go right, other little things don’t work out. My first edible loaf of bread was burnt on the bottom and the texture on the inside was a bit spongy. To adjust for this, I’ll need to drop the oven’s temperature a bit and try kneading the dough a little more. Fixing that will lead to a slew of other problems and this process will repeat forever until the end of time. In a lot of ways, this reminds me of just about every Raspberry Pi project I’ve done.
When you’re troubleshooting, you have a clear directive and while the answers aren’t always clear, you can at least create a plan of attack. This methodical process requires your full attention, which can put you into a trance where the rest of the world just falls away. This zen state is relaxing. It’s that moment where work becomes this all-encompassing feeling where nothing else matters but the success of this project. As you pour through and plot out a new twist to an old recipe, reality shifts for a brief moment and you feel like you’ve captured some essential truth of the world. Until you screw up the next loaf.
Everyone’s not going to have the same reaction, but if you’ve got the same weird type of analytical brain that I do, you might relish in this. I have a lot of work left in front of me before my bread’s great. There is lots of troubleshooting to do, some science to tinker with, and waiting around to do.
Comments