
I shoot in some pretty harsh conditions. In fact, I’ve based a large part of my career to being in the cold. For me as a professional, this often means long nights, cold mornings, and camping out in front of a tripod waiting for the conditions to line up. But it’s absolutely worth it. Sometimes, to get things to line up you have a put yourself in a situation that isn’t normal.
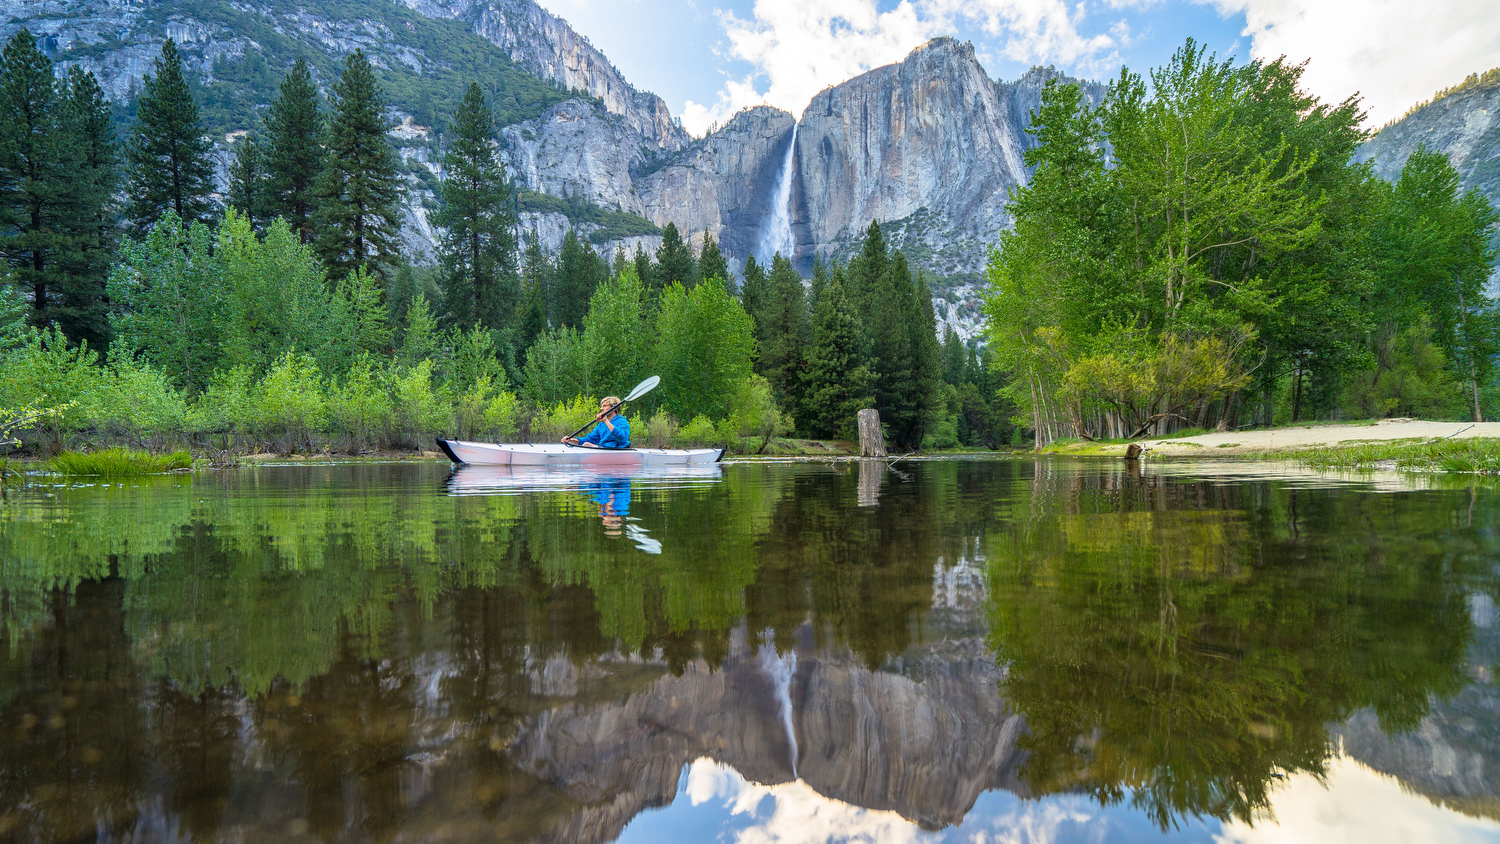
Maybe that means wading out into a river to capture your buddy jumping in, or taking the extra long detour to get that angle for sunset. Taking that extra time and energy and devoting it to the shot can really be the difference between producing something that you’re simply happy with or something that you’re really stoked on. Like this image from my recent trip to Yosemite:
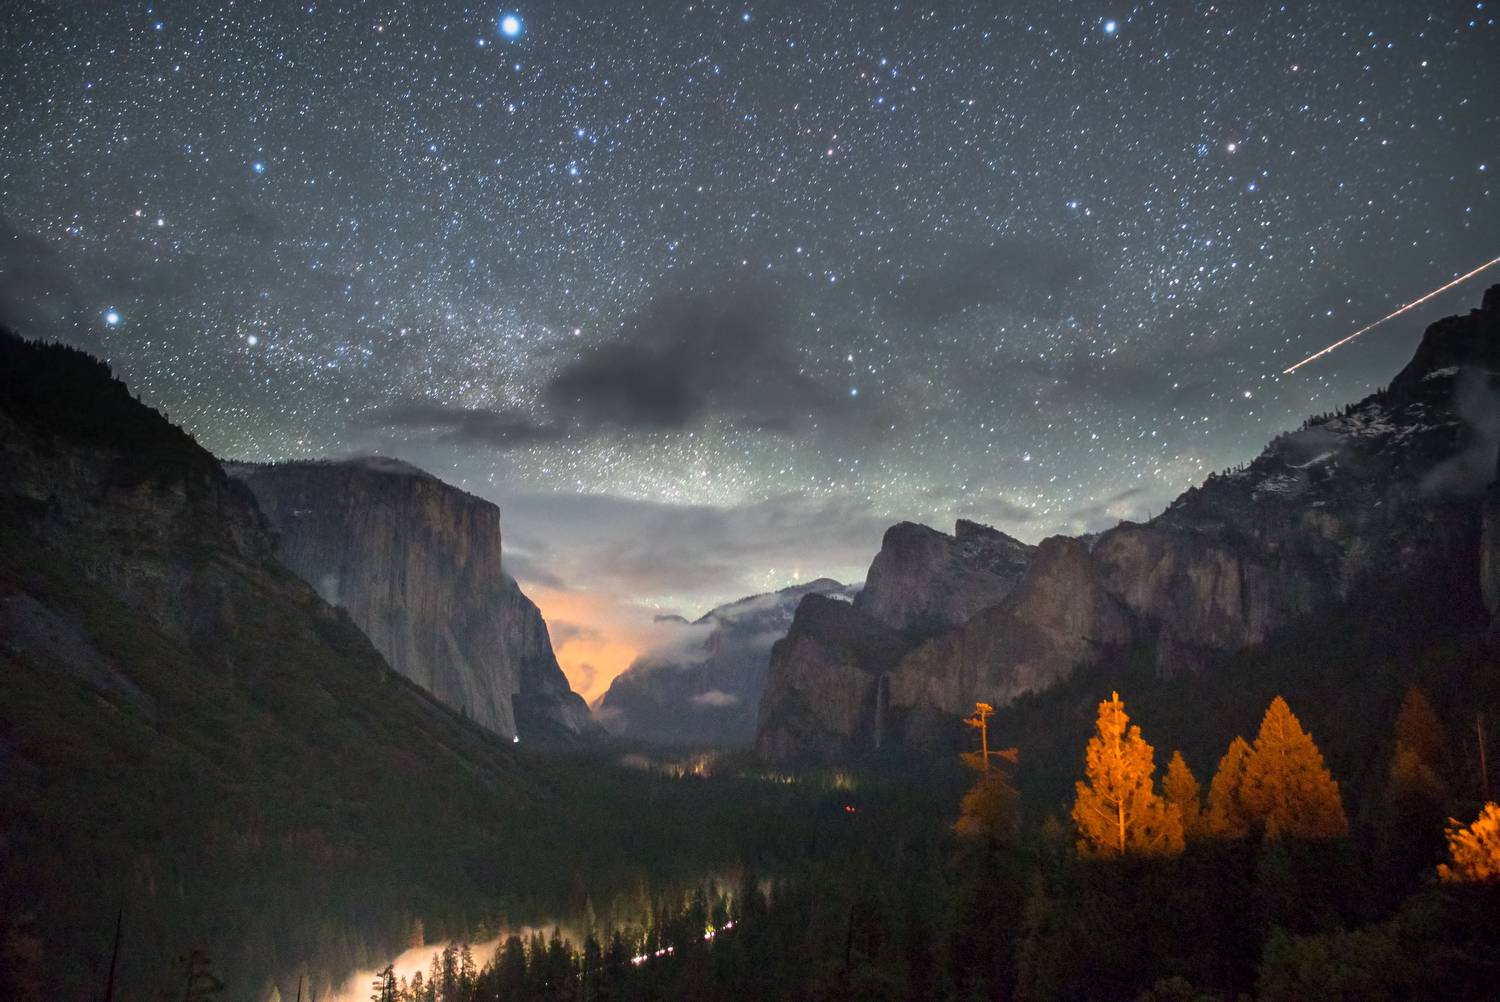
Or this one, which required considerable effort to achieve. I stayed outside in the cold and wind for hours, barely sleeping and eating mostly energy bars. But I got the shot:
With that in mind, here are my top five tips to consider when to produce better imagery:
- Check your corners! Make sure you don’t have anything awkward jutting into your composition that takes away from the subject. It’s so much easier to just adjust your composition then it is to remove things in post.
- Use a polariser. I use polarisers on so much of my work. They add a richness to your colours and cut reflections down to make things seem more natural and less harsh. I really love what they do to images and would recommend everyone try them out.
- Post processing is really important, but do it with a purpose. Images straight out of the body seldom reflect what one sees with the naked eye. I don’t do a lot of heavy edits; I’m mostly just trying to take my images closer to how I perceived them. For most of my post processing, I use Lightroom, but I really love Macphun’s Noiseless Pro for my noise reduction on those noisy nighttime shots, since it does a better job than most noise reduction applications.
- Get a sturdy tripod. You can’t shoot anything at night or a landscape without it. I bring mine on every shoot.
- Finally, don’t forget to enjoy it! Sometime we can get so enthralled in the photography that we forget to enjoy the moment. I’m a big advocate of shooting smaller gear and trying to be as involved as I can in the action behind my photographs.
Remember, your enthusiasm can sometimes be the best tool in your arsenal.
Chris Burkard is a self-taught photographer and artist, based in Central Coast California, whose work is layered by surf, outdoor, lifestyle and travel subjects.
Comments