Your garage stores thousands of dollars in vehicles, tools and who knows what else. Give it some love by installing a protective epoxy floor coating in just a few hours.
Photos courtesy of Charles & Hudson
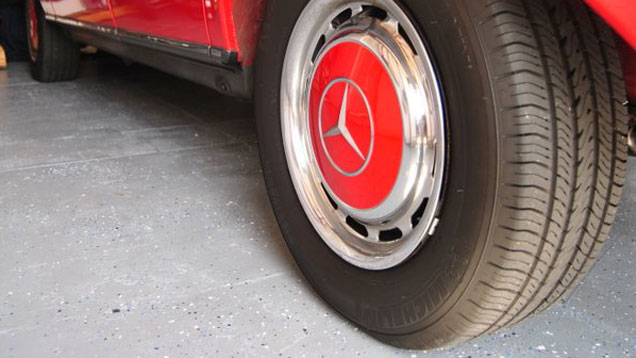
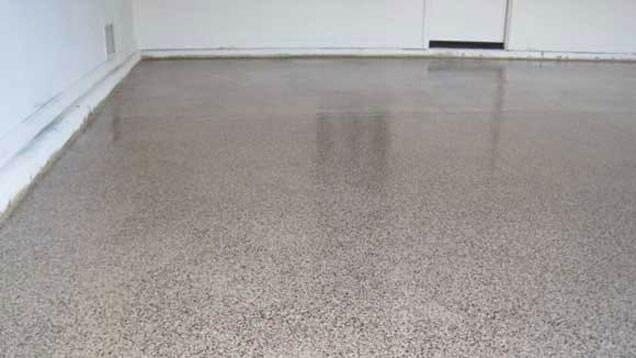
An epoxy coating brings the showroom look home, but also serves a functional purpose: it resists oil stains, beads water and is easy to wipe clean. Adding paint chips can hide floor imperfections and anti-skid additives will give you more grip on wet days. One note of caution: if you live in an extremely hot climate, you need to be sure the epoxy can withstand hot tyres which can lift the epoxy off the floor.
It’s all about the prep when installing an epoxy coating. Regardless of price, an expensive coating can chip and peel if it’s not installed correctly. Manufacturer’s instructions for installing their epoxy can vary, but make sure you still follow every step exactly as listed. Here are the basics steps you’ll need to follow, along with a few tips.
Step One: Prep The Space
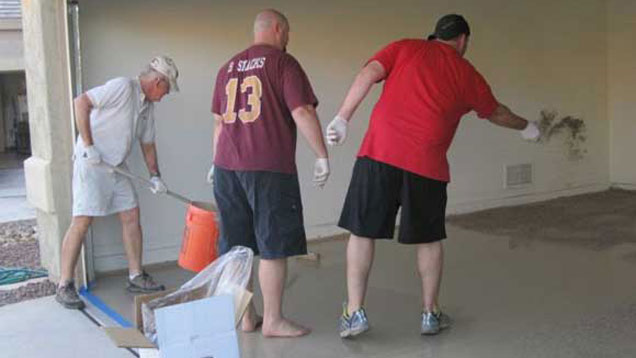
All objects should be cleared from the floor and the area should be thoroughly swept. Use a leaf blower on low to remove hard-to-see dirt and particles. Tape your baseboards, steps and the edge of your garage floor, to limit where the epoxy covers.
If you have any major chips or damage to your concrete floor, you’ll need to repair those first.
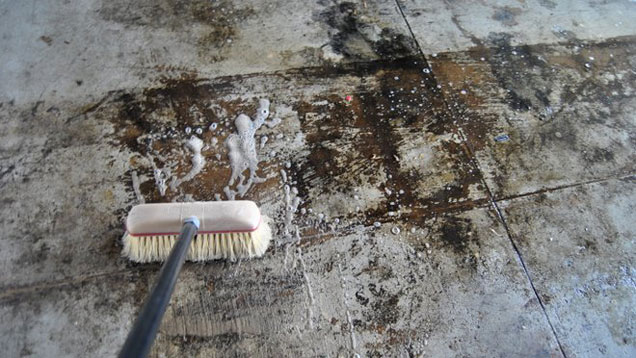
Use a heavy-duty degreaser and scrub brush to remove all oil and gas stains from the floor. When you’re done scrubbing, rinse all soap and dirt away.
Lastly, apply citric acid and concrete etch, which creates tiny grooves in the floor for the epoxy to adhere to. Some people use muriatic acid, but that is a highly corrosive and toxic chemical. You’ve been warned.
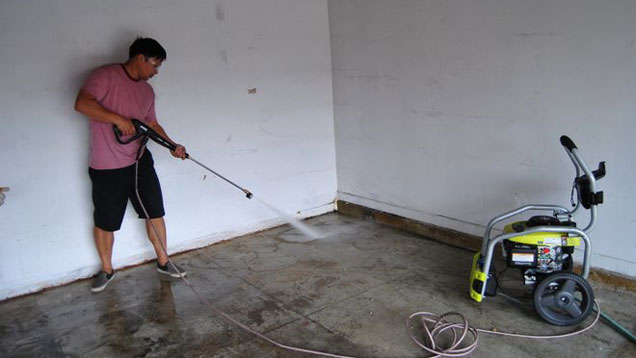
Give your floor a final rinse with a pressure washer, or just rinse with hose and water, and then wait for the surface to dry completely.
Step Two: Apply the Epoxy
Mix your two epoxy chemicals together and immediately start applying the mixture to your floor. Start with the trim areas first, using a 2″ (5cm) brush, and then cover the floor using a standard paint roller and ⅜” (1cm) nap. A roller extender is useful for this job.
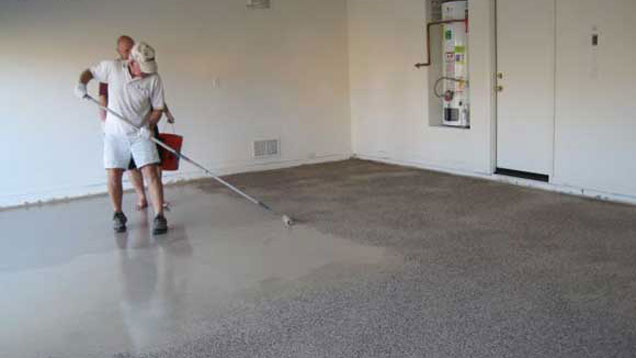
If you are using paint chips, toss them onto the epoxy after it’s been applied to the floor. Do not mix it into the can.
Usually only one coat is required. Here’s a tip: Don’t apply on a windy day or you’ll get twigs, leaves and other contaminants blown onto your new floors.
Step Three: Let It Dry
Depending on the temperature and humidity, an epoxy floor will dry to the touch in a couple of hours but wait overnight before walking on it.
Epoxy floors need additional time to fully cure. Refer to your product instructions but typical cure time is 3-7 days.

Lifehacker’s Workshop column covers DIY tips, techniques and projects.
Comments
5 responses to “How To Install Epoxy Garage Floor Coating”
Using a concrete degreaser like http://www.soybaseclean.com/ will make your job a ton easier. It removes tire marks like they’re nothing.
Thank you for sharing this article. I just want to add some tips in applying epoxy floor coating, first, always appropriate gloves, eye and lung protection, and rubber boots. Second, remember to turn off gas to the water heater or any other appliance located in the garage. Lastly, a coat of floor wax applied over the top of a cured epoxy floor will make it easier to clean. This is a friendly advice I got from the guys at http://www.seqepoxyflooring.com.au/
I had my garage floor done like this, however the first time it was done it failed and started pealing up. I called another company to come and fix it Multiblast Flooring who told me that if you want the coating to last then its always best to prepare the concrete by diamond grinding as it will give a better mechanical key. Its lasted a while and still looks great. Just a thought…
Thanks for this DIY information. Your floors look great.
Thanks for the information. What you said is really correct; regardless of price, an expensive coating can chip and peel if it’s not installed correctly. You have clearly explained the steps to instal an epoxy garage floor coating. I had done concrete epoxy coating ( http://www.floortex.ca/products-and-services/epoxy-coatings/ ) for my floor the last month. Their procedure was equal to what you have said here.