Ever wanted a copy of Windows you can take with you wherever you go, to use on any computer you want? Here’s how to install a portable version of Windows 8 on a USB hard drive that you can take anywhere.
The Enterprise version of Windows 8 has a feature called Windows To Go that lets you install a portable version of Windows on a “certified” flash drive. Unfortunately, most of us don’t have the Enterprise edition of Windows 8, nor a certified flash drive. However, there is a tool called WinToUSB that can essentially do the same thing, no matter what version of Windows you have. Here’s how it works.
(Note that this is different from installing Windows from a USB drive, which allows you to install Windows on a computer that doesn’t have a CD drive. Here, we’re actually installing Windows on a USB drive, so we can run it from a drive on any computer we want, and take it with us for troubleshooting, remote work and so on. If you’re a Mac user, check out this post for more info on how to do this with OS X.)
What You’ll Need (and What You’ll Get)
You only need a few simple things to make this work. They include:
- A Windows installation disc or ISO image. We recommend using Windows 8. Windows 8 will allow you to use your portable installation on any computer, but Windows 7 is not as portable and may have driver or activation issues if you use it on other computers. (If you must use Windows 7, this alternative method may be preferable).
- A USB drive. An external hard drive is preferred over a flash drive, since it will run significantly faster. USB 2.0 will suffice, but if you have a USB 3.0 drive, we recommend using it (although it will only work if you’re installing Windows 8, not Windows 7).
- WinToUSB. This is the simple program that will walk you through the installation process.
As you can see, there are a few caveats. We tested this using Windows 8.1 on a USB 2.0 external hard drive, and the results were quite satisfactory. It ran at a reasonable speed, automatically installed the drivers it needed and worked on multiple computers. But your mileage may vary if you try to use Windows 7 or a flash drive.
Step 1: Install WinToUSB
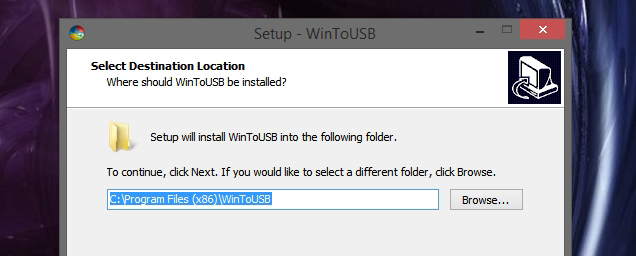
First, download WinToUSB and install it on your system, just like you would any other program. Note that you’ll need to be an administrator on the computer you install WinToUSB on.
While you’re at it, find your Windows installation disc or ISO and get it ready, because you’re going to need it in the next step. If you don’t have one, you can download one from Microsoft.
Step 2: Create Your Portable Drive
Next, you just need to start up WinToUSB and follow its (short) wizard to create your portable installation. There are only a few steps involved:
1. Select Your Installer Media
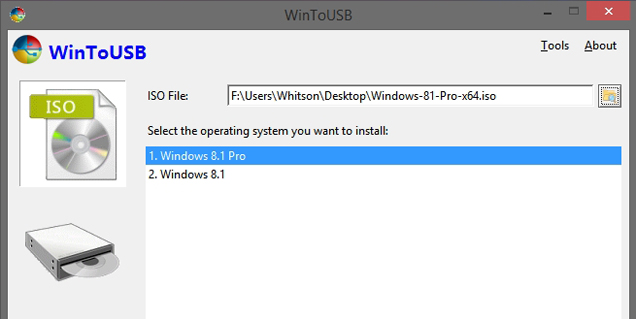
When you start WinToUSB, you’ll be prompted to choose your ISO file or disc. Click the browse button to find it, select the operating system you want to install, then click Next.
2. Select Your Hard Drive
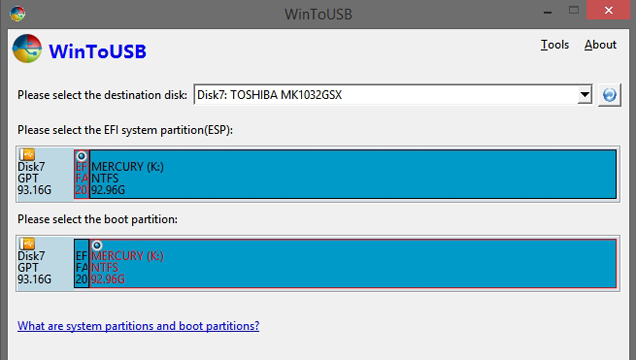
Next, you’ll be asked to select your hard drive and choose the system and boot partitions. You can find more information about this here, but with a USB hard drive you should just be able to select the first partition as system and the second partition as boot, as shown above. Make sure your drive is formatted as NTFS.
3. Start the Installation
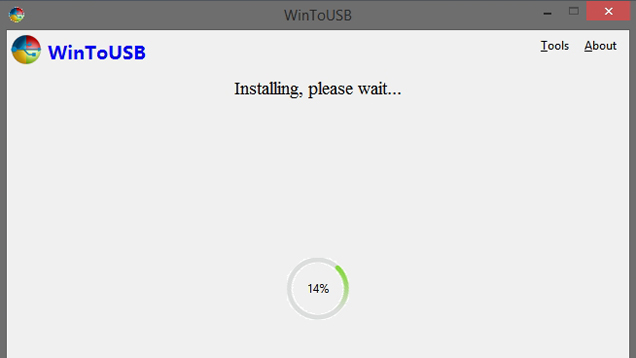
When you click next, the installation will begin. I found it only took a half hour or so, though your mileage may vary depending on the speed of your hard drive.
Step 3: Boot From Your Portable Drive
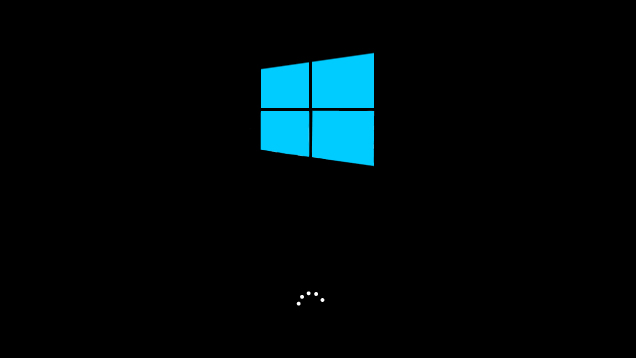
That’s it! It’s actually a very quick and easy process. When it’s done, you can start running your portable installation on whatever computer you want. To do so, just plug it in, restart the computer, and boot from the drive just like you would a CD or flash drive (on my computer, that meant pressing F11 at boot and choosing the drive from a list).
The first time it starts, it will install the necessary drivers and take a while to boot, after which you can set up your machine just like you would a new Windows 8 PC. You may have to manually adjust some things like screen resolution, but once you’re done, you can shut it down, move it to another computer and run it from there. It may go through the driver installation step on each new computer (which means it will take a while to boot), but I found it moved between my two PCs quite well. Enjoy!
Picture: grebcha/Shutterstock
Comments
One response to “How To Run A Portable Version Of Windows From A USB Drive”
I remember Windows 7 would always want to reactivate if it detected major hardware changes. Not a problem in Windows 8?
I tried this, and the machine I installed it on was ok, but when I tried to boot it on an older generation core2quad system, it came up as not activated. Boot it back on the install machine, and it’s activated again. Anyone else? I already has this copy activated on another laptop I have replaced (so I had ring MS and get the licensed released) so I’m not sure if that’s related. I also upgraded it to Win 8.1 using a downloaded ISO, my original is Win 8 Pro – so this required a bit of stuffing around with the license and unsetting portable media install etc. in the registry.
i have windows 7 on my usb by following this method but every time i try to boot into it i get the blue screen of death (BSOD)
Hi,
I have the same problem and I fond à workaround bye disabling usb 3 support in the bios. Then it boots un OK but it is much slower.