You can have a lot of fun making music, but getting a good recording and arrangement of your song requires some work and knowledge. Over the next few weeks, we’ll help you set up a small recording studio in your home and learn how to use it to create some great music.
Illustration by David Broderick. Photos by me
About This Morning School Series
Just like learning an instrument and writing songs, the art of recording, arranging, and mixing takes time to master. In this music production morning school series we’ll introduce you to the basics, but you’ll need to continue to learn, practise and develop a good ear in order to create great final mixes. Today we’ll begin with setting up your home studio. In the following weeks, we’ll show you how to record vocals and live instruments, add virtual instruments, and create a final mix. At the end of this series, we’ll also provide you with additional resources to go beyond the basics we’ll teach you.
What You’ll Need
Before we can get to work and start learning about recording, you’ll need a few things. Recording equipment will cost you some cash, but you don’t have to spend a lot to get a lot. Here’s what we recommend:
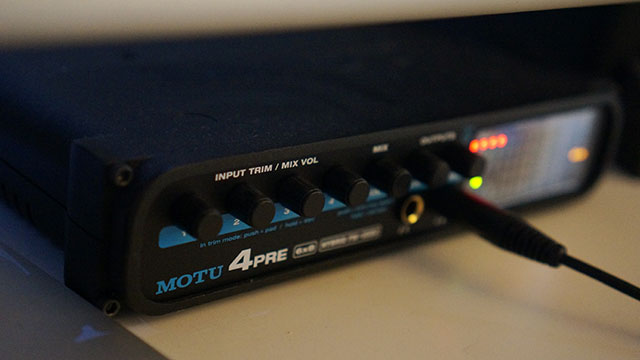
When operating on a budget, expect to spend at least $150 for a decent unit. The Focusrite Scarlett 2i2, Presonus AudioBox 22VSL, and Native Instruments Komplete Audio 6 all provide two microphone inputs and good recording quality without a high cost. If you need four inputs but can’t spend much, look at the Presonus AudioBox 44VSL or the MOTU 4pre. Those with more room in their budget should consider the MOTU Track16 and MOTU 896mk3, as well as the Apogee Duet and Quartet when working on a Mac. Any interface on this list will work well so long it is compatible with your computer. Check the system requirements before buying. [clear]

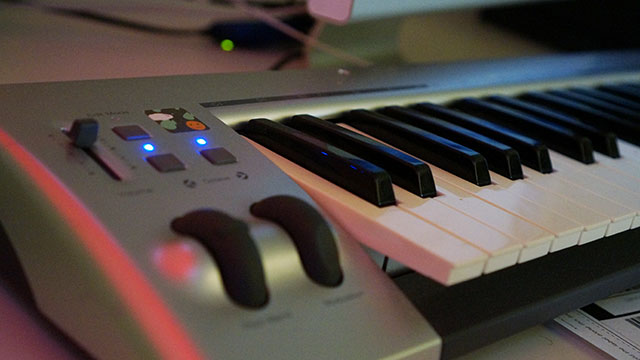
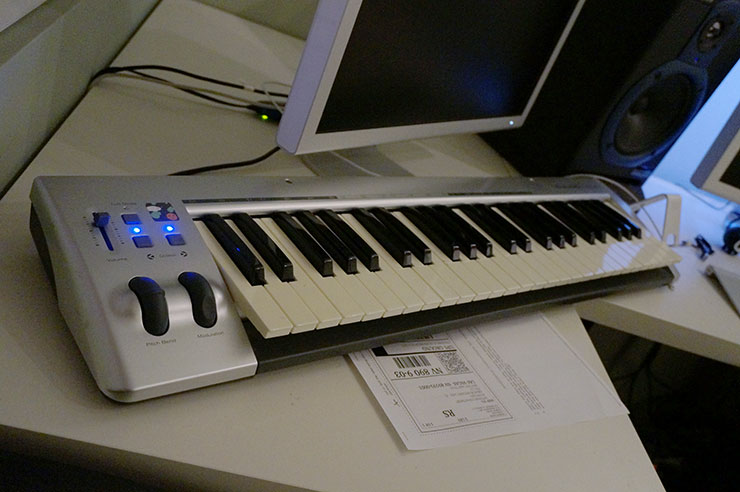
MIDI Interface (Optional): Every keyboard mentioned in the previous section offers USB MIDI output so you don’t need a MIDI interface to connect them to your computer. Some keyboards, however, only provide traditional MIDI ports. Some of the audio interfaces mentioned earlier (such as the Focusrite Scarlett 2i2) double as a MIDI interface and provide MIDI inputs, but if you need a separate device the E-Mu Xmidi 1X1 is about as cheap and simple as it gets. [clear]

That’s a long shopping list, but in our opinion its the minimum you’ll need for most tasks. If you want additional recommendations, read our inexpensive home recording studio buyer’s guide.
Set Up Your Studio
For the most part, setting up a home recording studio just requires a lot of plug-and-play. Nevertheless, you’ll need to know a few things to get started.
Pick a quiet room: Ideally you’d record in a room that lets in little to no outside noise and you’d acoustically treat that room to remove any reverberation. Realistically, however, you’re going to record where you can because you don’t have the thousands of dollars necessary to set up a professional recording environment. Carpeted rooms work best, and the fewer windows you have the better. If your walls produce too much reverberation, you can hang dense blankets on them to reduce the effect. Closing the shades on your windows also helps. You won’t be able to fix all your sound problems, but choose a carpeted room and reduce as much reverberation as you can before you start recording.
Set up your studio monitors: Place one on each side of your computer display, on top of their monitor isolation pads. The angle at which you place your monitors greatly affects how you hear the sound they produce, so don’t just position them facing forward and call it a day. Instead, follow these steps:
Start by placing each at a 45 degree angle facing inward. (If your monitors are more than a couple of metres away, however, a 35 degree angle will make a better starting point.) Sit at your workstation and imagine a line coming out of each monitor in the direction their facing. The lines from both monitors should pass through each ear (left and right, respectively) and intersect around the back of your neck. If this isn’t the case, adjust each monitor until it is.
Play a monaural audio track (such as this or most podcasts) and listen carefully. If the audio appears to coming from straight in front of you, you’re good to go. If it feels too far to one side, adjust your monitors slightly until it does. Because you won’t always sit in the exact same position, the balance of sound might feel a tiny bit off if your have good ears. That said, a little bit of variance shouldn’t make a big difference. Just do the best you can to centre the sound.
You may want to calibrate your monitors as well. That’s a complex topic we don’t have time for in this lesson, but read this tutorial if you want to pursue calibration.
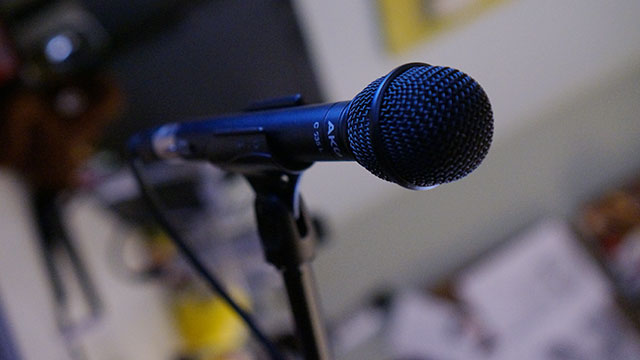
Enable phantom power for your microphones: In order to record you’ll need to enable phantom power for your microphones on your audio interface. Nearly all condenser microphones with a cardioid pickup pattern — the kind we recommended you buy — require a power source (specifically, 48V). Your audio interface can provide it, but you often need to press a button or flip a switch. Consult your interface’s manual if you can’t find a button or switch labelled 48V on the front panel next to each mic input.
Plug in and install your software: Once you’ve handled the previous steps, you just need to plug everything in and install drivers and software. Depending on the hardware and software you chose, the setup process will vary. In many cases, after installation you won’t have to do anything else (aside from authorising your software, perhaps). If not, consult your manuals to find out what additional steps you need to take to get up and running and perform a test recording in your DAW software to ensure everything is good to go.
In our next lesson, we’ll learn about basic recording. See you then!
Comments
6 responses to “The Basics Of Music Production: Set Up Your Home Studio”
There’s no good reason not to get an SM57! Not only can you find them for under $100 if you look around and wait for a good deal (unless you plan on building your studio overnight), but even then they’re barely over 100.
Given that they’re great as an inexpensive snare and guitar mic, I’d say they’re more than worth it.
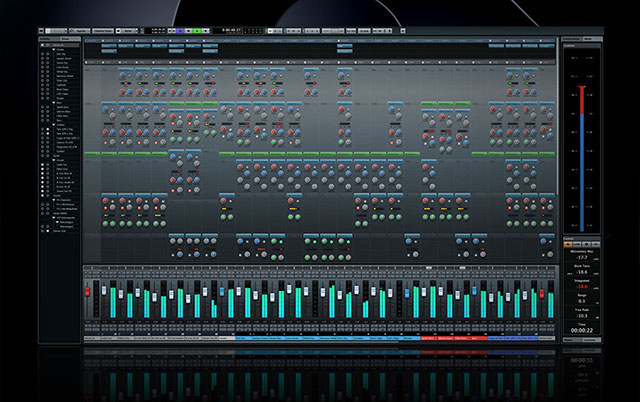
Your DAW list is quite anemic.
Most of LH demographic would probably be interested in Ableton Live. Its as much a live EDM performance environment as a DAW. Also REAPER on the PC needs a mention, its practically as powerful as Cubase and several orders of magnitude cheaper. It would be the perfect software to do your tutorials in.
Also, Presonus Studio One is an excellent DAW, with many entry level options.
+1 to REAPER, it is undeniably the best value for money DAW out there.
Some surprisingly decent advice considering the source xD
I’m really interested in hearing thoughts on the best storage setups for a DAW. For example, I was thinking to do the following:
– OS on an SSD
– DAW on the OS SSD
– Samples, other applications, project files on a separate disk or RAID
This will be a quick setup nowadays, but is there a huge benefit to a home studio to have the projects and samples on a RAID? What if you’re playing a MIDI kit into BFD2?
What about RAM – many people say the >16GB is overkill, but is it?
How about socket choice, 2011 is more upgradeable long-term and it should theoretically be more powerful as it has more cores than 1155… then again, is there a huge benefit (25%?), or a marginal one (<10%)?
Is there a benefit to installing a discrete graphics card for a setup like this to move the display process off the CPU?
All valid thoughts, of course if money were no object these would be “stupid questions” lol
I also highly recommend Reaper for the DAW. It’s very functional, has a free trial, is affordable for the full version, and is both Windows and OSX. http://www.reaper.fm/